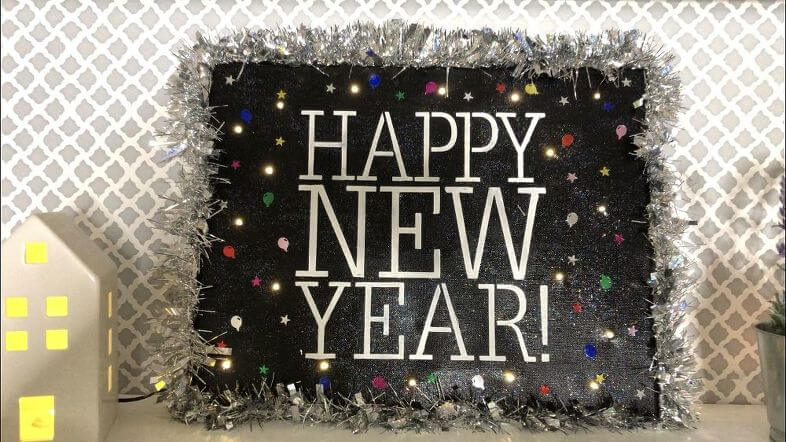
Genius Ways to Repurpose Old Dishes (Easy DIYs)

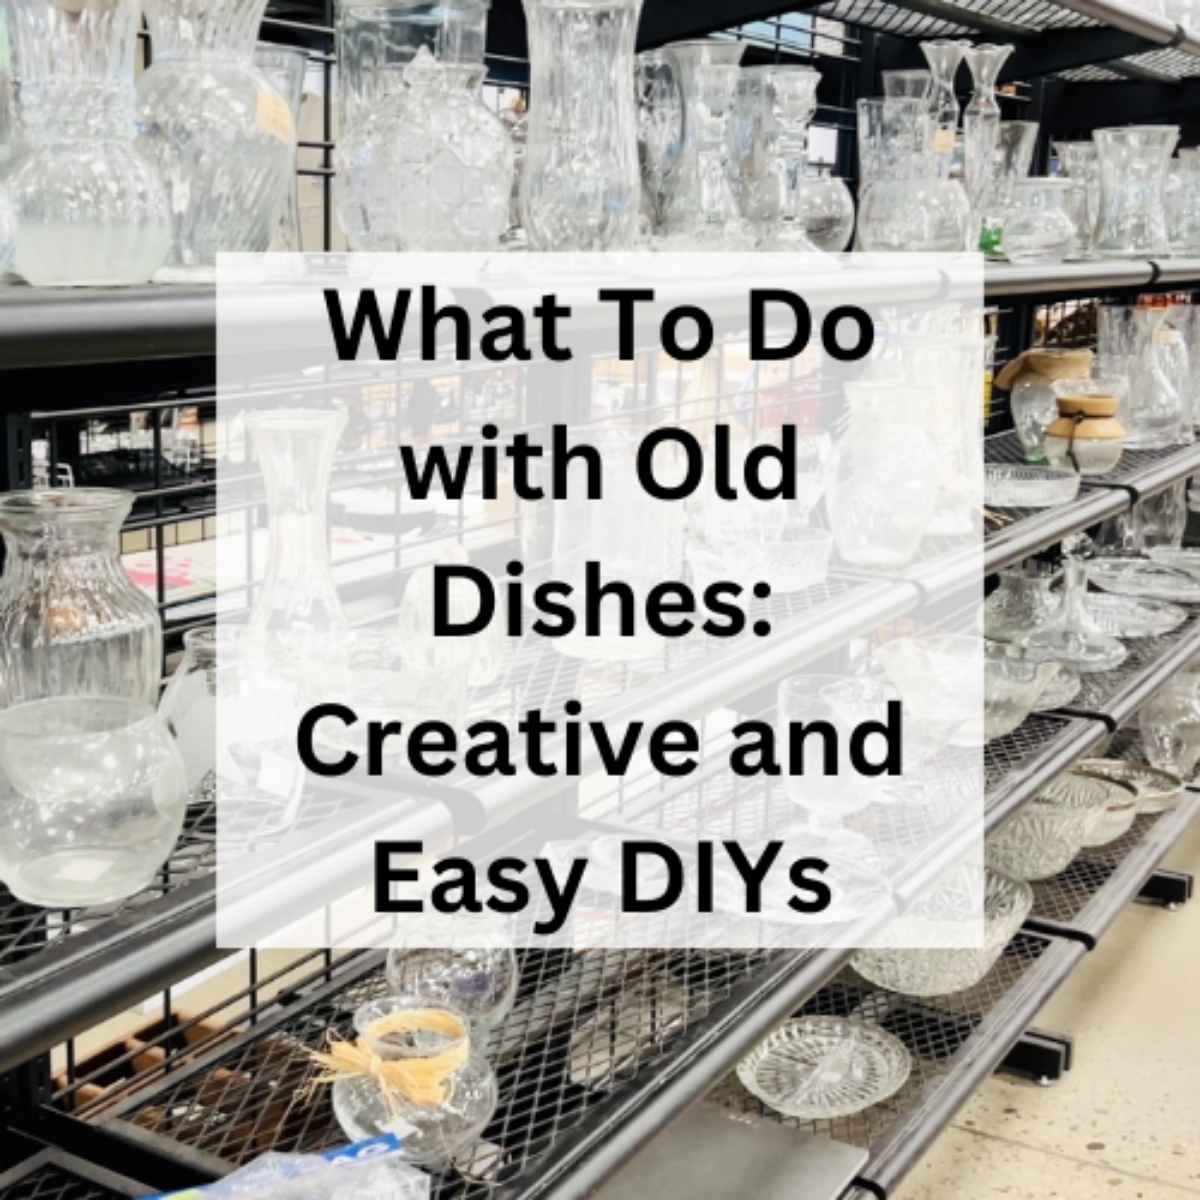
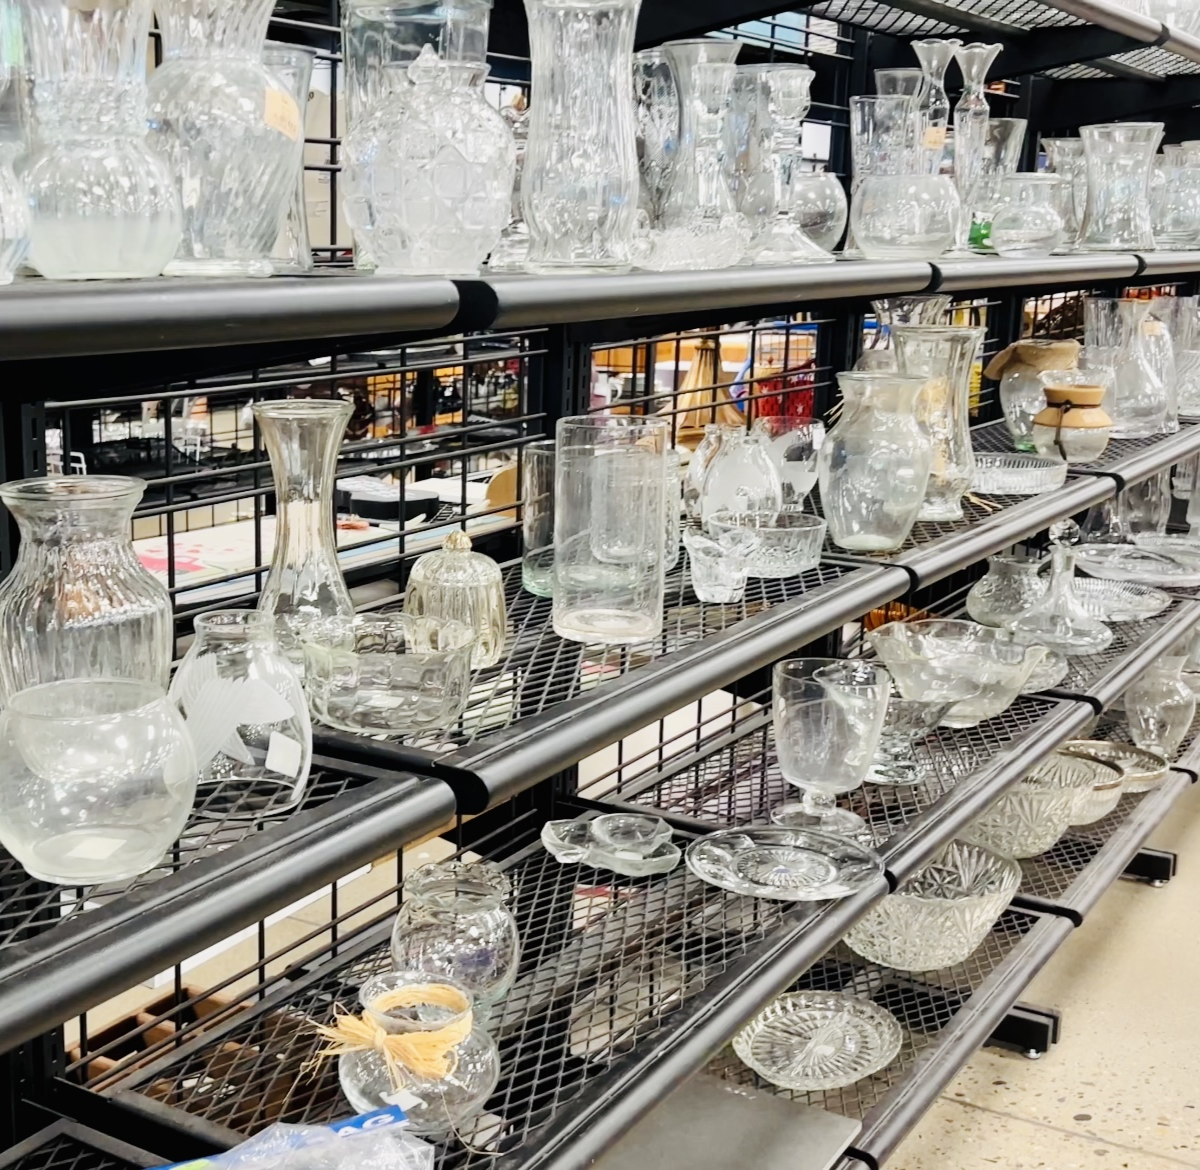
Have you ever found yourself at a thrift store staring at a stack of beautiful (but mismatched) clear glass dishes and wondering, “What could I do with these?” Or maybe you have a box of Grandma’s old china that is too chipped to eat off of but too sentimental to toss. In this post, I’m sharing my favorite solutions for what to do with old dishes. These ideas breathe new life into vintage glassware. If you are new to this, check out my guide on [Repurposing and Upcycling Explained] to get started.
What To Do with Old Dishes Video
Below, you’ll find step-by-step instructions for my viral Glass Snowman—which pairs perfectly with my [Easy and Fantastic Glowing Angel Craft]—plus a roundup of my other popular dish hacks!
Materials Needed
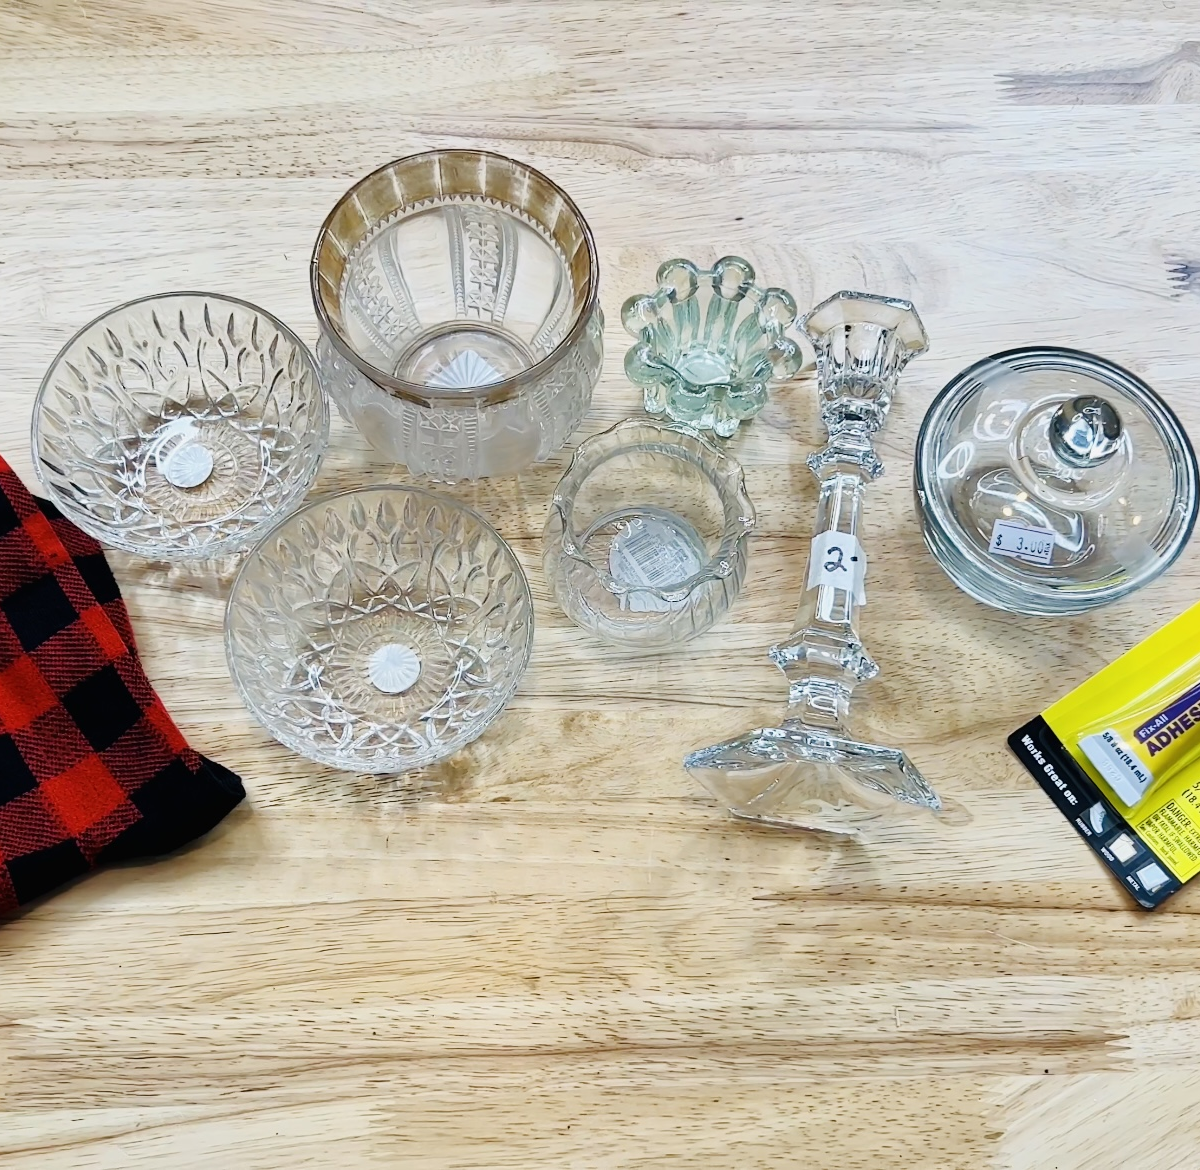
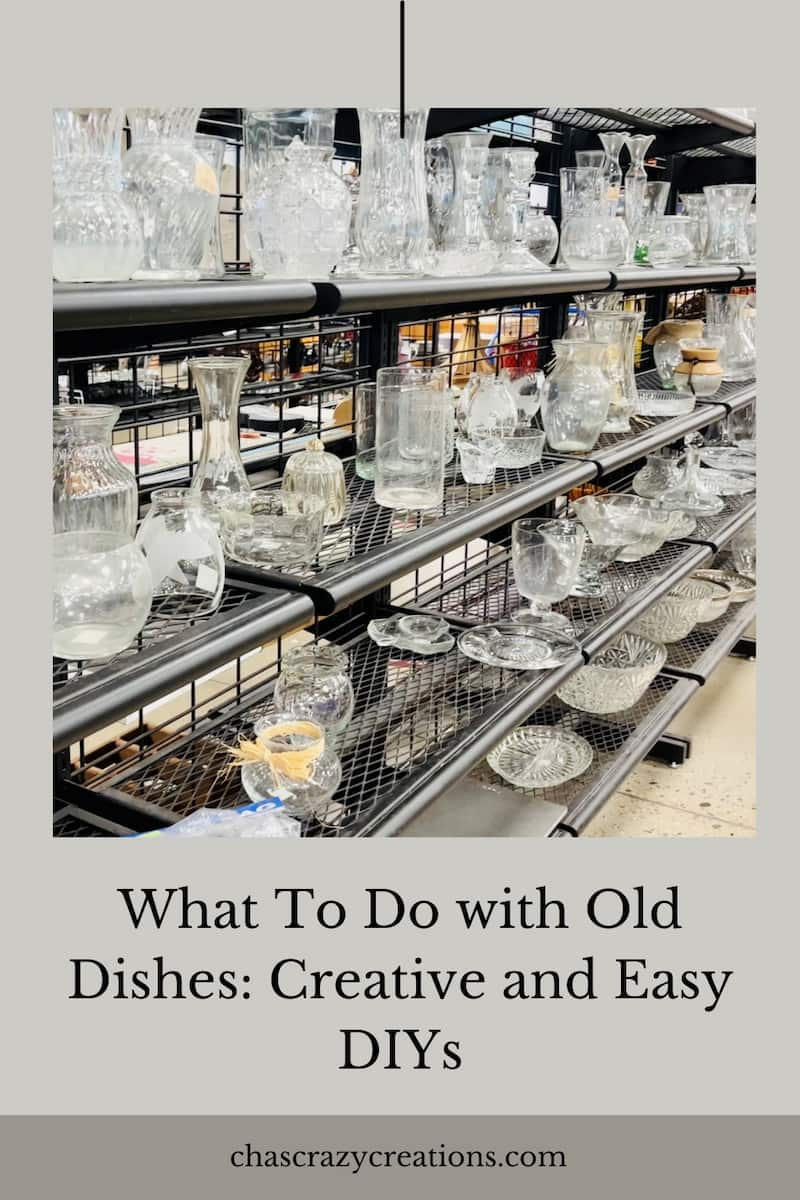
- Old Dishes: Look for clear glass bowls, vases, saucers, and candle holders.
- Adhesive:
- For Glass/Smooth Surfaces: E6000 Glue (essential for a permanent bond).
- For Temporary Decor: Hot Glue (only if you want to take it apart later).
- Decorations: Ribbon, socks (for snowman hats), battery-operated tealights.Cleaning: Soapy water and rubbing alcohol (to prep surfaces).
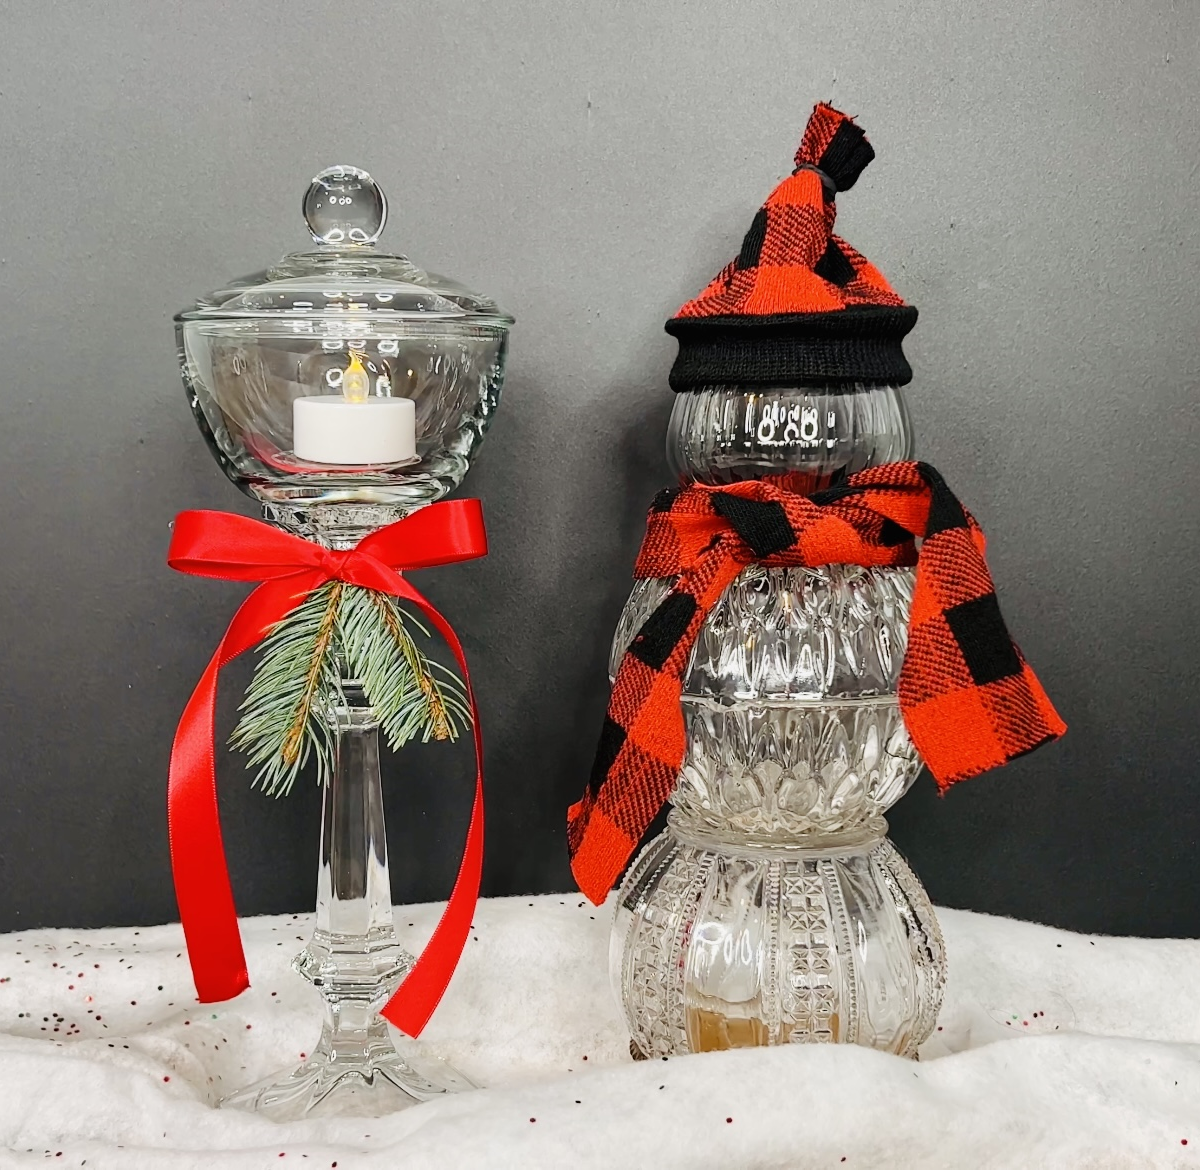
Tutorial 1: The Candle Holder “Lamp Post”
An elegant piece that changes with the seasons.
Step 1: The Base
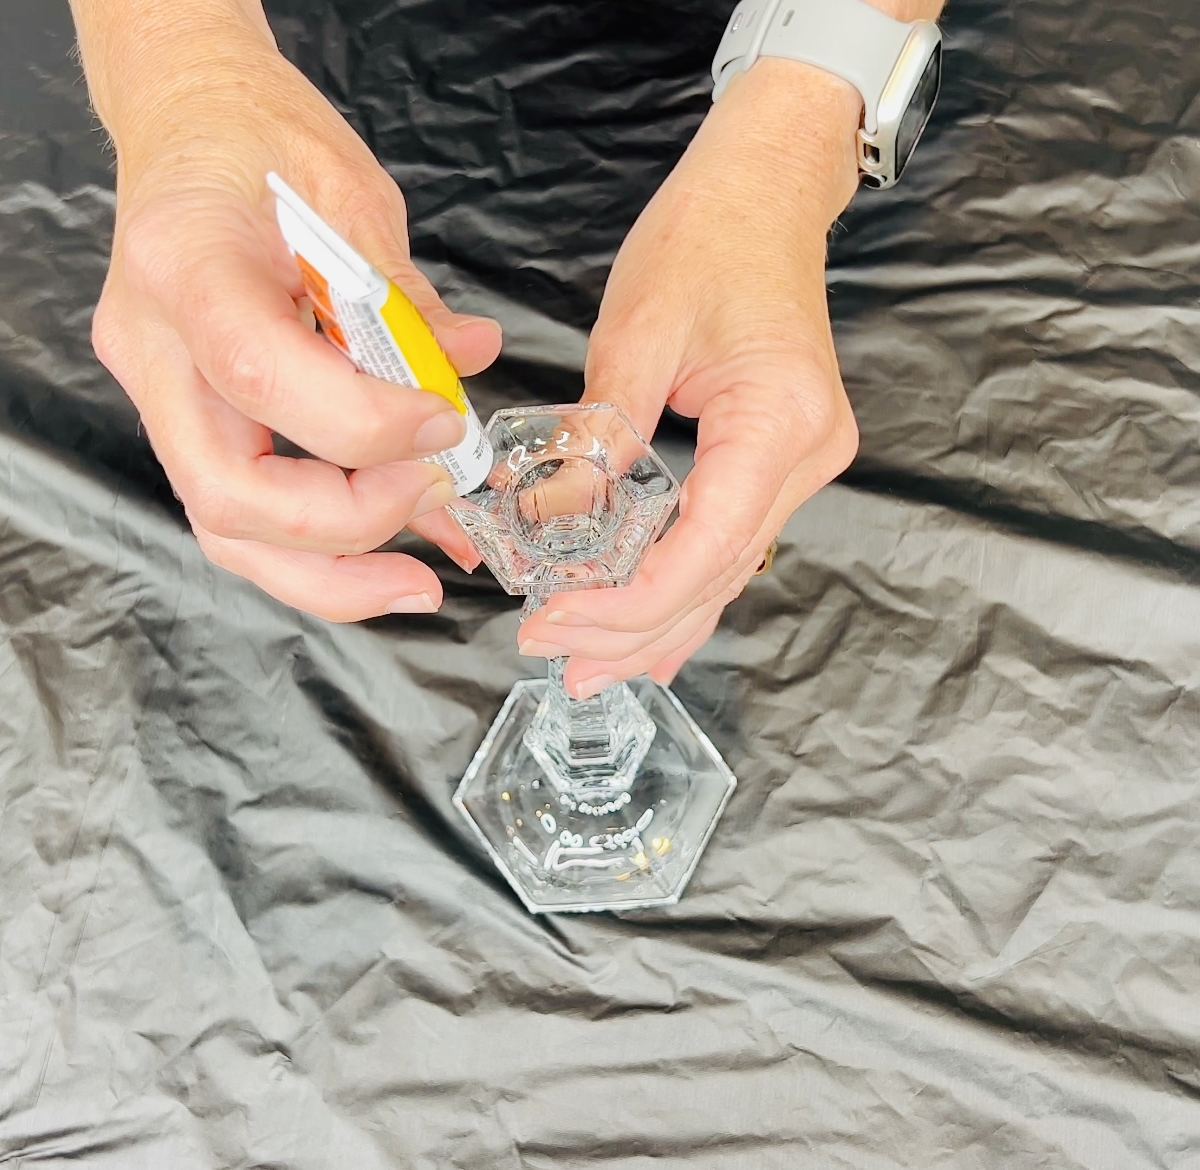
- Take a tall glass taper candle holder.
Step 2: The Top
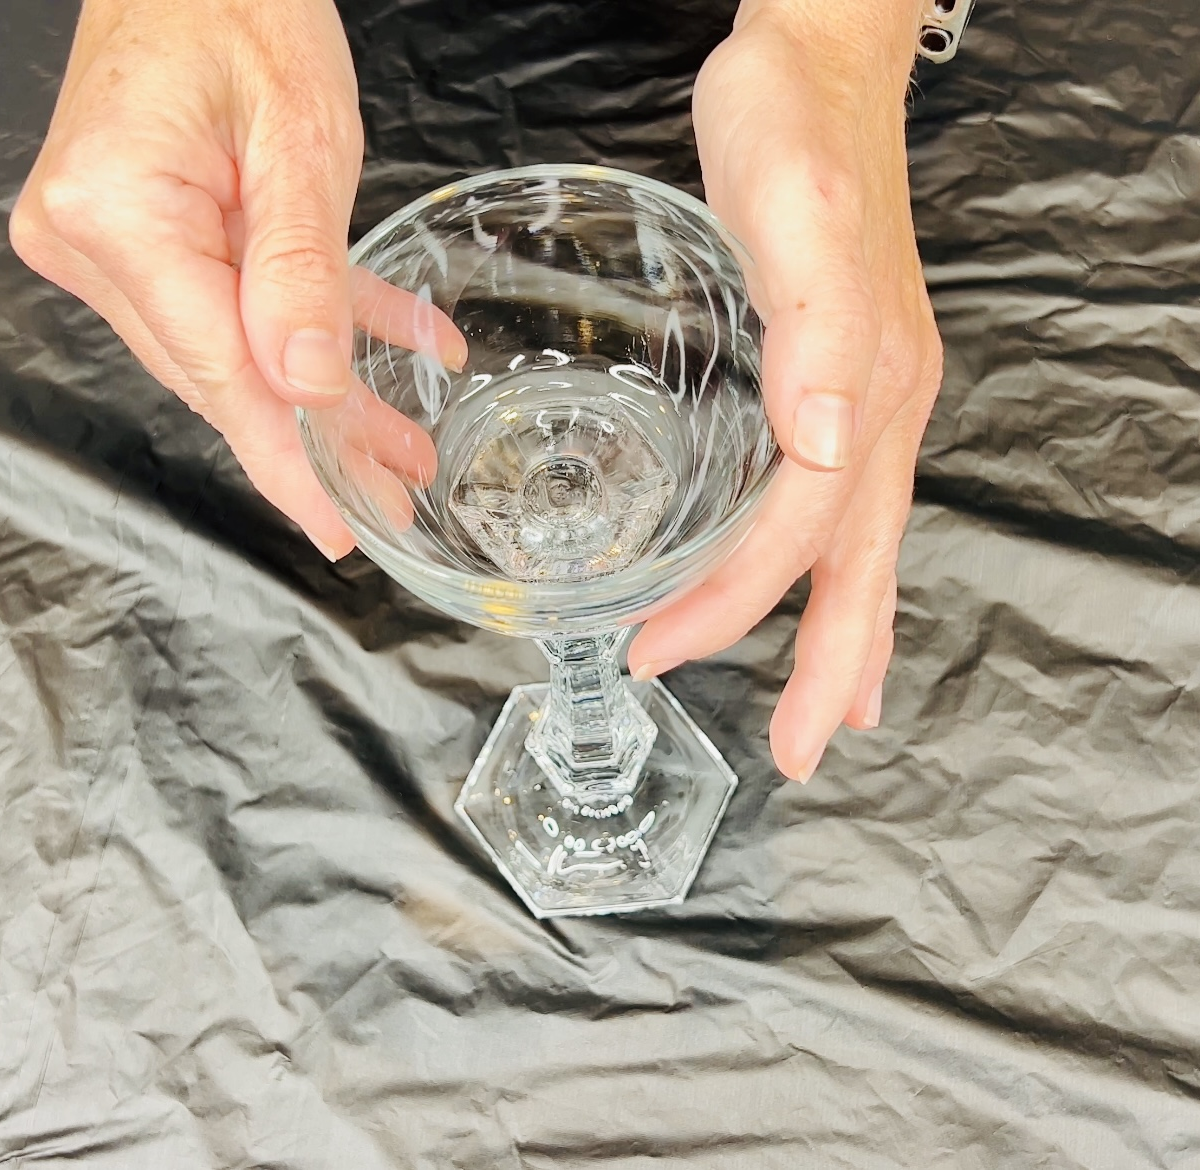
- Glue a clear glass candy dish (with a lid) to the top of the candle holder.
- Design Tip: Make sure the candy dish is centered perfectly before the glue sets.
Step 3: Decorate
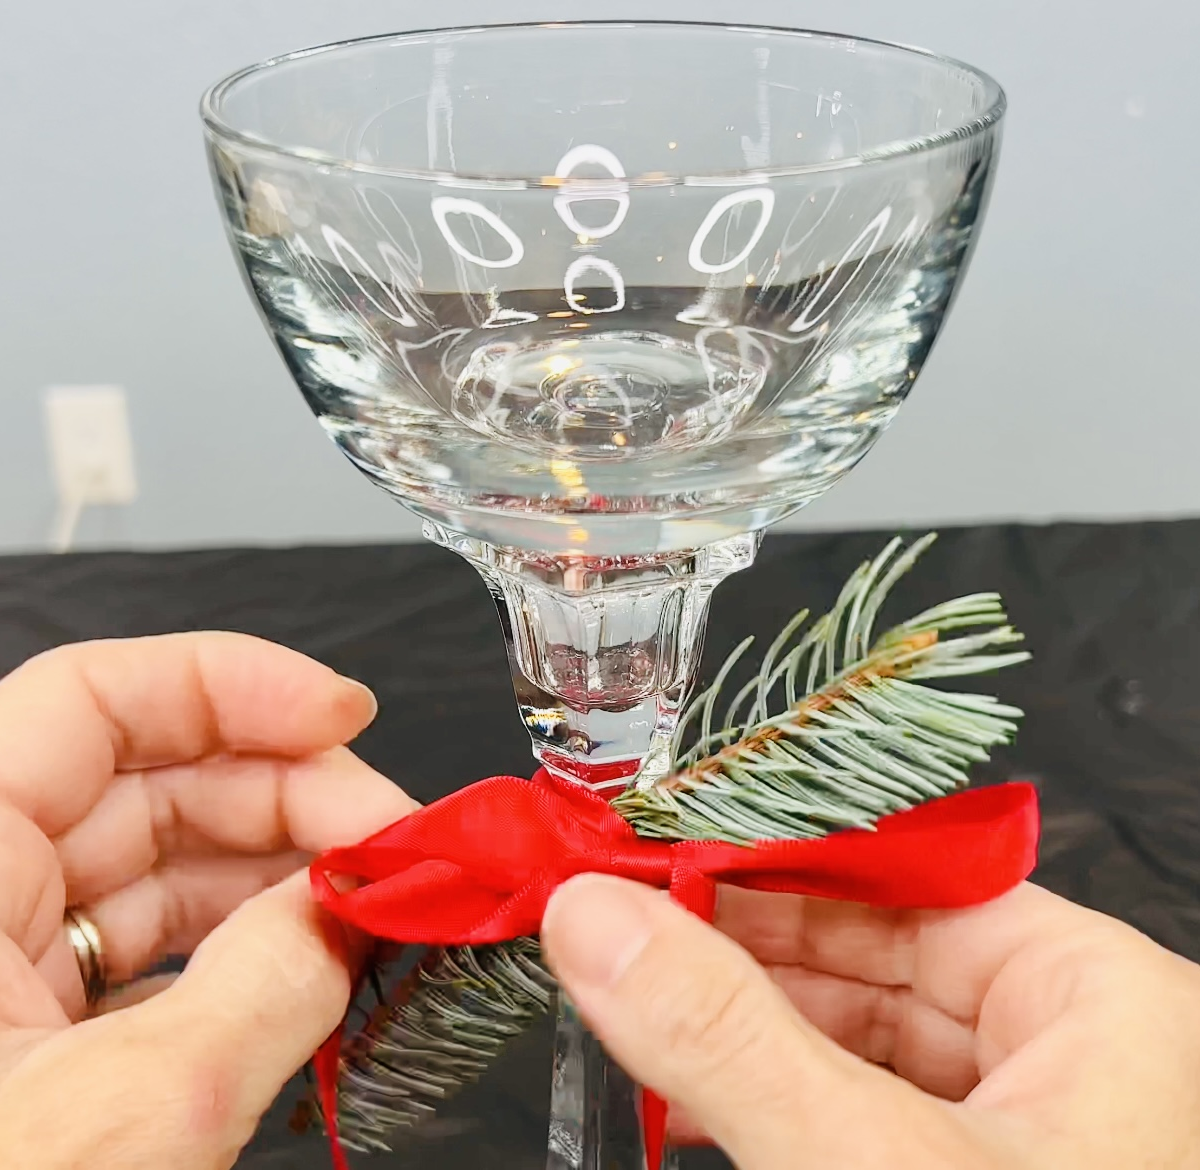
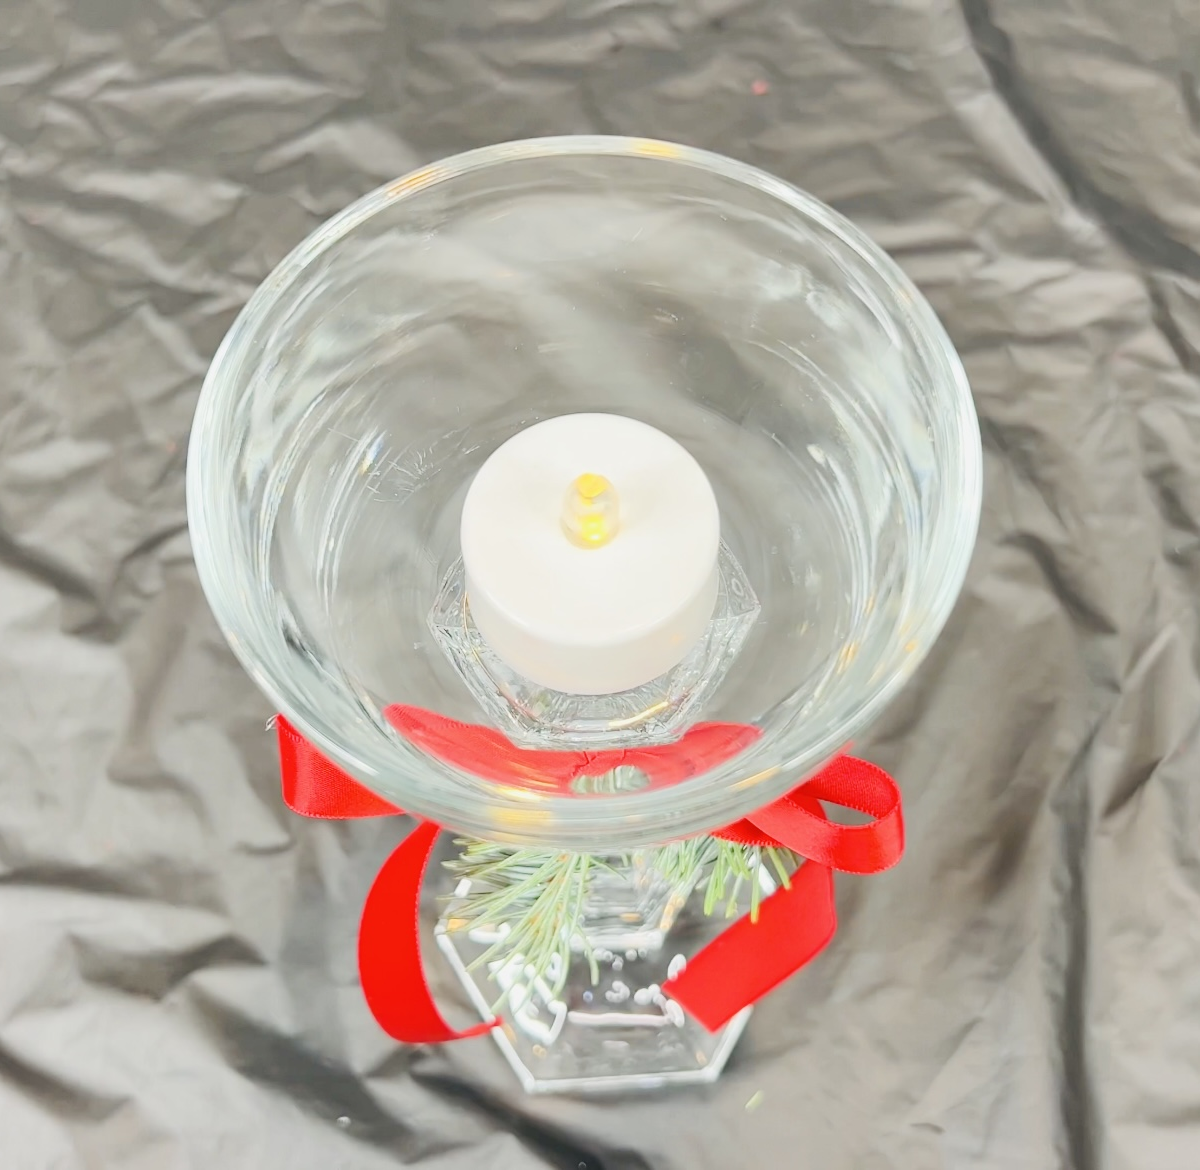
- Decorate with faux greenery and a red ribbon bow.
- Fill the candy dish with seasonal items! Use peppermints for Christmas, candy corn for Halloween, or faux moss and eggs for Easter.
- Pro Tip: Place a battery-operated LED light inside the vase so the entire angel glows from within!
Tutorial 2: The Glass “Crystal” Snowman
This is the perfect winter craft because it looks like high-end crystal but costs dollars to make!
Step 1: The Body
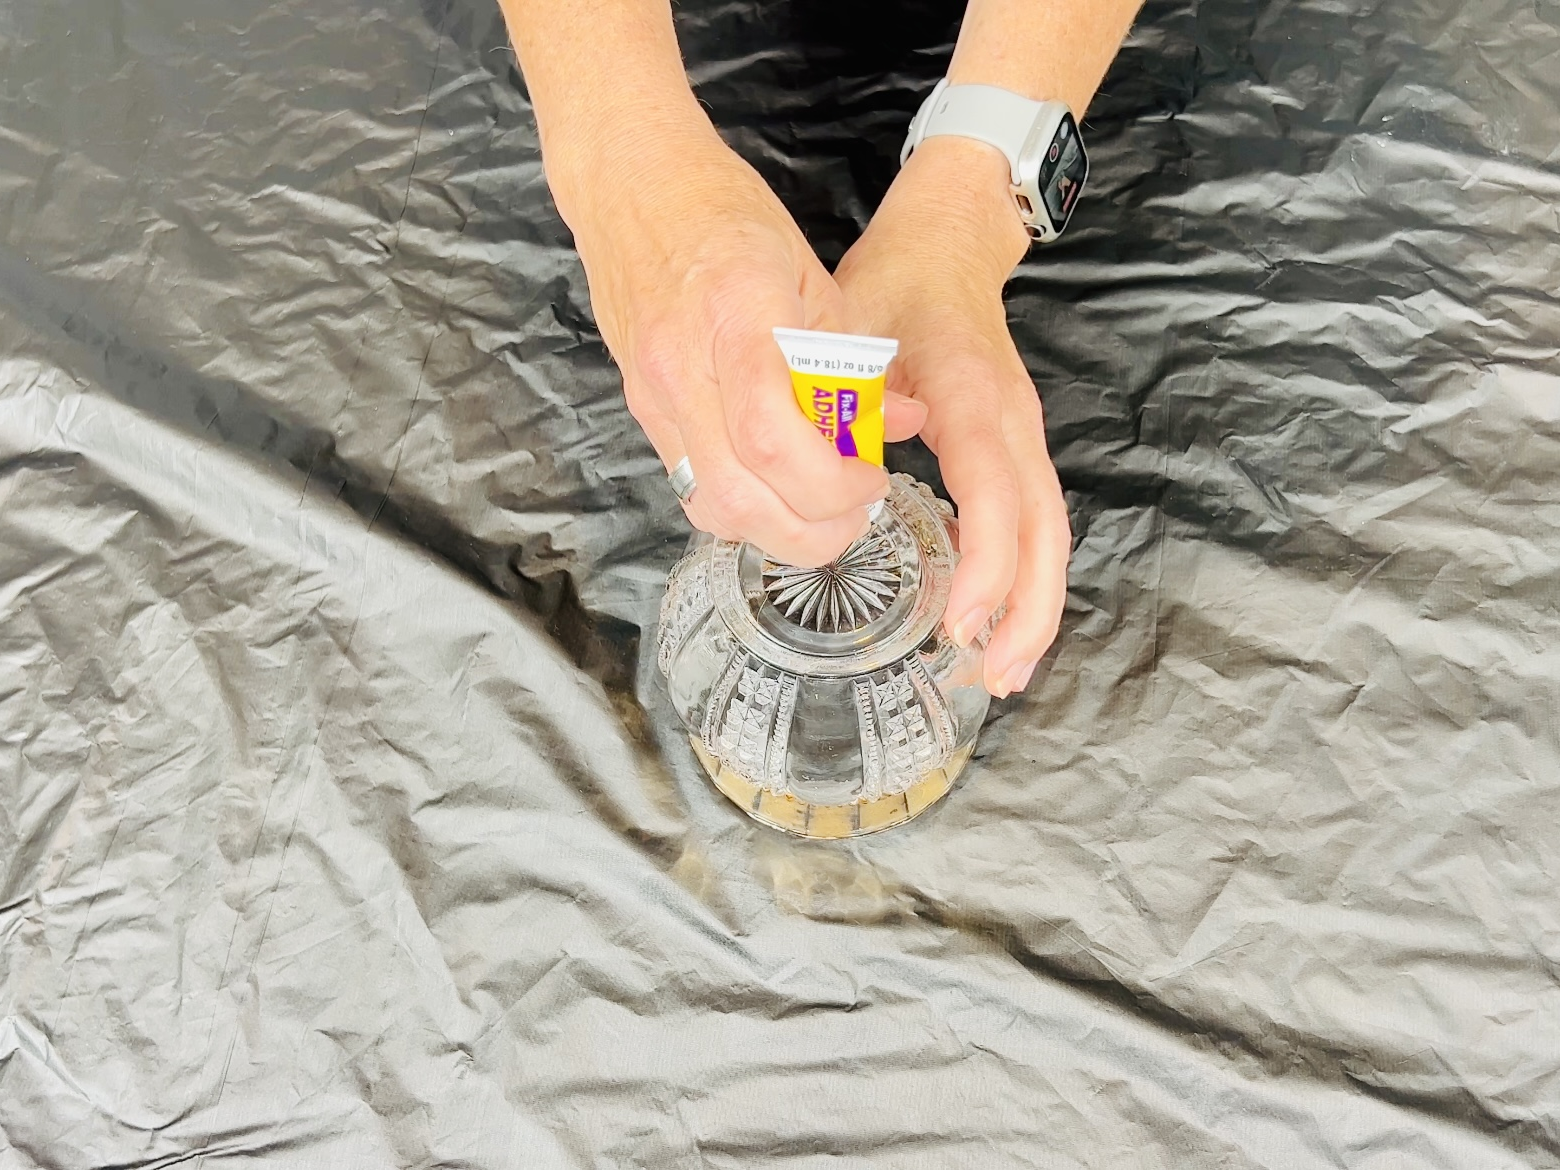
- Start with a glass candle holder and place it upside down on your workspace.
- Apply E6000 glue to the bottom (now the top) of this candle holder.
Step 2: The Middle (The Sphere)
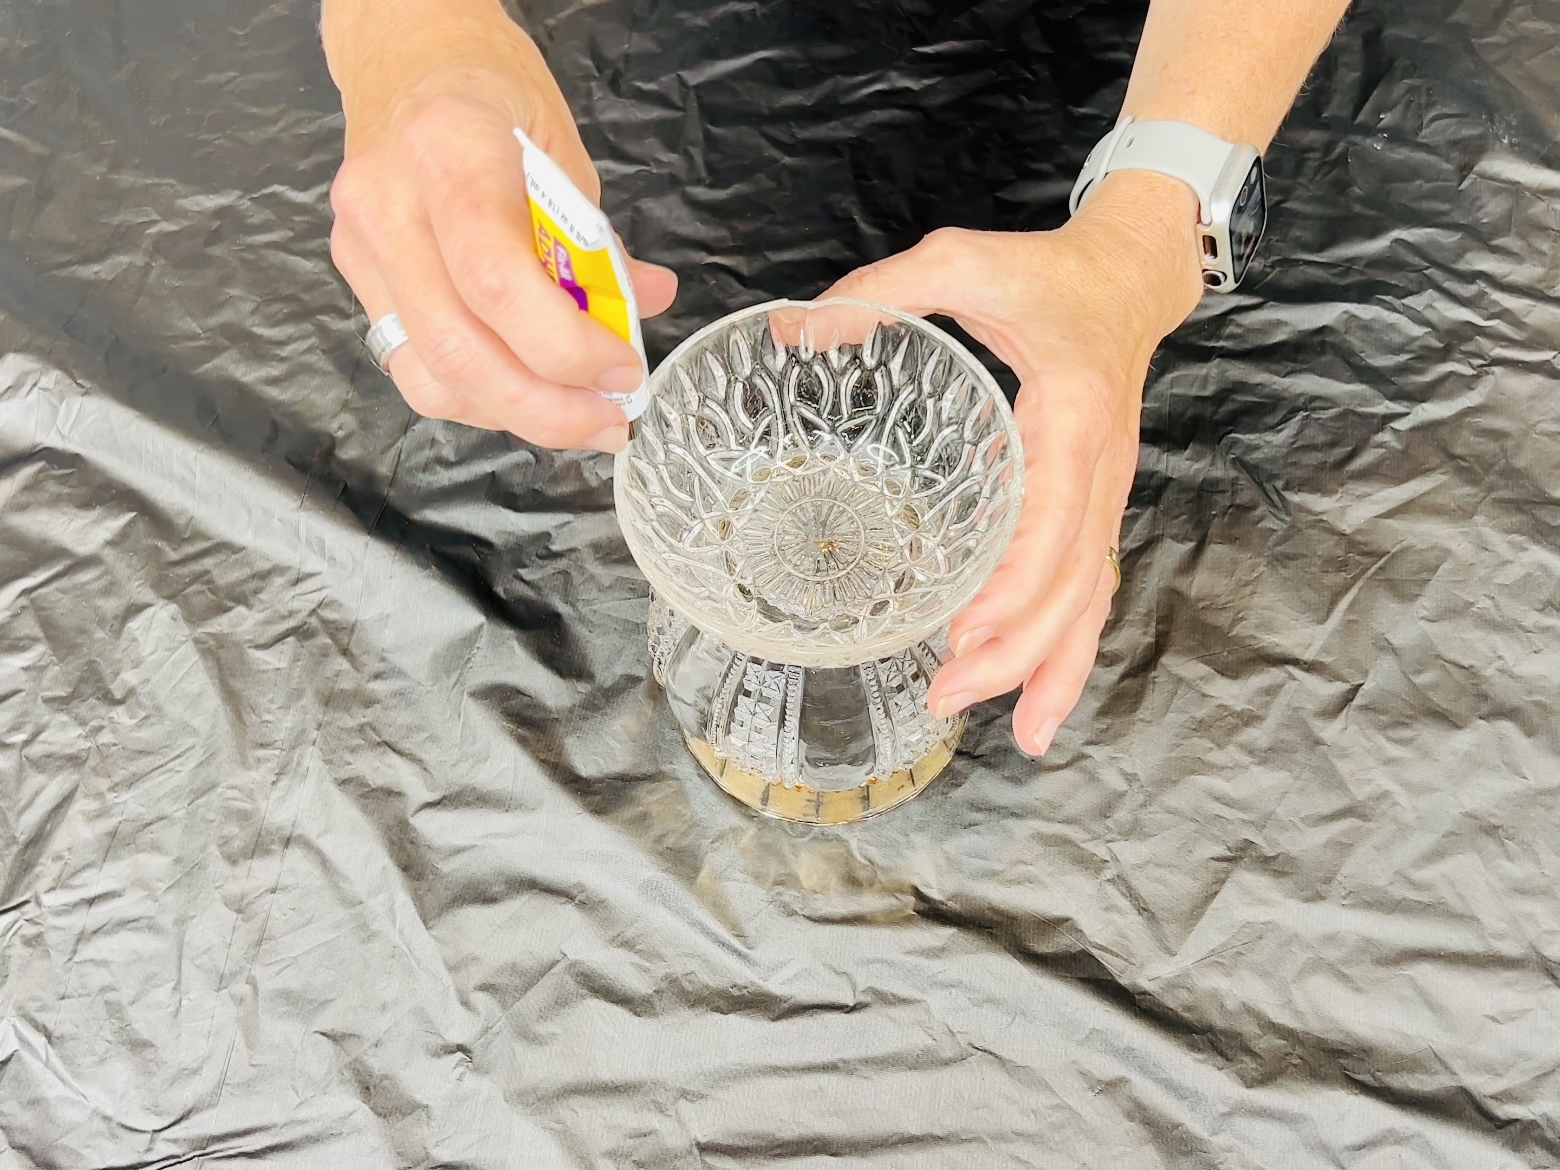
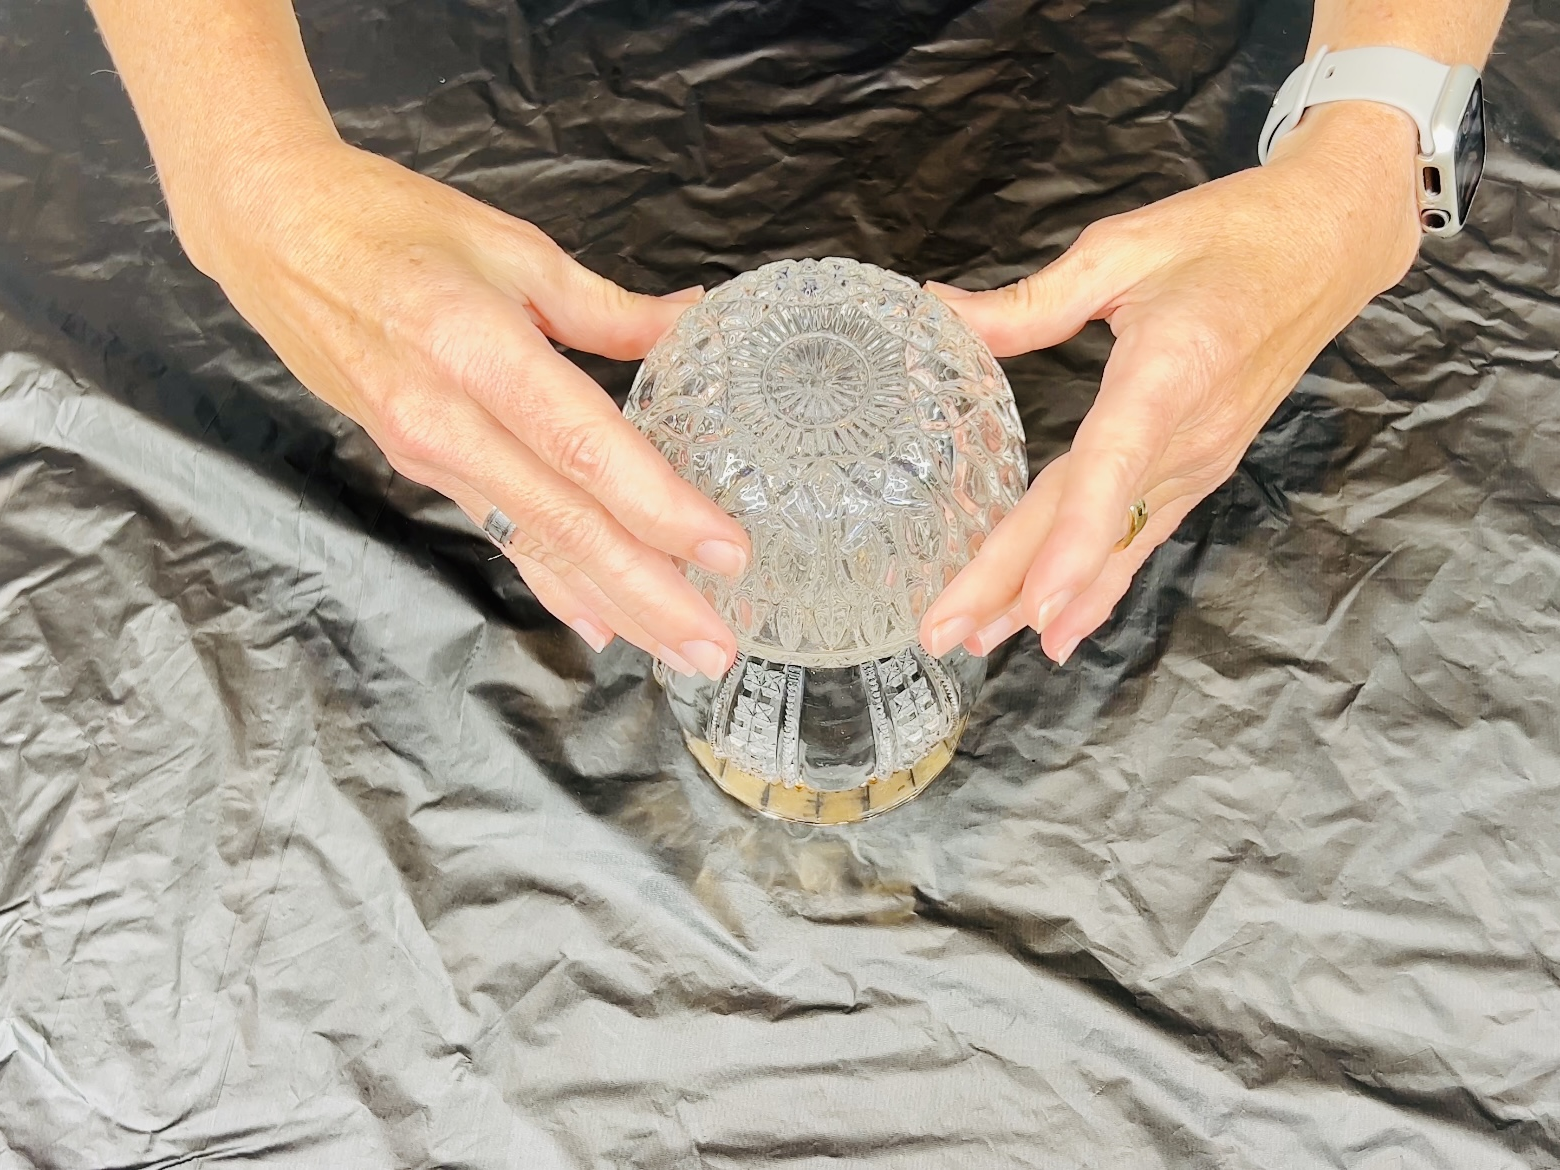
- Place a glass bowl right-side up on top of the candle holder base.
- Glue it in place.
- Apply glue to the rim of that bowl.
- Take a second matching bowl and place it upside down on top of the first bowl.
- Result: The two bowls meet rim-to-rim to create a glass sphere sitting on the candle holder stand.
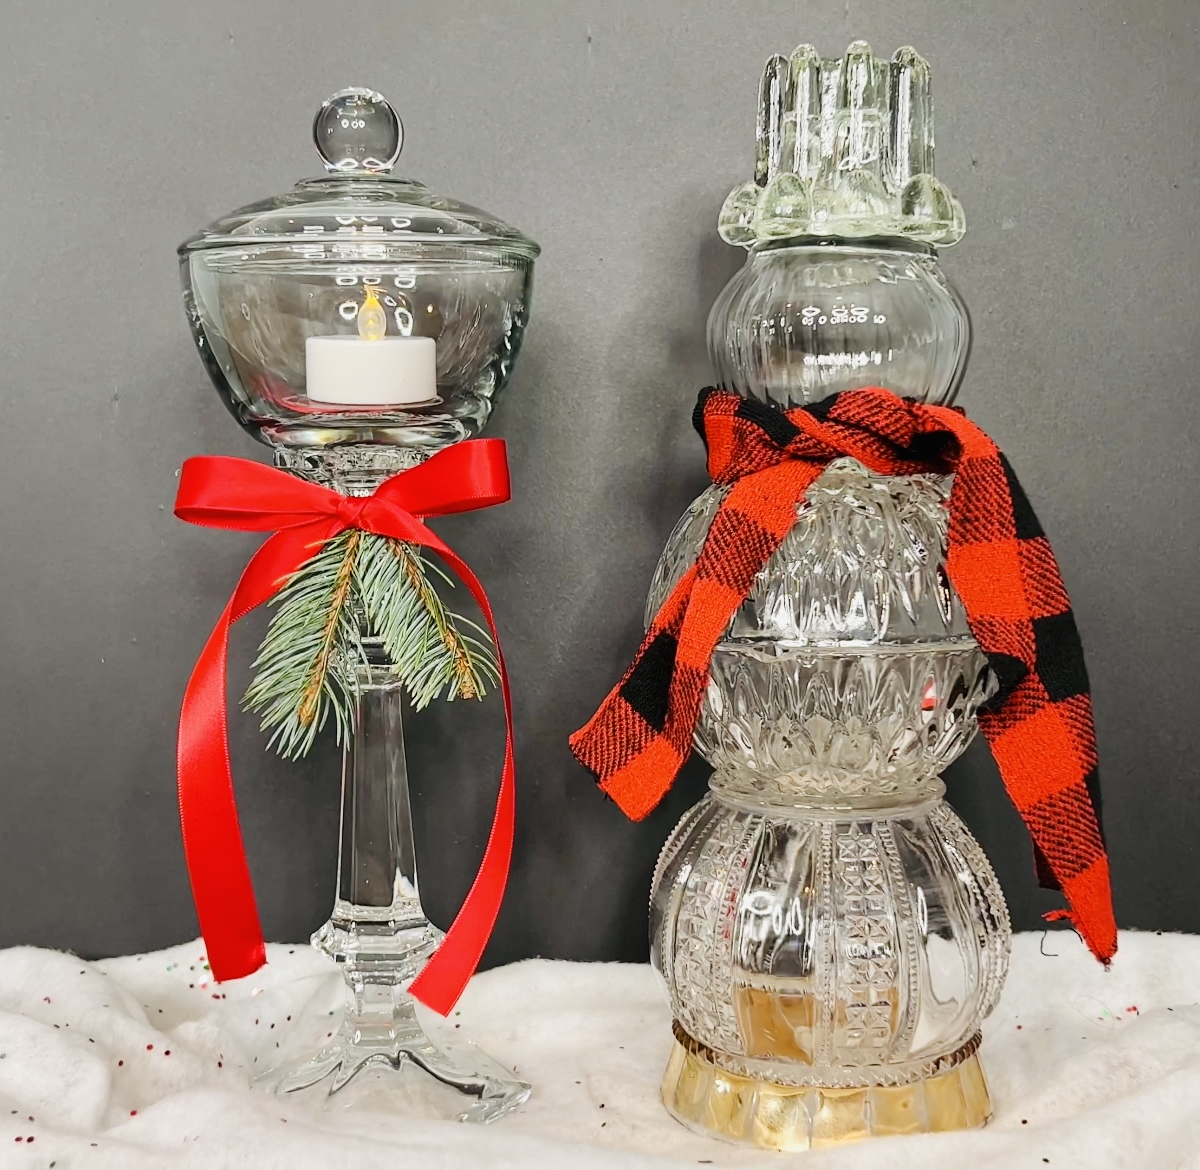
Step 3: Choose Your Head Style
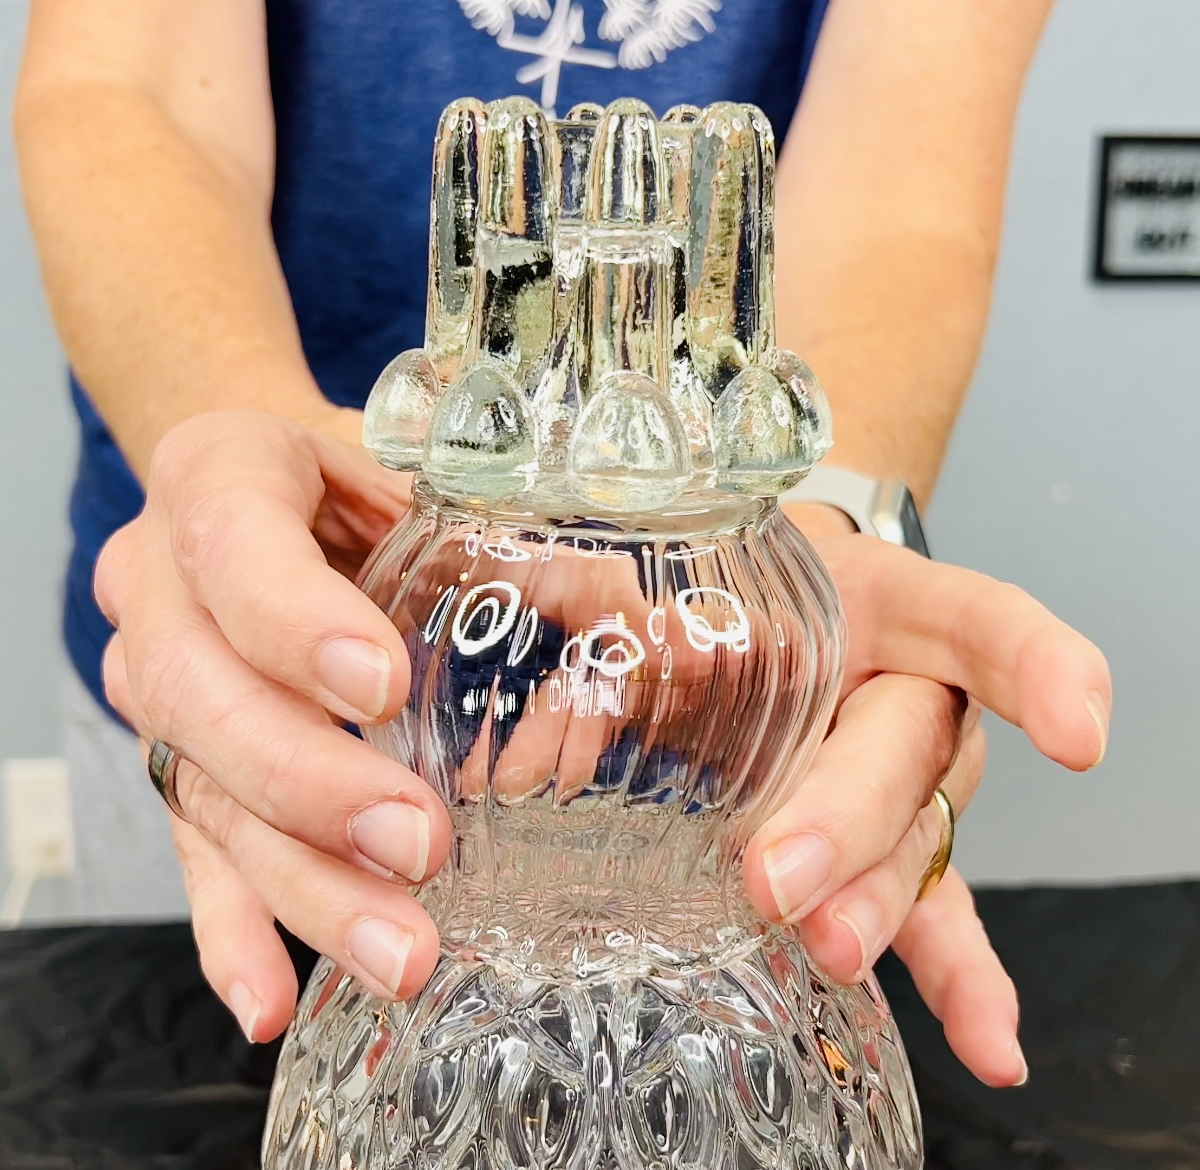
You have two options for the head, depending on what dishes you have:
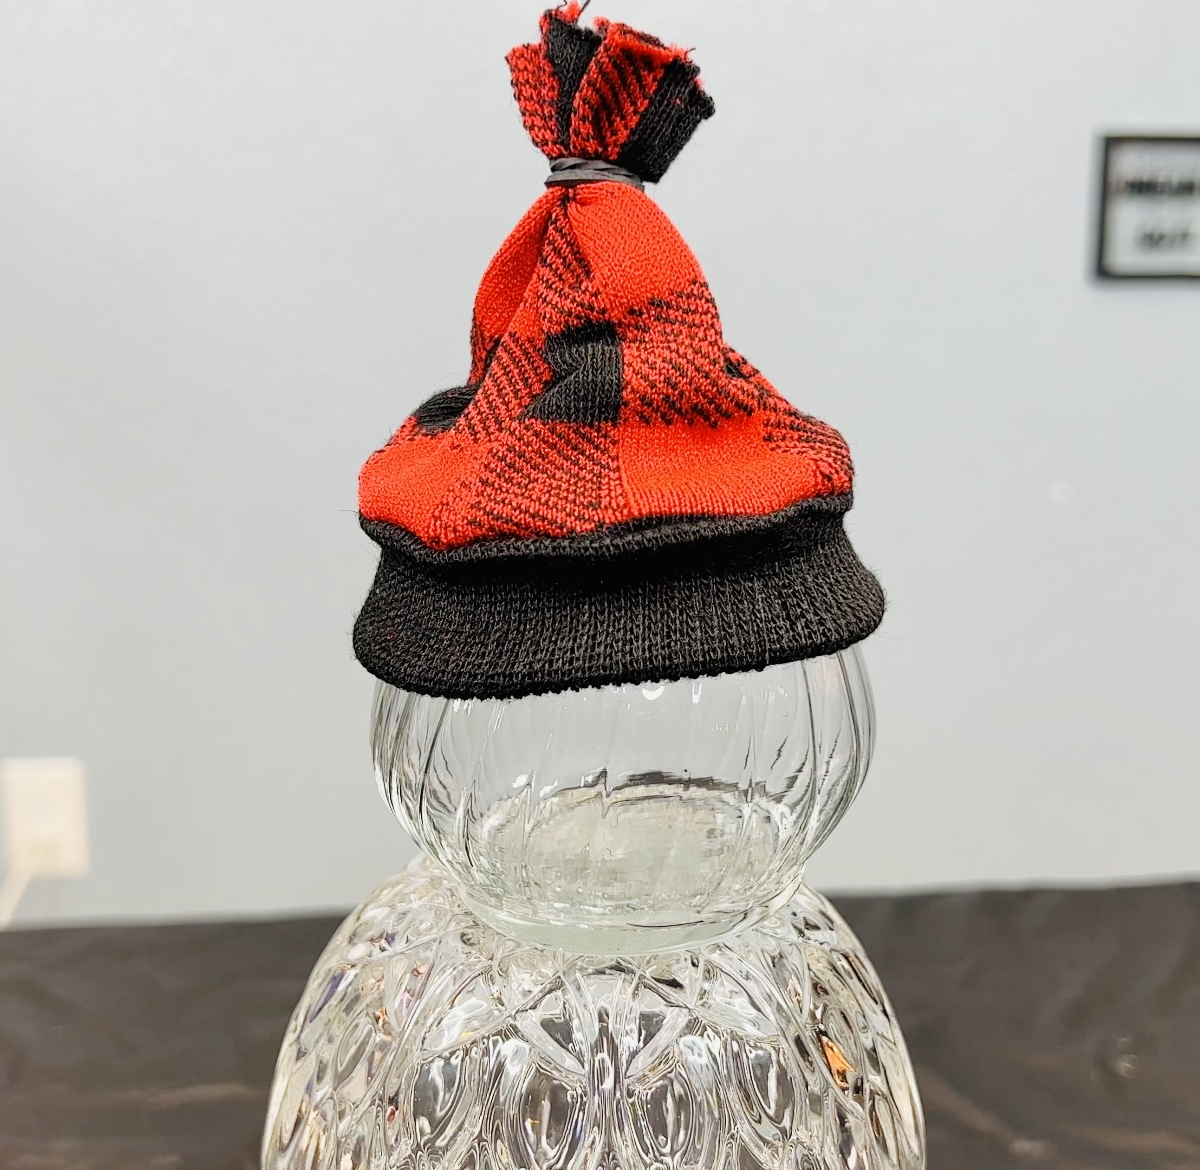
- Option A (The Beanie Hat): Glue a single candle holder on top of the sphere. Then, pull your DIY sock hat over it. This gives the snowman a cozy, soft look.
- Option B (The Glass Top Hat): Glue a candle holder upside down on the sphere, then find a second smaller candle holder and glue it on top of that one. This creates a tall, all-glass “Top Hat” shape!
Step 4: The Hat & Scarf
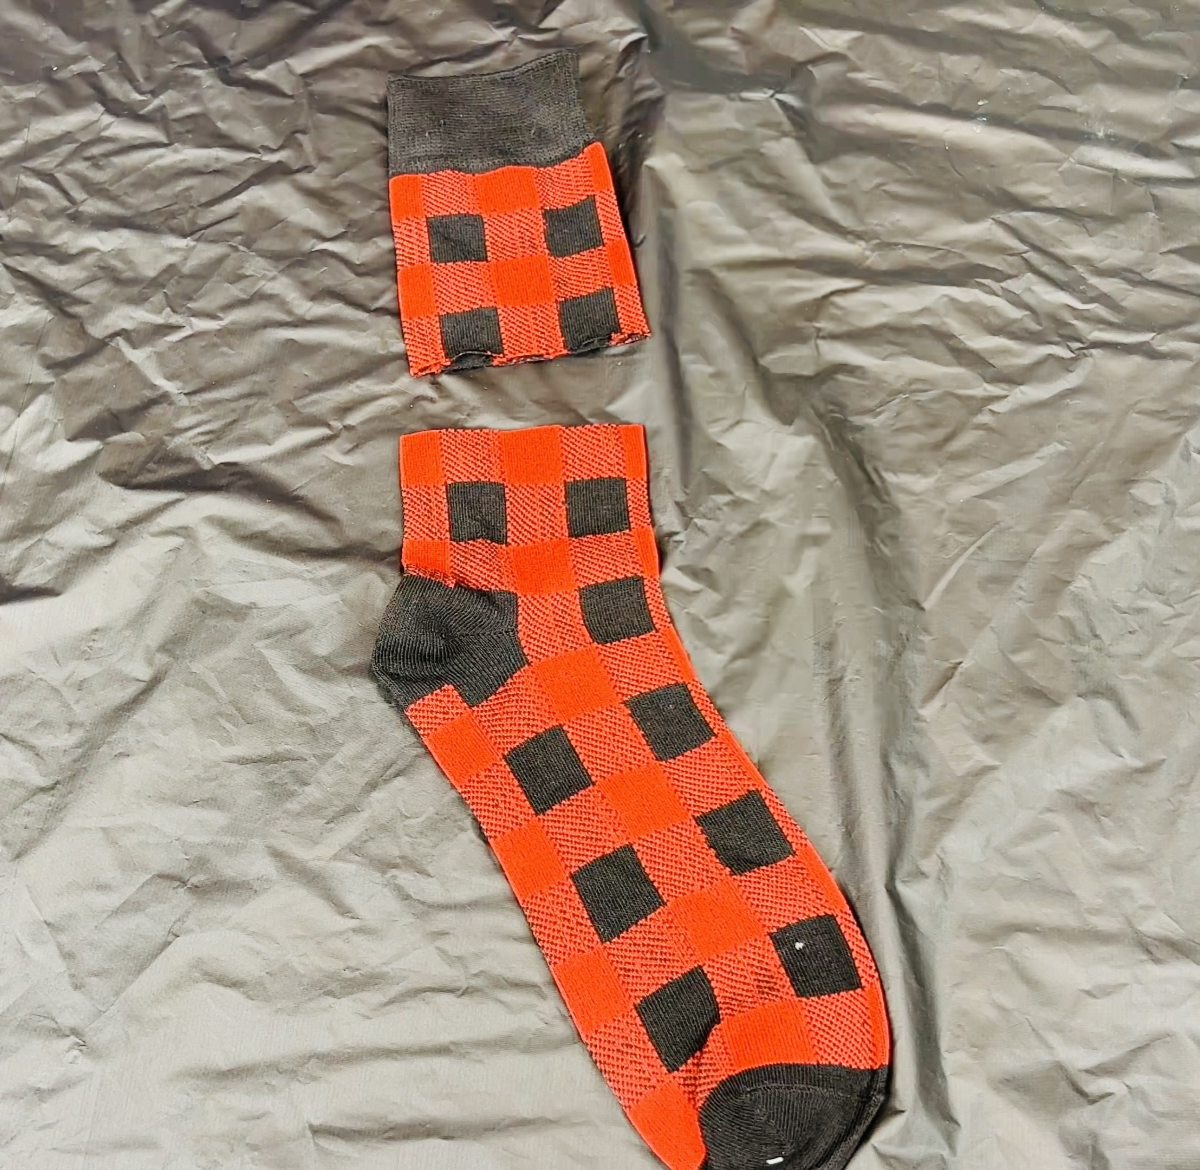
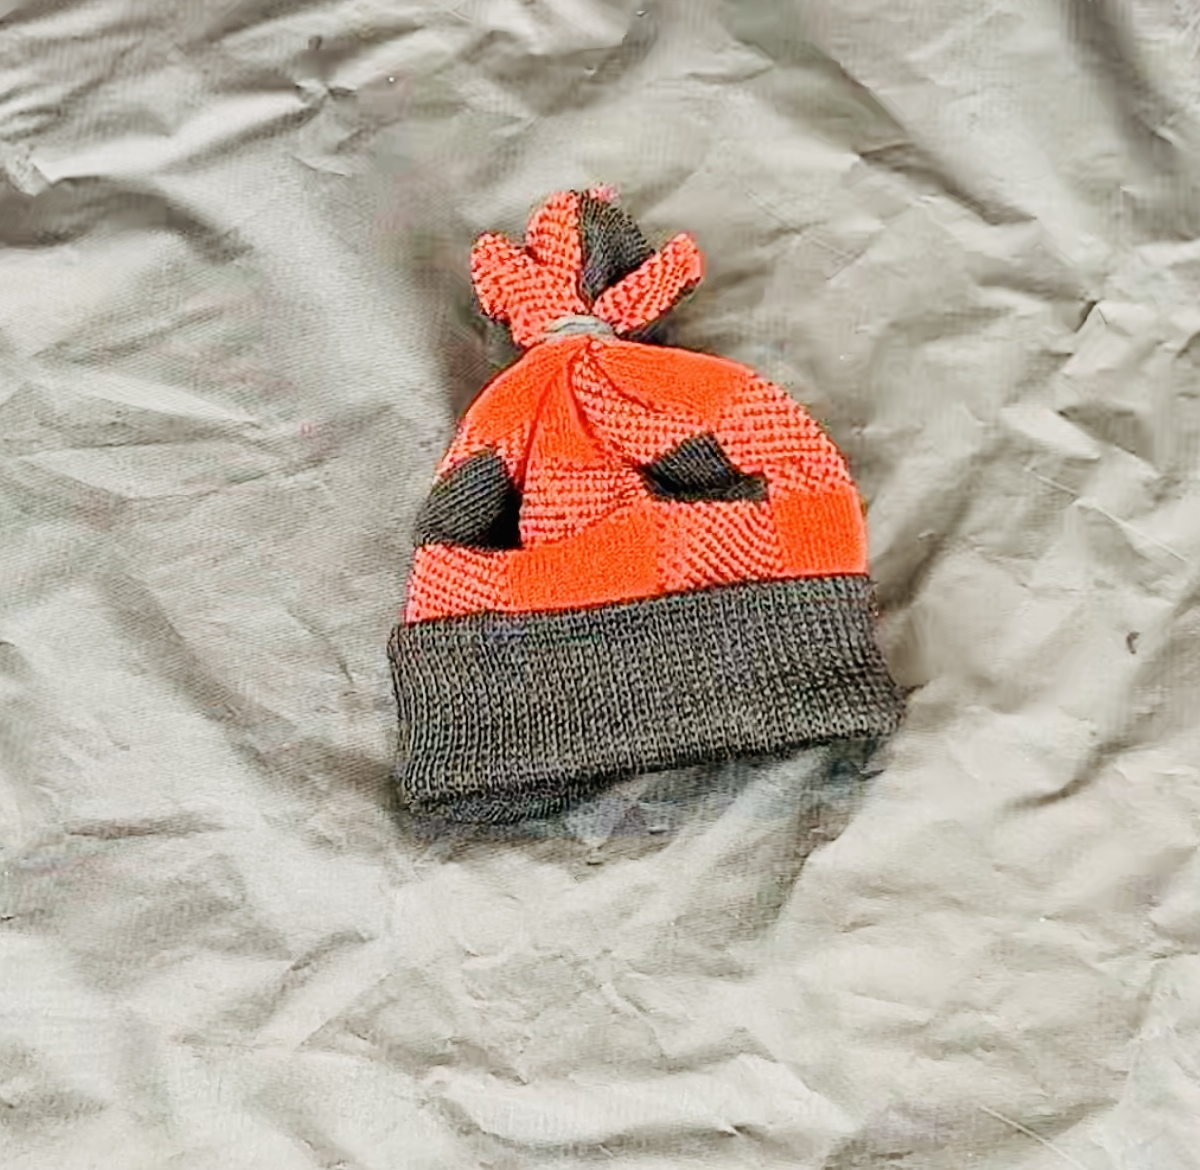
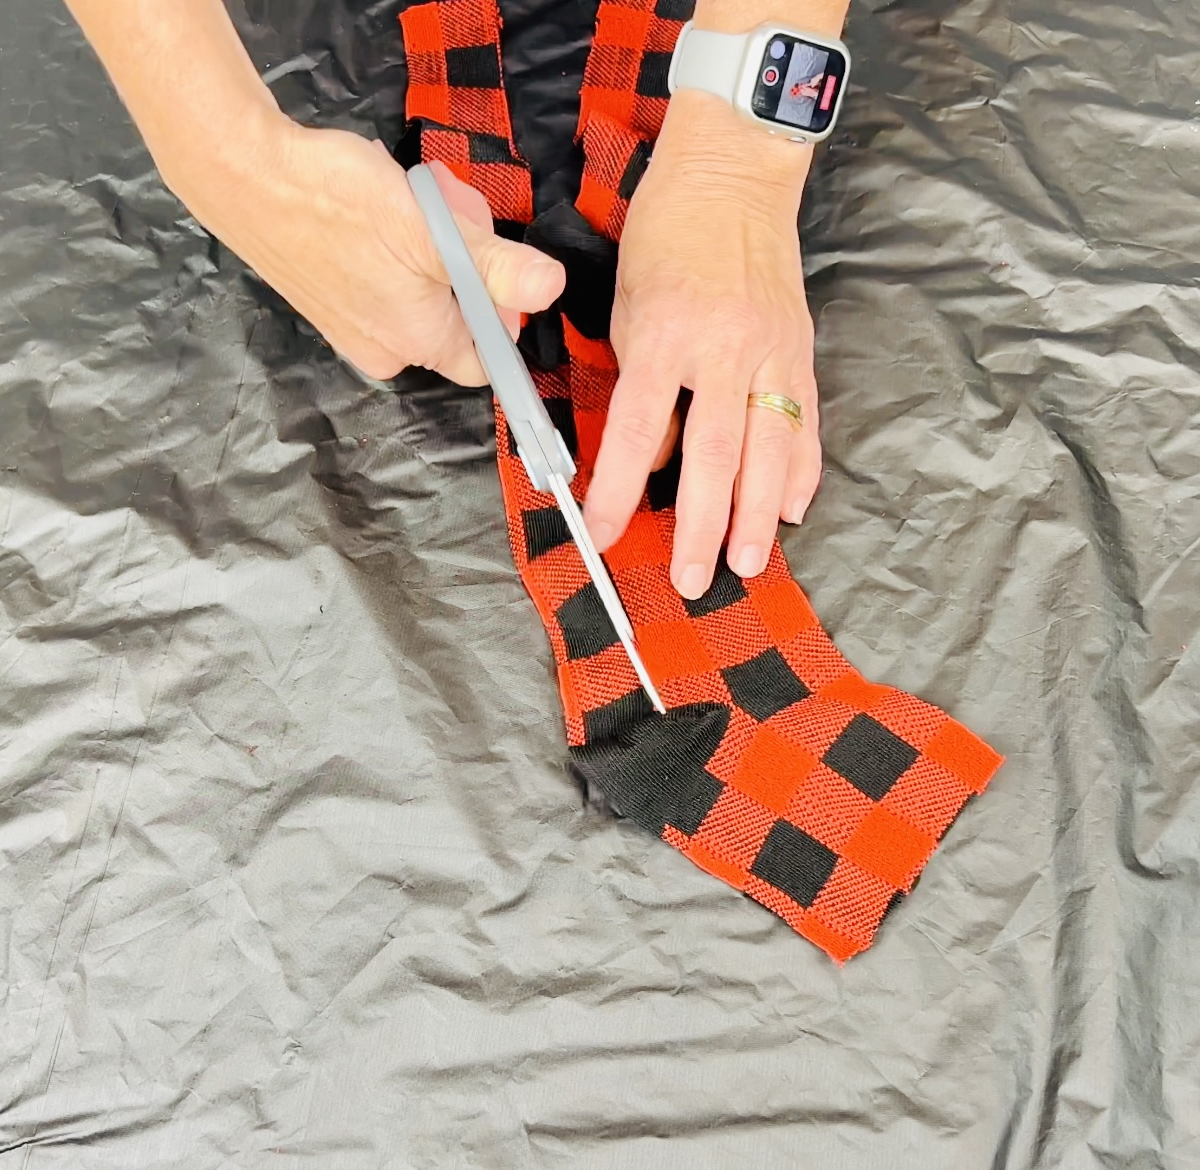
- The Hat: Cut the toe off a dollar store sock. Roll the cut edge to create a brim and pull it over a small tealight holder or just place it directly on the snowman’s “head.”
- The Scarf: Cut a strip from the remaining sock fabric and tie it around the neck where the two glass pieces meet.
Step 5: The Face (Optional)
- You can leave it clear for a classy “ice” look, or use black puff paint to add coal eyes and an orange carrot nose.
You can find more of my glass snowmen in my posts:
Tutorial 3: The Glass Dish Angel
A beautiful, glowing centerpiece for your holiday table.
Step 1: The Wings
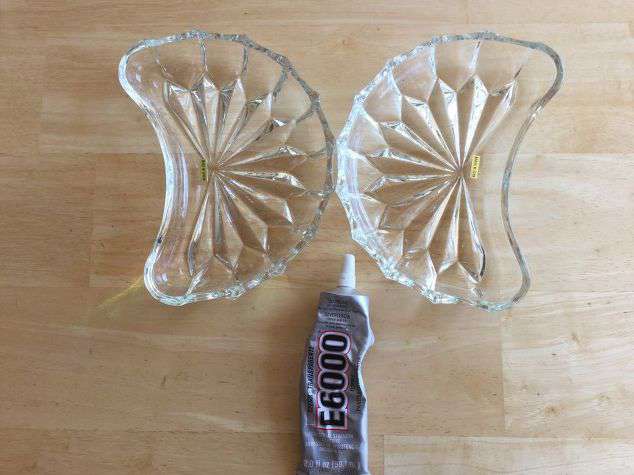
- Find two matching curved dishes (like side salad plates or shallow bowls).Glue them together side-by-side or back-to-back to create a “wing” shape.
Step 2: The Body
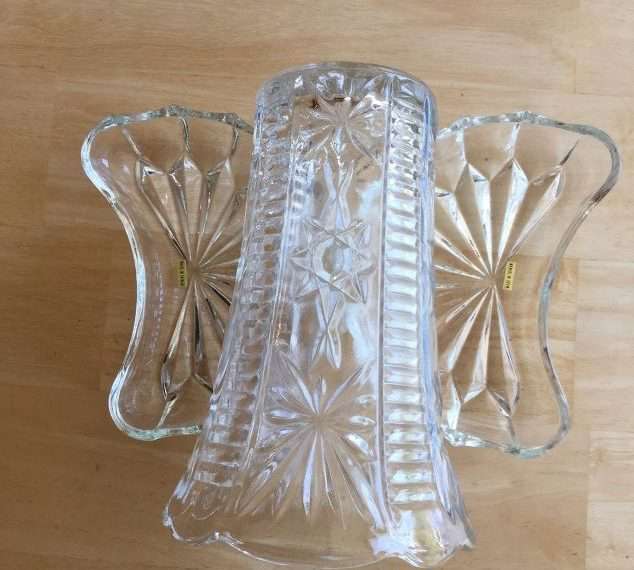
- Glue the wings to the back of a tall, upside-down glass vase or taper candle holder.
Step 3: The Head & Halo

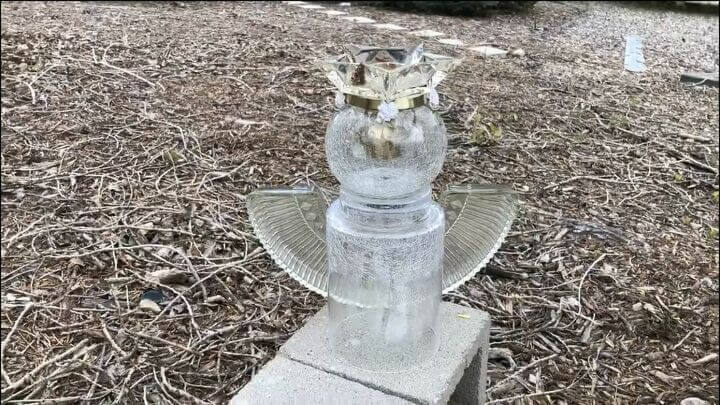
- Glue a glass circle (like a votive holder or round ornament) to the top of the vase for the head.
- The Crown: For a regal touch, glue a fancy glass piece (like a small tart tin or tea light holder) on top of the head as a crown or halo.
- Pro Tip: Place a battery-operated LED light under the vase so the angel glows!
What To Do with Old Dishes Video
More Ways to Repurpose Old Dishes
If you have specific items, check out these other full tutorials from my blog:
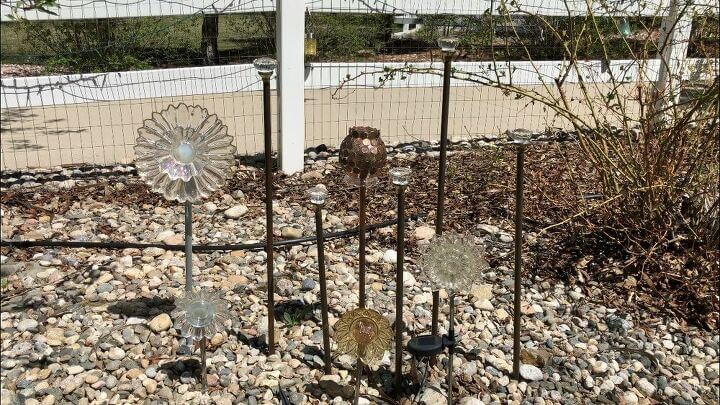

For the Garden
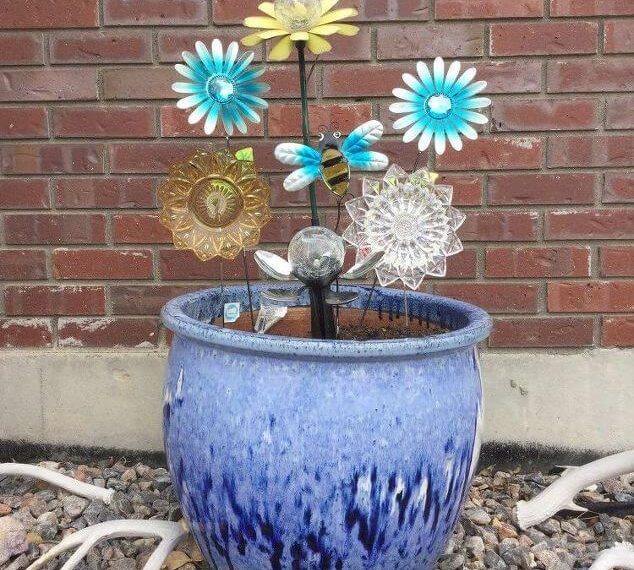
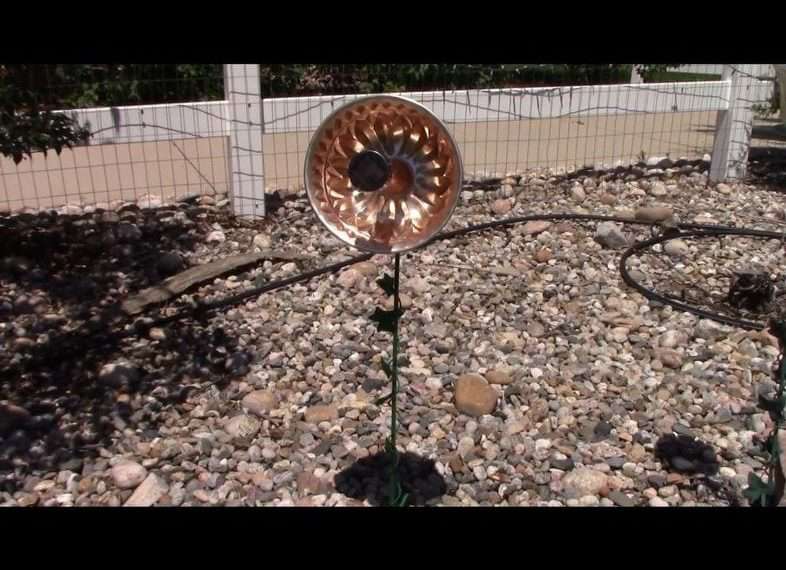
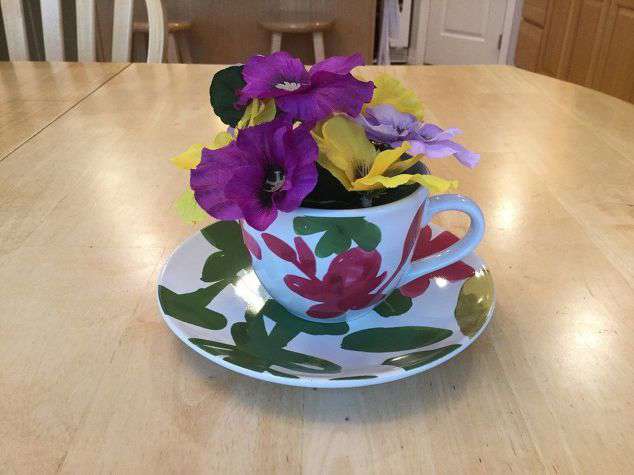
- [Garden Dish Flowers]: Turn colorful plates into giant blooming flowers on copper stems.
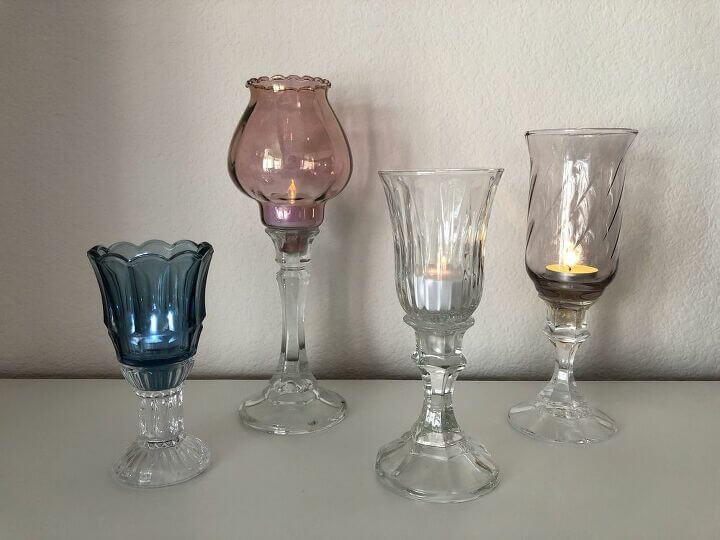
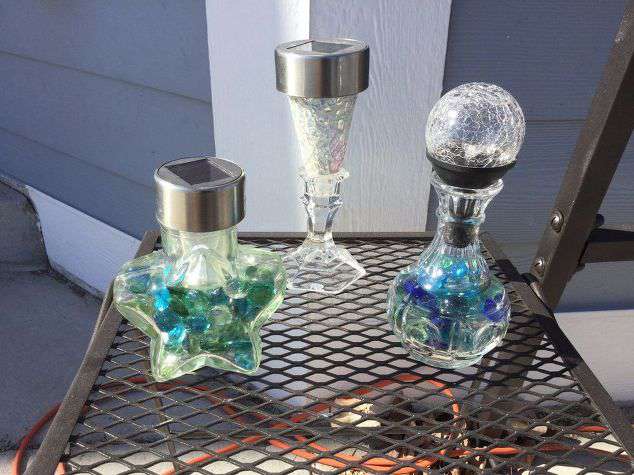
- [Upcycled Thrift Store Candle Holders]: Turn glass candle holders into sparkling garden flowers (perfect for spring!).
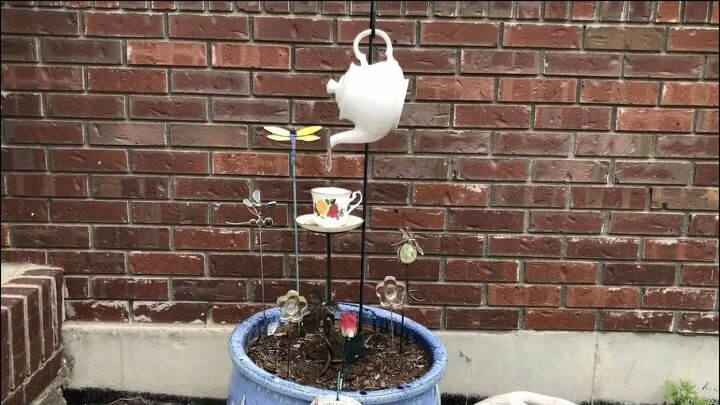
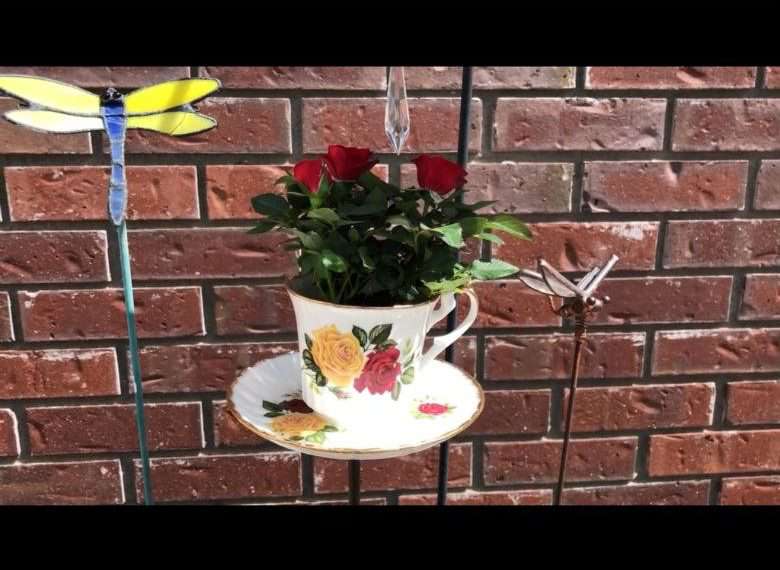
- [Pouring Tea Pot & Tea Cup Decor]: Create a gravity-defying water feature with a teapot.
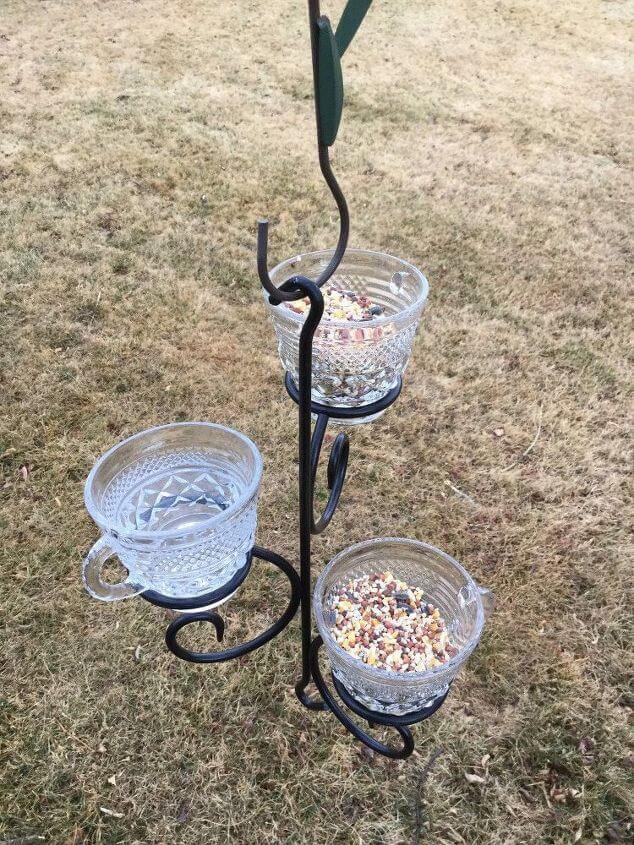
- [DIY Bird Feeders]: I share 4 different ways to make feeders in this post—using punch cups, a mason jar chicken feeder, and even a vintage dessert set!
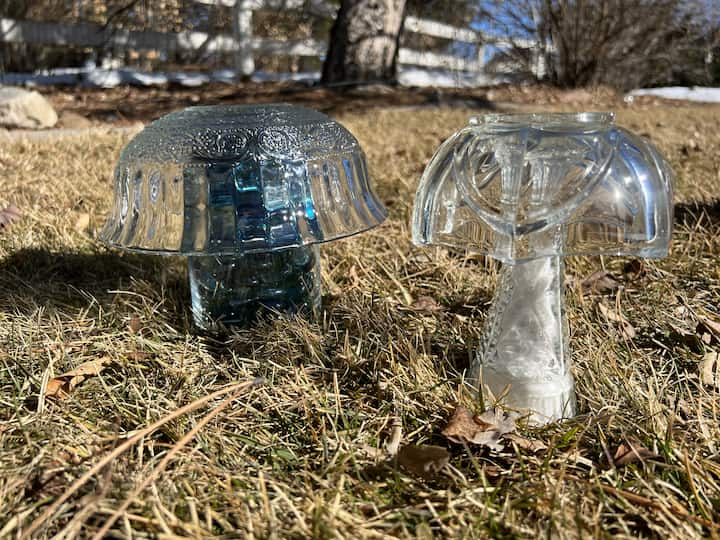
- [Super Easy DIY Garden Mushrooms]: Flip bowls upside down on vases to create cute toadstools.
- [Vintage Bundt Pan Solar Flower]: Don’t forget metal dishes! A Bundt pan makes an amazing solar light reflector.
- [Cheap & Easy Do It Yourself Solar Fountain]: Use a large bowl to make a budget-friendly fountain.
For the Home
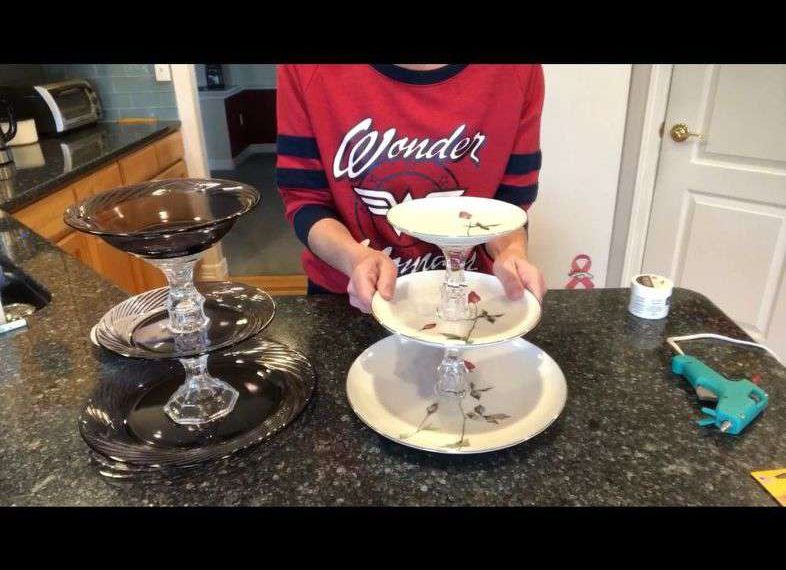

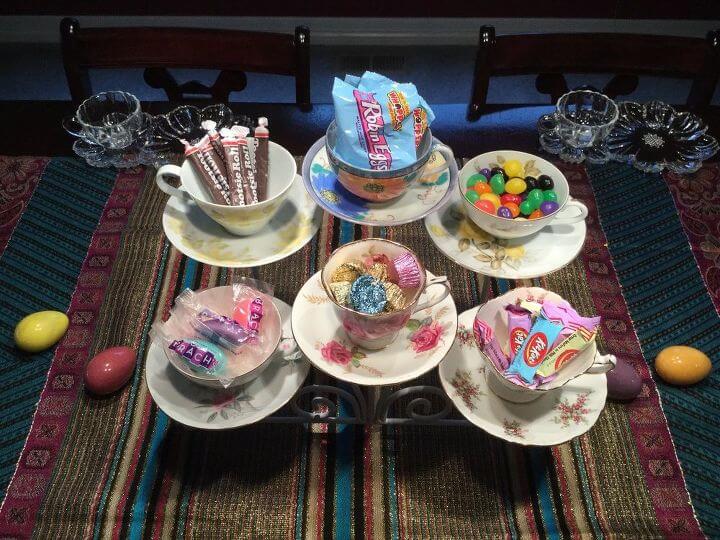
- [Easy and Beautiful DIY 3 Tiered Stand]: Stack plates on candlesticks to make a dessert stand or jewelry organizer.
- [Upcycled Broken Cake Stand to Color Changing Lamp]: Turn a broken cake stand into a glowing mood lamp.
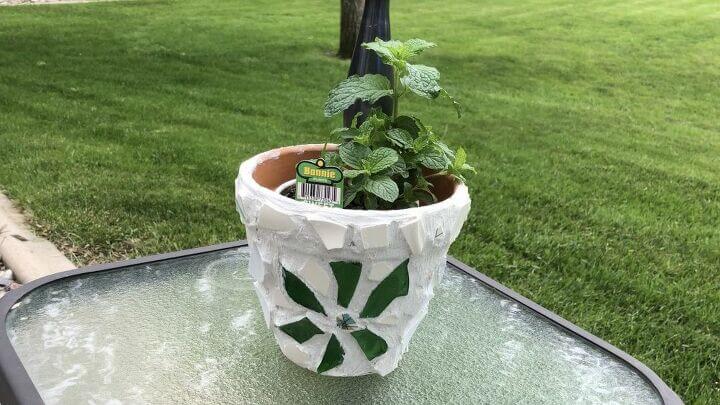
- [Mosaic Terra Cotta Flower Pots]: Use broken shards (from accidental drops!) to mosaic a terracotta pot.
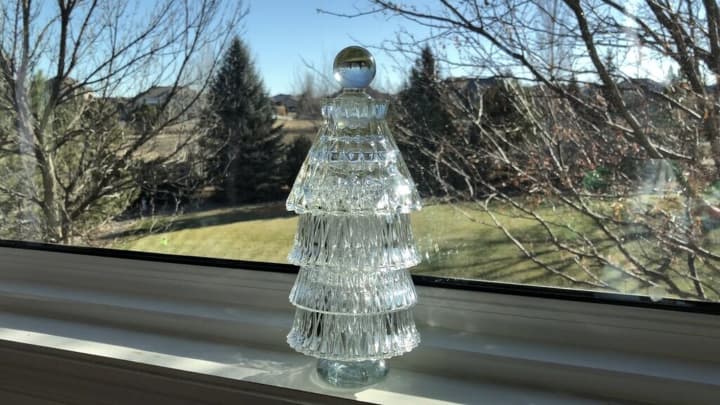
- [Glass Candle Holder Christmas Tree]: Stack graduated candle holders to create a sparkling tree.
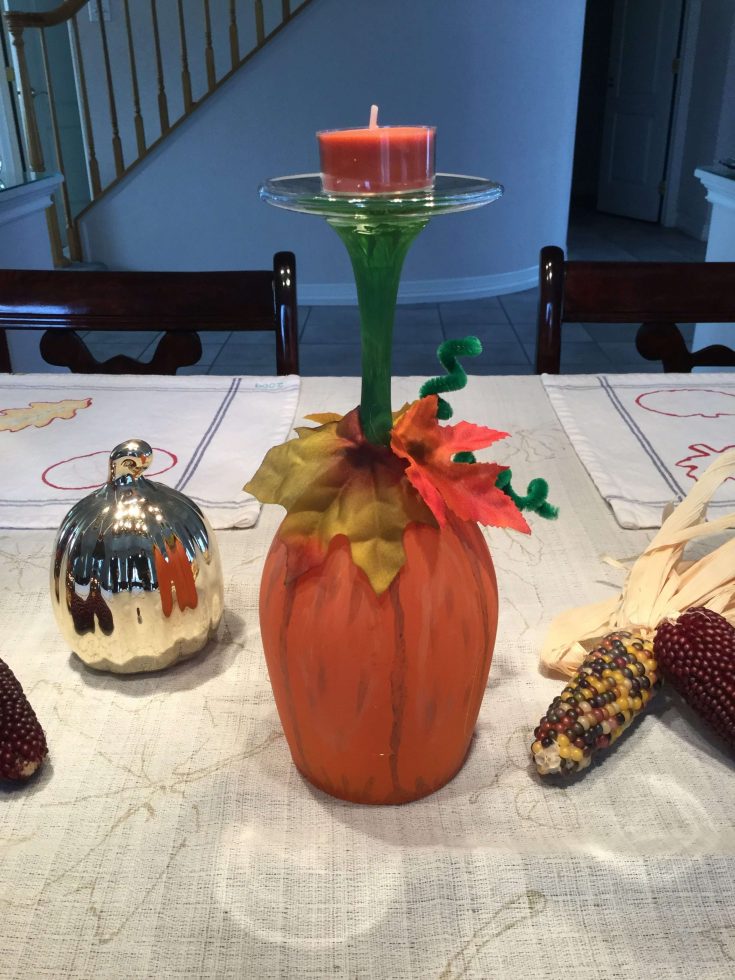
- [Wine Glasses to Pumpkin Candles]: Paint wine glasses orange and flip them over for fall decor.
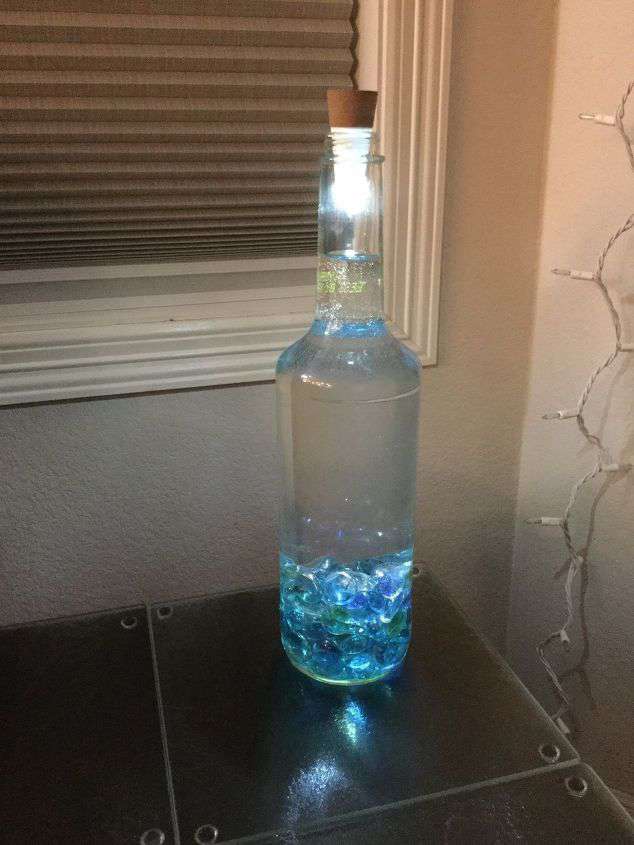
- [Easy & Beautiful Vase Lights]: Turn a simple vase into a glowing light feature.
- [9 Things To Do With Tea Cups]: A full guide on using vintage tea cups for candles, planters, and more.
Frequently Asked Questions
Mosaic Art: Smash them (safely!) into shards and use them to tile a flower pot or stepping stone.
Garden Drainage: Place broken shards in the bottom of plant pots to help with water drainage.
Repair: If it’s a clean break on a decorative piece, use E6000 glue to fix it for display use only.
Plate Wall: Use wire plate hangers or adhesive discs to hang a collection of mismatched plates on a wall.
Shelves: Install shallow floating shelves (picture ledges) to lean plates against the wall.
Garden Edging: Bury plates halfway into the soil to create a colorful border for your flower beds.
If your dishes are still usable (no chips/cracks):
Donate: Local thrift stores (Goodwill, Salvation Army) always accept dinnerware.
Animal Shelters: Many shelters need sturdy ceramic bowls for pet food.
Sell: If you have a vintage set, check eBay or Etsy—collectors are always looking for specific patterns to complete their sets!
E6000 is the gold standard. It dries clear, is waterproof, and creates a permanent bond.
Warning: It takes 24 hours to cure. If you need it to hold immediately, use a dab of hot glue and E6000 together (the hot glue holds it in place while the E6000 cures).
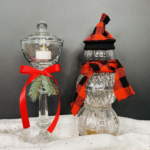
DIY Glass Snowman
Equipment
- Rubbing Alcohol (for cleaning)
- Scissors
Materials
- 1 round bowl or candle holder base
- 2 bowls or 1 round bowl for middle
- 1 small bowl or candle holder head
- 1 Dollar Tree Sock Hat/Scarf
- E6000 Glue
Instructions
- Prep: Clean all glass surfaces with rubbing alcohol to remove dust and grease.
- Create the Middle: Glue the two glass bowls together rim-to-rim. Let dry. This sphere creates the snowman’s body.
- Create the Base: Glue one candle holder upside down to your work surface (or a base plate). Apply glue to the top (the bottom of the holder).
- Assemble Body: Place the glass sphere onto the candle holder base.
- Add the Head: Glue the second candle holder upside down on top of the sphere.
- Dress Him Up: Cut the toe off a sock to make a beanie hat for the top candle holder, and use a strip of the sock as a scarf to hide the neck seam.
- Light It Up: Place a tealight nearby or underneath to make the glass sparkle like crystal!

Further Reading:
- 10 Awesome and Easy Ways To Recycle Pots and Pans
- 29 Awesome and Easy Ways To Upcycle Your Glass Jars and Bottles
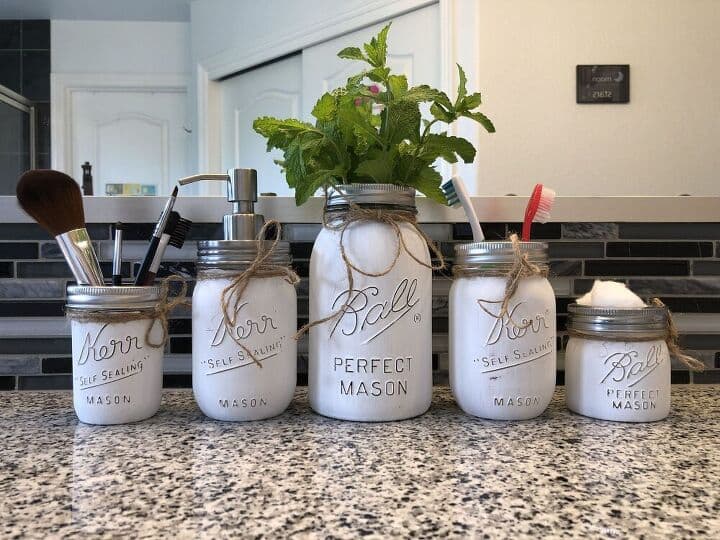
- How To Paint Mason Jars and Distress Them Easily
I hope these ideas have inspired you to look at that stack of old dishes differently! Whether you decide to build the Glass Snowman, plant some Dish Flowers, or organize your jewelry with a Tiered Stand, you are keeping items out of the landfill and creating custom decor on a budget.
Which project are you going to try first? Let me know in the comments below, and if you make one, please tag me on social media—I’d love to see your crazy creations!