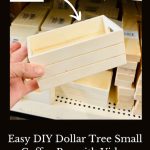
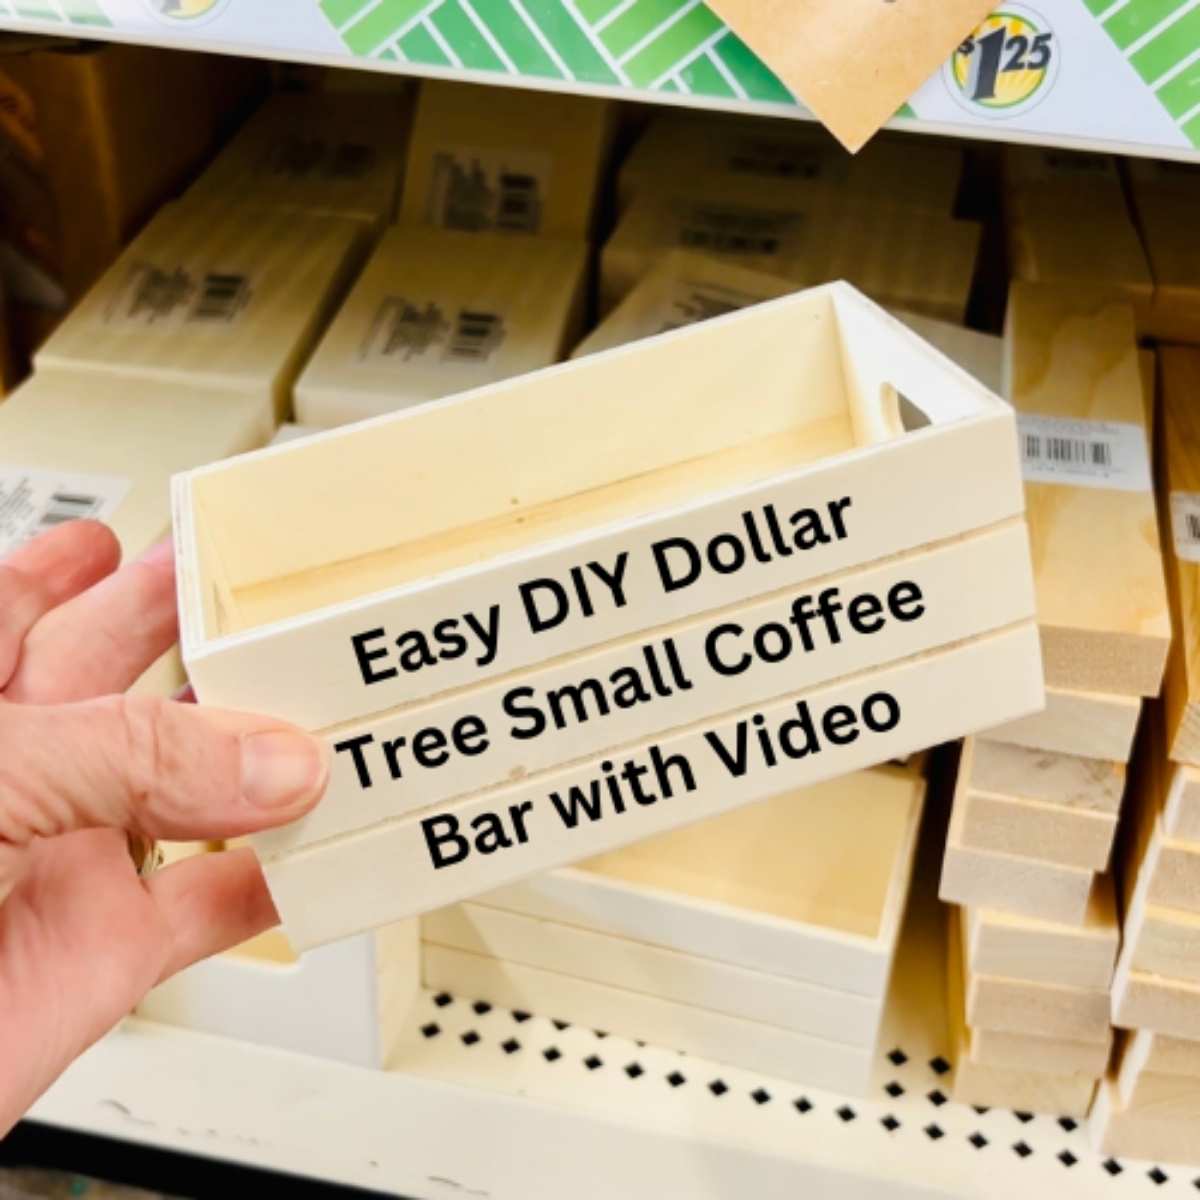
Easy Dollar Tree DIY Small Coffee Bar (Countertop Organizer)
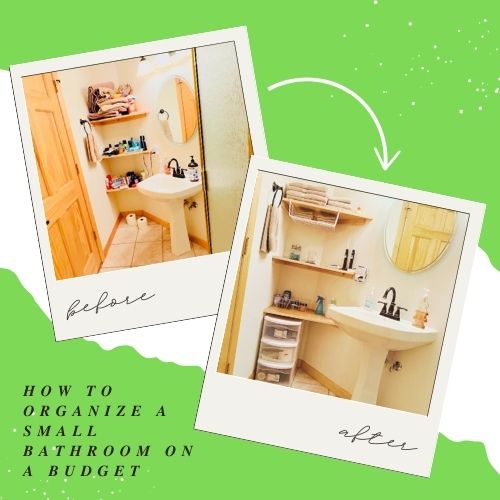
Sometimes you have a small space—like a guest room, a dorm, or a tiny home office—that needs a little “pick me up,” but you don’t have the floor space for a rolling cart. I wanted to create a welcoming coffee nook for our guests, but I had limited counter space to work with.
Quick Answer: How do you make a cheap coffee bar?
You can build a custom countertop coffee station for under $10 using Dollar Tree supplies:
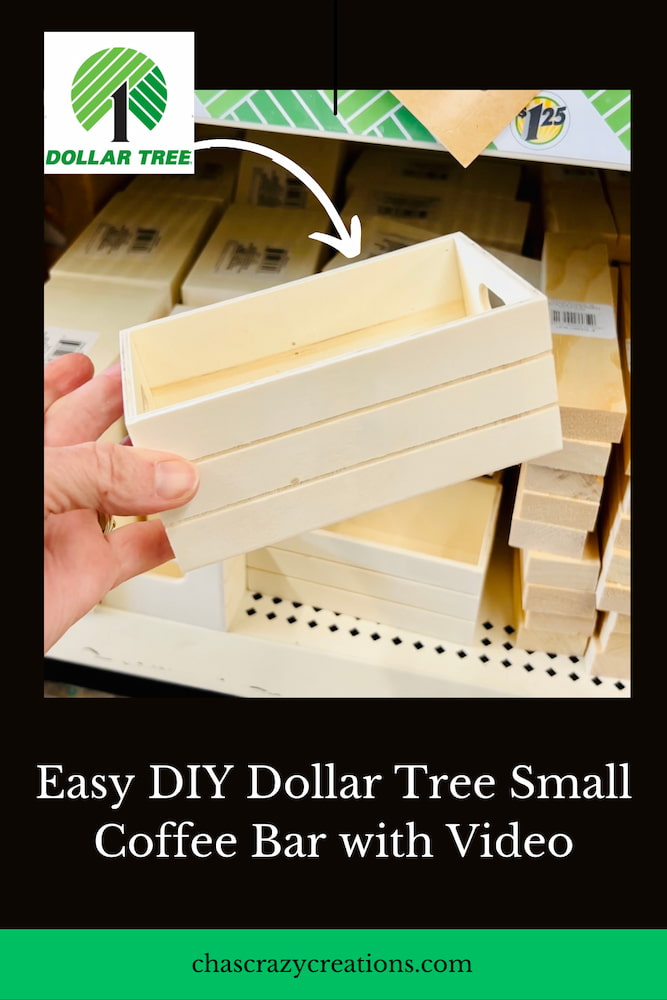
- The Base: Use wooden “craft blanks” and mini wooden crates from the Crafter’s Square section.
- The Build: Hot glue the crates to the sides of the planks to create vertical shelves.
- The Finish: Stain it with a water-based wood tint for a high-end rustic look.
- The Use: Fill it with K-cups, tea bags, sugar jars, and mugs!
I stopped by Dollar Tree, grabbed a few wooden supplies from the Crafter’s Corner, and built this simple, tiered coffee bar organizer. It’s lightweight, customizable, and cost me less than a latte!
If you love simple organization hacks—like my [Dollar Tree Plastic Crate Shelves] or my guide on [How To Make A Snack Station]—this project is perfect for you. It’s easy to build and solves the clutter problem instantly.
Small Coffee Bar Video
Materials Needed
All of these items can be found at Dollar Tree or on Amazon.
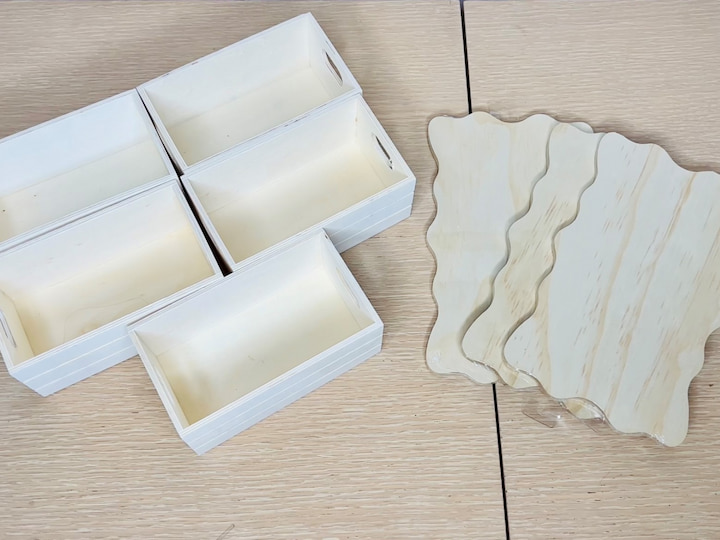
- 3 Wooden Blanks (Rectangular plaques from Crafter’s Square)
- 4-5 Mini Wooden Crates
- Wood Stain: I used FolkArt Home Decor Wood Tint in “Walnut” (It’s water-based and easy to clean up!)
- Hot Glue Gun & Glue Sticks
- Optional: Paintbrush, Wax Paper (to protect your table), and Gloves.
How to Build a Countertop Coffee Station
Stain Your Wood
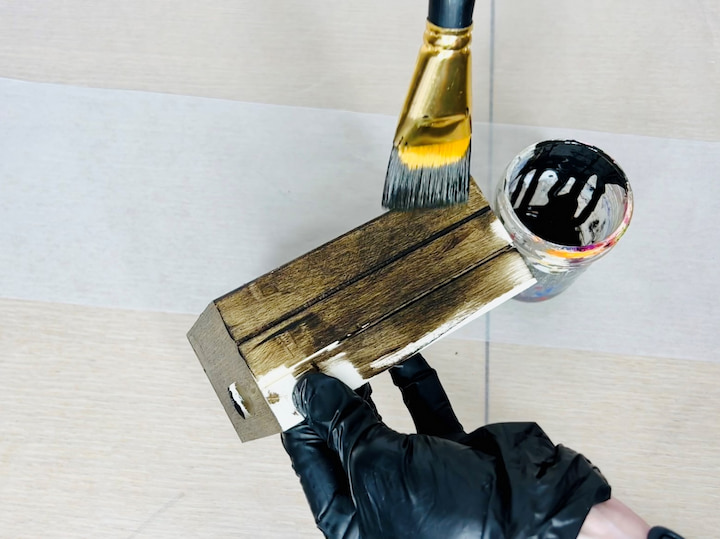
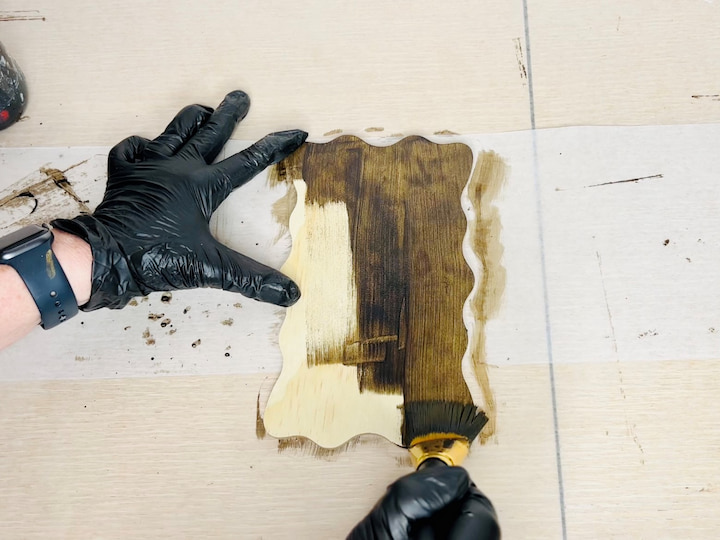
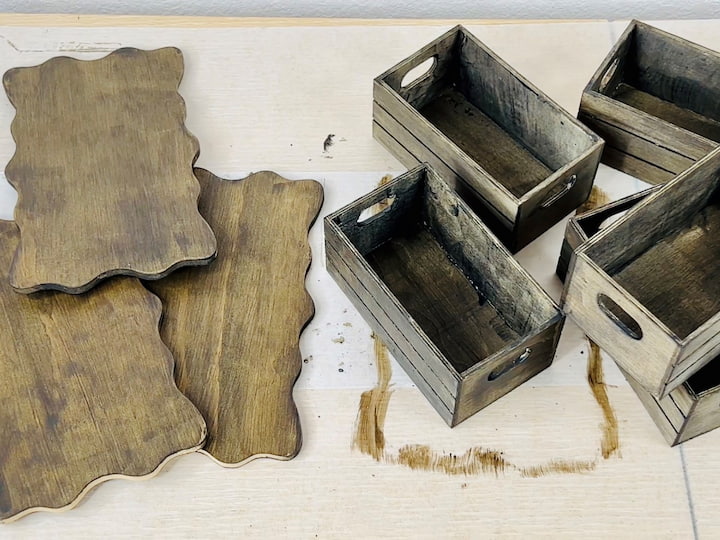
First, protect your workspace with wax paper and put on some rubber gloves. I poured a little of the Walnut Wood Tint into a glass jar and brushed it onto the inside and outside of every crate and wooden blank.
- Tip: This tint is great because you can wipe off the excess for a lighter look, or let it soak in for a dark, rustic finish. Let everything dry completely before moving on.
Create the “Legs”
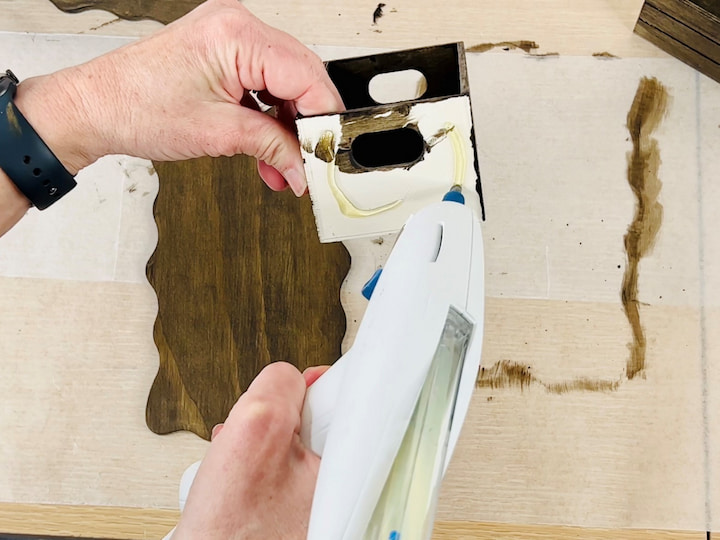
We are going to use the mini crates as the structural support (legs) for the shelves.
- Take one wooden blank (this will be a shelf).
- Hot glue a mini crate to the left edge of the blank.
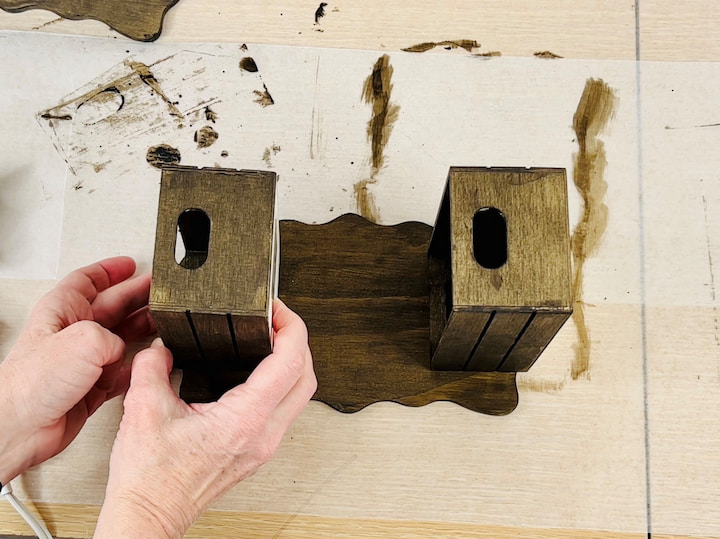
- Hot glue another mini crate to the right edge of the same blank.
- Repeat this process to create a second shelf unit.
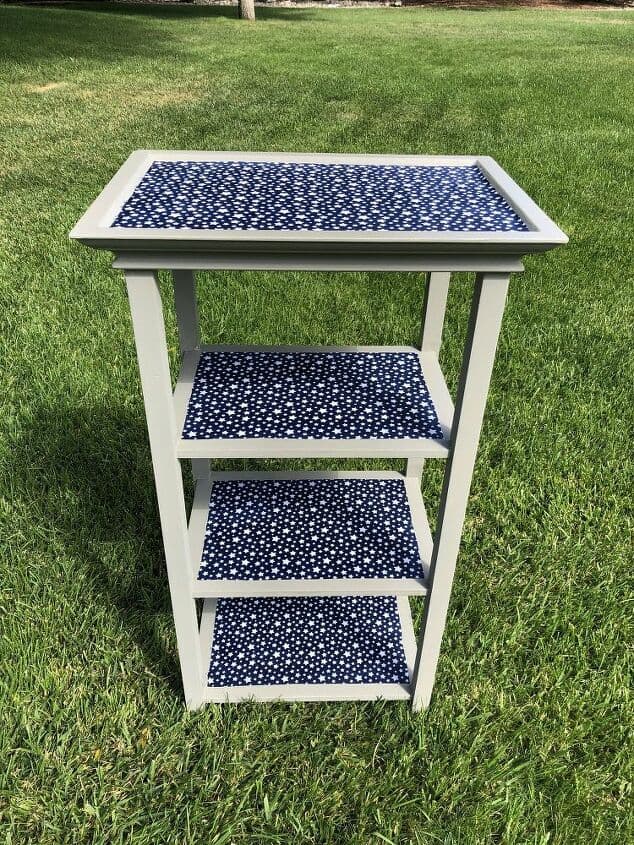
Assemble the Tower
Now, stack them up! Take your last wooden blank and glue it between the two shelf units you just made.
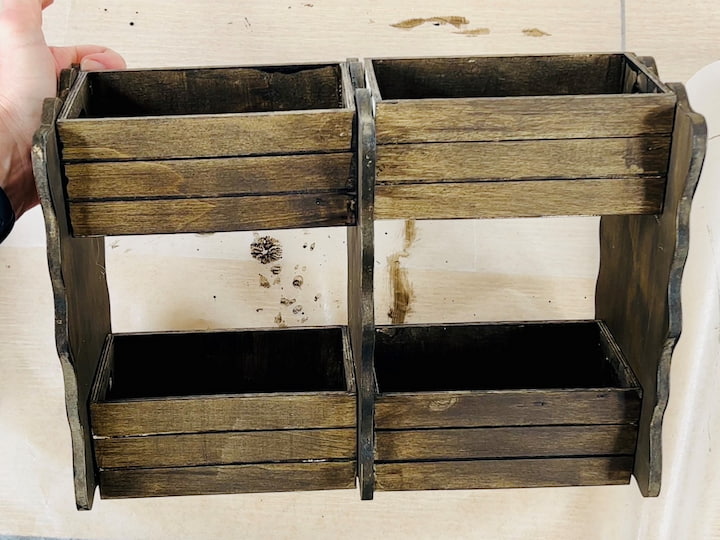
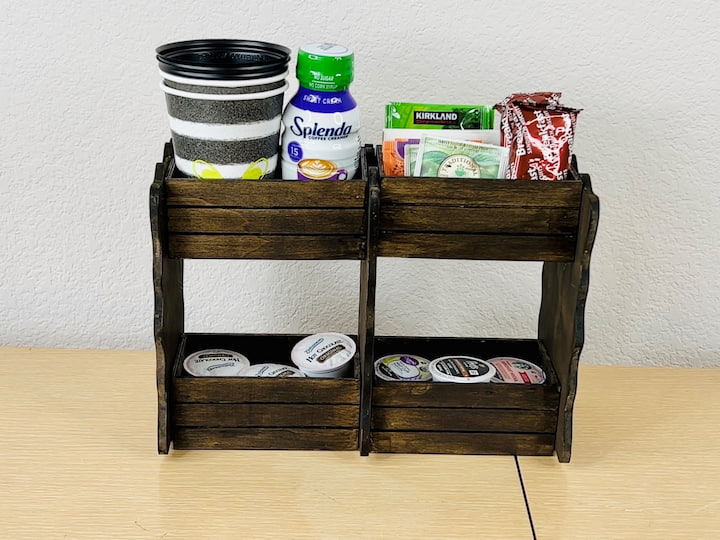
- Essentially, you are stacking: Crates -> Plank -> Crates -> Plank.
- This creates a tiered structure with open cubbies (the crates) and flat shelves (the planks).
3 Ways to Style Your New Organizer
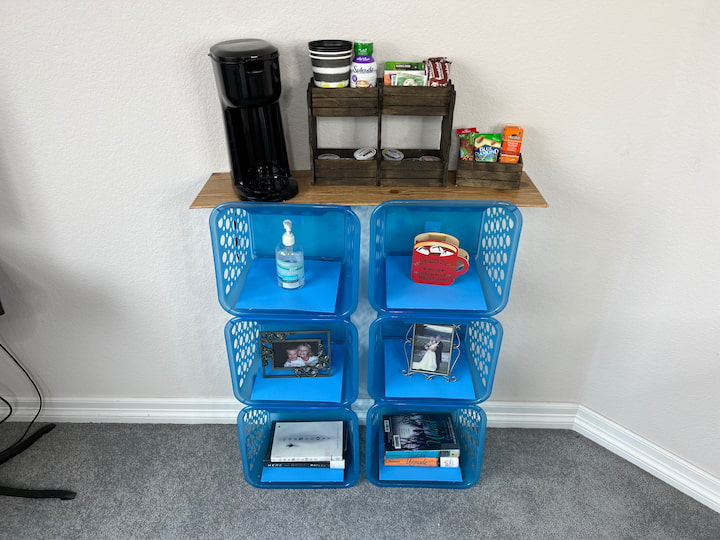
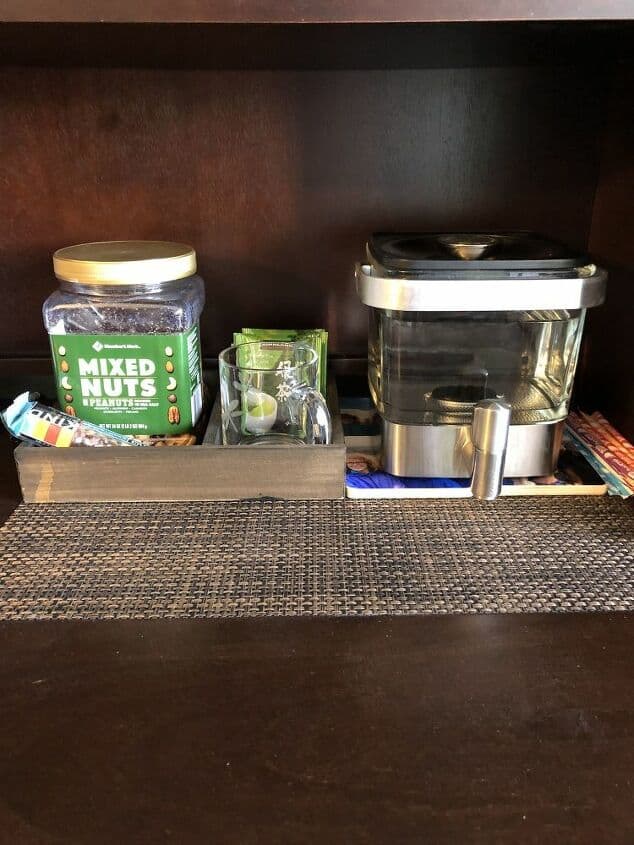
The Guest Room Coffee Bar
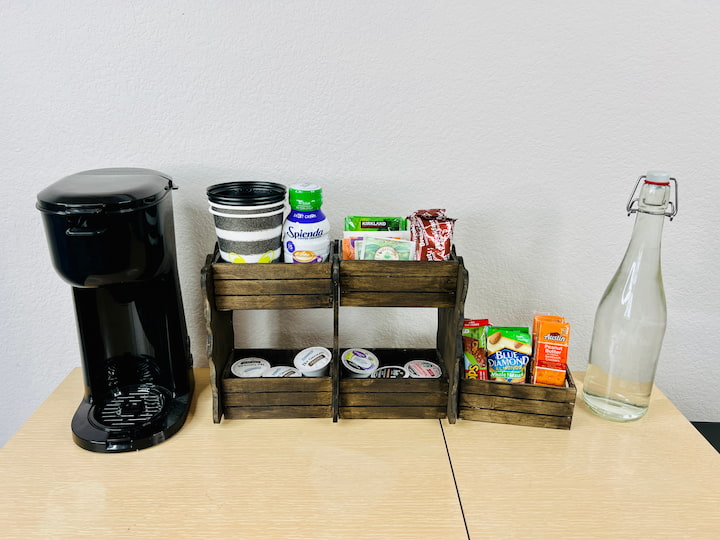
This was my original goal. I set the organizer on a small table next to the coffee maker.
- Top Shelf: Assorted tea bags and K-Cups.
- Middle Shelf: Hot chocolate packets and travel cups.Crates (Side Cubbies): Creamer pods, sugar packets, and stirring spoons.
- Bonus: I placed a bottle of water nearby so guests have everything they need for their morning brew.
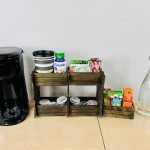
2. The Kitchen “Grab & Go” Spice Rack
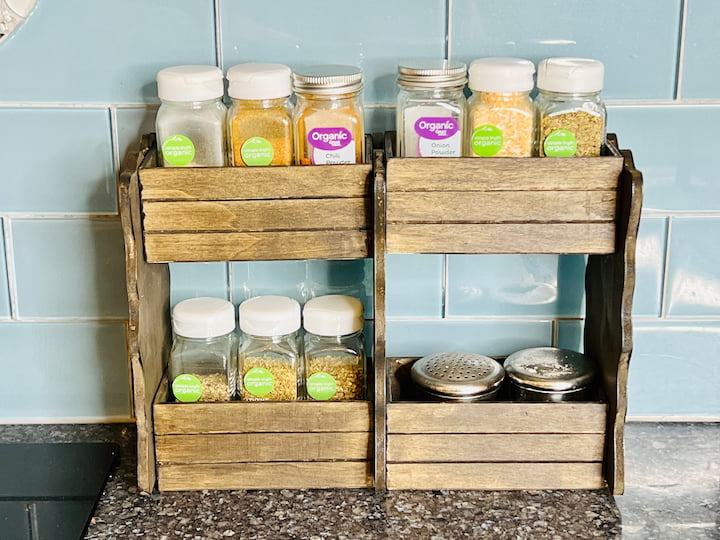
I moved the unit into my kitchen to test it out. It fits perfectly under the cabinets! I filled the shelves with my most-used spices and seasonings. It keeps them off the counter but right within reach while cooking.
3. The Craft & School Station
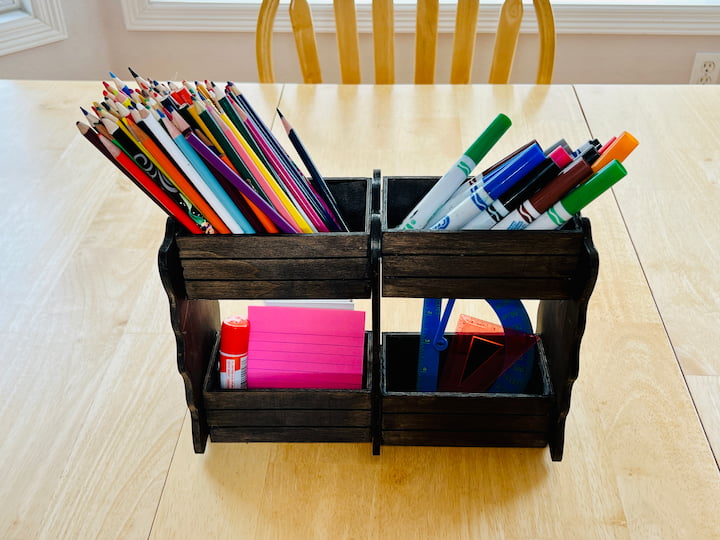
This is great for a kid’s desk. I filled the crates with markers, glue sticks, and post-it notes. The shelves held rulers and small notebooks. It keeps all those little items from getting lost in a drawer.
Frequently Asked Questions
Once you’ve made your coffee bar, don’t throw away the used grounds! They are amazing for your garden and home. [Read the Guide: 10 Amazing Hacks for Used Coffee Grounds]
Absolutely. If you want a farmhouse look, you could use white chalk paint and then distress the edges with sandpaper. If you want a modern look, spray paint it matte black!
For light items like tea bags and spices, yes! If you plan to store heavy mugs or ceramic jars on it, I recommend using E6000 glue or wood glue for a stronger, permanent bond.
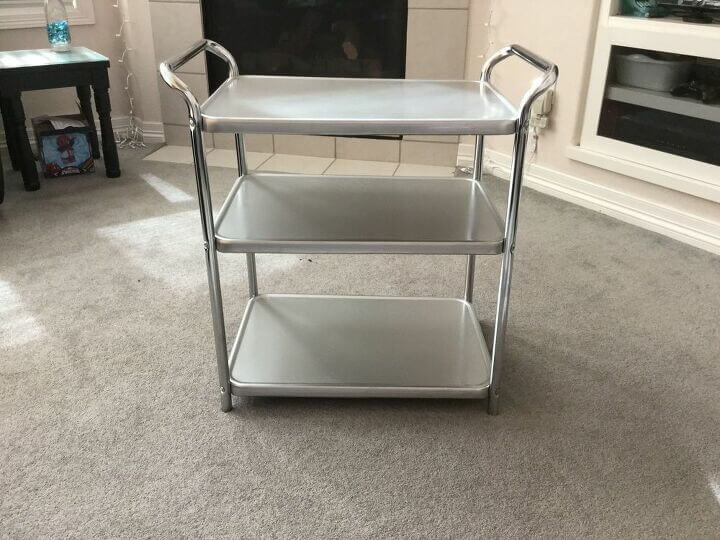
Sometimes you have a small space or limited counter space and limited storage space. This is when you might want to create a coffee corner, for your cup of joe. In the olden days, one would have a coffee bar cart in your dining room to serve guests from. Now we have learned to utilize vertical space by adding shelves or creating your own DIY open shelving. I added a coffee bar station t our home office while working from home.
You can buy your supplies here on Amazon:
coffee mugs or disposable coffee cups
coffee maker or coffee machines
mug rack
canisters, jars, etc
coffee essentials like coffee beans, coffee pods, coffee filters etc
coffee cart or hutch
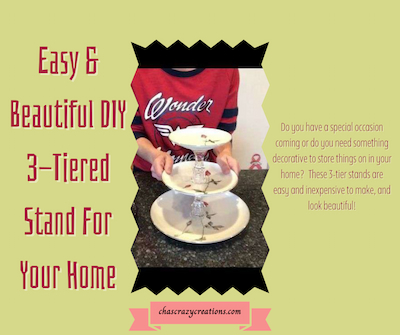
tiered tray
other coffee supplies like sugar, creamer, syrups, etc
tea bags
hot cocoa
napkins
snacks
I was able to add it to my Easy DIY Dollar Tree Plastic Crate Shelves with Video
Small Coffee Bar Video
Dollar Tree Countertop Organizer
Materials
- 3 Wooden Plaques Dollar Tree
- 4 Mini Wooden Crates Dollar Tree
- Wood Stain or Paint
- Hot Glue
Instructions
- Prep: Lay down wax paper to protect your table.
- Stain: Paint or stain all wood pieces (crates and plaques) and let dry completely.
- Build Level 1: Glue two crates to the ends of one plaque (standing vertically).
- Build Level 2: Glue two more crates to the ends of the second plaque.
- Stack: Glue the third plaque across the top of the Level 1 crates, then stack Level 2 on top of that.
- Fill: Add your coffee supplies, spices, or craft tools!
Other extra storage ideas for your home:
Now that you’re enjoying your home coffee bar, and that delicious brew. Don’t forget what you can do with those java grounds when they’re done! How To Use Ground Coffee With These 10 Amazing and Easy Hacks Did you know the filters can be used for so many things too? 13 Amazing and Easy Paper Coffee Filters Home Hacks
I hope this inspires you to create a snack station of your own. I’d love it if you subscribe to my YouTube channel and my blog at chascrazycreations.com. Thanks for watching and I’ll see you in my next video. Don’t forget to like, share and subscribe.