
How To Stencil on Leather and Vinyl
Learn how to stencil on leather and vinyl (or artificial leather) with this easy DIY tutorial.
Do you have a leather item and painting leather is something you want to consider to update it? First, you’ll need a leather product of your choice, here are some helpful tips, and let’s get started!
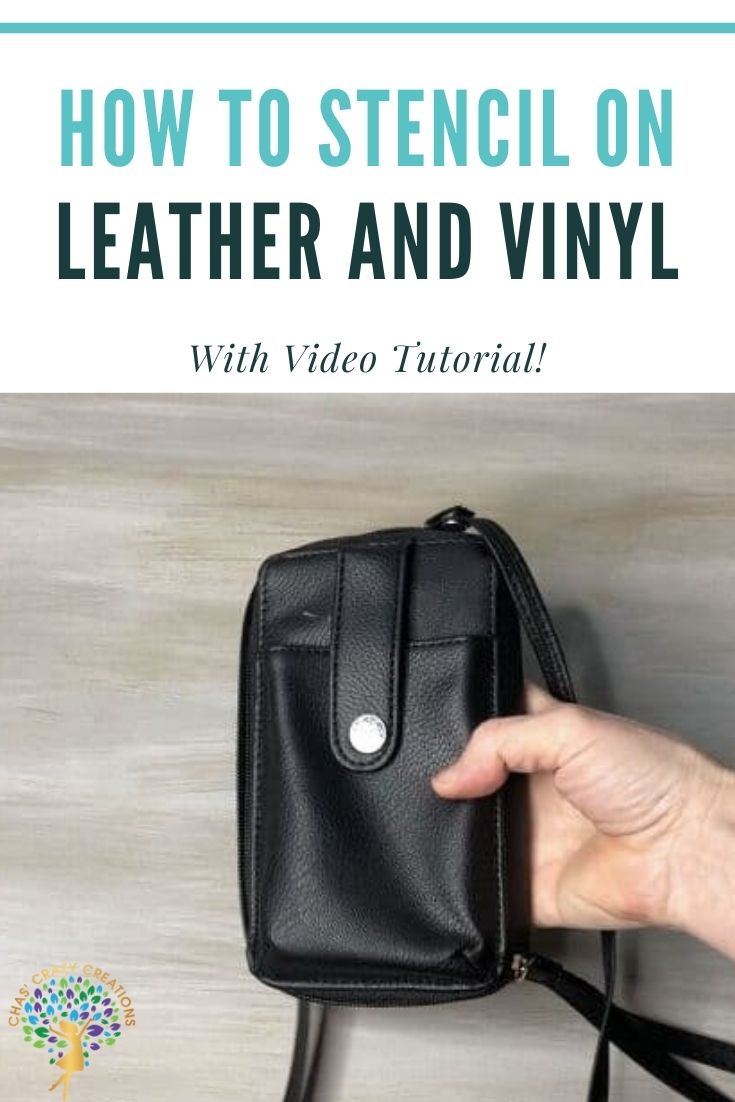
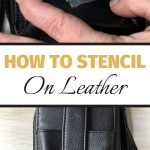
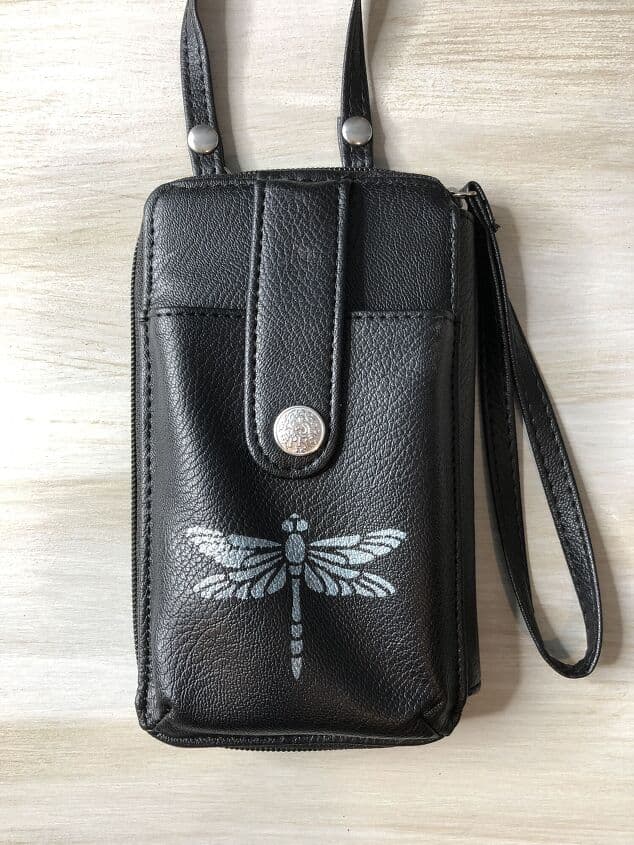
I found a super cute and inexpensive leather wallet at Walmart. I thought it was a little plain so I decided to add a dragonfly to it. Here is how I stenciled on leather and it works for vinyl too.
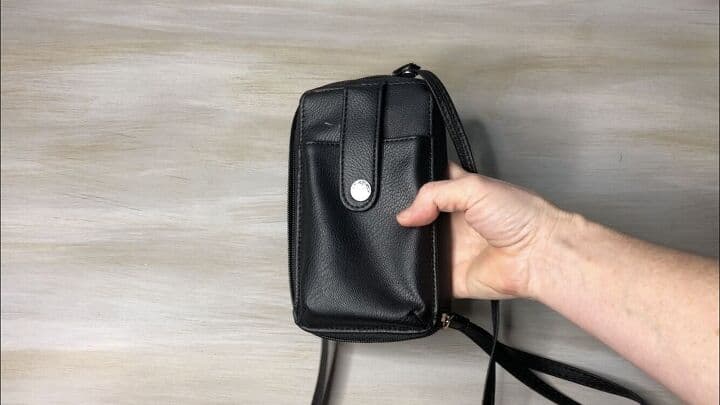
Here’s the super cute and inexpensive wallet I got from Walmart. It holds everything I need when I want to travel light. Here’s the link to my leather purse and it comes in a variety of colors.
How To Stencil on Leather and Vinyl Video
Here are the detailed instructions:
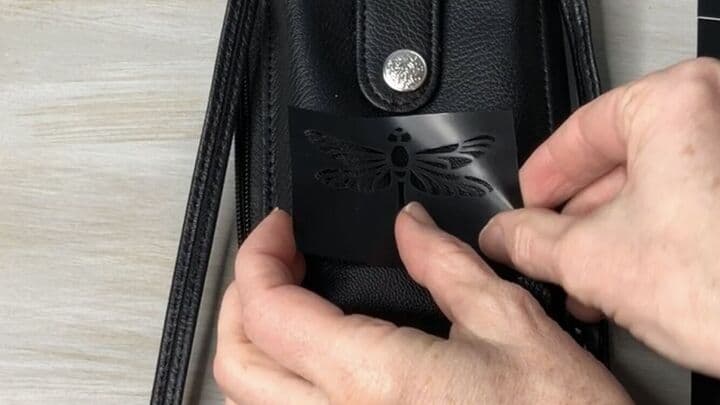
I started by cleaning the leather surface with an rubbing alcohol prep pad or you can use isotropic alcohol. This is an important step so it removes any sticky residue, oils, dirt, etc. Once it was dry, I placed my adhesive stencil onto the leather. I used Folk Art adhesive Stencils, you don’t have to have a fancy leather stencil.
I made sure to press the stencil firmly to get a tight seal from the stencil onto the leather to prevent as much paint bleeding as possible. If you are using a regular nonadhesive stencil then I recommend using painter’s tape or stencil tape to hold the stencil in place.
I used Folk Art Treasure Gold Blue Quartz paint which is a beautiful metallic paint. Now for the paint application. I lightly dipped a clean brush into the paint, carefully removed as much paint as I could (to prevent bleeding of paint under the stencil), and lightly brushed the paint onto the stencil and leather.

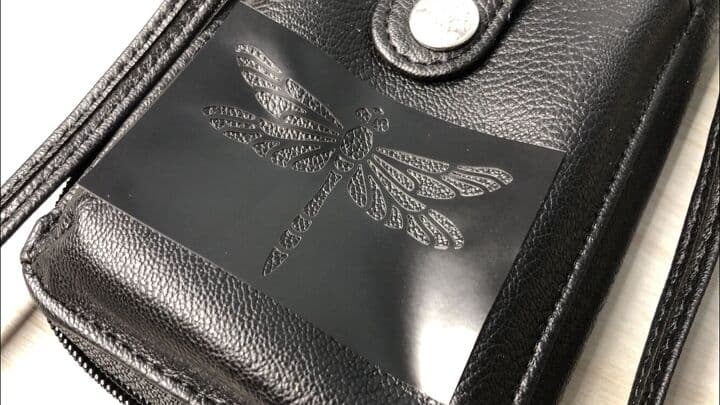
While the paint was still wet, I removed the stencil. I washed the stencil with soapy water, and put it back onto the original package backing so I could use it again another time.
If you make a mistake, you can rinse or wipe it off your item with plain water, and then try again. This has to be done while the paint is still wet.
So how many layers of paint? Just one.

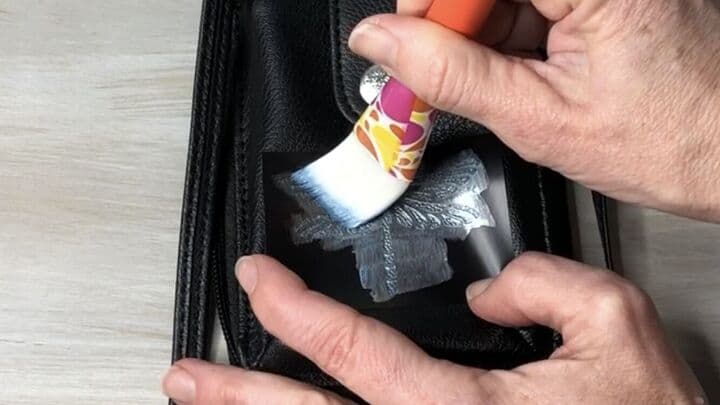
I let the stencil dry completely and love how it turned out. Follow your paint instructions for dry times. Some like to use a hair dryer to dry the paint more quickly. I like to follow the paint instructions for dry time and follow their drying process.
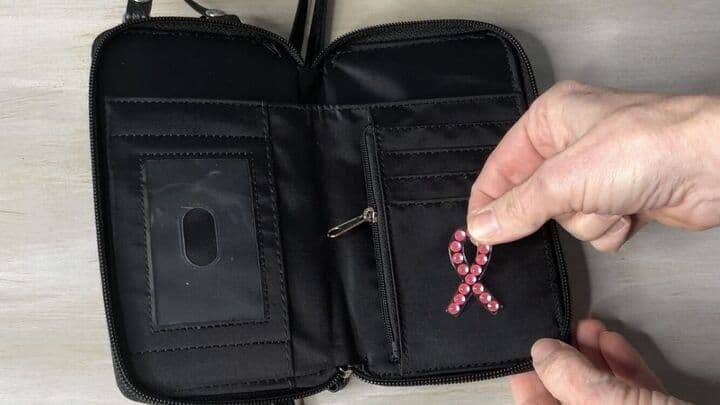
On the inside of the wallet I could have stenciled another spot on this pocket. I decided to add a breast cancer awareness ribbon sticker I got from Dollar Tree. It is in honor of my breast cancer journey.
What else can you stencil on?
- leather jacket
- leather shoes
- scrap leather
- piece of leather
- leather chair or leather furniture
What is the best paint or kind of paint can you use?
Most of these you can pick up at your local craft store.
- angelus paints or angelus leather paint, and angelus leather preparer
- acrylic leather paint
- undiluted acrylic paint
- leather dye
What kind of paintbrush is needed for the stencil?
It’s really a matter of preference, and here are some options
- foam pouncer or sponge brush
- paint brush
- stencil brush
- old toothbrush
Find out “What Exactly Does It Mean To Repurpose Or Upcycle“, save money, and create the most amazing things.
How To Stencil on leather and VINYL Video
Shop any of these stores and I receive a small commission at no cost to you.
") FolkArt Treasure Gold Brill…Shop on Amazon
FolkArt Treasure Gold Brill…Shop on Amazon FolkArt Peel and Stick Sten…Shop on Amazon
 Sodsay Black Leather Cross-…Shop on Amazon
EASY & AWESOME DIY GIFTS ON A BUDGET TO MAKE AND SELL Ebook
Do you love to make gifts for friends and family members? Would you like to personalize your gifts too? This book is for you! Over 30 DIYs gifts on a budget plus extra tips, tricks, eco-friendly gift wrapping ideas, and more!
So what are you waiting for?!!! Get your copy today and start creating!

Don’t forget to link to ThriveCart – Book

********************************************************
Thank you for sharing at #OverTheMoon. Pinned and shared. Have a lovely week. I hope to see you at next week’s party too! Please stay safe and healthy. Come party with us at Over The Moon! Catapult your content Over The Moon! @marilyn_lesniak @EclecticRedBarn
********************************************************
Thank you very much Marilyn, I’ll see you at the next one.
I love how you dressed up your wallet Chas! And I’m really loving your choice of the dragonfly!
Thank you so much Kim and I’m thrilled you like the dragonfly too.
I love how you took something very basic and plain and made it a one of a kind item just for you. It turned out very pretty. As always, thank you for continuing to share with us each week at #HomeMattersParty
Thank you so much Donna, I’m so glad you like it too. See you at the next one friend.
What a sweet and easy way to jazz up a plain item.
Thank you so much Julie, I’m so glad you like it too.
love it, so many possibilities! thanks for sharing on craft schooling Sunday and bringing your DIY style to the party!
Thank you Sarah, I did enjoy adding a little personalization to it and I think it could be a great gift idea too.
Such a pretty addition! Thank you for sharing with Creative Compulsions!
Michelle
mybijoulifeonline.com
Thank you so much Michelle, it just needed a little extra love.
Very pretty. Makes a great addition to what would have been a bit of a plain wallet!
Thank you Jo, I’m so glad you think so too. I just wanted to personalize it and give it a little more.
What a fun project. I love how it turned out. So fun hopping with you.
Thank you so much Cynthia, and wonderful crafting with you friend.