
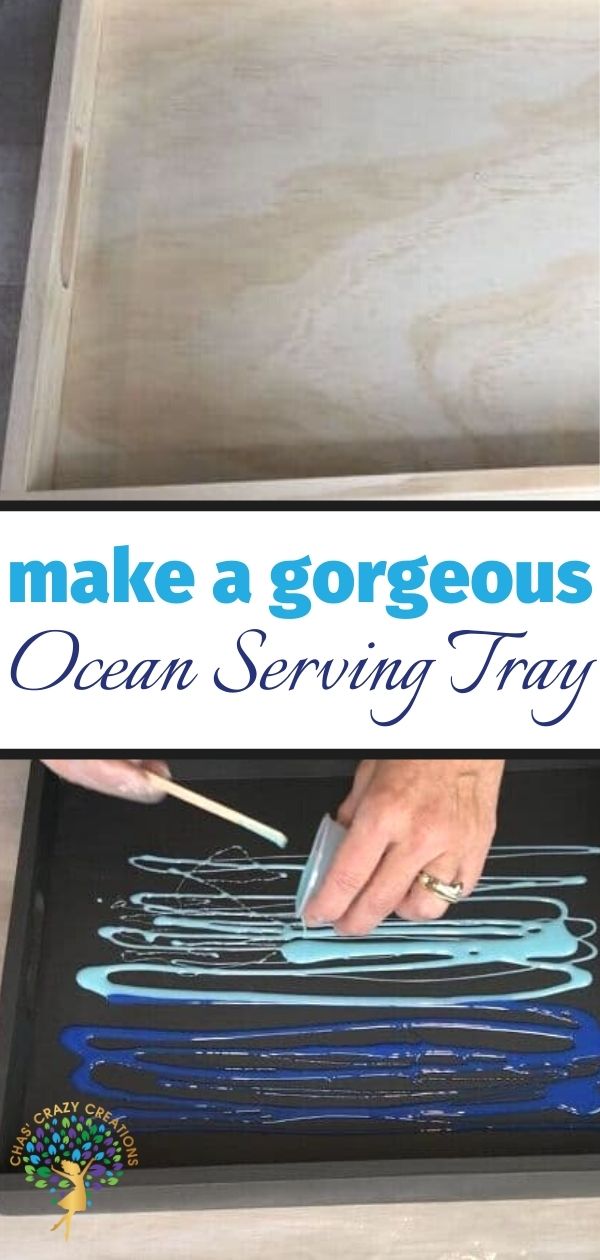
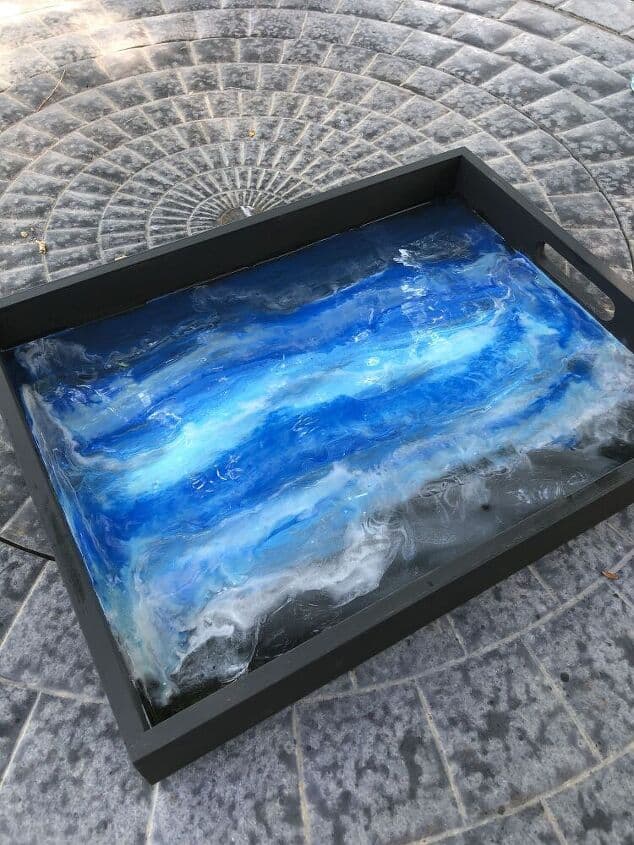
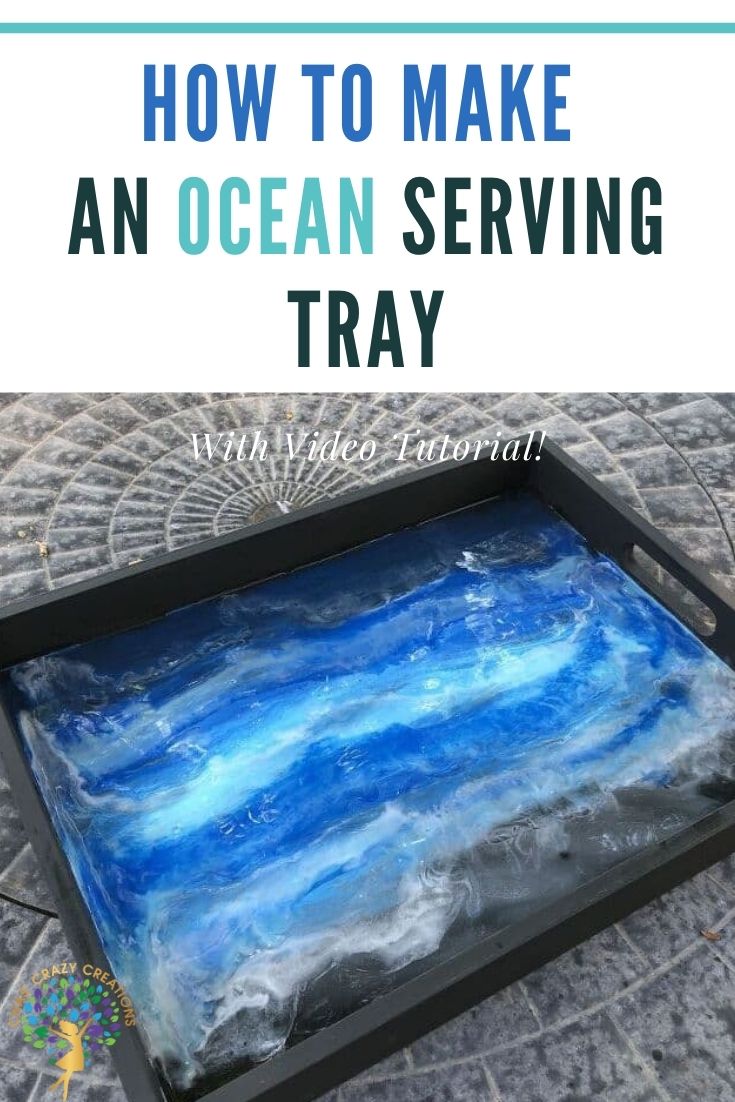
How To Make Ocean Resin Art on a Serving Tray

Do you want to make ocean resin art pieces? As you all know, I love diy projects and am always looking for fun diy home decor projects. Learn how to make a beautiful DIY ocean waves resin art serving tray with this step-by-step tutorial. This will make a unique gift of original artwork, especially for the beach lover in your life.
Do you need a serving tray in your home? They’re so useful and can be used in just about every room of your home. I’m sharing how to make an ocean serving tray.
This post is in collaboration with Behr, Total Boat, Wagner, and Plaid. All thoughts and opinions are my own. A big thanks to Behr for providing me with the tray and Behr Ultra Scuff Defence, Total Boat for the Table Top Epoxy, Wagner for providing me the Heat Gun, and Plaid for the Folk Art Acrylic Paint
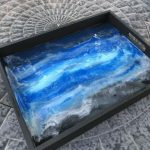
How To Make Ocean Resin Art on a Serving Tray
How To Make Ocean Resin Art on a Serving Tray: Instructions
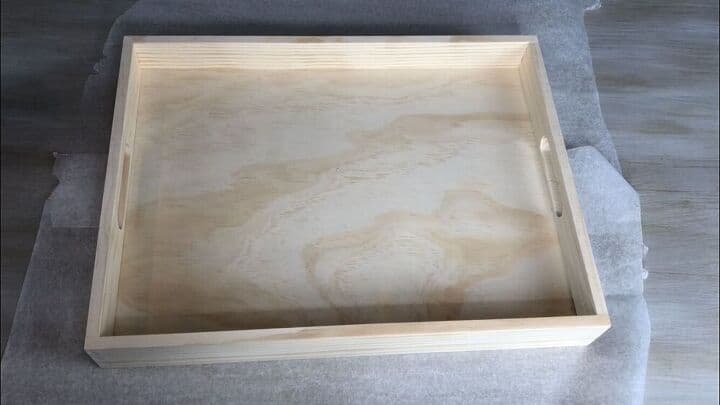
Here is the wooden tray Behr sent me as part of the Haven Conference. You can find this tray at Target or click to order yours today.
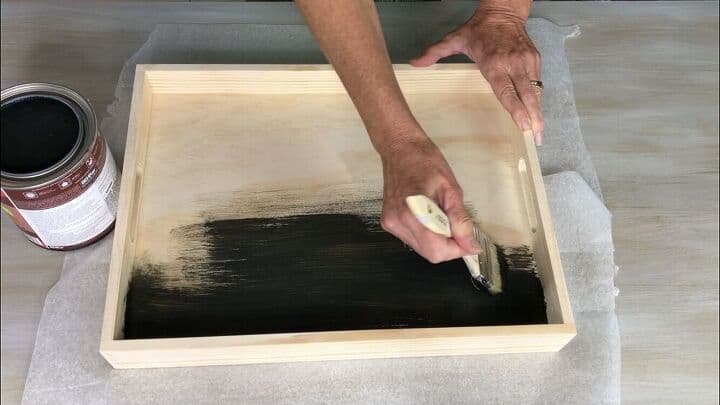
I painted the tray with Behr Ultra Scuff Defense stain-blocking paint and primer in one. I chose the color, Broadway.
I painted the entire tray 2 coats letting it dry in between coats.
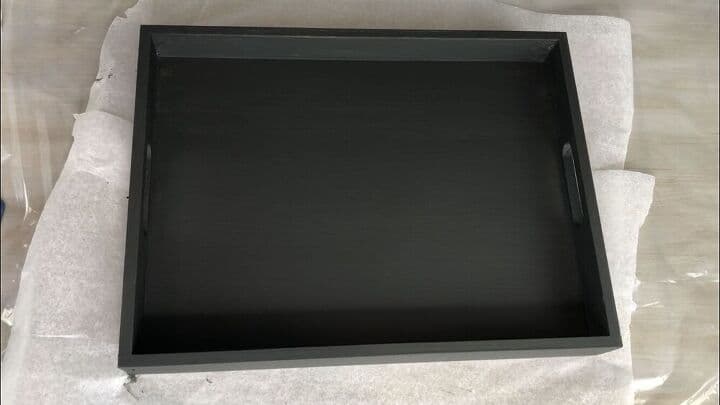
After the 2 coats, I let it dry overnight. It’s a beautiful color!
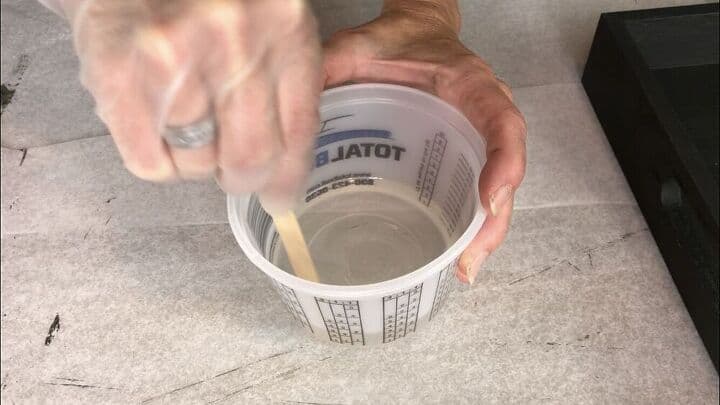
Next, I mixed my Total Boat Table Top Epoxy. It comes with 2 parts, and I added them to my Total Boat container. I followed the instructions and mixed resin in equal parts with a ratio of 1:1 for 3 minutes. Mix resin slowly to prevent air bubbles. Make sure you cover your work surface.
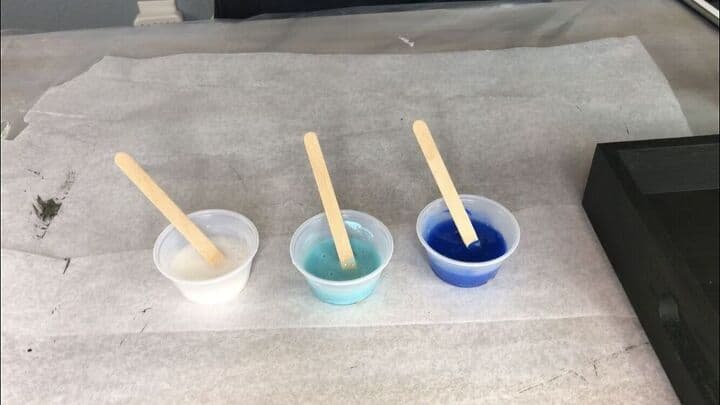
I placed some of the Total Boat epoxy in 3 separate cups, reserving some of the clear in a fourth cup.
I added a small drop of Folk Art Acrylic paint in the colors True Blue, Ocean View, and Titanium White to each container.
I mixed the paint into the epoxy with a mixing stick.
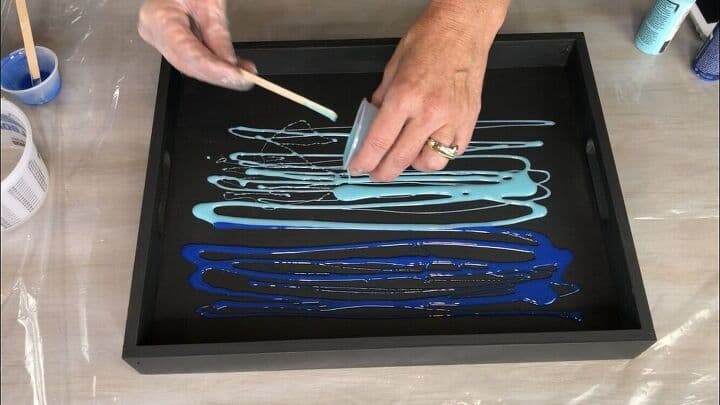
For the next step I poured the tinted epoxy onto the serving tray. I started with the true blue in the back, and the ocean view in the middle.
Now comes the fun part. With a glove on my hand, I smeared epoxy over the surface. I also blended the different shades together.
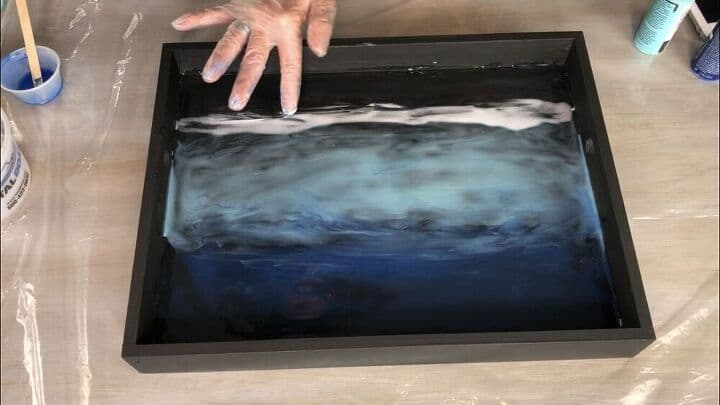
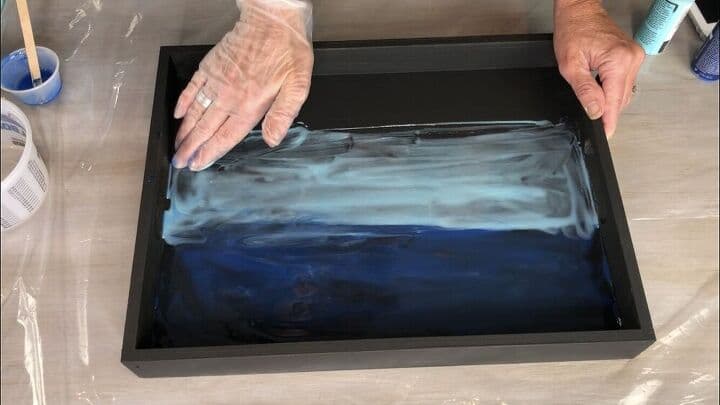
I put clear resin on the remaining portion of the tray bottom and used the white pigment on top of that.
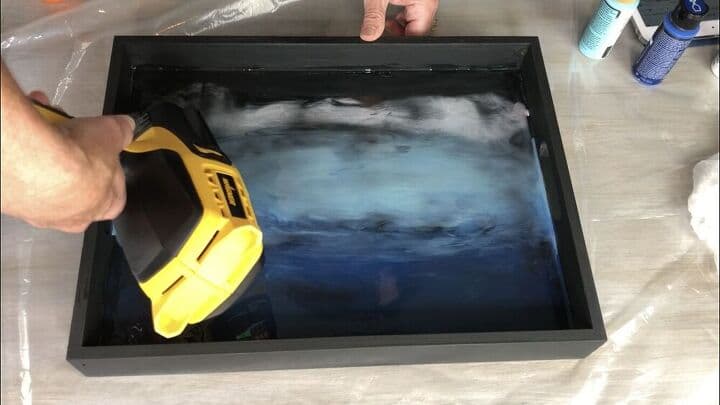
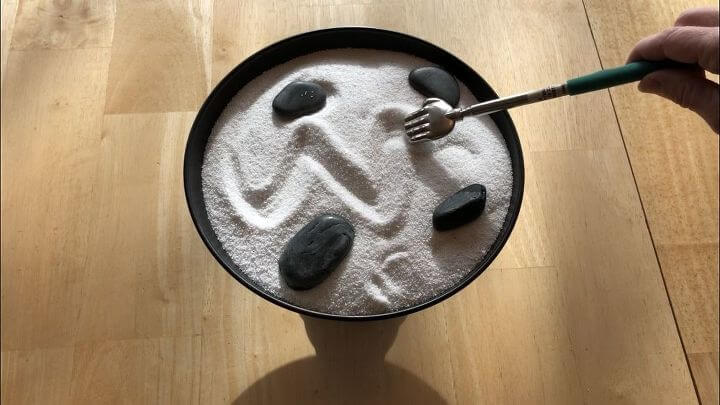
While the epoxy was still wet, I used my Wagner Furno Heat Gun and pushed the paint around with it creating some waves with a feeling of motion.
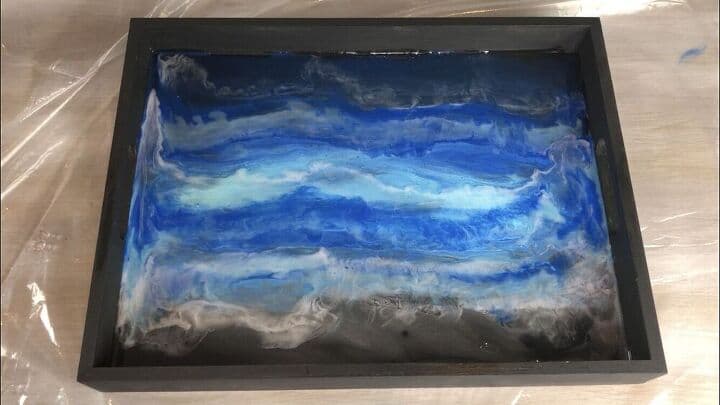
I played around with the layers of resin until I got the desired look I wanted.
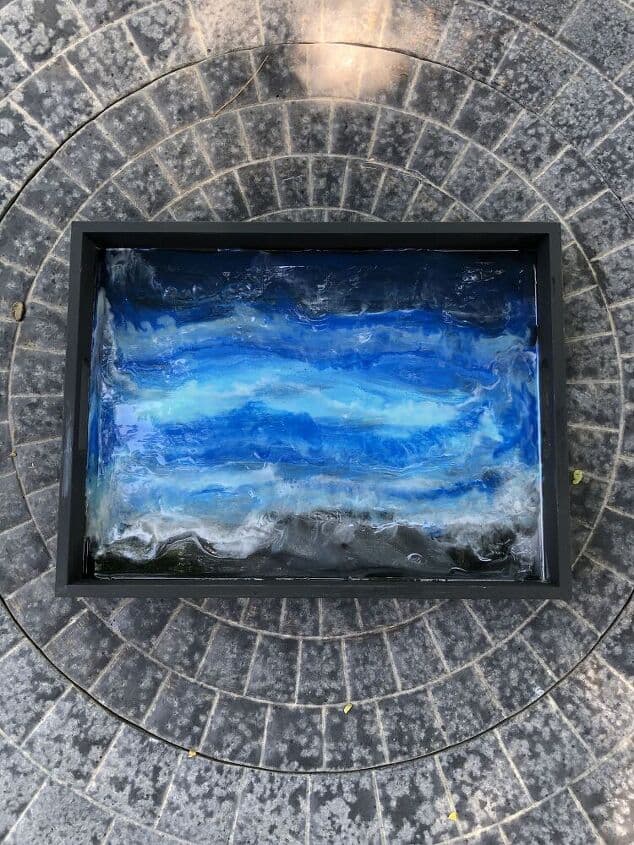
I let it dry completely.
This was my resin painting practice run for a bigger project coming up…. I found a coffee table for $5 at a garage sale. I can’t wait to do something like this on a bigger scale.
Find out “What Exactly Does It Mean To Repurpose Or Upcycle“, save money, and create the most amazing things.
To Repurpose Or Upcycle“, save money, and create the most amazing things.
How To Make Ocean Resin Art on a Serving Tray Video
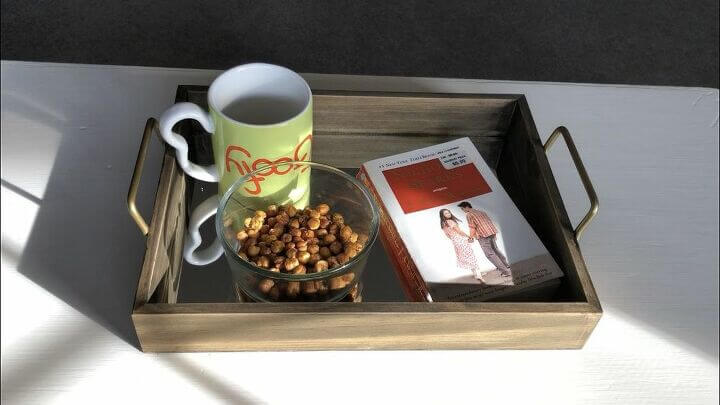
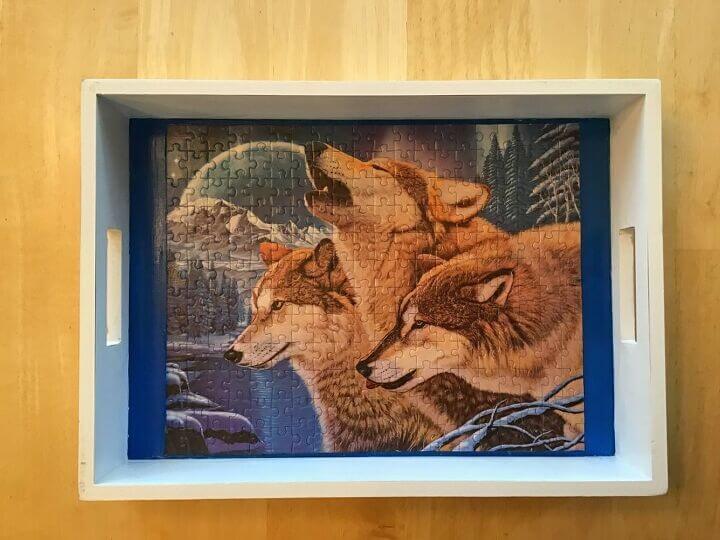
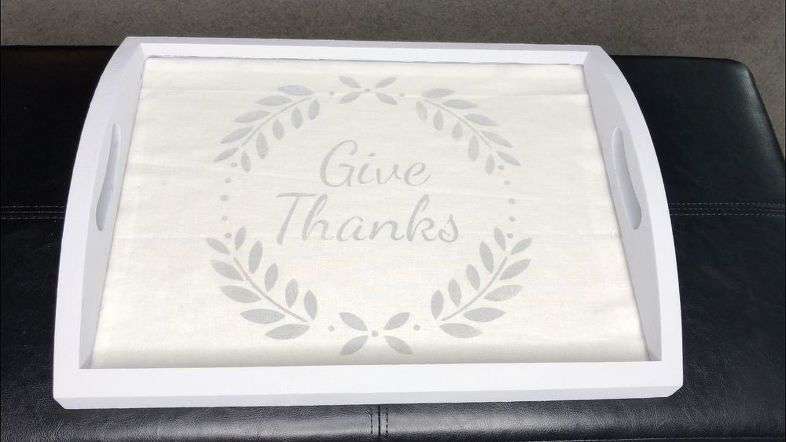
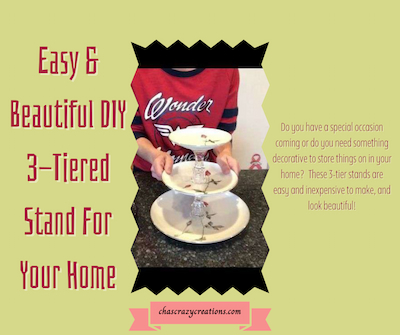
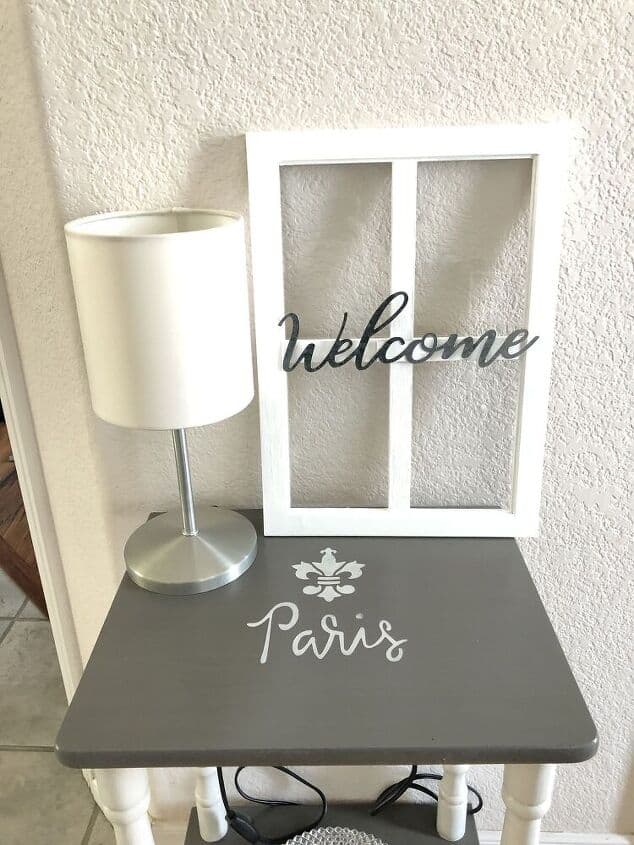
Check out some of my other tray-related posts!
- Target Dollar Spot Wood Serving Tray Upcycle with Video
- Upcycled Puzzle Serving Tray
- Upcycling A Serving Tray
Shop any of these stores and I receive a small commission at no cost to you.
 TotalBoat Table Top Epoxy R…Shop on Amazon
 Wagner Spraytech 0503063 FU…Shop on Amazon
, PROMOFAI Colors I (18 Colors)") FolkArt Acrylic Paint Set (…Shop on Amazon
FolkArt Acrylic Paint Set (…Shop on Amazon Walnut Hollow Unfinished Wo…Shop on Amazon
 BEHR PREMIUM PLUS 1 gal. Ul…Shop on Amazon
Find out “What Exactly Does It Mean To Repurpose Or Upcycle“, save money, and create the most amazing things.
How To Make An Ocean Serving Tray
Equipment
- Heat Gun
Materials
- Wood Serving Tray
- with Behr Ultra Scuff Defense
- Total Boat Table Top Epoxy
- Folk Art Paint in True Blue Ocean View, and Titanium White
Instructions
- Paint the tray with 2 coats of Behr Ultra Scuff Defense stain-blocking paint and primer in one. I chose the color Broadway.
- Let it dry in between coats. Mix Total Boat Table Top Epoxy, and I add it to the Total Boat container.
- Follow the instructions and mix a ratio of 1:1 for 3 minutes. Mix slowly to prevent bubbles.
- Place some of the Total Boat epoxy in 3 small containers, reserving some of the clear. Add a small drop of Folk Art Acrylic paint in the colors True Blue, Ocean View, and Titanium White to each container. Mix the paint into the epoxy.
- Pour the tinted epoxy onto the serving tray. Start with the true blue in the back, and the ocean view in the middle.
- With a glove on smear epoxy over the surface and blend the colors together.
- Put clear epoxy on the remaining portion of the tray bottom, and use the white on top of that.
- Use a Heat Gun to push the paint around with it creating some waves.


This is so pretty, Chas! It really does look like waves and you did a wonderful job!
Thanks for linking up with us on the Embracing Home and Family Link-up. We hope you join us again this Friday!
-Cherelle
Thank you so much Cherelle, I am so thrilled you think so.