How To Dye Hard Boiled Eggs 9 Ways Easily
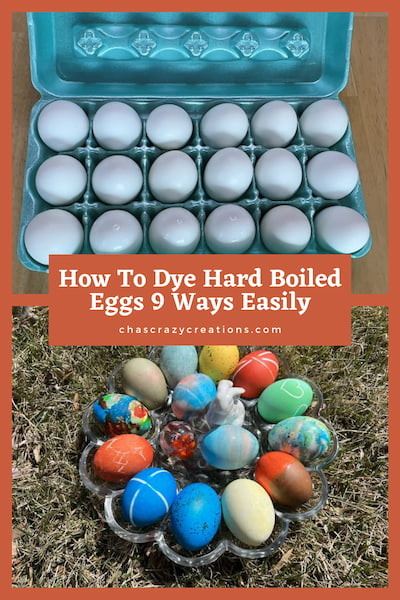
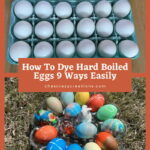
Are you wondering how to dye hard-boiled eggs? If you are planning an Easter egg hunt why not make it into a fun activity for the whole family? I have 9 easy ways to dye eggs without using chemical dyes, that way you can still eat the egg afterward.
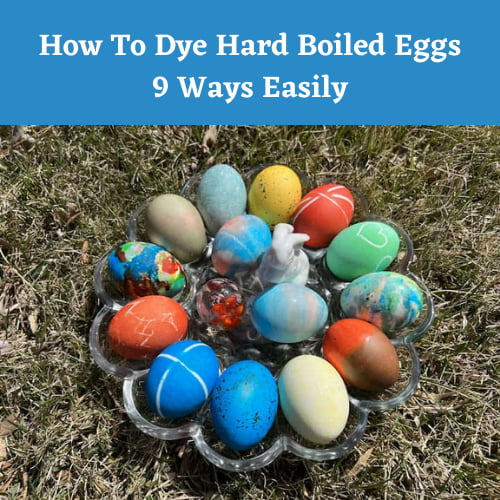
How To Dye Hard Boiled Eggs supplies
- Bowls
- Eggs
- Water
- Vinegar
- Gloves
- Food Coloring
- Rubber Band
- Cool Whip
- Paint Brush
- Ice
- Rice
- Baggie
How To Dye Hard Boiled Eggs videos
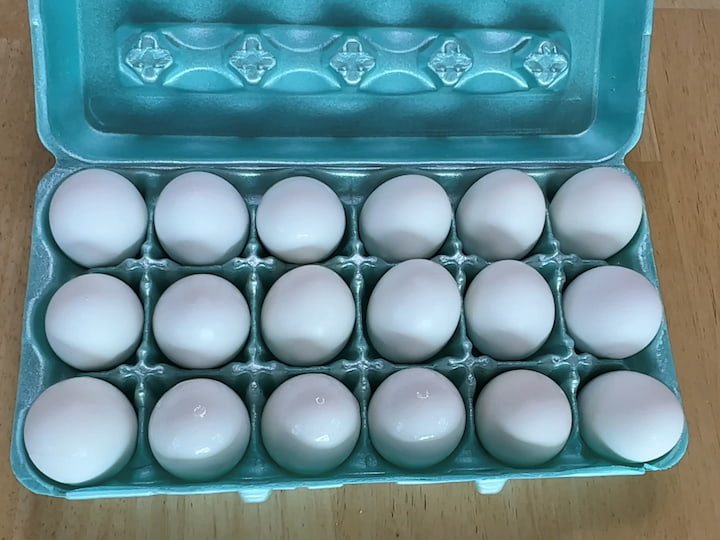
HOW DO YOU MAKE THE PERFECT HARD-BOILED EGGS?
If you want easy-peel hard boil eggs you’ll love this really easy tutorial and recipe.
Once you have made your hard-boiled eggs you’ll be ready to have some fun and dye them. You’ll want to be careful when selecting your Easter egg dye because the egg shell is porous and certain paints, dyes, etc will make your egg inedible. The options below use natural dyes so the eggs are edible after dyeing.
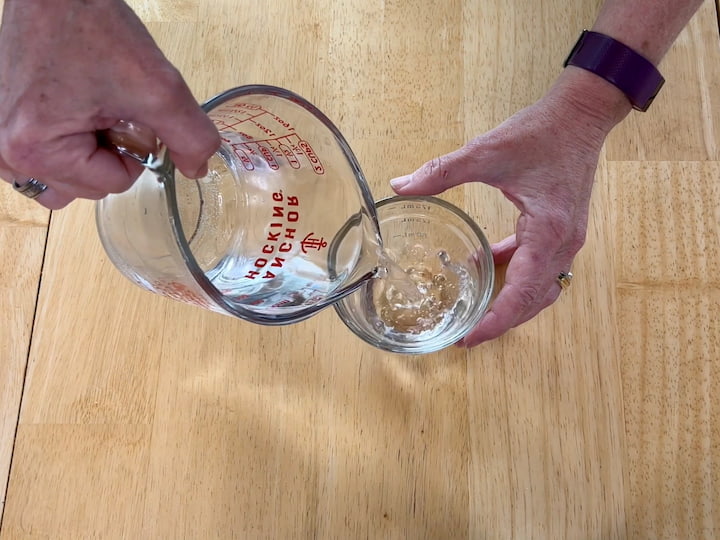
HOW TO DYE HARD-COOKED EGGS STEP-BY-STEP DIRECTIONS
1. BASIC EGG DYE INSTRUCTIONS
- Make your dye bath. Start by placing 1/2 cup boiling water into a 1 cup container.
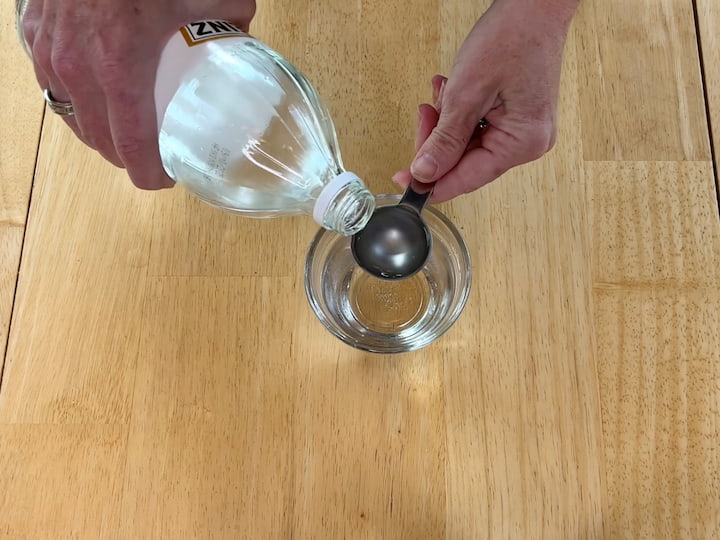
- Add 1 tablespoon vinegar to the water.
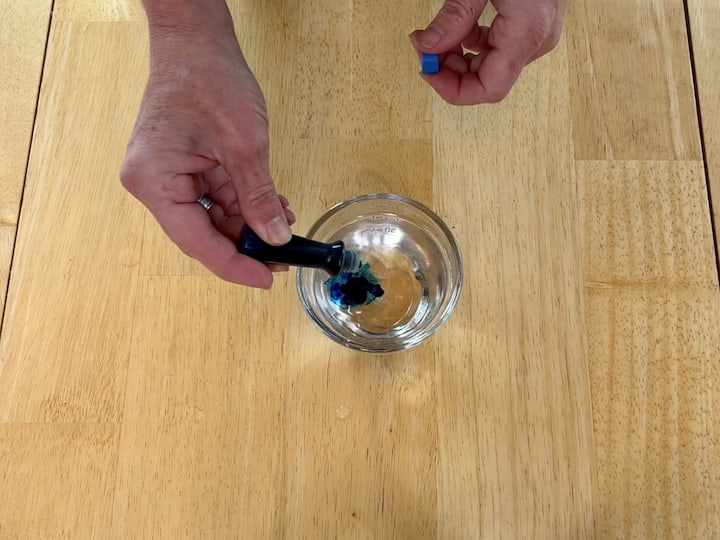
- Add drops of food coloring of your choice. The more drops you add the darker the color will be.
- Repeat this process for as many dye colors as you want.
- You can simply stop here, place your egg in the dye and let it soak for at least 5 minutes. If you soak the egg less, it will result in a lighter color, and if you soak it longer it’ll result in deeper more vibrant colors. Pull your egg out and let it dry.
2. SIMPLE STEPS FOR RUBBER BAND-DYED EGGS
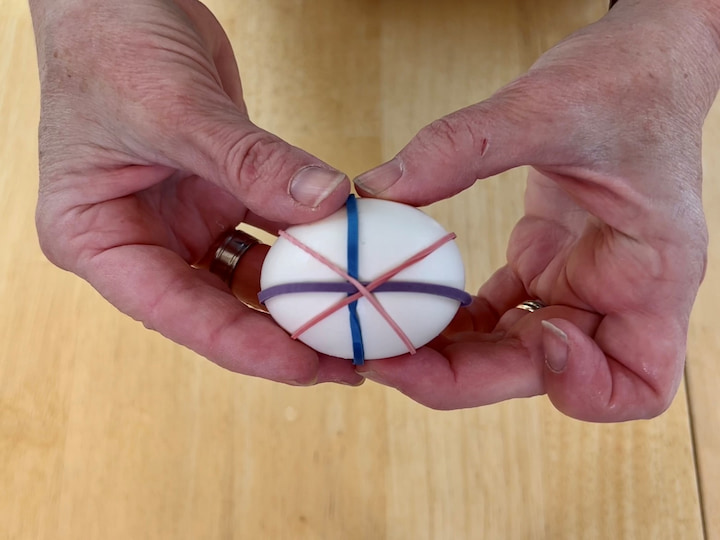
- Wrap your eggs with rubber bands. This is a fun way to get the effect of cool stripes.
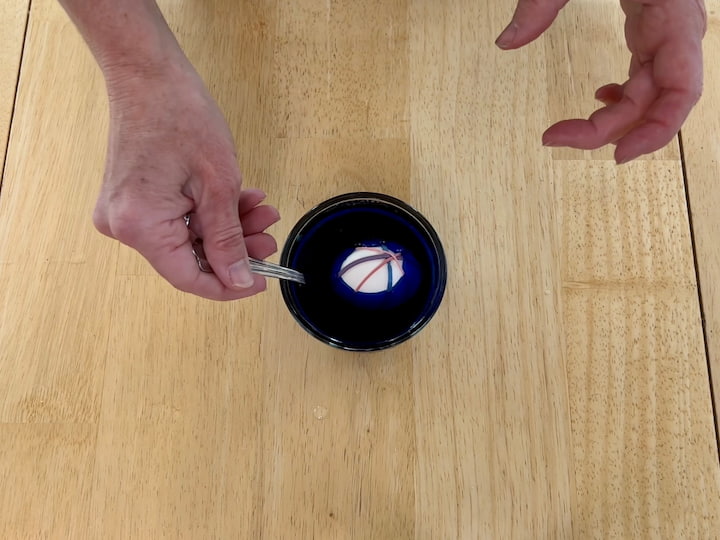
- Place your egg into the dye and let it soak for at least 5 minutes. If you soak the egg less, it will result in a lighter color, and if you soak it longer it’ll result in darker colors.
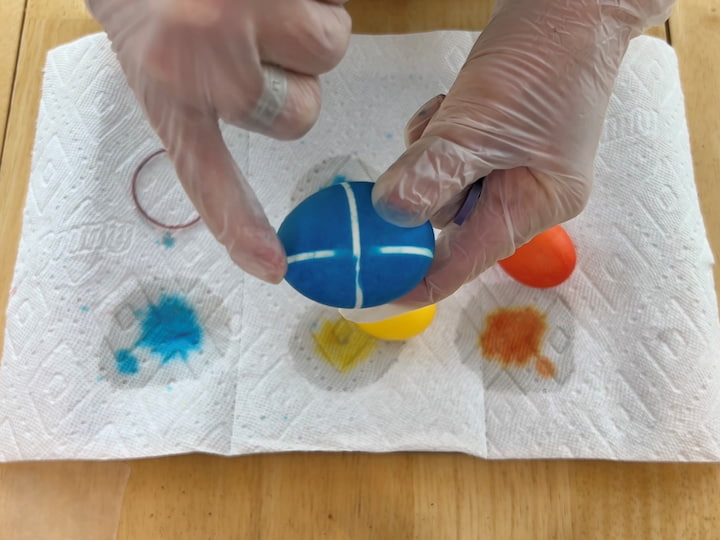
- Pull the egg out of the dye, let it dry, and then remove the rubber bands. I had 1 of the rubber bands slip off in the dye, but I’m still happy with how it turned out.
Note: when working with food coloring you might want to wear gloves safe for working with food. The food coloring will dye your hands.

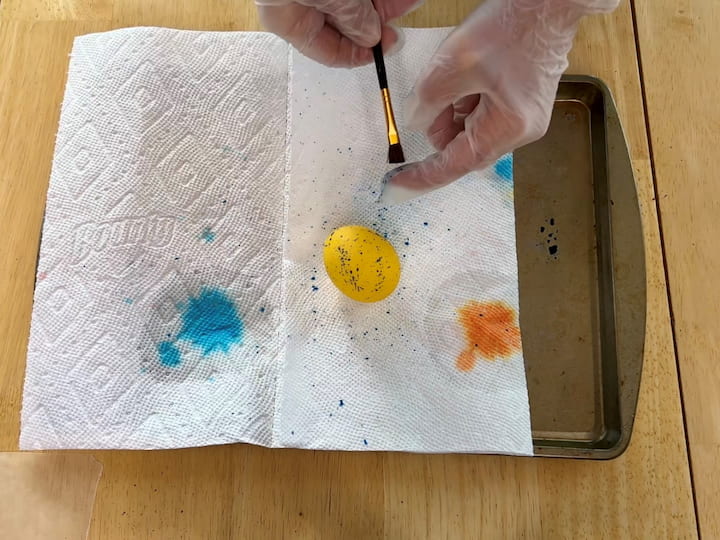
3. SPECKLED DYED EGGS
- Start with dying your egg one color. In this picture, you’ll see I dyed mine yellow.
- Let the egg dry
- Place another food coloring onto a pan, plate, or bowl.
- Dip a paintbrush into the dye, and with the egg on a paper towel flick the bristles at the egg. The end result is a speckled look
- Let the dye dry
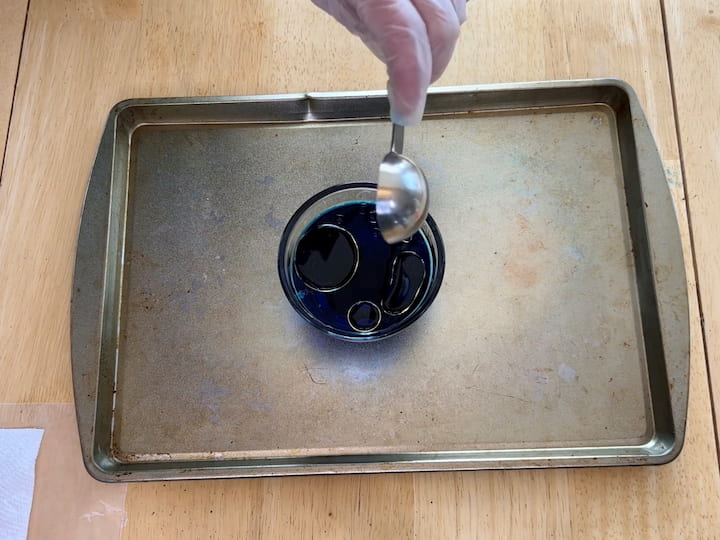
4. OIL-DYED EGGS
- Start with dying your egg one color.
- Let the egg dry
- In a second color, add 1 tablespoon of oil (I used avocado oil)
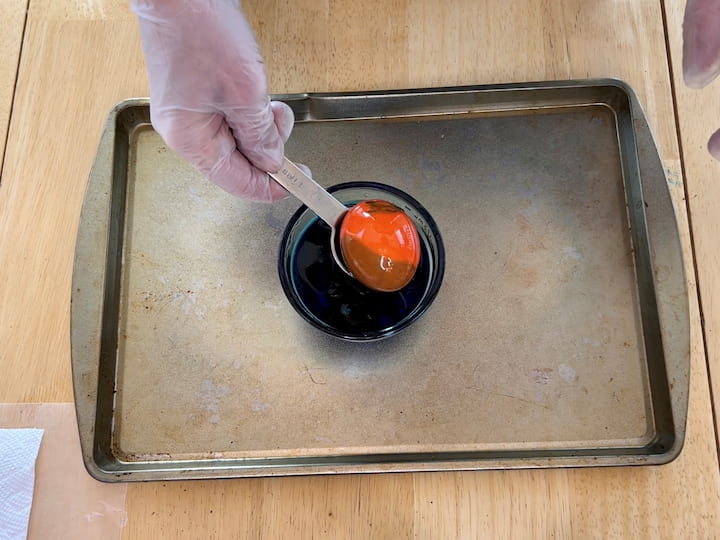
- Using a regular spoon dip the egg into the second dye with the oil, dunk a couple of times
- Remove the egg and let it dry completely.
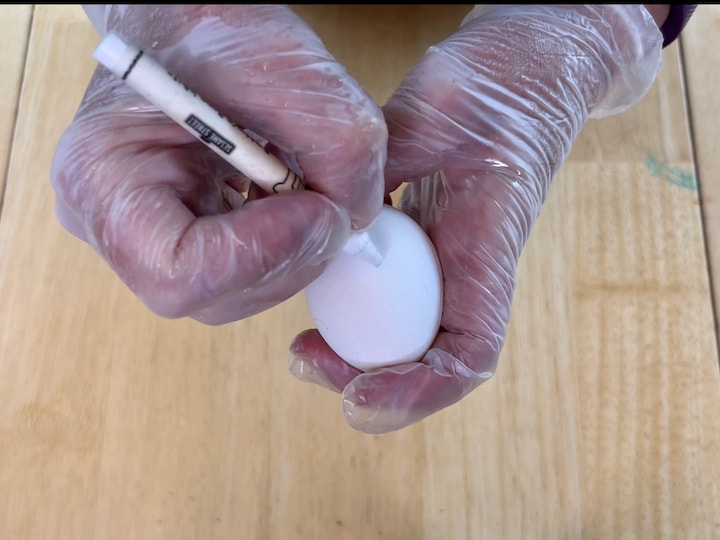
5. THE SIMPLE METHOD OF INVISIBLE DRAWING DYE
- Use a white wax crayon and draw a design on the white egg. You can use a color crayon but you’ll be able to see the design and it won’t be invisible. The waxier the crayon the better it will work.
- Place the egg into the dye and let it soak for at least 5 minutes. Small kids really like this easy way of dyeing eggs because it is like a secret being revealed!
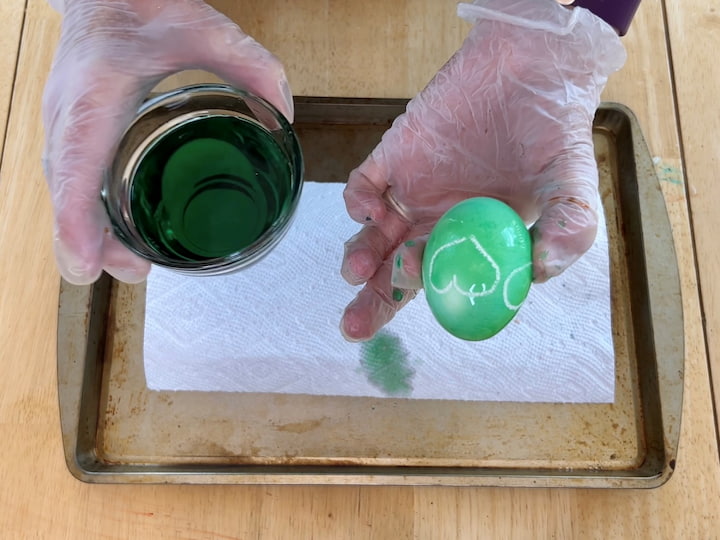
- Remove the egg and let it dry.
6. Ice tye-dyed egg
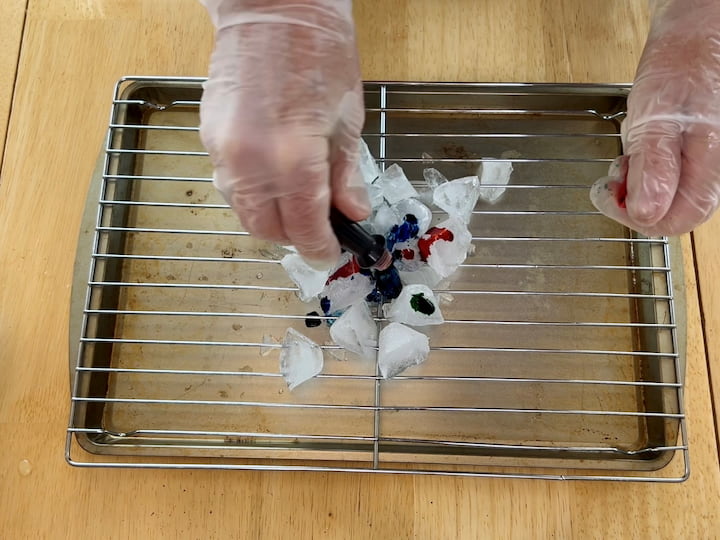
- Place a cooling rack onto a baking sheet so the dripping ice has a place to go.
- Place a layer of ice on the cooling rack
- Add drops of food coloring to the ice
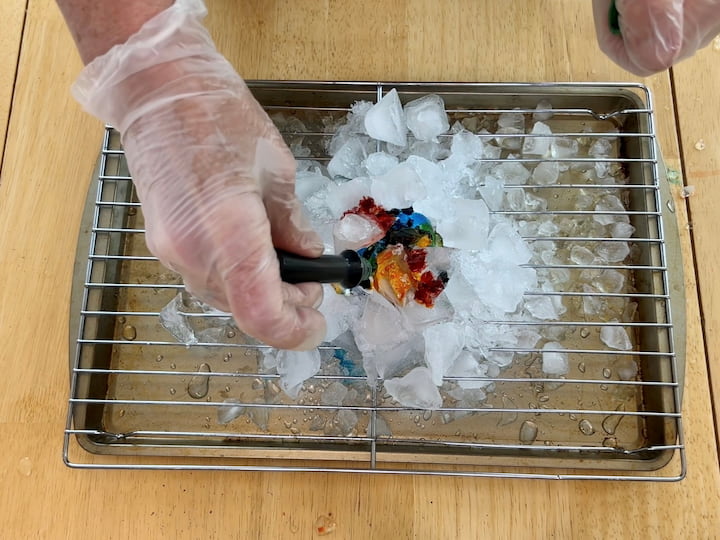
- Place the egg onto the ice and food coloring
- Surround and cover the egg with more ice
- Add drops of food coloring over the ice
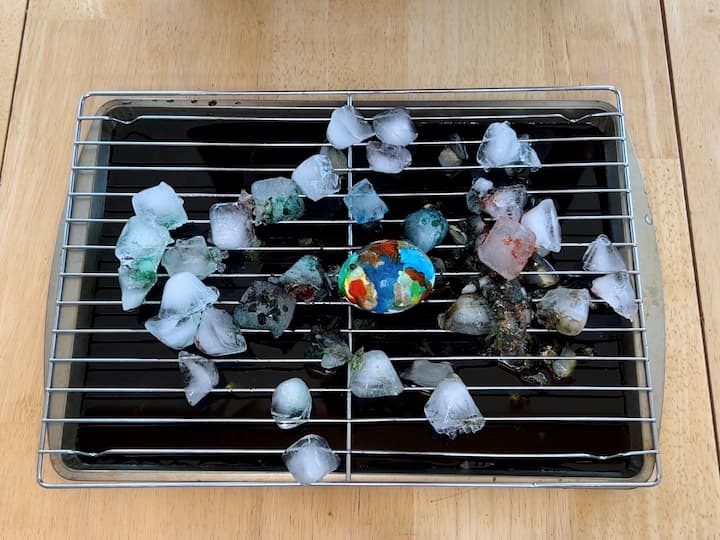
- Let the ice melt away
- Let the egg dry
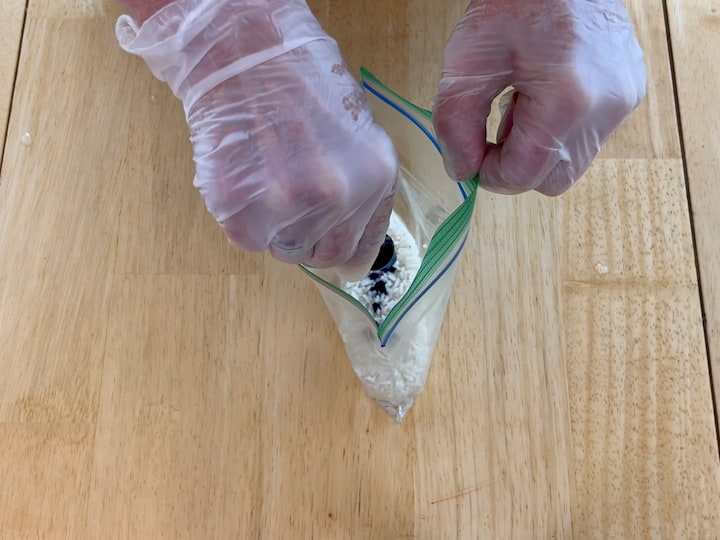
7. Rice Dyed Egg
- Place rice into a baggie
- Add drops of food coloring, the more drops the darker the color
- Close the baggie and give it a shake until the food coloring coats all of the rice.
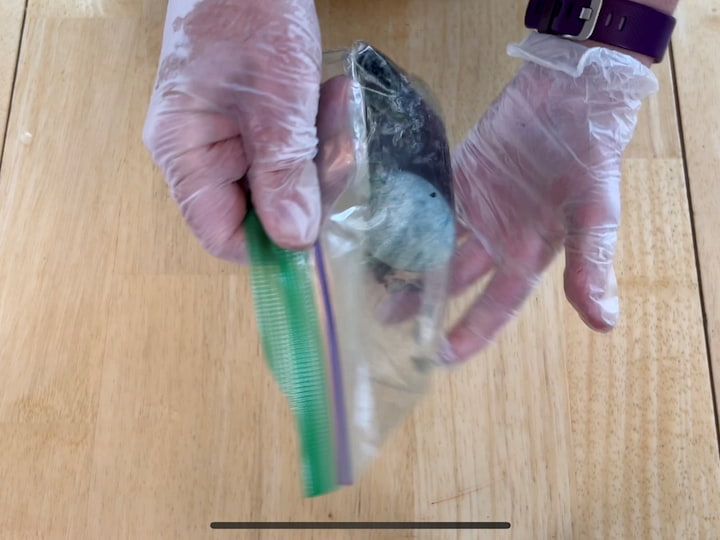
- Place an egg into the baggie
- Close the bag
- Give the bag a shake to coat the egg.
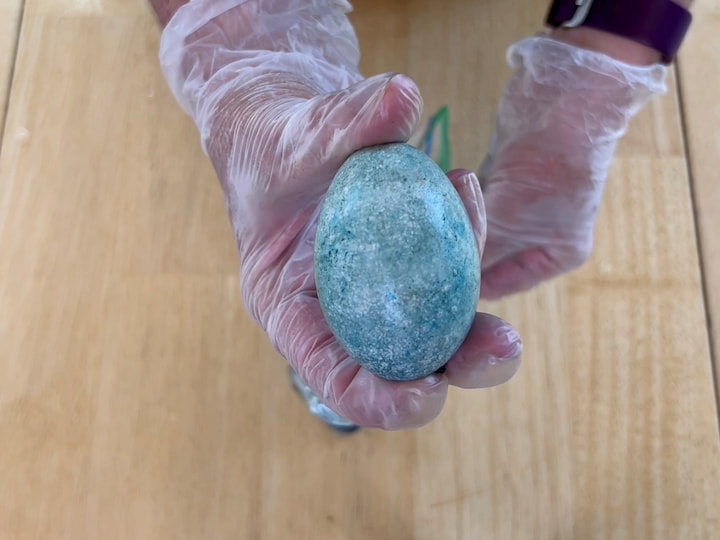
- Remove the egg and let it air dry completely.
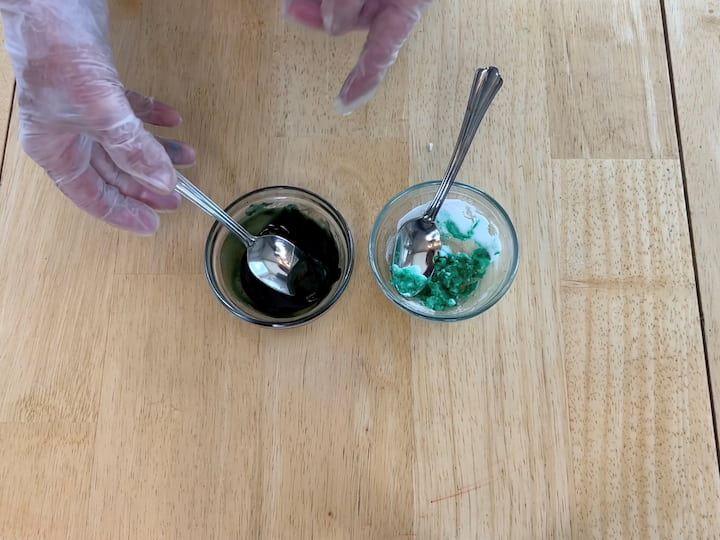
8. Baking soda dyed egg
- Place baking soda into a small bowl
- Add drops of food coloring to the baking soda
- Add a little water
- Mix together to make a paste. You can add a little more baking soda or water to create the paste consistency.
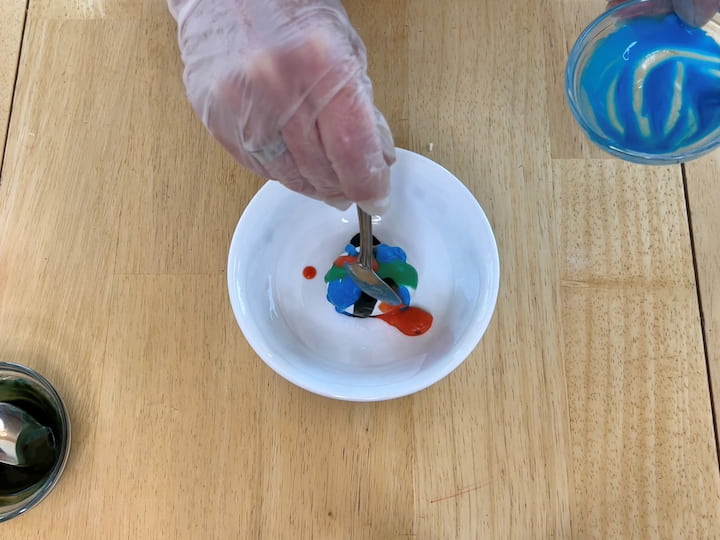
- Place an egg in a bowl
- Use spoons to drop the baking soda paste colors onto the egg
- Let it stand for about 5 minutes
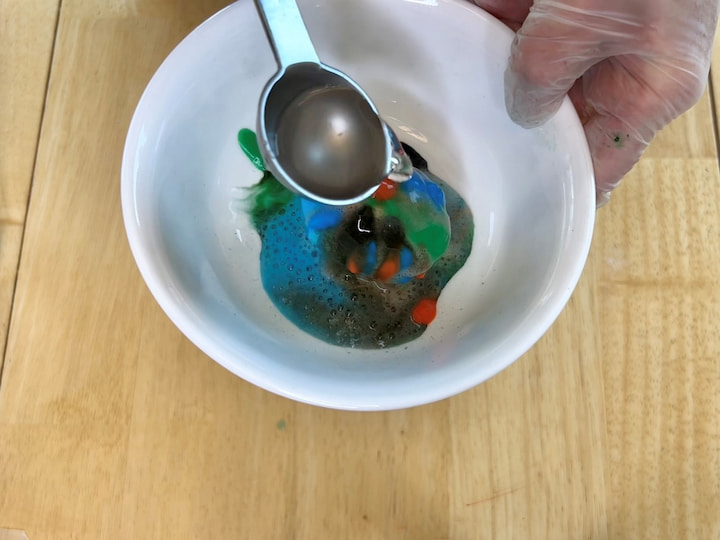
- Pour vinegar over the egg to dissolve the baking soda away.
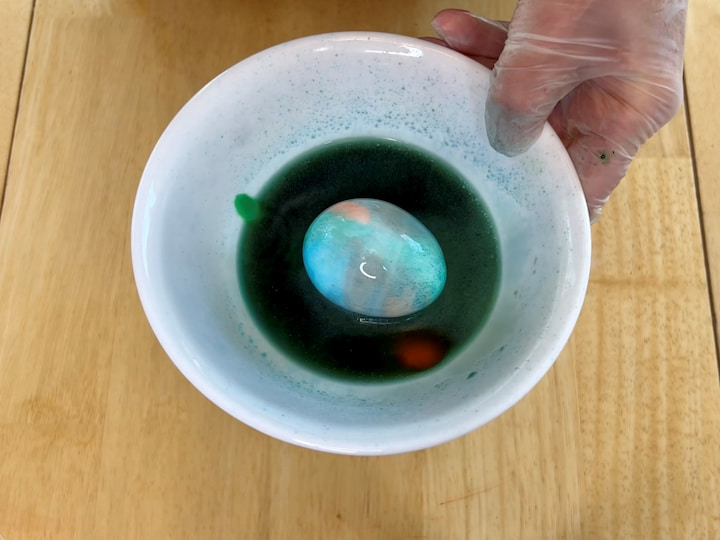
- Remove the egg from the bowl, rinse with water, and let it dry.
9. Cool Whip Dyed Eggs
Why cool whip instead of shaving cream? Well from the research I have found, egg peels are porous and I wasn’t sure I wanted to eat eggs dipped in shaving cream.
- There are so many ways to do this – you can fill a pan with cool whip or individual bowls. It really depends on if you’re going for a single color or tie-dye look.
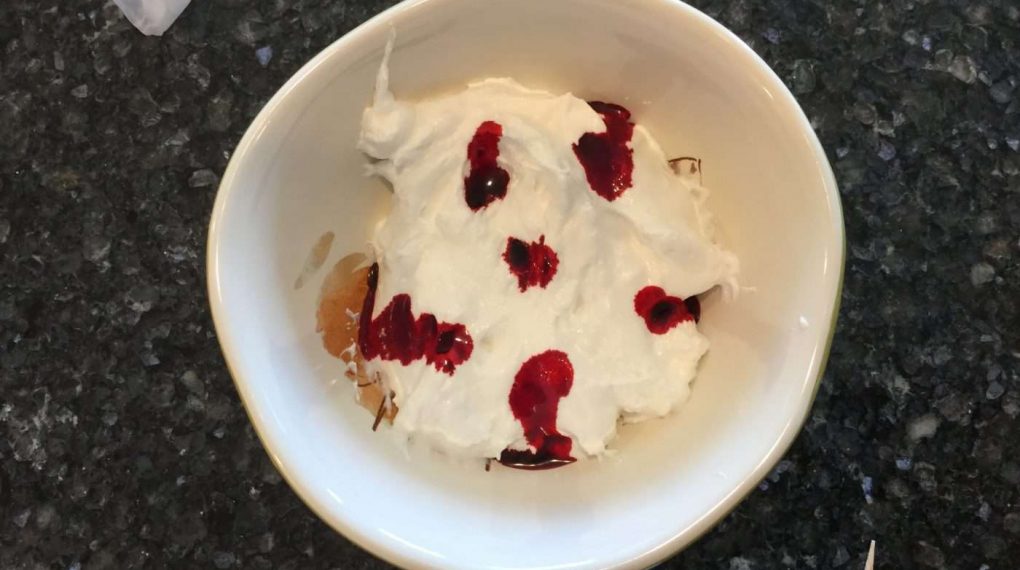
- Place your eggs in vinegar for approximately 2 minutes. This will make step helps the shell take on the dye better.
- Place your cool whip in the container of your choice. Add drops of food color.
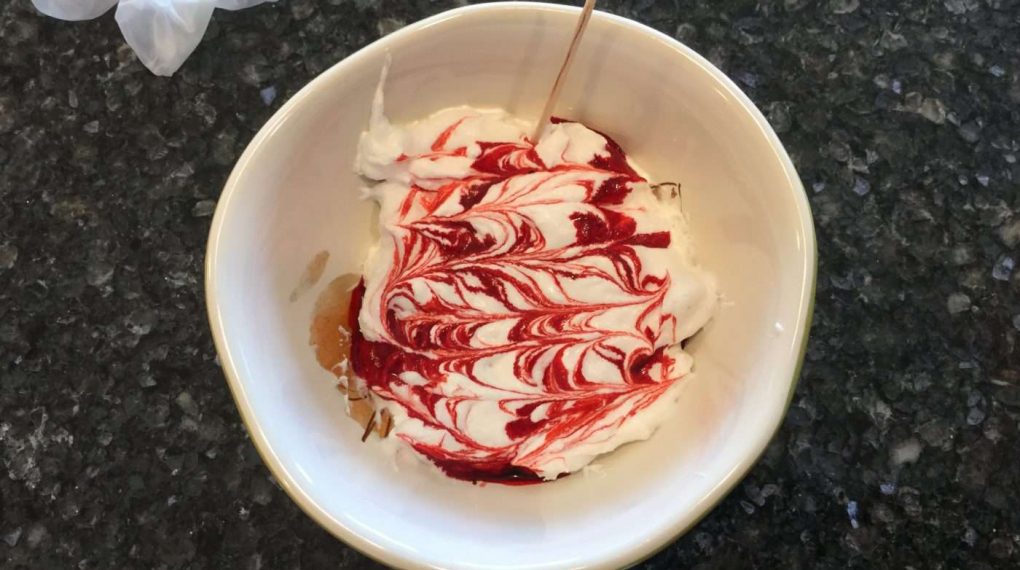
- Use a toothpick or utensil of your choice and swirl in the color.
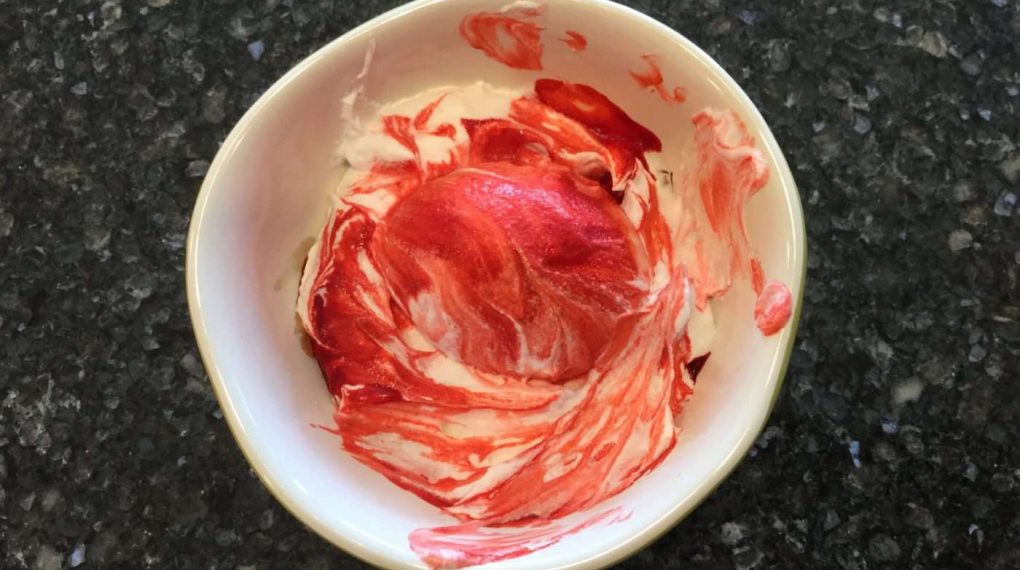
- Place your egg in the mixture – dip, roll, etc until you get the egg covered.
- Let the egg sit for 30 minutes.
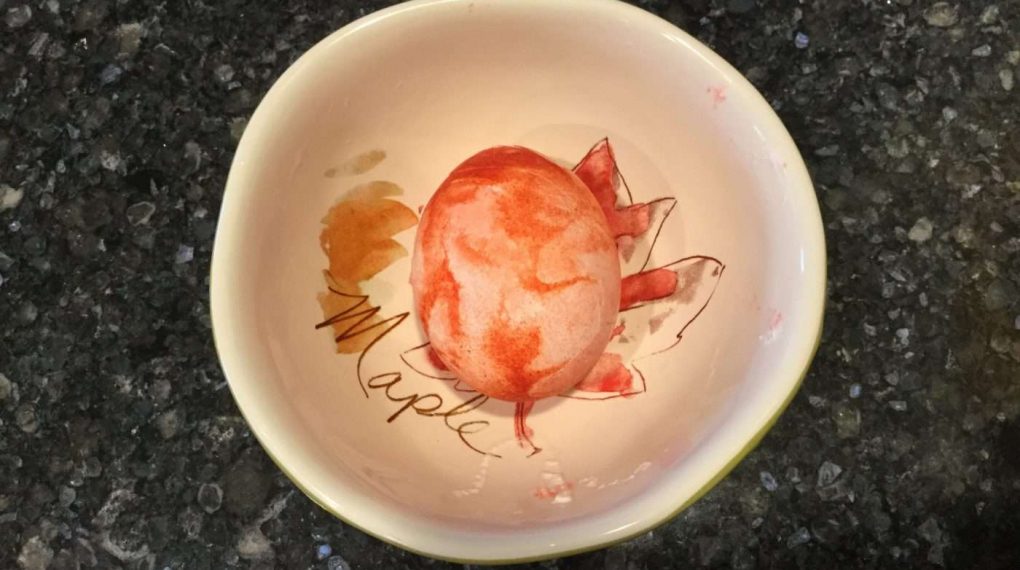
- Wipe the egg clean and you’re done!
How To Dye Hard Boiled Eggs Video
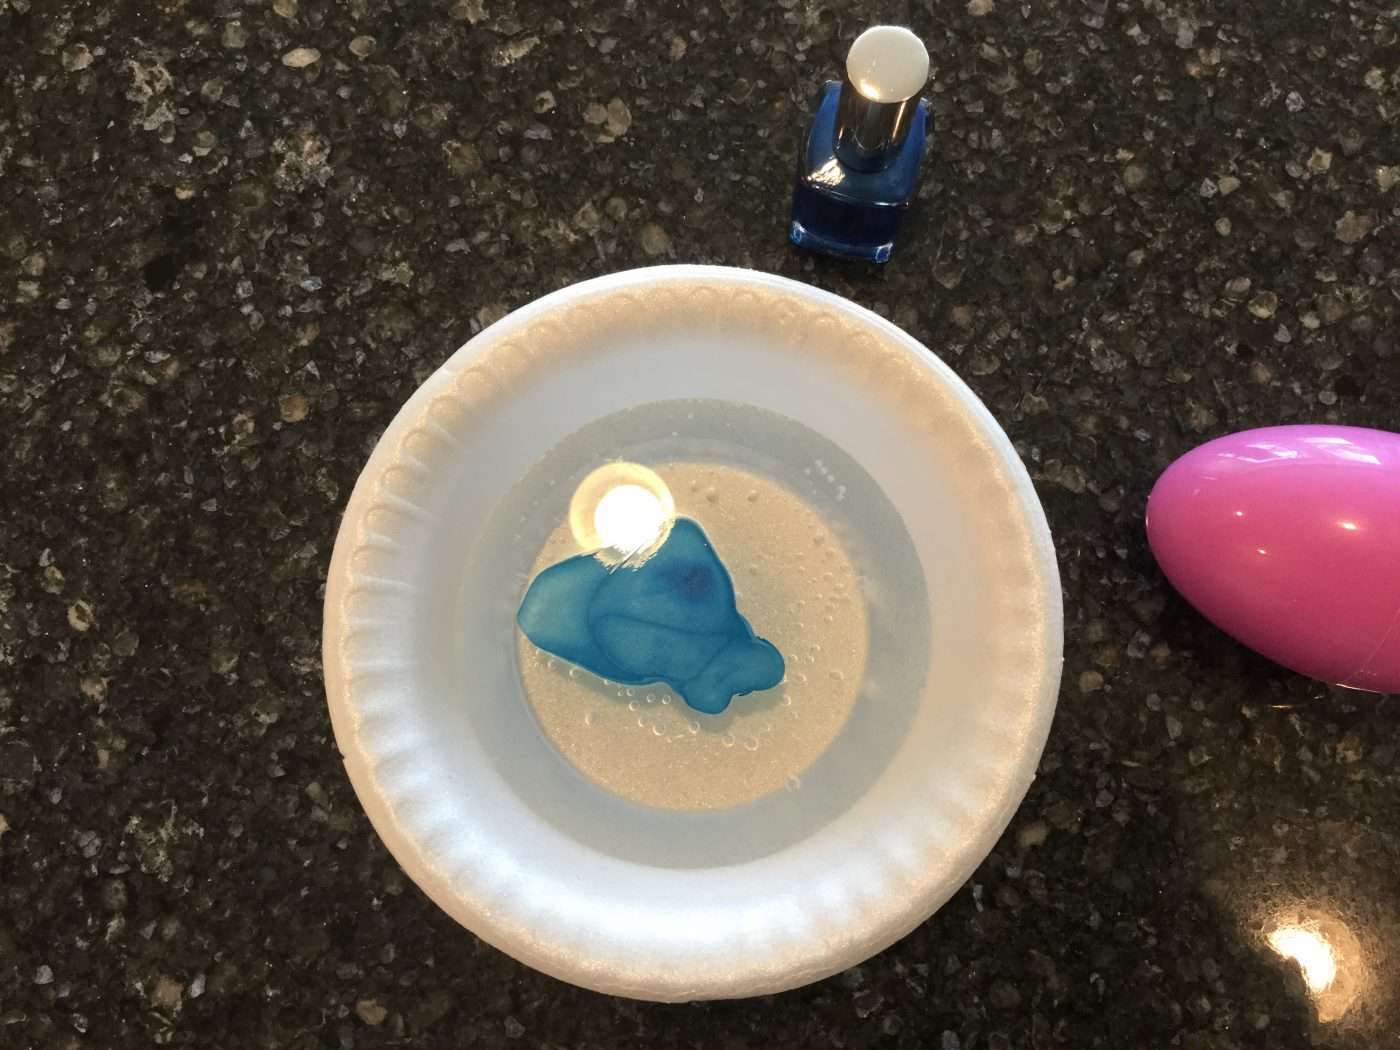
Non Edible Option Way To Dye Plastic Eggs
(Again since eggs are porous, I did this technique to spruce up a plastic egg.)
- Put water in a disposable container or something you don’t mind getting dirty.
- Add a few drops of nail polish and watch for it to expand. If it does not expand, it won’t work.
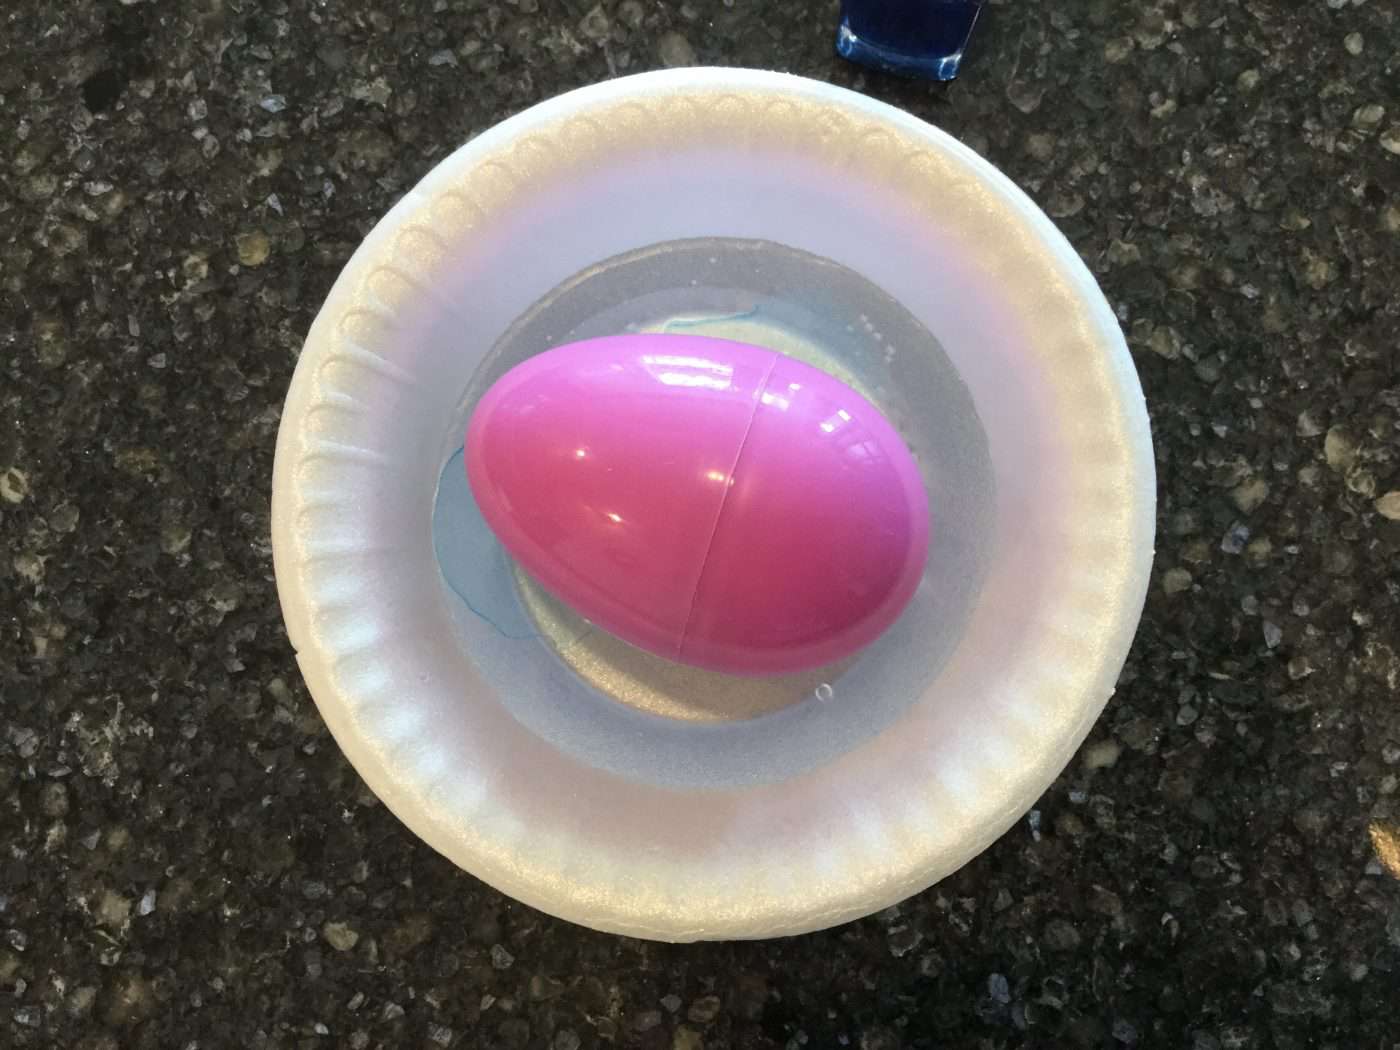
- Dip, roll, etc your egg in the mixture.
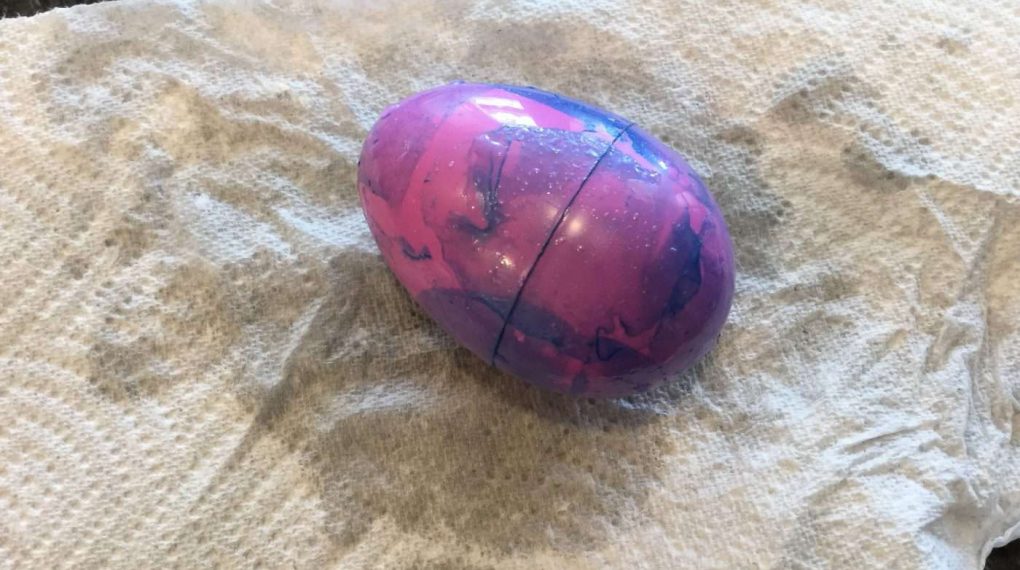
- Set out to dry.
- That’s all there is to it!
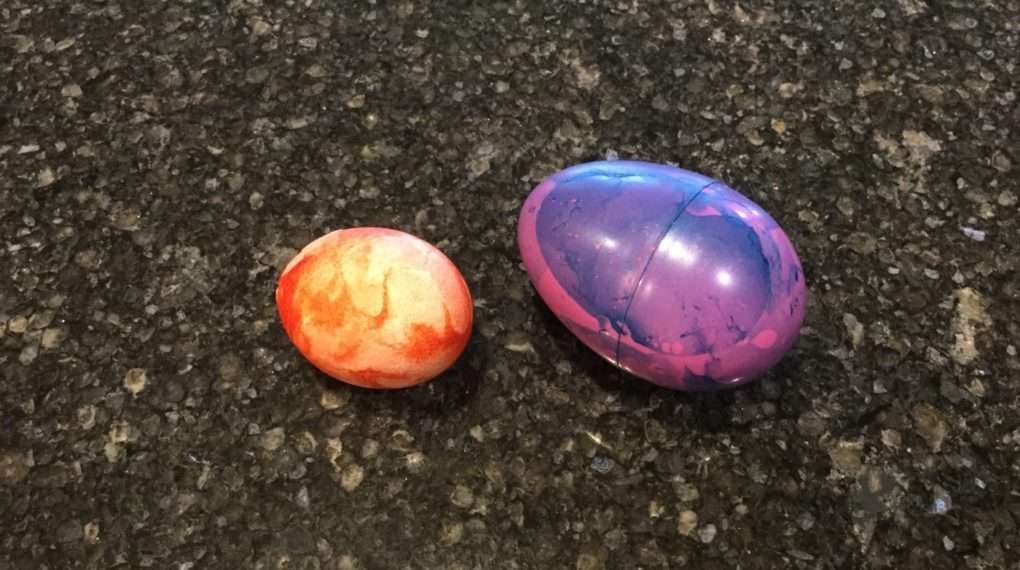
dye eggs Video
Shop any of these stores and I receive a small commission at no cost to you.
 BOVADO USA 1 Cup Glass Roun...Shop on Amazon
 Heinz All-Natural Distilled...Shop on Amazon
 TURBA Clear Latex-Free Disp...Shop on Amazon
 Amazon Basics Assorted Size...Shop on Amazon
 Soucolor Acrylic Paint Brus...Shop on Amazon
 Nishiki Medium Grain Rice, ...Shop on Amazon
Check out some of my related posts!






Chas
This really was a helpful Video. Sooo many ideas. Thanks for your nifty ideas.
Thank you so much Carol, you are so very sweet.