

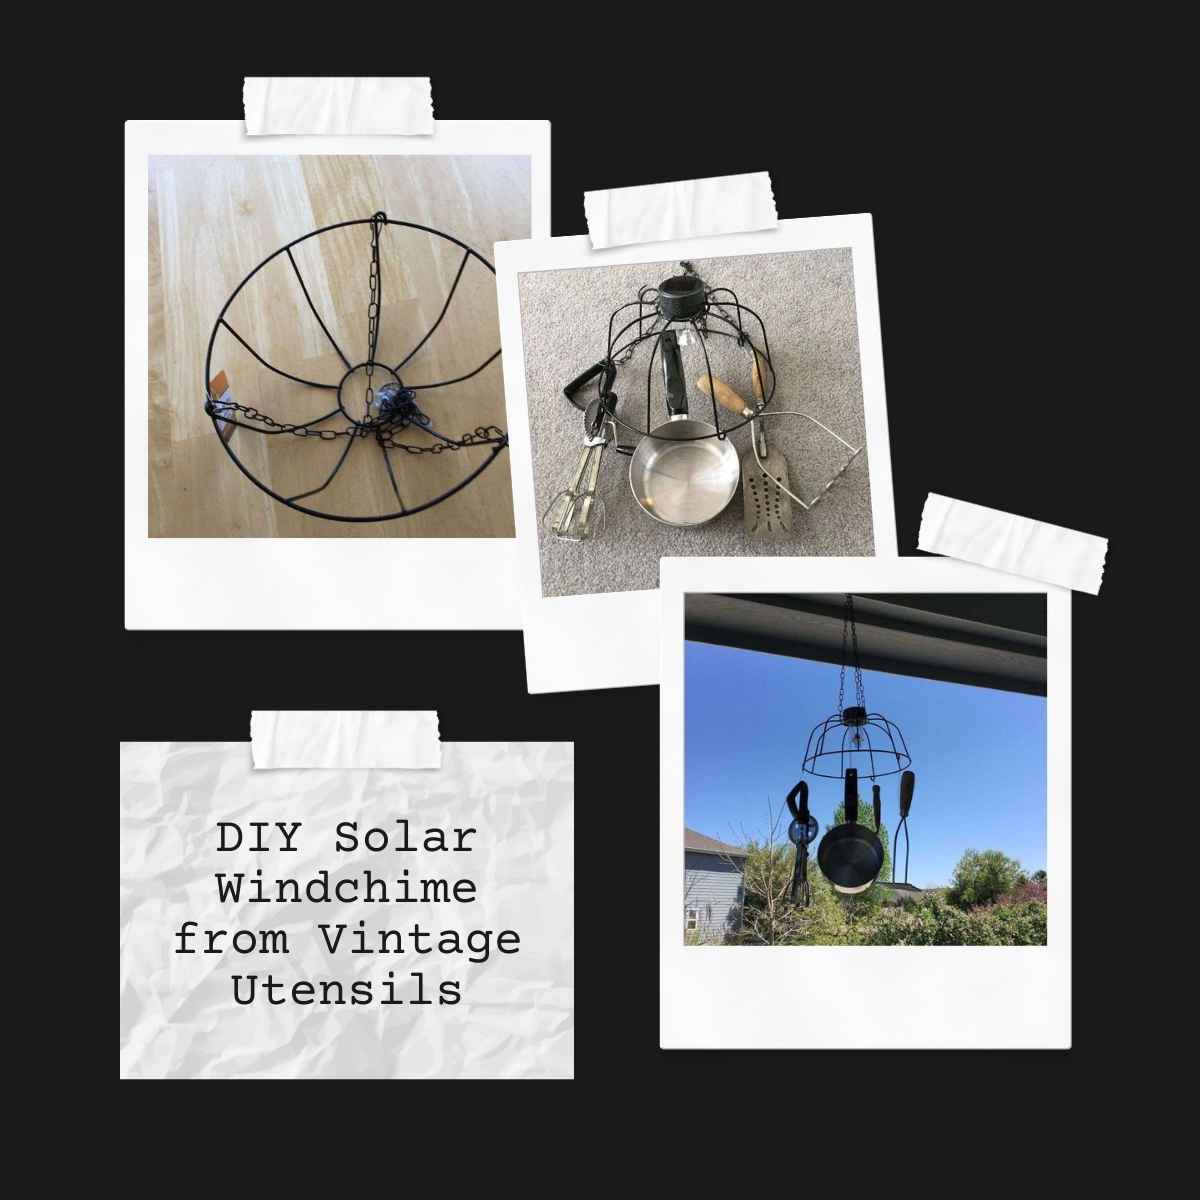
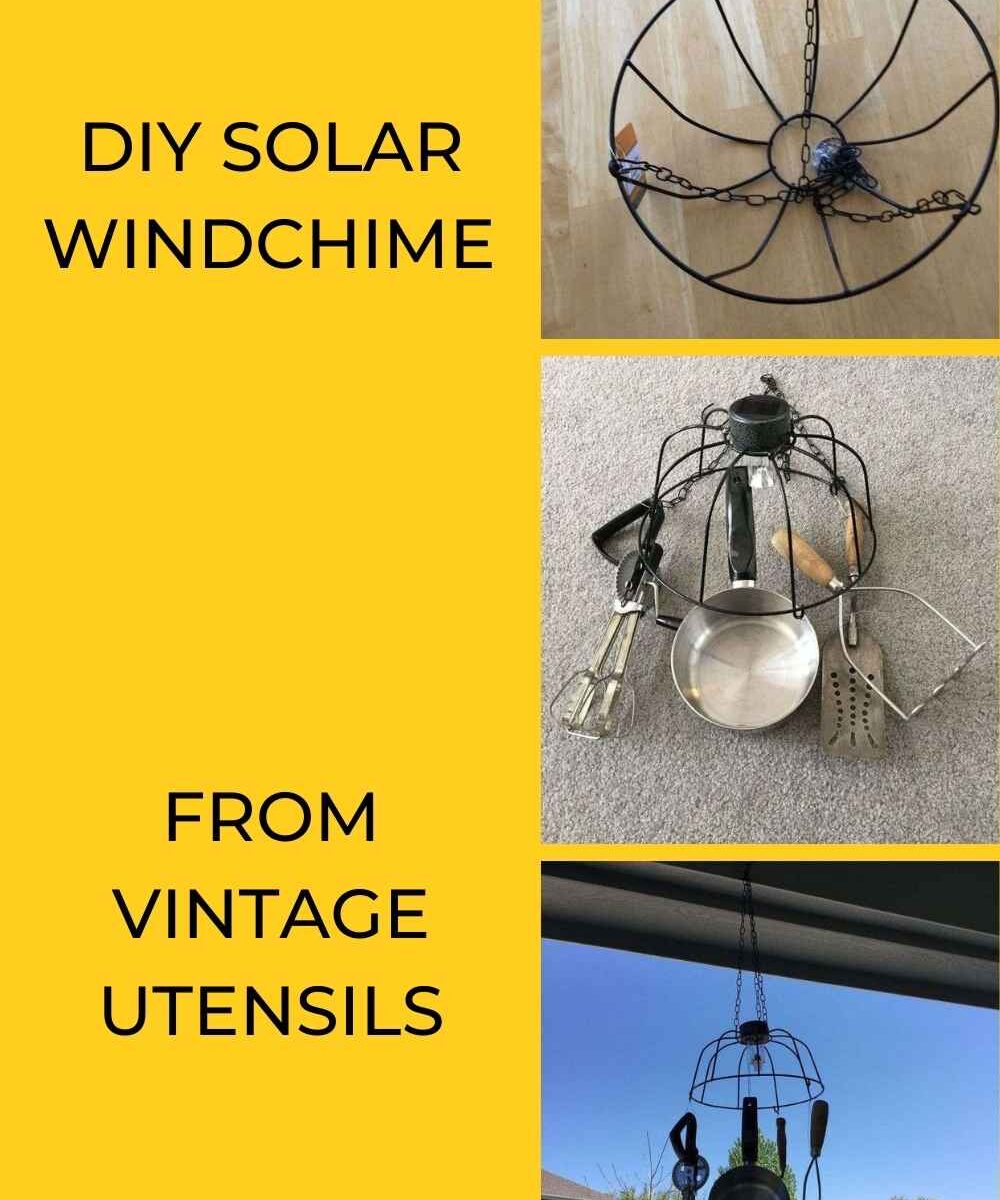
DIY Solar Windchime from Vintage Utensils

Do you have a drawer full of Grandma’s old kitchen gadgets that are too sentimental to toss but too rusty to use? I had a collection of vintage potato mashers, egg beaters, and spatulas from both my husband’s grandmother and my own. Instead of letting them gather dust, I decided to turn them into a DIY Solar Windchime. Now, every time the wind blows, I hear the gentle clinking and think of the amazing women who used these tools to feed our families.
Quick Answer: How do you make a windchime out of old utensils?
You can create a sentimental windchime in 3 steps:
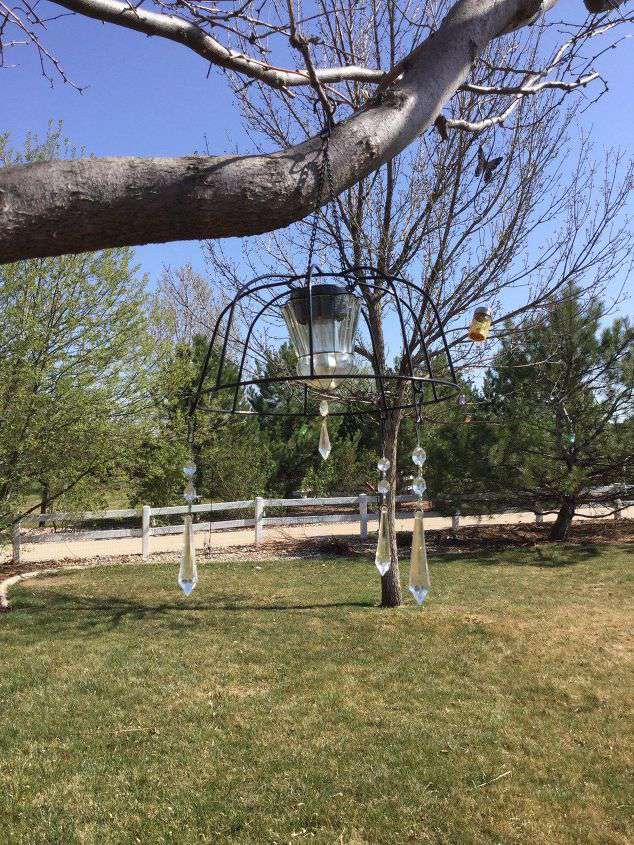
- The Base: Use a wire hanging basket (or colander) as the top frame.
- The Chimes: Attach vintage utensils (egg beaters, spatulas, ladles) to the frame using strong wire or shower curtain rings.
- The Light: Remove the chain from the basket and insert a solar path light into the center for a glowing night feature.
This is a perfect upcycling project because it mixes nostalgia with functionality. By adding a simple solar light, this windchime doubles as a glowing garden lantern at night! Looking for more garden lighting ideas? If you love this project, you should also check out my [Easy Flower Basket to Solar Chandelier], [ Dollar Tree Planters: Easy and Awesome DIY with Video], or my [New Year’s Eve Ball – 2 options], which uses similar Dollar Tree supplies!
How To Make Super Fun Dollar Tree DIY Wind Chimes Video
Materials Needed
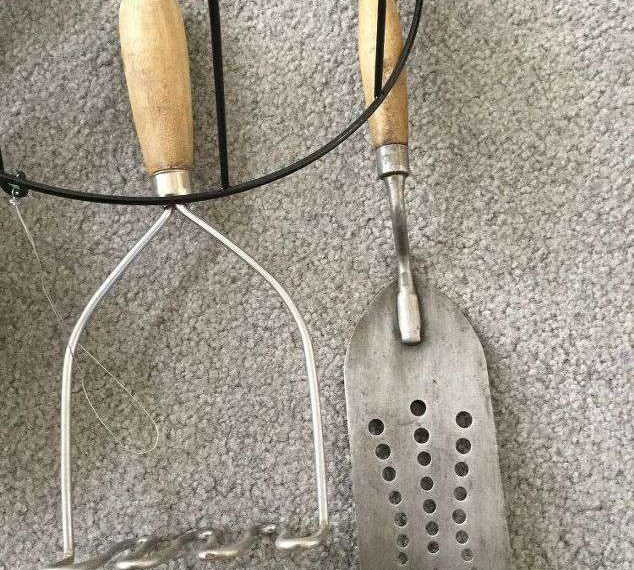
- Vintage Utensils: Look for “heavy” items like ladles, whisks, potato mashers, or spatulas.
- Wire Hanging Basket: I used a cheap planter basket from Dollar Tree.
- Solar Path Light: Remove the stake; you just need the light head.
- Attachment Hardware:
- Option A (Easiest): Metal Shower Curtain Rings (from Dollar Tree).
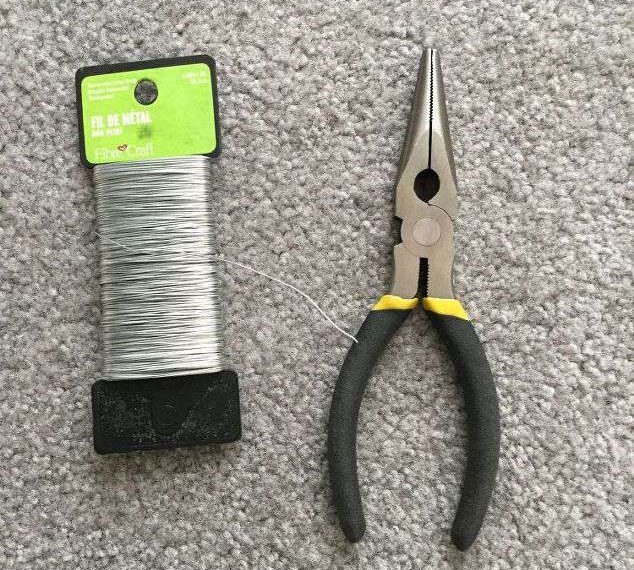
- Option B (Invisible): Strong Floral Wire or Fishing Line.Wire Cutters or Pliers.
How to Make a Utensil Windchime
Step 1: Prepare the Basket
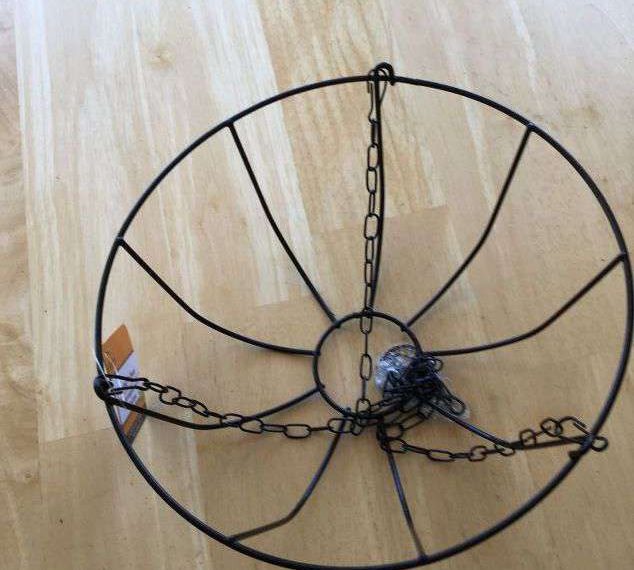
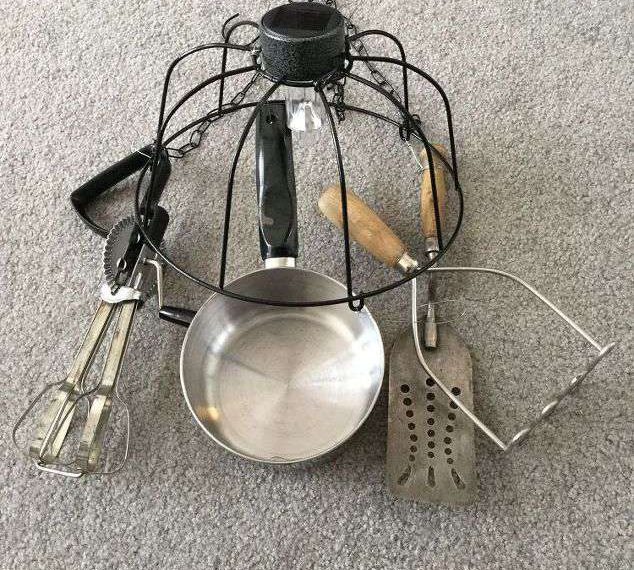
Start with a wire hanging planter basket.
- Remove the coco liner (save it for another garden project!).
- You are left with a wire “cage” frame attached to chains. This will be the body of your chandelier.
Step 2: Arrange Your “Chimes”
Lay out your utensils to see how they look together.
- Balance is Key: Try to space heavy items (like the potato masher) opposite other heavy items so the windchime hangs straight.
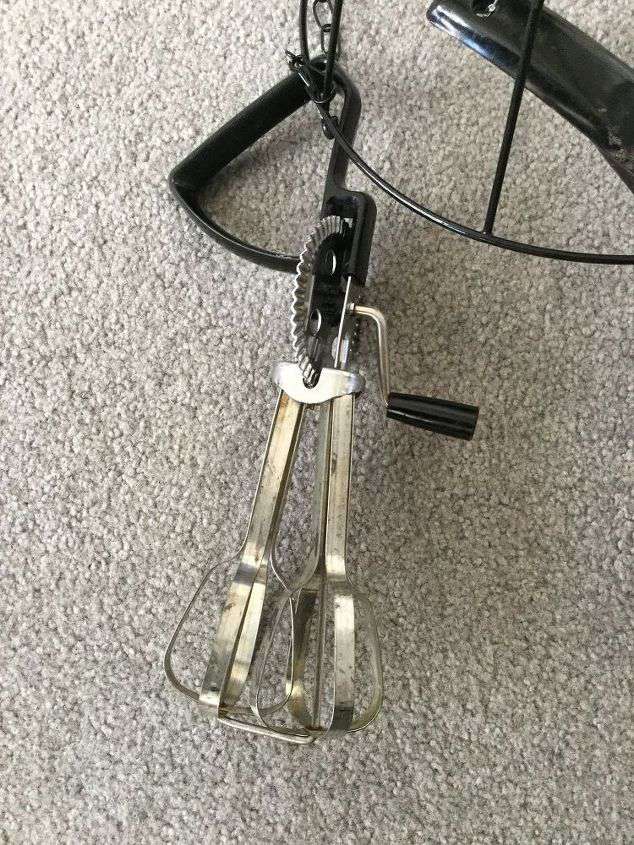
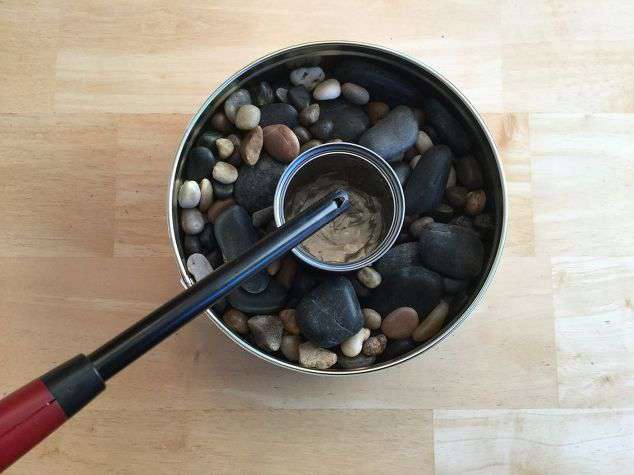
- My Collection: I used an egg beater, a spatula, a ladle, and an old aluminum pot.
Step 3: Attach the Utensils
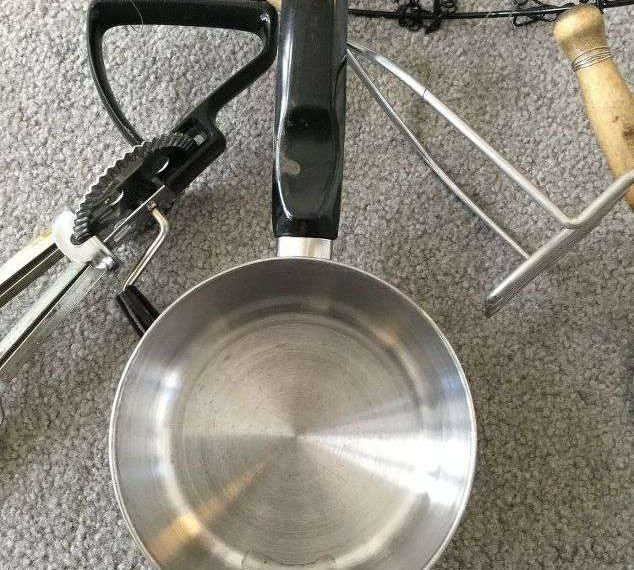
I originally used floral wire, but I found that Metal Shower Curtain Rings work much better!
- How to do it: Loop a shower curtain ring through the handle of the utensil, and then clip it onto the bottom rim of the wire basket.
- Why this works: The rings allow the utensils to swing freely in the wind, creating better sound than if they were wired tight.
Step 4: Add the Solar Light

Remove the plastic stake from your solar path light.
- Push the solar light through the top center hole of the wire basket (where the chains meet).
- If the hole is too big, use a bit of wire to secure the light in place so it doesn’t fall through.
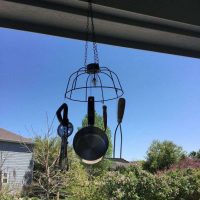
Step 5: Hang and Enjoy
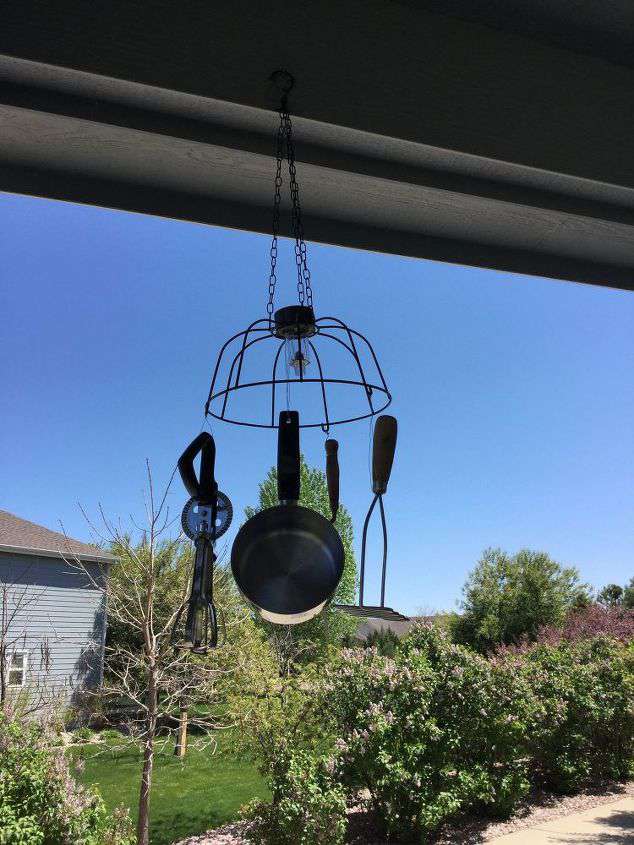
Find a sunny spot in your garden (so the solar panel can charge) and hang your new creation!
- Note: Because kitchen utensils are heavy, you need a sturdy shepherd’s hook or tree branch.
Dollar Tree DIY Wind Chimes Video
More Ways to Use a Dollar Tree Wire Basket

I love using these cheap wire planters for crafts because the frame is so versatile. If you bought a stack of them, here are a few other projects you can make:
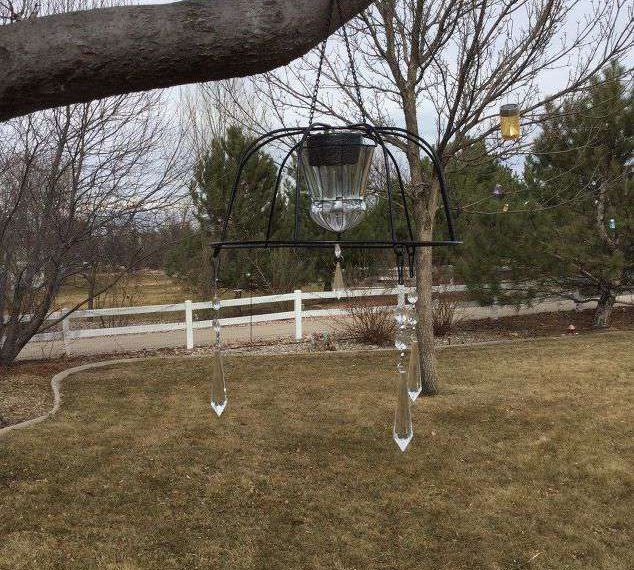
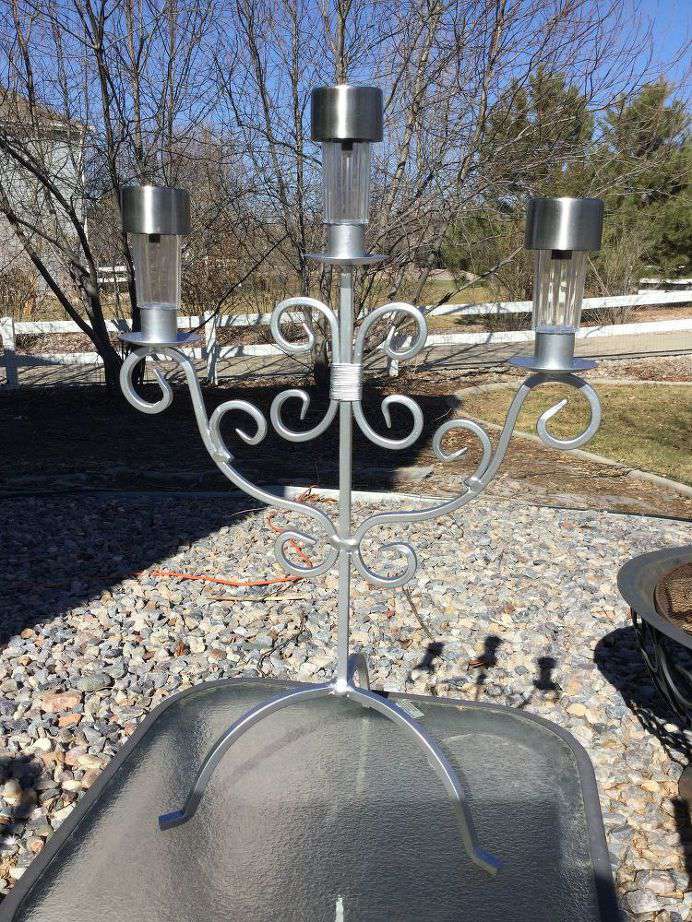
- [Flower Basket to Solar Chandelier]: If you prefer “glam” over “rustic,” swap the utensils for faux crystals to make a sparkling light feature.
- [Dollar Tree Planters]: I turned these baskets into a tiered storage system for my craft room (or kitchen produce!).
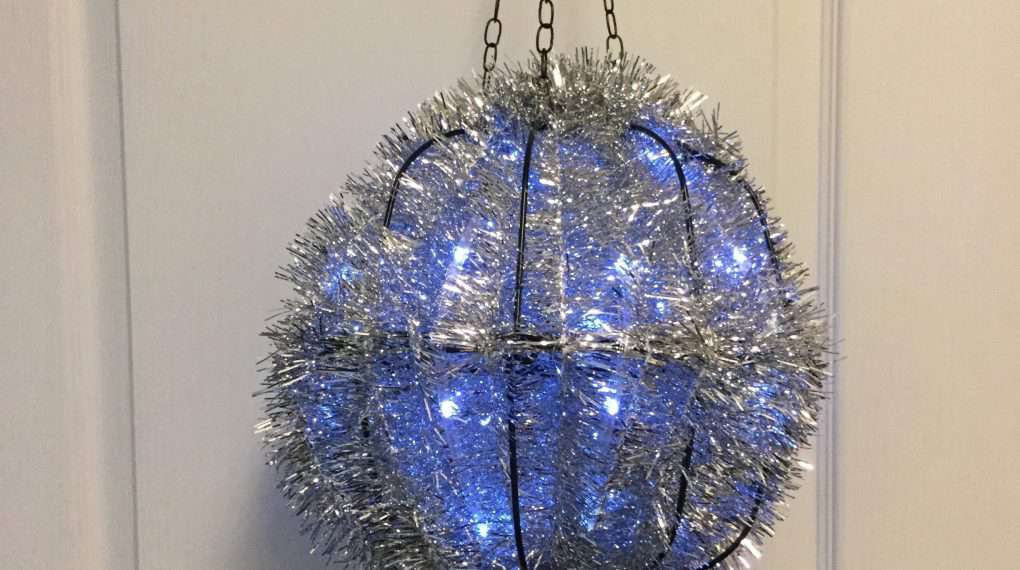
- [New Year’s Eve Ball]: Wrap the wire frame in lights to create your own “Times Square” drop ball for holiday parties.
3 Tips for the Best Sound
- Metal on Metal: The best sound comes from items clinking against each other. Hang a “striker” (like a spoon) in the very center of the chime so it hits the outer utensils when the wind blows.
- Vary the Lengths: If all your utensils are the same length, they might not hit each other. Use small S-hooks or chains to hang some lower than others.
- The “Silverware” Sound: Silver-plated spoons make a lovely tinkling sound, while heavy iron tools (like my potato masher) make a deeper “clunk.” Mixing them creates a full orchestra!
Frequently Asked Questions
Not for this method! Since I used kitchen tools with handles (egg beaters, spatulas), I could just loop the wire through the existing handle holes.
If you are using flat spoons: Yes, you will need to drill a hole. Use a Cobalt Drill Bit (designed for metal) and go slowly. Wear safety glasses!
If they are stainless steel or aluminum, they will be fine. If they are vintage iron or tin, they will develop a rust patina over time.
Prevention: You can spray the utensils with a coat of Clear Polyurethane spray paint before hanging them to protect them from the elements.
If the solar light is too small for the hole in your basket:
Wire Fix: Wrap floral wire around the neck of the light to create a “stopper.”
Washer Fix: Glue a large metal washer to the top of the basket to make the hole smaller.
Vintage Utensil Solar Chandelier
Equipment
- Pliers
Materials
- 1 Wire Planter Basket Dollar Tree
- 4-6 Vintage Kitchen Utensils
- 1 Solar Path Light
- Metal Shower Curtain Rings
Instructions
- Prep: Remove the liner from the wire basket.
- Attach: Use shower curtain rings to clip the handle of each utensil to the bottom rim of the basket.
- Balance: Space the utensils evenly around the circle so the basket hangs level.
- Light: Insert the solar light into the top center of the basket frame.
- Hang: Display in a sunny spot and listen to the memories!
You can make simple mobile wind chimes out of just about anything. If you make one of these please email me a photo, I’d love to see it! And you can tag me on social (Instagram, Facebook, TikTok, etc.
Find out “What Exactly Does It Mean To Repurpose Or Upcycle“, save money, and create the most amazing things.


This would make me smile every time I saw it. Great project and a great way to remember those we love. Thanks for sharing again this week. #HomeMattersParty
Thank you so much Donna 🙂
What a fun idea, Chas!
Thank you for sharing with Creative Compulsions!
Michelle
mybijoulifeonline.com
Thank you Michelle, I’ll see you at the next party.
Such a cute idea, Chaz! Love both how easy it is to make AND that you can recycle old utensils.
Thank you so much Marie – I truly appreciate it 🙂
My sister has some of my grandparents’ old utensils and she likes wind chimes, so I am going to share this with her. I’m kind of a get rid of stuff person, and she is a bit of a keep everything person. I’m thinking that she actually uses some of the utensils, but she may even quit using them if she has a way to display them. She is a bit sentimental about some of these things.
Thanks Amy for sharing it with your sister. I think I’m a bit of both of you – use it or let it go. So this was one way I could use something and I let some others go 🙂
Seriously cutest EVER!!!!!!!!!!
Love this idea and you are a genius!
Happy day!
karianne
Thank you so very much KariAnne! You are just so sweet friend.
You sure are creative for sure Chas and inspiring.
Thank you so much Terrie
This fun post is a CREATIVE feature on the May You’re the STAR blog hop: https://www.godsgrowinggarden.com/2018/05/youre-star-week2-creative-may-2018.html
Thanks
Angie
Thank you so much for the feature Angie and thanks for hosting a wonderful place for all of us to share our creations.
This is adorable & what a charming garden decoration. I will be featuring this in my 13 Charming Garden Decorations at Merry Monday on Sunday at 6 pm pst. Hope to see you at the party!
Thanks Jenny I’m so honored to be featured and look forward to the next link up.
This is such a fun idea Chas. I have more then enough utensils to fill one up.
Thank you Mary and I love that you have utensils to fill one up too 🙂
LOVE this! I used to have a wind chime made of forks and spoons and knives!!
Thank you and I love that you had one with silverware. I’ll have to make one of those next 🙂
this is a fun wind chime and easy to make. Found you on Blogger’s Pit Stop Blog Party.
Thank you Candy and thanks for stopping by.
What a lovely way to remember your grandmas! Sharing this beautiful vintage craft on the Hearth and Soul Link Party Facebook page. Thank you so much for sharing, Chas! Hope you are having a lovely week!
Thank you April and thank you so much for the share 🙂 Looking forward to joining next week.
I love this! I have one with old enamelware and silverware, but I’m going to be looking for some old utensils like these to make another one!
Thanks Donna and I love that you have one too! If you make another please send me a picture 🙂
I love that idea Chas! I have some small pots that belonged to my FIL. That might be a way to display them.
Thanks Linda, glad you like it. I was tired of so many thing just sitting in boxes that I never got to see. Now I can enjoy them all the time.
i love your gazing ball for the table,, i just love your ideas
You are so sweet Gail, thank you and I’m so glad you like it 🙂