Easy Floral Pens
You can make these floral pens in no time at all. They are easy and inexpensive to make, and great gift ideas for friends, family, and teachers. This is a great project for craft time – whether it’s kids and teens, a team builder with your colleagues, or craft night with your friends. If you don’t want your pens disappearing from your office, or you just want to spruce up your office, these pens are a great option.
This post may contain affiliate links, I earn from qualifying purchases at no extra cost to you. Click here for my disclosure policy
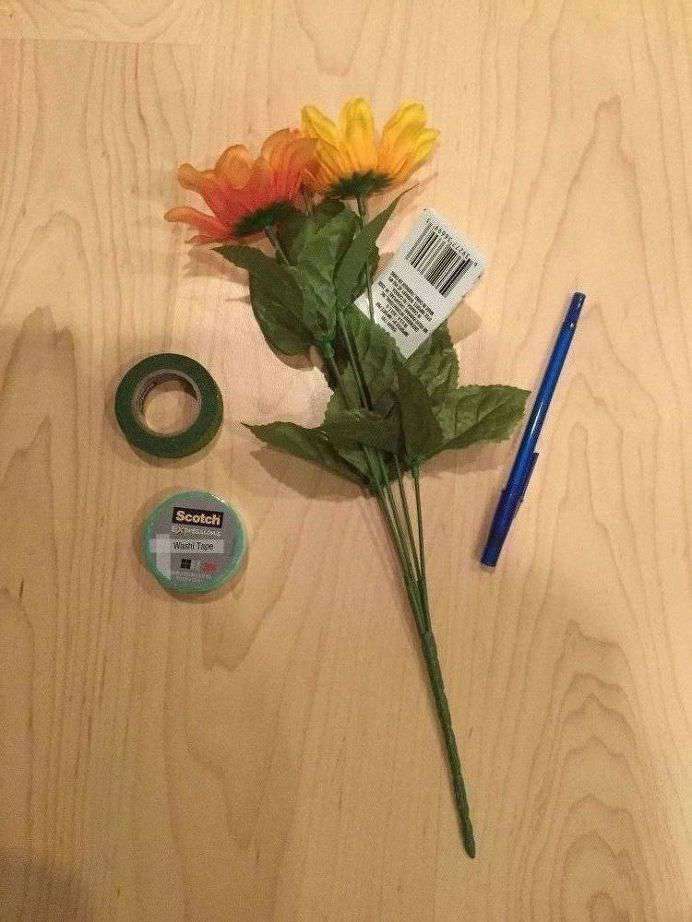
You’ll need the following supplies:
Pens

Don’t forget to link to ThriveCart – Book
Washi Tape or Floral tape
Wire Cutting Pliers
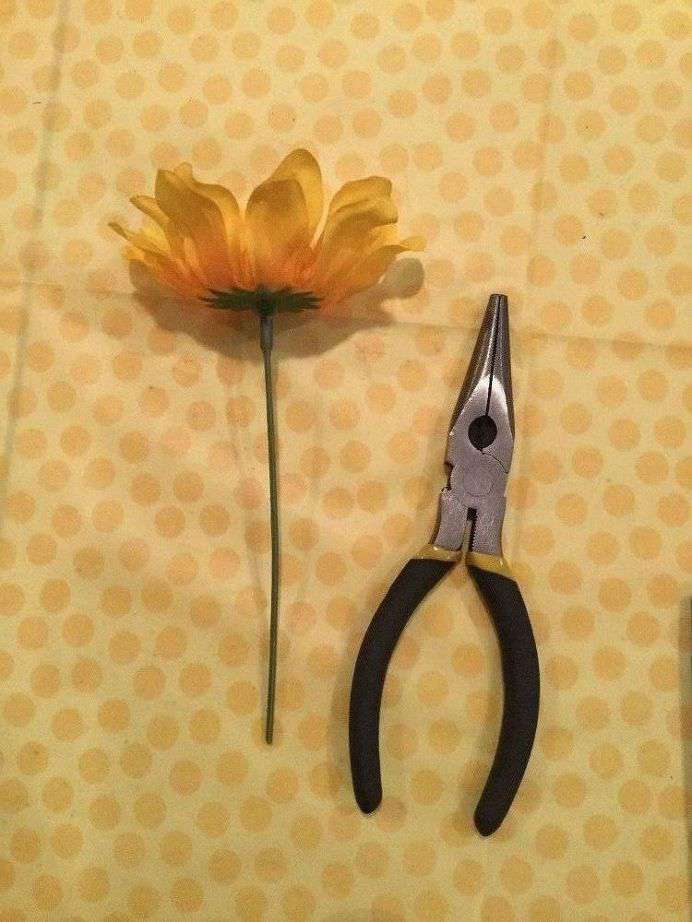
The first thing you’ll need to do is cut your flower off the bouquet using the wired cutting pliers. The length of the stem is up to you. I tend to make the length almost the length of the pen to stabilize the flower more.
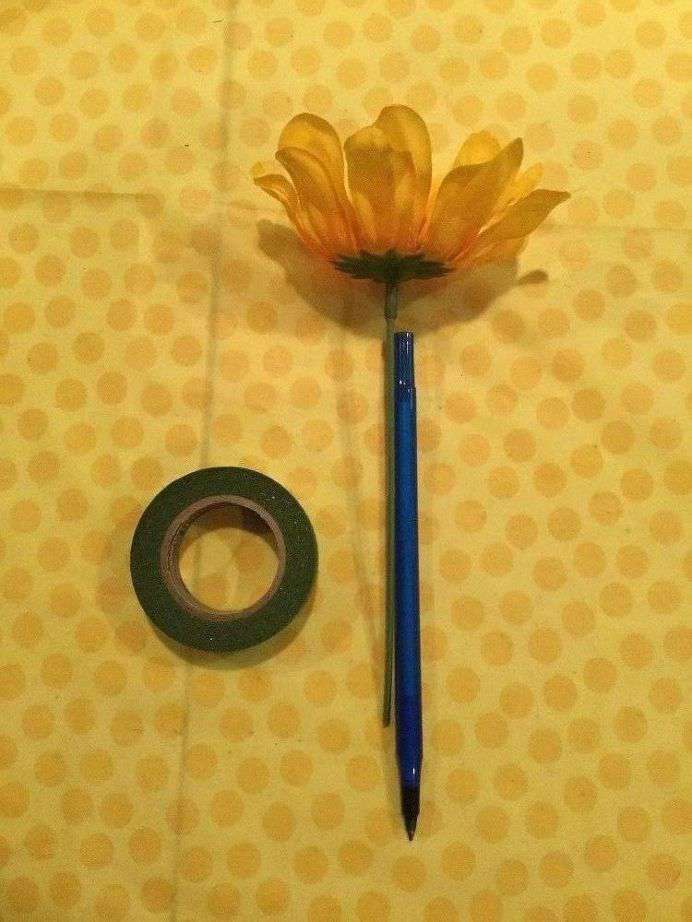
For the next step, you will line your stem up next to your pen. Again, if you get to this step and find your stem is too long, simply trim it to the length you want it to be. I usually have my stem start right around the curve above the tip of the pen.
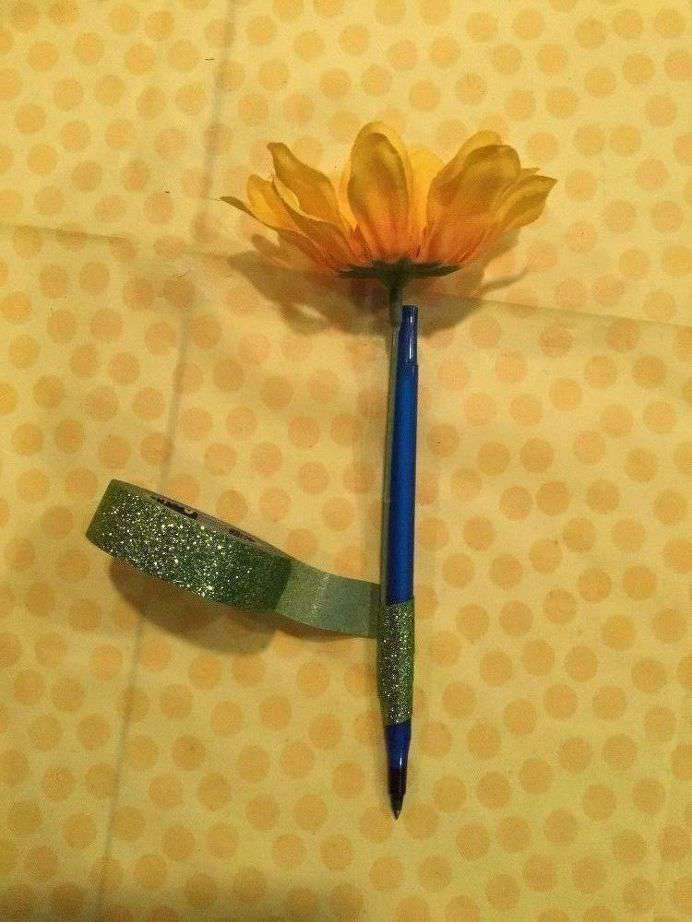
For this post I’m using Scotch washi tape. Floral tape works just as well and sometimes I even like it better as it is a little more flexible and forgiving. The tape can be a little stiff to work with.
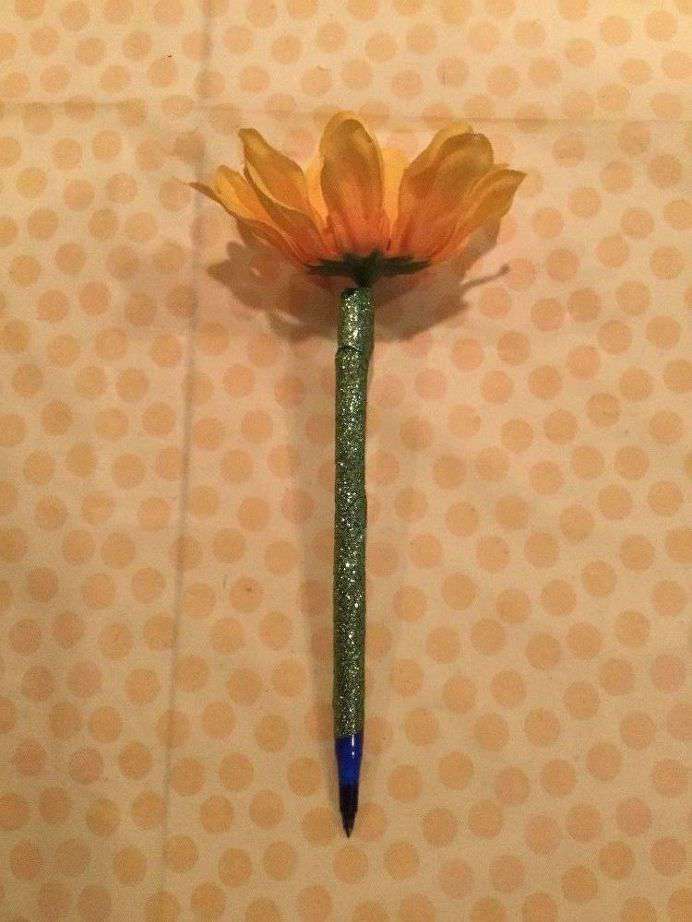
Holding your stem into place on your pen, attach the tape to the bottom holding the stem to the pen. Slowly begin wrapping the tape around the pen and stem and winding up the pen towards the top.
Continue wrapping the tape until you get all the way to the top. Once you get to the top, give it an extra wind for stability. Cut off the tap and attach it to the pen.
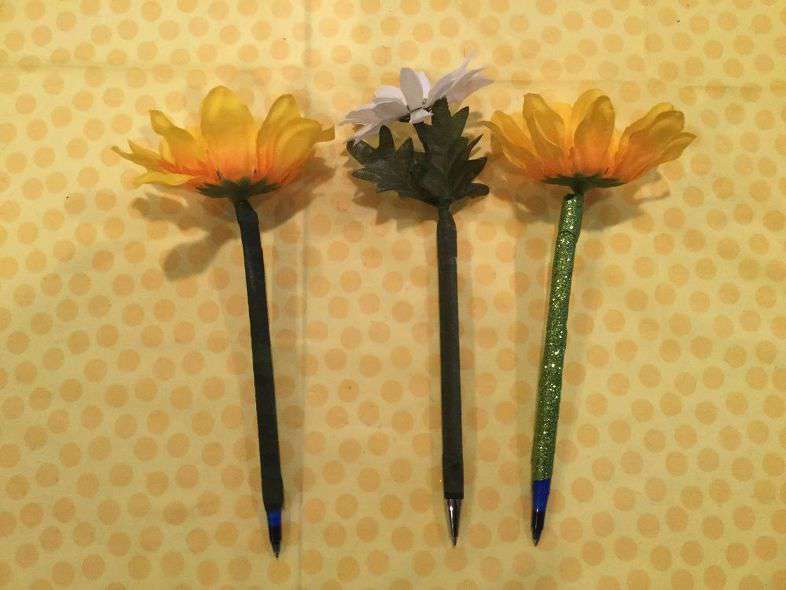
In this picture you can see a couple different pens I made. The left and center pens are using the floral tape, and the right pen is the one in this post using the Scotch washi tape.
Using the leaves are optional. If you don’t want them, they’ll slide right off the stem.
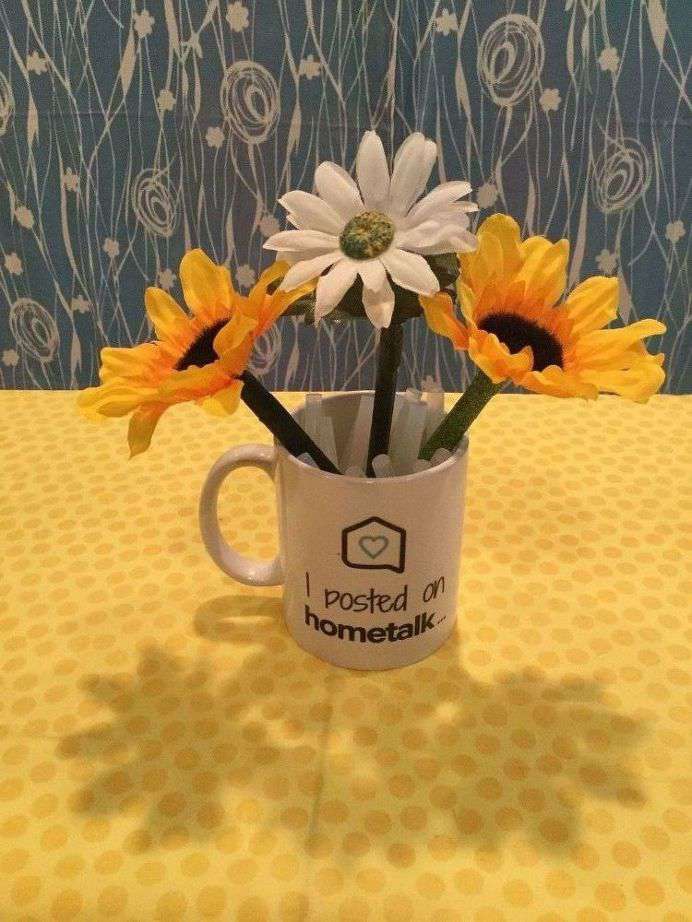
Place your flower pens in a vase or mug for display and use.
Click the video below to see me create this
 BIC Round Stic Xtra Life Bl...Shop on Amazon
  Artfen Artificial Sunflower...Shop on Amazon
  DECORA 1/2" Wide Dark Green...Shop on Amazon

EASY & AWESOME DIY GIFTS ON A BUDGET TO MAKE AND SELL Ebook
Do you love to make gifts for friends and family members? Would you like to personalize your gifts too? This book is for you! Over 30 DIYs gifts on a budget plus extra tips, tricks, eco-friendly gift wrapping ideas, and more!
So what are you waiting for?!!! Get your copy today and start creating!
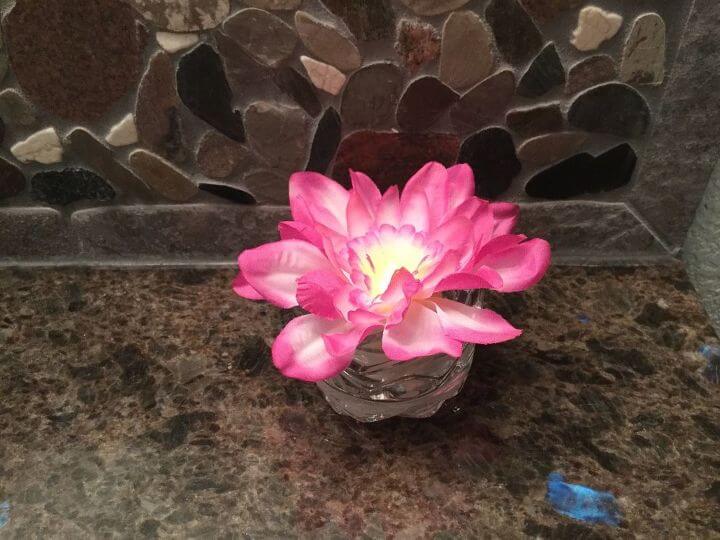
Check out some of my other flower-related projects!




The perfect way to hang on to your pens….and I love that mug! Thank you for sharing at Party In Your PJs!
Thank you so much Ann, and so true… you never lose them this way 🙂 Thanks on the mug, I’m such a support and huge Hometalk Fan.
Thank you for sharing at #OverTheMoon. Pinned and shared.
Thank you very much Marilyn 🙂
Ah, you can’t beat a pretty pen! These would make lovely party favours or a fun party activity for kids wouldn’t they?
Thank you so much Julie. Yes, that is a fantastic idea. I have used them for teacher appreciation, staff, and friend gifts. Love the kid’s activity too, such a great idea.
Hi Chas,
I really loved your cheery colorful pen project – so much so that it was the first post that caught my eye when I opened Friendship Friday at Create With Joy in search of a blogger to feature this week!
So, congratulations – it’s with great joy that I’m sharing that you are our Friend of the Week – enjoy your week in the spotlight! 🙂
Oh my goodness Joy, I’m so honored. Thank you so very much and I’m thrilled you liked the project. Thanks for hosting a wonderful place for all of us to share our creations.
Thank you for sharing at #ThursdayFavoriteThings. Pinned and shared.
Thank you Marilyn, I hope you are having a wonderful week!
Great idea for my students to make for mothers day!!! #trafficjam
Oh I love that idea Tracy, thanks for sharing 🙂 See you at the next link party.
What a fun way to bring a little spring indoors. Love the idea. Thanks
Thank you so much Kristina, it’s fun to mix and match all the fun floral colors.
Found this via Sew It… party.
I frequent a restaurant that uses these and I’ve always thought they were pretty. I didn’t even think about making my own. I’ve got to try this!!!
Thanks for sharing,
Renee
Thank you so much Renee, they are great for gifts, offices (so they don’t lose their pens), and fun. Love that you want to try it too 🙂
Wow, I was thinking I just wanted one for myself, but you’ve just inspired a few ideas. These look so easy to make, I bet my kids could easily follow your instructions and make them as gifts for their teachers. I know my kids’ teachers would like them even more knowing the kids made them 🙂
Love that, and I have been known to make a few for teacher appreciation week 😉
Thank you for sharing how to make these adorable floral pens! Have a blessed day!
Thank you very much Cathy.
What a great idea to celebrate spring!
Thank you Michele, I love them for teacher appreciation week 🙂
Simple enough to decorate a pin. Found you on Simple Homestead Blog Hop
Thank you Candy, I love making these as gifts this time of the year for teacher appreciation week, mother’s day, etc. Thanks for stopping by.