
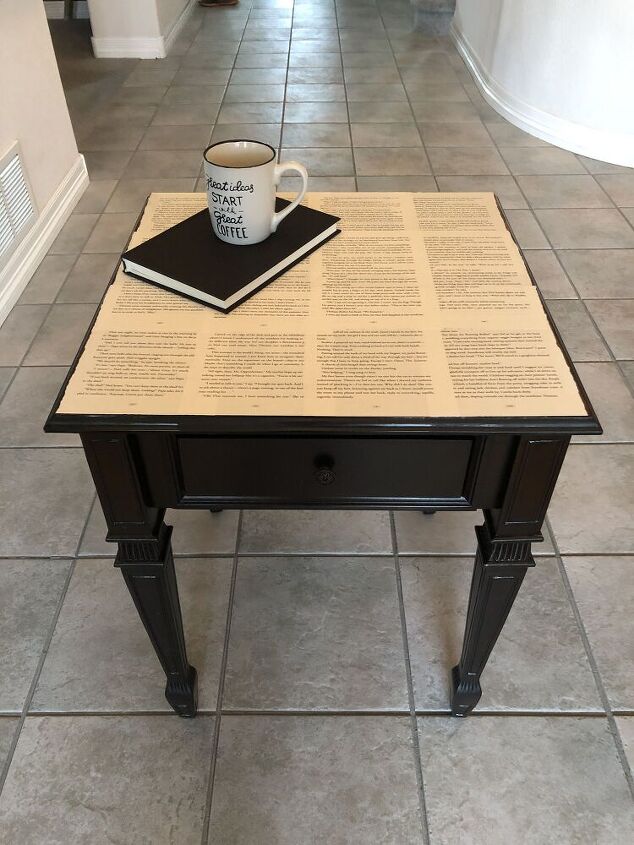
Updated Side Table
Teaming up with Tarah in our DIY blog hop this month with projects for our living rooms! (Make sure and check out all of the living room projects following this post)
I purchased a little side table from a thrift store. It wasn’t in bad shape, just need a few little repairs and updating to be loved again.
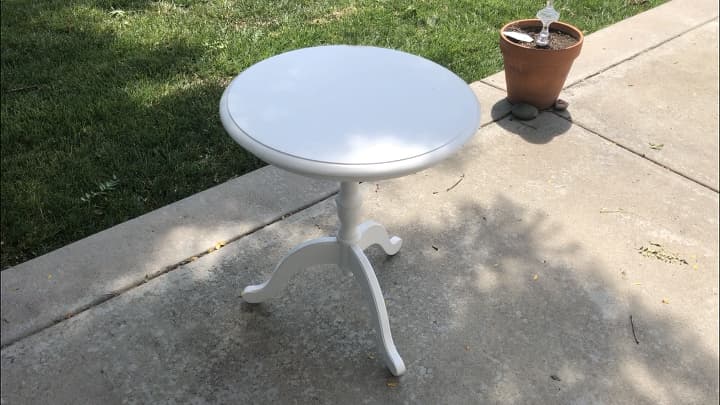
Here’s the original table, and it looked like it originally came from Target according to the label.
Updated Side Table
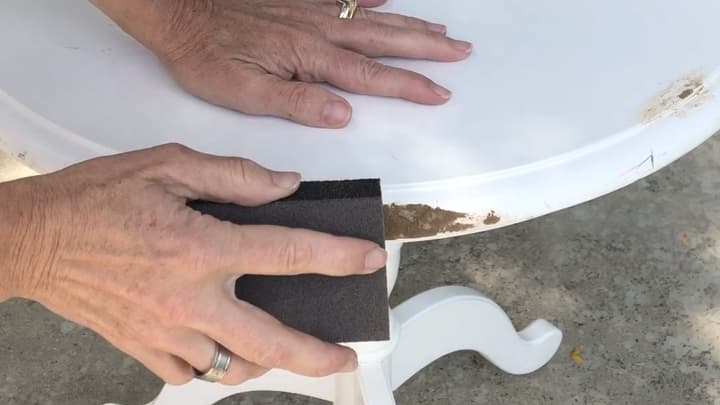
There were some minor scratches, and it had fallen over creating a gouge in the table side. I used wood filler to fill the hole, let it dry, and then sanded it.

I cleaned the whole table with Denatured Alcohol and Krud Kutter.
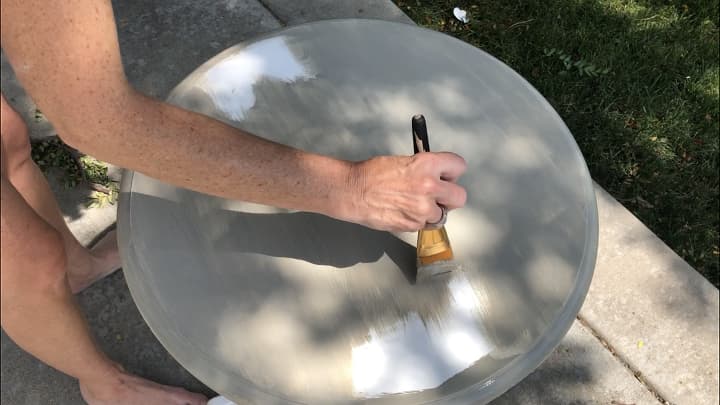
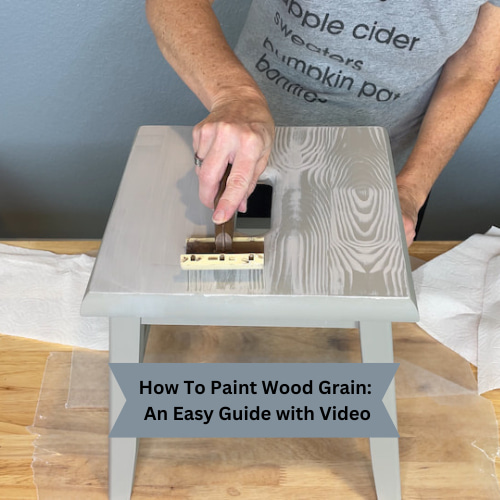
I painted the top of the table with 2 coats of Folk Art Home Decor Chalk Paint in the color Castle as my base coat. I followed the bottle’s instructions for the time between coats and then let it dry completely.

I painted the accents in the base with Folk Art Home Decor Chalk Paint in the color Metallic Silver.
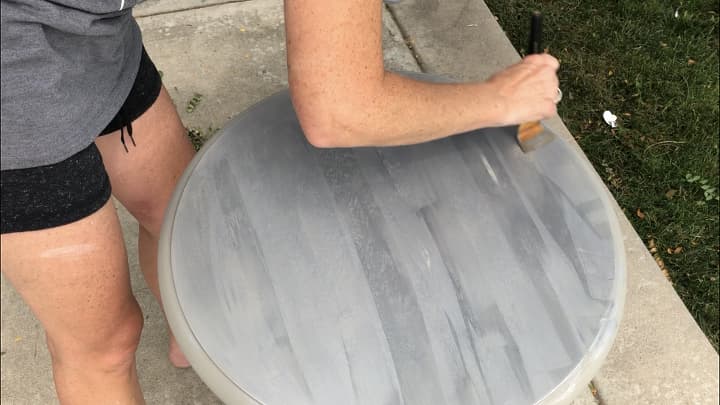
I painted the entire top with the Folk Art Home Decor Chalk Paint in the color Metallic Silver. Once it was painted, I let it dry completely.
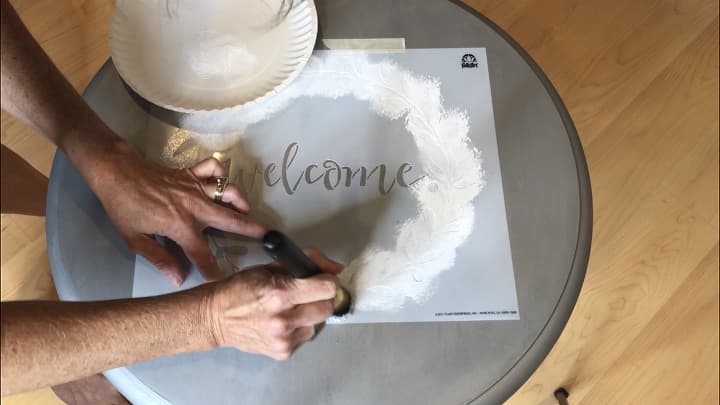
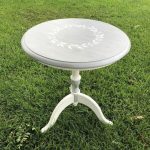
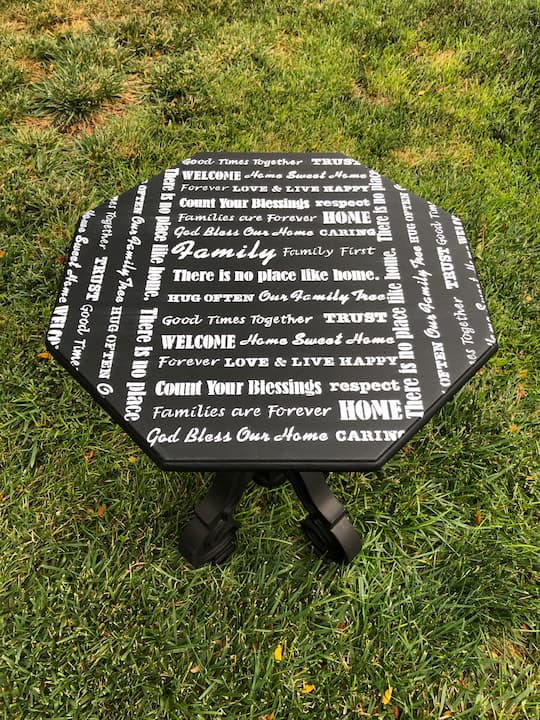
I placed my Plaid Folk Art Welcome Stencil in the center of the table. I used Folk Art Home Decor Chalk Paint in the color white to stencil the pattern on. I only stenciled the wreath on, not the word welcome. I loaded my Plaid stencil brush with paint, and then dabbed it to get most of the paint back off the brush. I then pounced the stencil brush up and down onto the stencil to add the paint to the table. I carefully peeled the stencil away and let it dry completely.
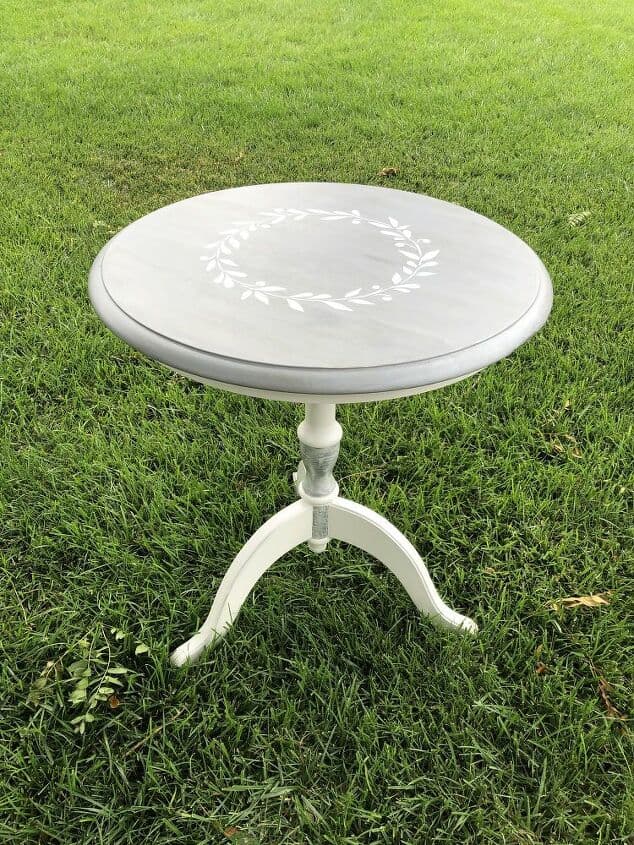
I painted the top with Folk Art Home Decor Varnish to protect the table top.
Click to see the video of me creating this update…
Click here for Plaid Enterprises, Inc. Disclosure @PlaidCrafts #PlaidCrafts #PlaidCreators
, Vibrant Colors 12 Piece Set") FolkArt Home Decor Chalk Fi...Shop on Amazon
FolkArt Home Decor Chalk Fi...Shop on Amazon FolkArt Laser Cut Mylar Ste...Shop on Amazon
 Furinno JUST Side Table, 3-...Shop on Amazon
 FolkArt Home Decor Chalk an...Shop on Amazon
, 2/Pkg") Plaid Enterprises 50557E En...Shop on Amazon
Plaid Enterprises 50557E En...Shop on Amazon
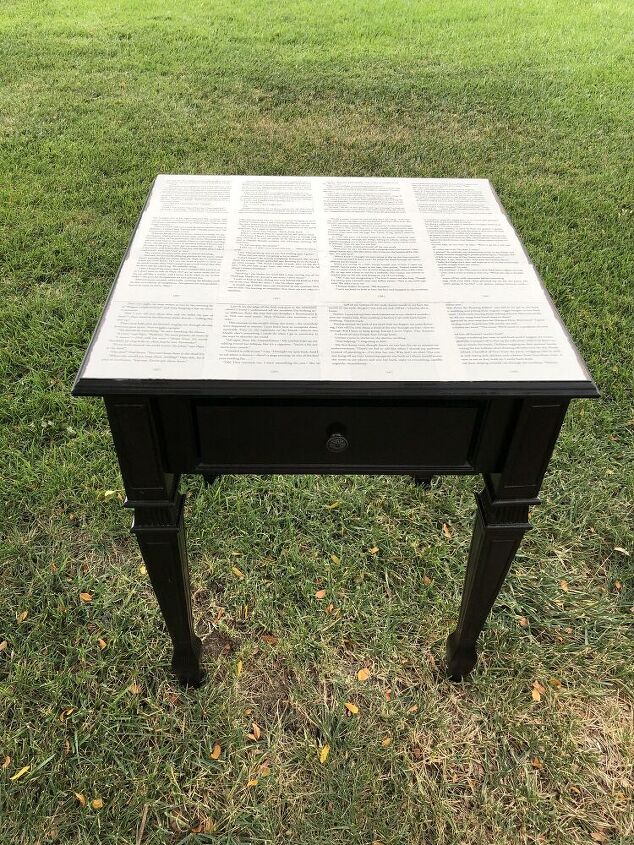
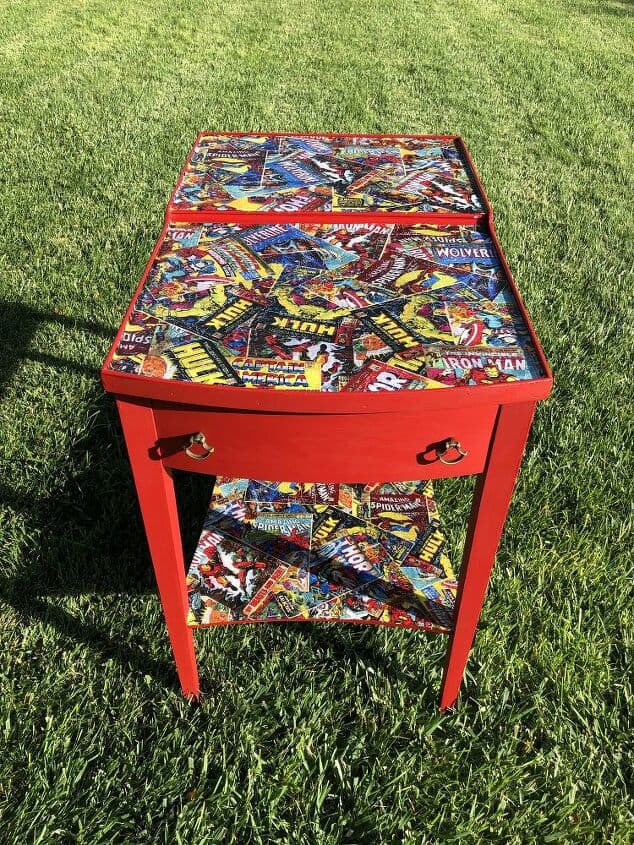
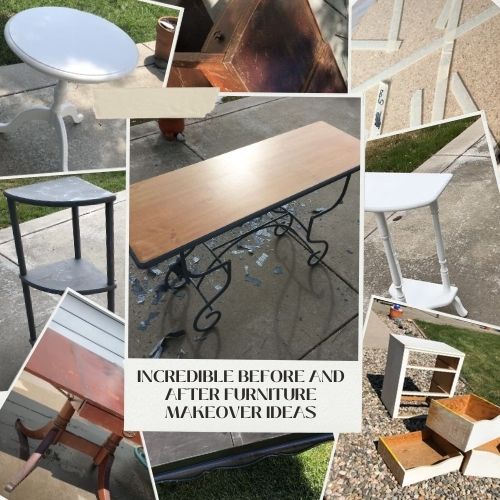
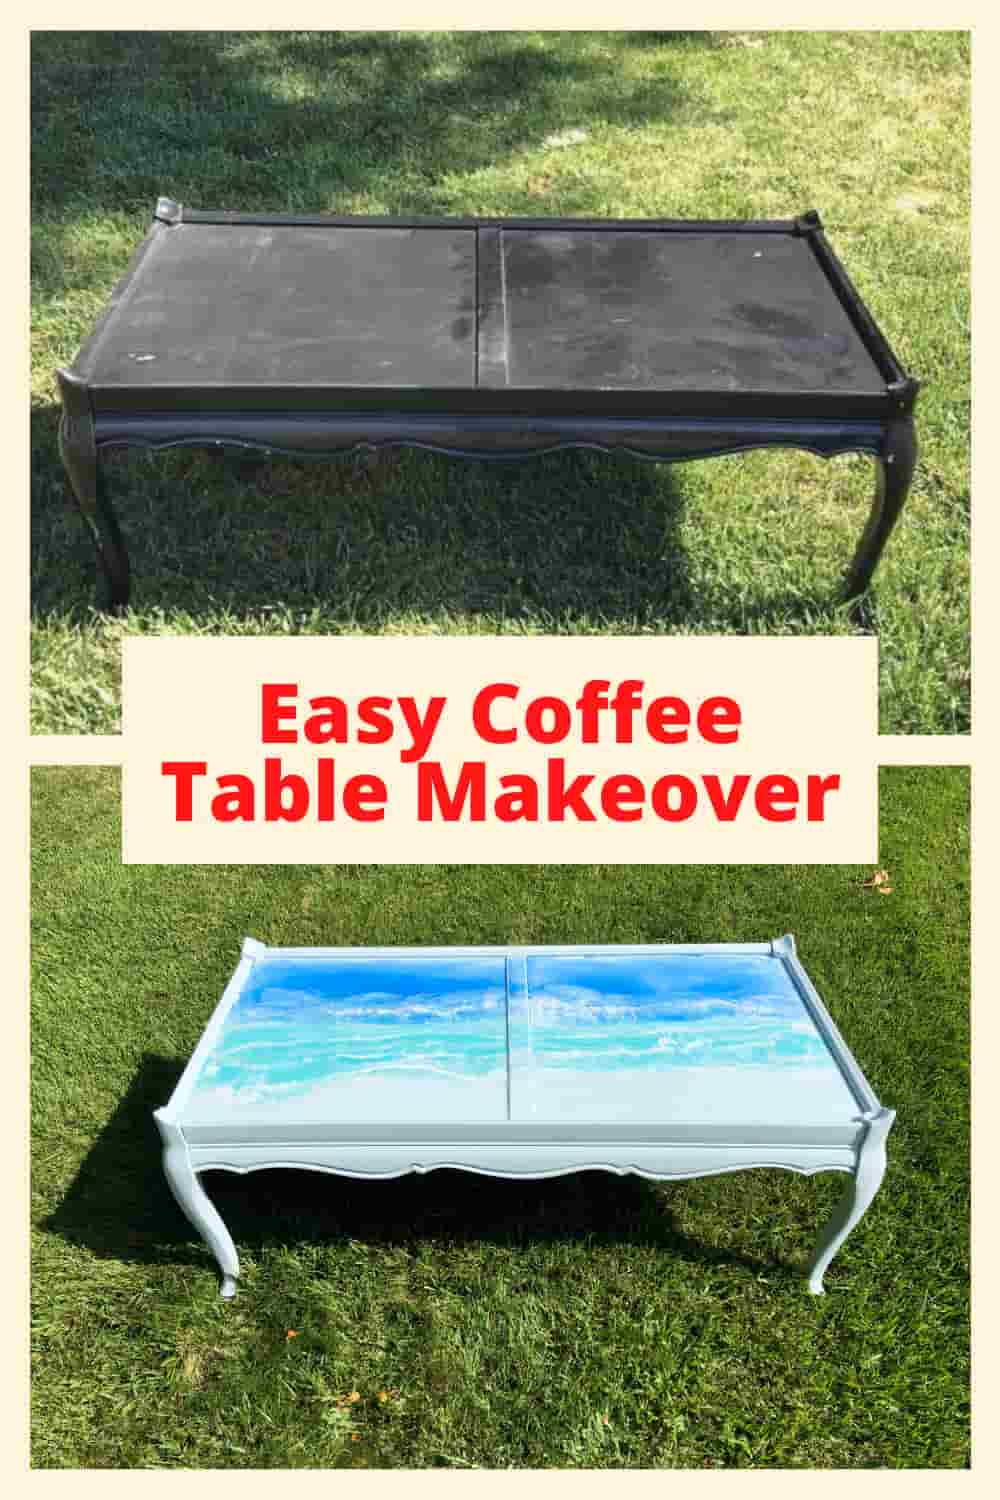
Check out some of my other furniture makeovers!


I have two cheap plastic side tables that are for outside and they are faded from the sun. bought some spray paint to just give to make them look decent again but I love the stencil idea and might add that to the top of the table…I usuall just cover them with a table cloth because it looks so bad. And I might turn one into a Plant stand…thanks for the ideas!!!!
Thank you for sharing Milissa, I love hearing what other’s have done. Love that you want to incorporate this into your tables.
Love your table makeover. Congratulations, you are being featured at Over The moon Linky Party. I hope you stop by.
eclecticredbarn.com/2020/02/over-moon-linky-party_16.html
Hugs,
Bev
Thank you so very much for the feature Beverly and all the support, I appreciate it.
Thank you for sharing at #OverTheMoon. Pinned and shared. Have a lovely week. I hope to see you at next week’s party too! Come party with us at Over The Moon! Catapult your content Over The Moon! @marilyn_lesniak @EclecticRedBarn
Thanks Marilyn, and thanks for sharing!
It turned out beautiful!
Thank you for sharing at The Really Crafty Link Party. Pinned.
Thank you so very much Teresa
Always love the transformation a little side table can make to a space! Great work, it’s super cute!
Thank you very much Sarah, I appreciate it.
Another great makeover, Chas!
Thank you for linking up to Creative Compulsions!
Michelle
mybijoulifeonline.com
Thank you Michelle, and I’m thrilled you like it 🙂
Love the stenciling. The video is a huge help in learning how you painted the tabletop to have a look of wood grain Thanks! And pinned.
Thank you so much Jen and I’m thrilled you thought the video was helpful. Thank you for the feedback
Beautiful! I love farmhouse and DIY. Great pics as well. #senisal
Thank you Kim, I’m thrilled you like it and love the farmhouse style as well.
I love the way your table came out. The light grey color works great!
Thank you so much Kate, I appreciate it.
What a fabulous project. Love seeing new things made from what some people would have regarded as junk!
Thank you so much Jo, I appreciate it 🙂
Love how your upcycled table turned out, Chas! The grey painted top looks like wood grain.
Thank you so much Marie, I’m thrilled you like it.
Love love how this turned out, so excited to start our new Blog hop together!
Thank you so much Tarah 🙂 Love your project too and thanks for hosting with me 🙂
I love your table makeover, Chas! The stencil is lovely. We must have similar tastes given the similarity of our projects! Pinned.
Thank you so much Beverly, and I totally agree. Absolutely love your project as well. Thanks for the Pin and joining the party.