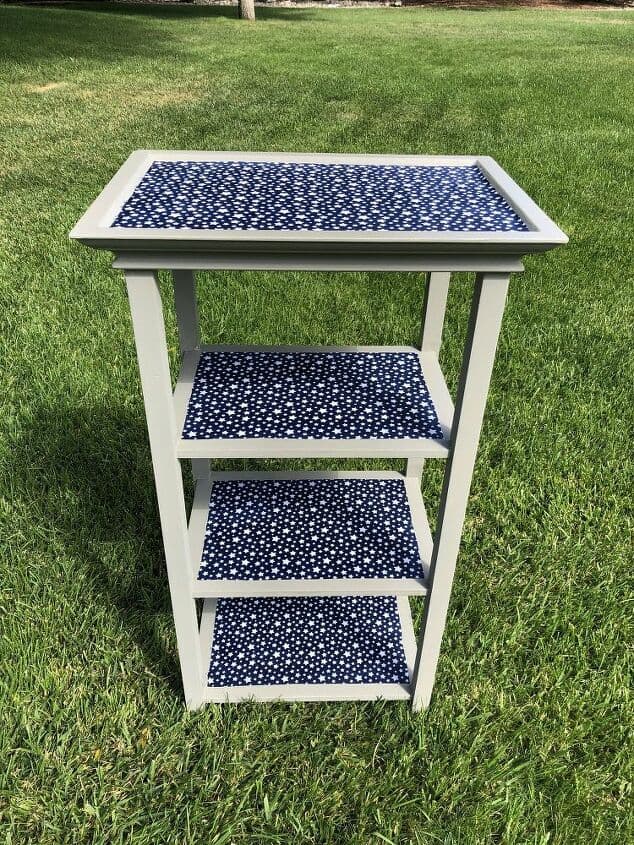
Mini DIY Ladder Shelf: Putting the HYCHIKA Cordless Drill to the Test
Discover how the versatile HYCHIKA Cordless Drill Driver makes building a Home Depot mini ladder shelf a breeze. Learn about its key features and see it in action.

This post is in collaboration with HYCHIKA. All thoughts and opinions are my own. A big thanks to HYCHIKA for the HYCHIKA Cordless Drill Driver
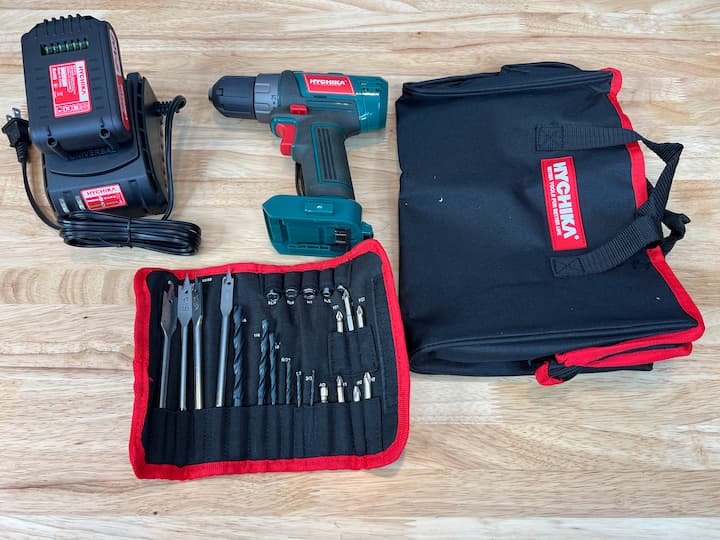
Today, we’re tackling a fun DIY project – building a Home Depot mini ladder shelf. To make this task easier, we’ll be using the HYCHIKA Cordless Drill Driver Set. Let’s see how this tool performs and explore its features as we construct our shelf.
DIY Ladder Shelf Materials List:
- HYCHIKA Cordless Drill Driver Set
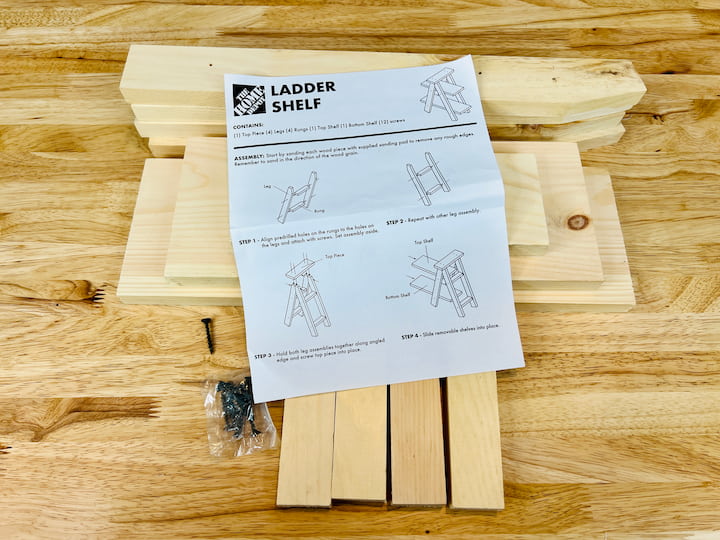
- Home Depot mini ladder shelf kit (pre-cut):
- 1 top piece
- 4 legs
- 1 top shelf
- 1 bottom shelf
- 12 screws
*The Home Depot has workshops and classes. I was able to pick up my kit at a Pinners Conference in Arizona and brought it home with me.
DIY Ladder Shelf Step-by-Step Guide:
Preparation Before diving in, I made sure the HYCHIKA drill’s 2000mAh battery was fully charged. Thanks to its fast-charging capability, it only took about an hour to reach full charge – perfect for those who are eager to start their projects quickly.
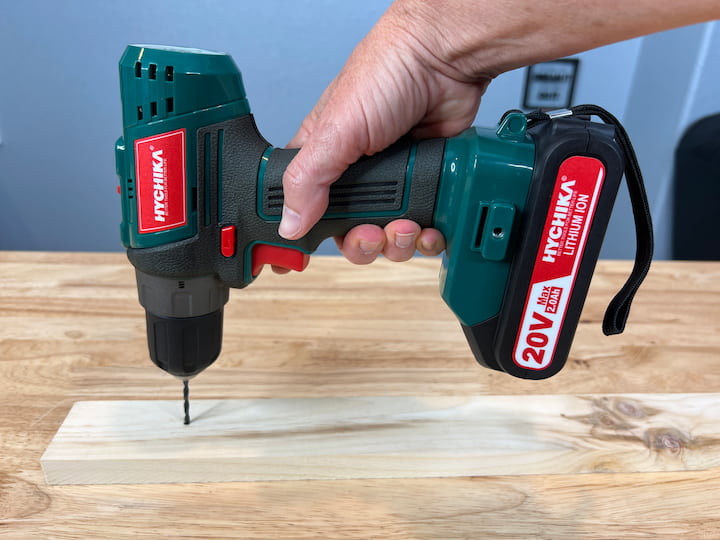
I decided to drill pilot holes first. The HYCHIKA drill’s variable speed feature (0-400RPM and 0-1500RPM) came in handy here. I used the lower speed for better control while drilling into the wood.
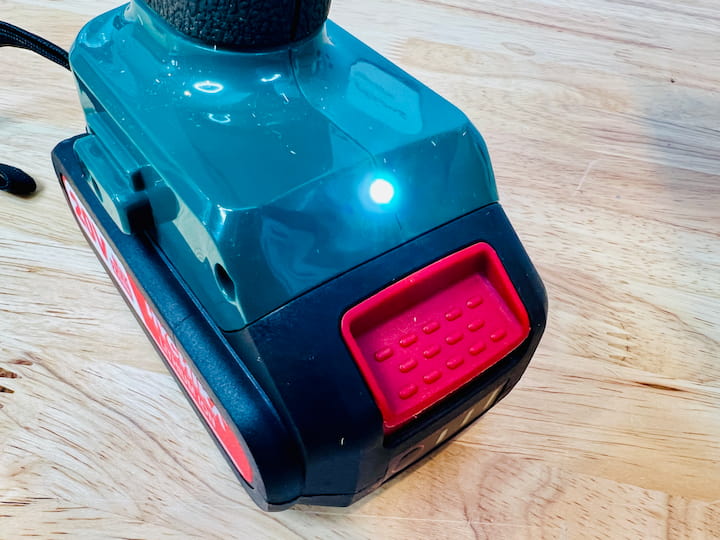
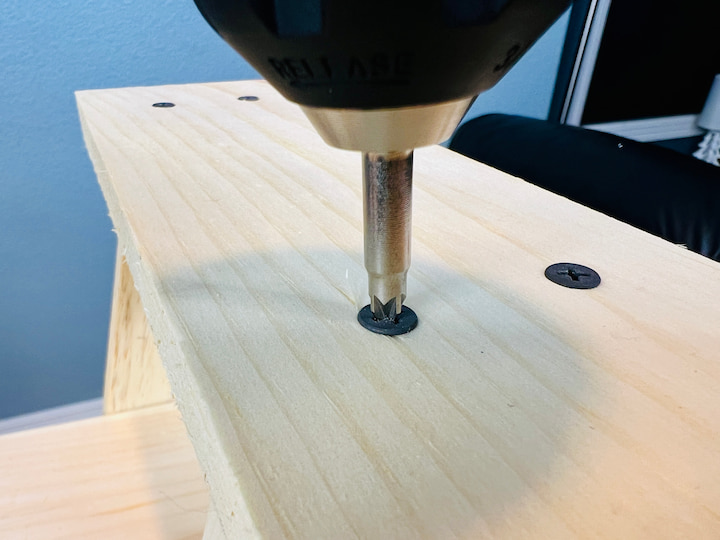
Pro Tip: The built-in LED light on the HYCHIKA drill was incredibly useful for illuminating the work area, especially when drilling holes in the shadowed areas of the shelf pieces.
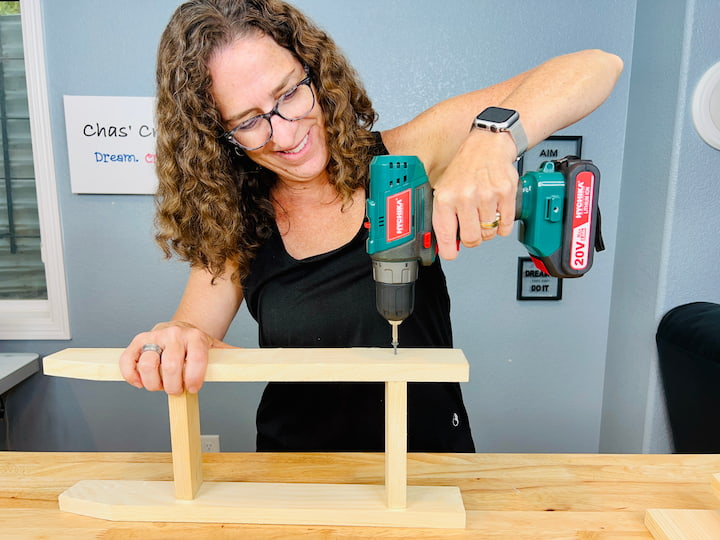
I aligned the holes on the rungs to the holes on the legs and attached with the screws.
Assembling the Shelf With the pilot holes ready, it was time to start assembling. The HYCHIKA drill’s 21+1 torque settings allowed me to adjust the power for different screw sizes and wood densities. I started with a lower torque setting to avoid over-tightening and damaging the wood.
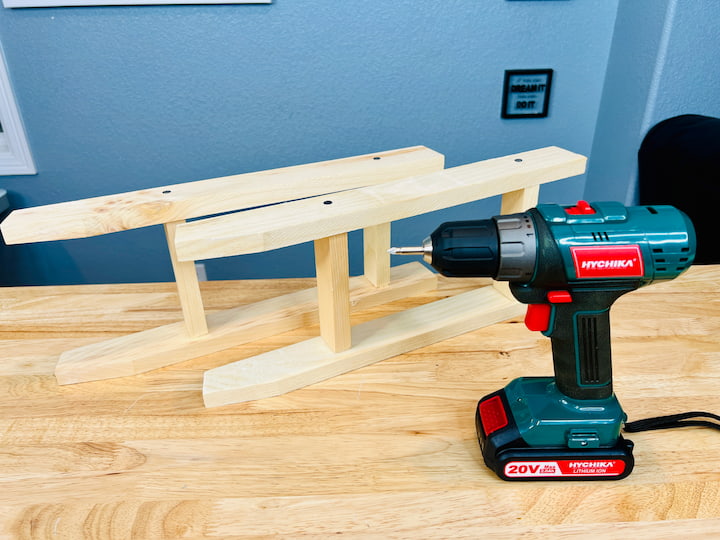
I repeated the process for both of the legs.
Fine-Tuning As I progressed, I appreciated the ergonomic design of the HYCHIKA drill. Its non-slip rubber handle made it comfortable to use, even as I maneuvered around the shelf to reach different angles.
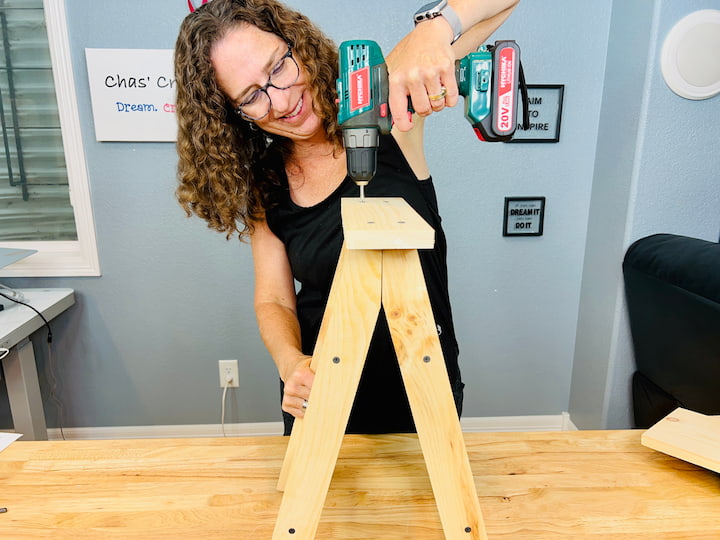
I leaned both of the legs together along the angeled edge and screwed the top piece into place.
Final Assembly For the last few screws, I switched to a higher torque setting to ensure everything was securely fastened. The maximum torque of 35 N·m was more than enough for this project, providing confidence that our shelf would be sturdy.
Lastly, I slid the removable shelves into place.
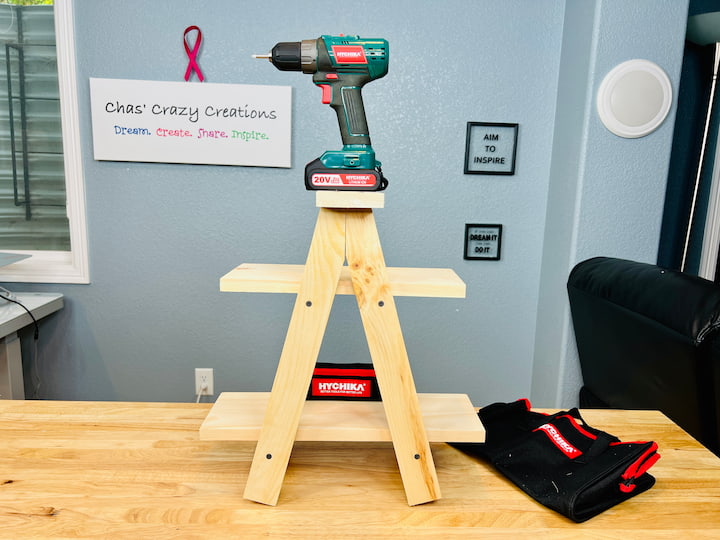
Thanks to the HYCHIKA Cordless Drill Driver, building this Home Depot mini ladder shelf was a smooth and enjoyable process. The drill’s versatility, from its variable speeds to multiple torque settings, made it easy to adapt to each step of the project.
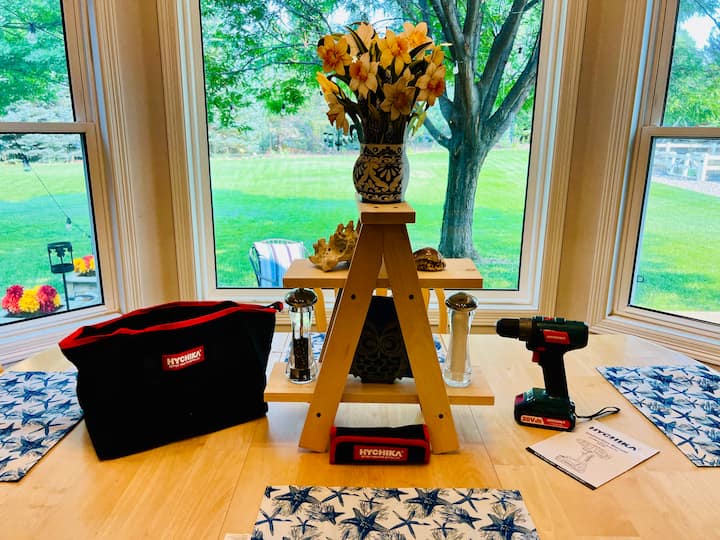
While this project only required a fraction of HYCHIKA’s capabilities, it’s clear that this tool is ready for a wide range of DIY tasks. Whether you’re drilling into wood, metal, or plastic, or tackling various screwdriving jobs, the HYCHIKA Cordless Drill Driver Set has you covered.
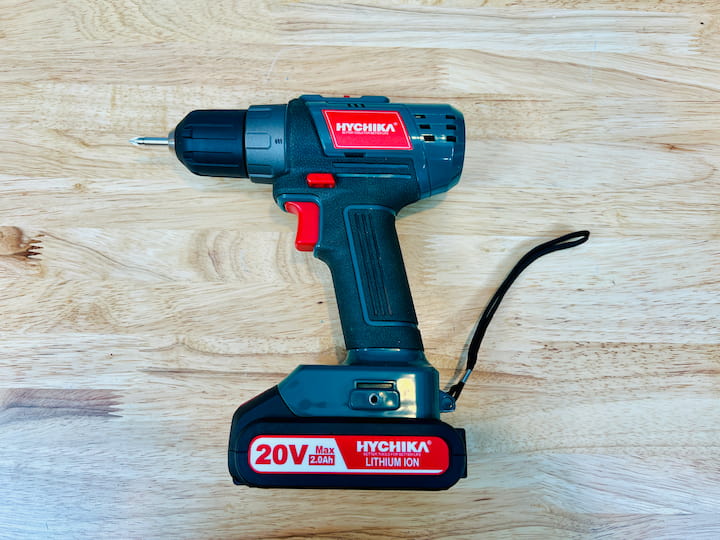
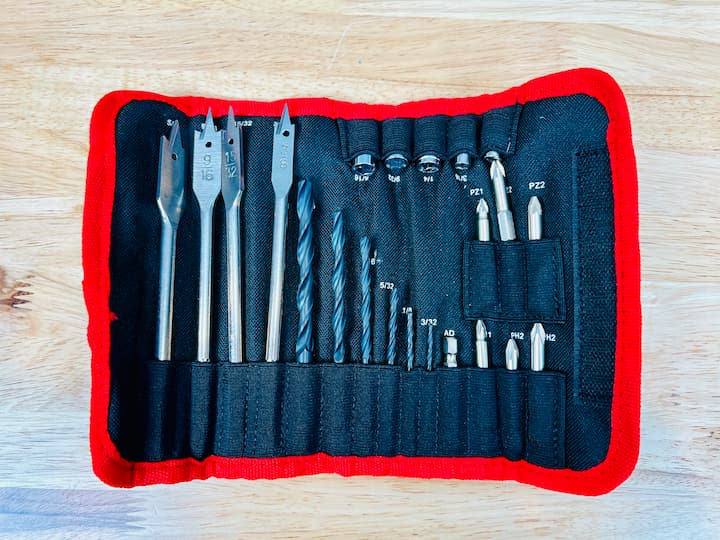
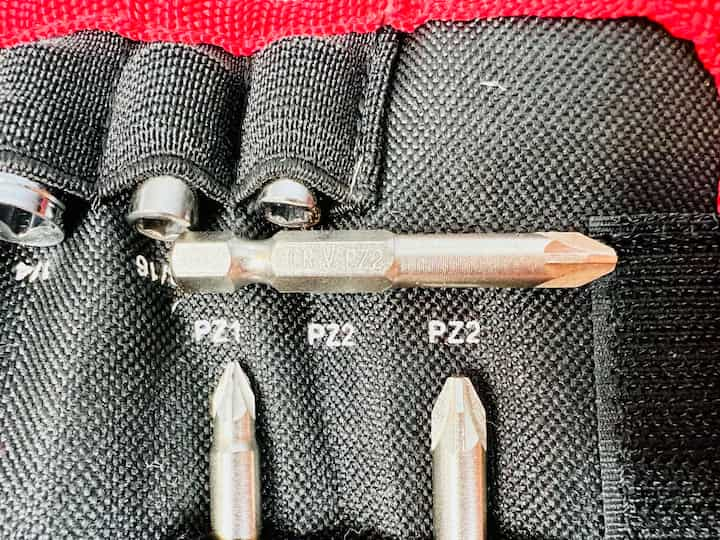
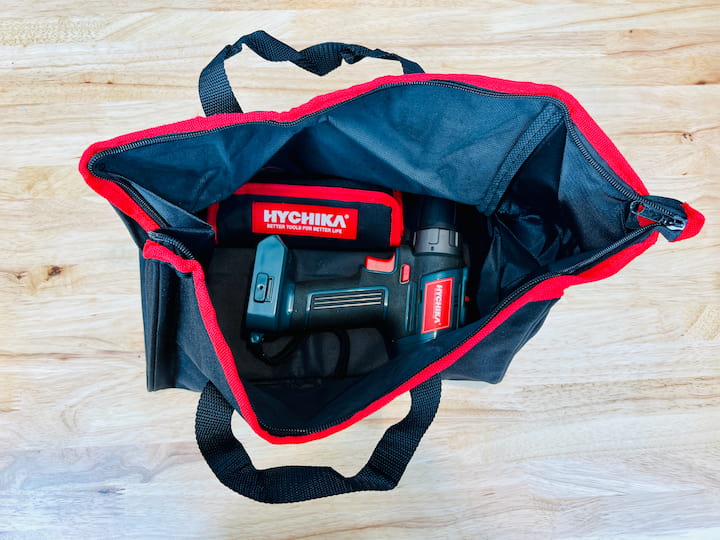
With its robust 20V/18V power, long-lasting 2000mAh battery, and a complete set of accessories, the HYCHIKA drill is a valuable addition to any DIY enthusiast’s toolkit. Plus, the included carrying bag makes it easy to store and transport all the components.

So, if you’re looking for a reliable, versatile drill for your next DIY project, consider giving the HYCHIKA Cordless Drill Driver Set a try. It certainly made our mini ladder shelf project a breeze!


