
How to Run Ethernet Cable Through Walls: Step-by-Step Guide
Are you ready to learn how to run ethernet cable through walls?
Although wireless technology has become the dominant format of internet connectivity nowadays, many people still opt for ethernet connections.
Whether to avoid latency issues when gaming, take advantage of faster and higher quality data transfer, or save on energy bills, ethernet connectivity offers various benefits that are worth the hassle of physical wiring.
Luckily, the process doesn’t have to be complex. With the right tools and enough knowledge of wire installation guidelines, you can do the job yourself!
Today, we’re helping you do just that with our easy step-by-step guide on how to run ethernet cable through walls, be it interior or exterior walls.
How to Run Ethernet Cable Through Walls
Here’s how to run ethernet cable through walls:
Step 1: Develop a Wiring Plan
You’re not going to start drilling holes and DIY feeding your wired ethernet connection right away. You need to first create a plan — that’s the key to a wiring project done effectively with professional-looking results.
But before we get into creating a plan for which walls/rooms will include your internet connection cables, you have to make sure there’s no ethernet wiring already intact.
We’re aware that you probably know if there’s an ethernet cable installation existing in your walls, but a check won’t hurt. It can save you a lot of time and effort if you find an established connection that you can simply rearrange or expand for wired internet access.
Once you’re sure of the ethernet cable situation in your walls, you can begin determining the rooms where you want to add a wired internet connection. Review your house’s plan so you can visualize and draw up your wiring plan.
Step 2: Choose a Path for Your Network Cable
As part of your ethernet wiring plan, you need to figure out the route that your cable will run through. If you’re installing multiple cables, you’ll need to identify a route for each of them.
In most cases, ethernet cables are distributed across rooms from a crawl space or an attic. As such, your wiring panel has to be located somewhere with the following features:
- A central spot that you can access easily
- A spot that’s out of traffic way
- A spot close to hollow walls for convenient wire feeding through an attic or crawl space
Examples of good locations for a wiring panel are basements, closets, and laundry rooms.
After you’ve figured out the rooms and where they’re positioned relevant to the wiring panel, you can determine if you’ll need to run a cable up the attic and back down (or down the crawl space and back up) to a non-adjacent room or simply across a wall to an adjacent room.
Once you have the main routes of your ethernet cables planned, you can map them out for simpler visualization and easier execution of the process.
This will also help you estimate the length of the cable(s) you need to complete the connection.
Step 3: Gather the Right Gear
With your plan ready for action, now is the best time to make sure you have all the necessary tools and equipment to dive in.
You don’t want to disrupt your workflow by discovering you got the wrong type of cable or forgot to bring a punch-down tool. This can result in some seriously time-consuming consequences.
Generally, the required gear for running ethernet cables through walls is readily available in hardware stores. You may even find a few of them already in your toolbox!
Selecting an Ethernet Cable
Your first order of business is to pick a network cable that fits your internet connectivity needs.
Begin by determining the speed of your internet connection in Mbps (megabytes per second). You can do this by using an online internet speed test or contacting your internet service provider.
This helps you choose a high-quality cable with the proper capacity to efficiently support your internet speed.
You can find various cable types to cater to different internet speeds. CAT5 is an entry-level type of ethernet cable, but a better starting point is CAT6 cables as they support higher data transfer speeds of up to 10 Gbps (gigabytes per second).
This way you’ll have an effective future-proofing for your network at home. If you wish to opt for an even more advanced cable, CAT7 and CAT8 options are also available although they can be overkill.
Other than the capacity of your ethernet cable, you can choose between round and flat cables.
Round cables tend to be more durable with enhanced tolerance to interference over longer distances.
So unless you’re using flat ethernet cables for a short-distance connection such as from an ethernet switch to a PC, we recommend opting for round wires.
Additionally, flat cables aren’t as flexible as round ones. The former bends up and down only, whereas the latter curves in all directions.
While the profile of flat cables makes for easier application of adhesive and better sticking down to surfaces, round cables are more suited for running through walls.
One last aspect to consider when it comes to ethernet cable selection is the electromagnetic interference of the area. Make sure you choose a shielded cable to prevent slowing down or disruption of data transfer.
Rounding up the Wiring Tools
With your cable ready for installation, here’s a list of wiring and ethernet tools that you’ll most likely need to get the job done:
- Measuring tape
- Fish tape
- Stud/metal finder
- Drywall saw
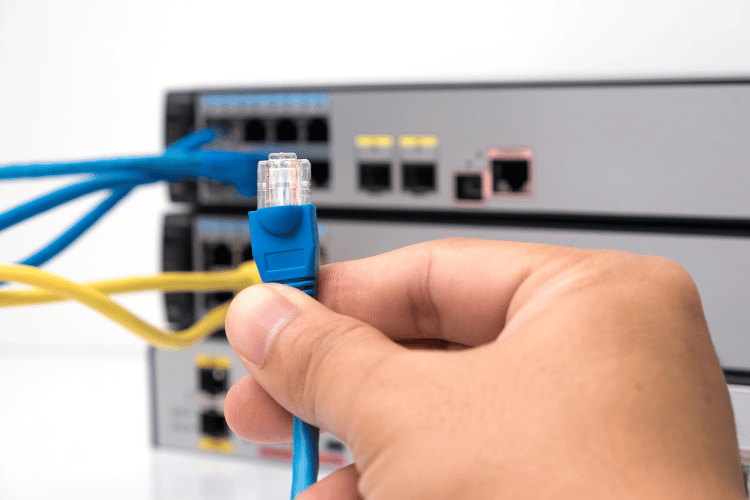
- Ethernet switch
- Power drill
- Crimping/punch-down tool
- Drill bits
- Ethernet wall plate
- Spirit level
- Marker or pencil
- Velcro straps or zip ties
- Label maker
Step 4: Check for Obstacles Inside the Walls
This is an important step whether you’re making a hole to cross an adjacent wall or drilling a gap to run cables up or down.
The last thing you need is to hit a pipe or some other wiring with your drill.
To detect the presence of such an obstacle in your walls, you can use a detector. There are ones for detecting metals, pipework, electrical current, studs, beams, and more.
Alternatively, you can check by eye from above the wall you want to drill through if you have an attic.
You can move some insulation out of the way, remove the floorboards underneath the insulation, and then down the wall.
Alternatively, you can make two holes in the top plate of the wall. Shine a flash down one hole and look or zoom in with a camera through the other hole.
Step 5: Install a Distribution Point
Running ethernet cables through walls starts with setting up a distribution point. You’ll do this at the spot you chose in step #2 for the wiring panel.
First, turn off the main power and electrical lines to ensure your safety when drilling and ethernet wiring. Although no electrical wiring is involved in the process, you’ll be drilling into walls that potentially hold electrical wires.
After that, you’ll need to locate two studs and drill holes in between them to cut out a small square. This is where a stud finder comes in handy.
Look through the square and once you’ve confirmed the absence of obstacles behind this portion of the wall, saw off the drywall to create a distribution wire. Mount the wiring panel to organize the cables instead of leaving them hanging on the wall.
Step 6: Drill Holes for Ethernet Cables and Sockets
Now is the time to drill outlet holes for ethernet jacks.
You can use the ethernet wall socket as a guide by holding it against the wall at the same height as other wall sockets and then marking the position of the screw holes.
Avoid cutting around the wall plate, otherwise, the resulting hole will be too big. Instead, drill a small gap and gradually cut more until the ethernet socket fits.
With your wall jacks ready, you can move on to drilling holes following the path you’ve determined in step #2. You’ll most likely begin with a hole above the wiring panel.
If your cable is running to an adjacent room, you’ll just need to drill through the wall plate entry point to reach the socket opening in that room.
For a non-adjacent room, you’ll need to run your ethernet cable up or down across your attic or crawl space and then through the wall of another area of the house.
Because attics are the more common site for running wired connections through an internal wall, we’ll stick to it for this step.
In the room where you want the ethernet access, drill a hole in the ceiling above the ethernet jack in the wall. The hole should be close to the top of the wall but in the ceiling.
Feed the marker cable through this hole and then go to your attic. When you’re up there, find the marker cable and take off the insulation at that spot.
Next to the marker cable should be the top plate of the stud wall right next to the ethernet socket in the room below.
Drill vertically into that top plate to get into the wall cavity. Grab your ethernet cable and feed one of its ends into this hole.
Repeat this step as many times as you need ethernet connections.
Step 7: How to Run Ethernet Cable Through Walls
Once you’re done drilling all the necessary holes, start feeding ethernet cables from one end of each route.
If you’re feeding multiple ethernet cables at the same time, labeling them according to their target rooms can be quite beneficial in helping you tell which is which. You can add tags such as PC, bedroom, TV, and so on.
Fish tape comes in particularly handy in this step as it effectively pushes and guides cables through confined wall cavities.
Receiving the ethernet cable at the other end of the route is also easier if you use fish tape.
If you can get a second person to watch the wall hole below and tell you when they see the cable, the feeding process will take a lot less time and effort.
When the cable passes through the outlet hole, you (or the second person) should pull enough of its length to keep it from slipping back to the wall cavity.
Step 8: Terminate and Connect

Your final order of business is to crimp the cables and connect them to your devices. To do this, you’ll need the cable’s manufacturer’s instructions and a punch-down tool.
You’ll start by separating the wire bundle coming from within the cable into individual wires. After that, push the wires using the punch-down tool into the ethernet jack following the manufacturer’s instructions.
From there, you can easily access the internet on your device via an ethernet router or switch.
Additional Considerations for Running Ethernet Cables Through an External Wall
If you’re planning to run ethernet cables through an external wall, the process will look a lot like the steps above with a few extra considerations as follows:
- Opt for an outdoor-rated ethernet cable to ensure reliable waterproofing.
- Use a round ethernet cable to make use of the added durability in outdoor settings.
- If you need to mount an ethernet box, choose an outdoor-rated model to resist weather elements.
- After measuring the total cable run, buy a couple of extra feet of cable as a safety net against unexpected obstacles.
- To protect against water damage and prevent pest attacks, make sure the box and the wall socket are sealed.
Shop any of these stores and I receive a small commission at no cost to you.
 DbillionDa Cat 8 Ethernet C…Shop on Amazon
, Black") CyberpowerPC Gamer Xtreme V…Shop on AmazonShop on AmazonShop on Amazon
CyberpowerPC Gamer Xtreme V…Shop on AmazonShop on AmazonShop on Amazon
Materials you might need to run ethernet cable through a wall:
To successfully run Ethernet cable through your home, you’ll need a set of tools and materials to ensure a clean and effective installation. Here’s a list of items you’ll need:
- Ethernet Cable: Choose the appropriate category of Ethernet cable based on your network speed requirements. Cat 5e, Cat 6, Cat 6a, and Cat 7 are common choices.
- Measuring Tape: For accurate measurements of cable lengths and distances between access points.
- Drill with Paddle Bit: To create holes for the cable to pass through walls and floors.
- Fish Tape or Wire Snake: Used to guide the cable through walls, ceilings, and other tight spaces.
- Stud Finder: Helps locate studs and other obstacles within walls.
- Label Maker or Labels: For marking and identifying cables at both ends, especially if you’re running multiple cables.
- Cable Staples or Clips: Keep cables neatly secured along baseboards or walls.
- Cable Ties or Velcro Straps: Used to bundle and organize cables, preventing them from sagging or tangling.
- Drywall Saw or Hole Saw: To create access points in walls and ceilings for cable routing.
- Plastic Grommet: Protect cables from sharp edges where they pass through holes in walls and floors.
- Ethernet Connectors (RJ-45): Connectors that you’ll attach to the ends of the Ethernet cables for plugging into devices.
- Ethernet Jacks and Wall Plates: If you’re installing cables in rooms, you’ll need jacks and plates for a clean finish.
- Patch Panel (Optional): A panel used to organize and manage multiple Ethernet connections in a central location.
- Modem, Router, Switches: Networking devices required for establishing and distributing the network connection.
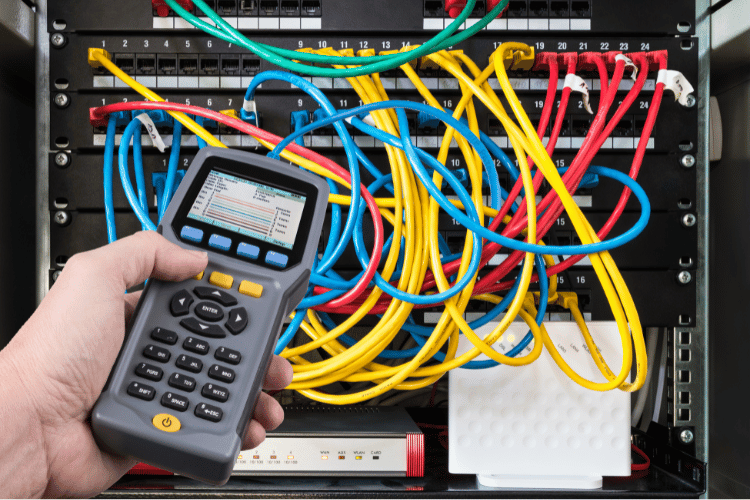
- Cable Tester: A tool to check the continuity and integrity of Ethernet cables after installation.
- Safety Gear: Gloves, safety glasses, and a dust mask for protection during drilling and cutting.
- Blueprints or Floor Plans: Especially useful for planning cable routes and estimating cable lengths.
- Access Tools (e.g., Hook Tool): To guide cables around corners and obstacles within walls.
- Patch Cables: Short Ethernet cables for connecting devices to outlets or switches.
- Ziplock Bags or Cable Organizers: To store and organize smaller components like connectors, screws, and labels.
- Ladder or Step Stool: If your cable routing involves heights, these tools are crucial for safe access.
- Wire Crimping Tool (If Using Solid Core Cable): Used to attach connectors to solid-core Ethernet cables.
- Cable Lubricant (Optional): Helps ease the passage of cables through tight spaces.
- Cable Pulling Lubricant (Optional): Makes it easier to guide cables through conduit or tight spaces.
- Cable Strippers: If you’re working with cables that require stripping the outer insulation.
More possibilities include:
- hand saw
- label marker
- copper-clad aluminum or full bare copper cables
- structured wiring panels
- plugs, double plates, top ceiling plate, floor plate

Related Posts
- Inexpensive and Easy Ways to Hide Cords Around Your Home
- How To Hide Your Cable Box: Easy Tips, Tricks, and Hacks on a Budget
- How To Hide Your Router: Easy Tips, Tricks, and Hacks on a Budget
Wrapping Up
There you have it, a step-by-step guide on how to run ethernet cable through walls.
While it may seem like a difficult task, you’ll find it’s pretty manageable to do as long as you’re familiar with the basics and have the right tools.
That said, running ethernet connections through drywalls is significantly easier than brick walls. In this case, or if you simply don’t feel like drilling holes into your walls, you may want to try cable concealers to run your ethernet cable along the wall instead.


Excellent step-by-step guide for anyone planning a wired home network setup. I really liked how the article explained everything from choosing the right Ethernet cable to planning cable routes and avoiding interference inside walls. The practical tips about using fish tape, labeling cables, and selecting Cat6 or higher for future-proofing were especially useful. This makes what seems like a complicated installation process much easier for beginners to understand and follow.