Gardening with Straw Bales Set Up
Have you heard of gardening with straw bales? I’ll share with you why I’m trying it, and how to set it up in your garden.
Every season I grow a garden and I look forward to it every year. With each subsequent growing season we have noticed a huge decline in our produce and what does well.
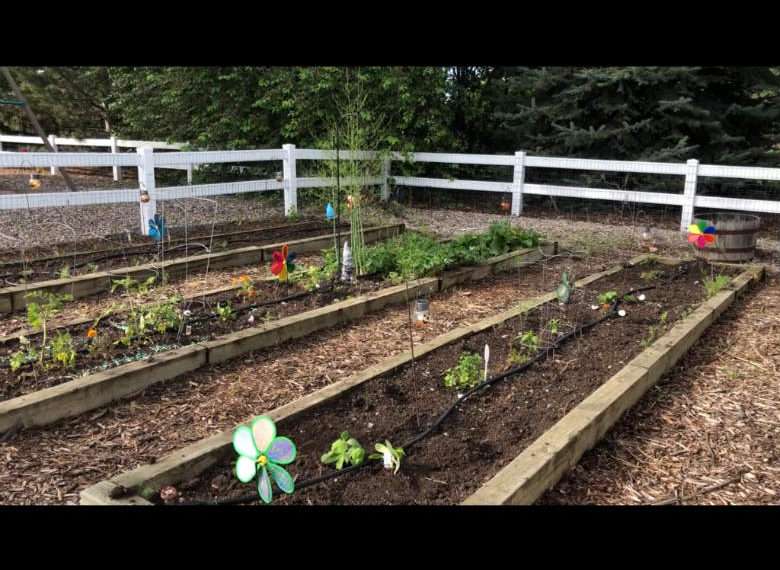
We have amended our soil, rotated our plants, and done all of the things that we should, yet our yield continues to decline more and more.
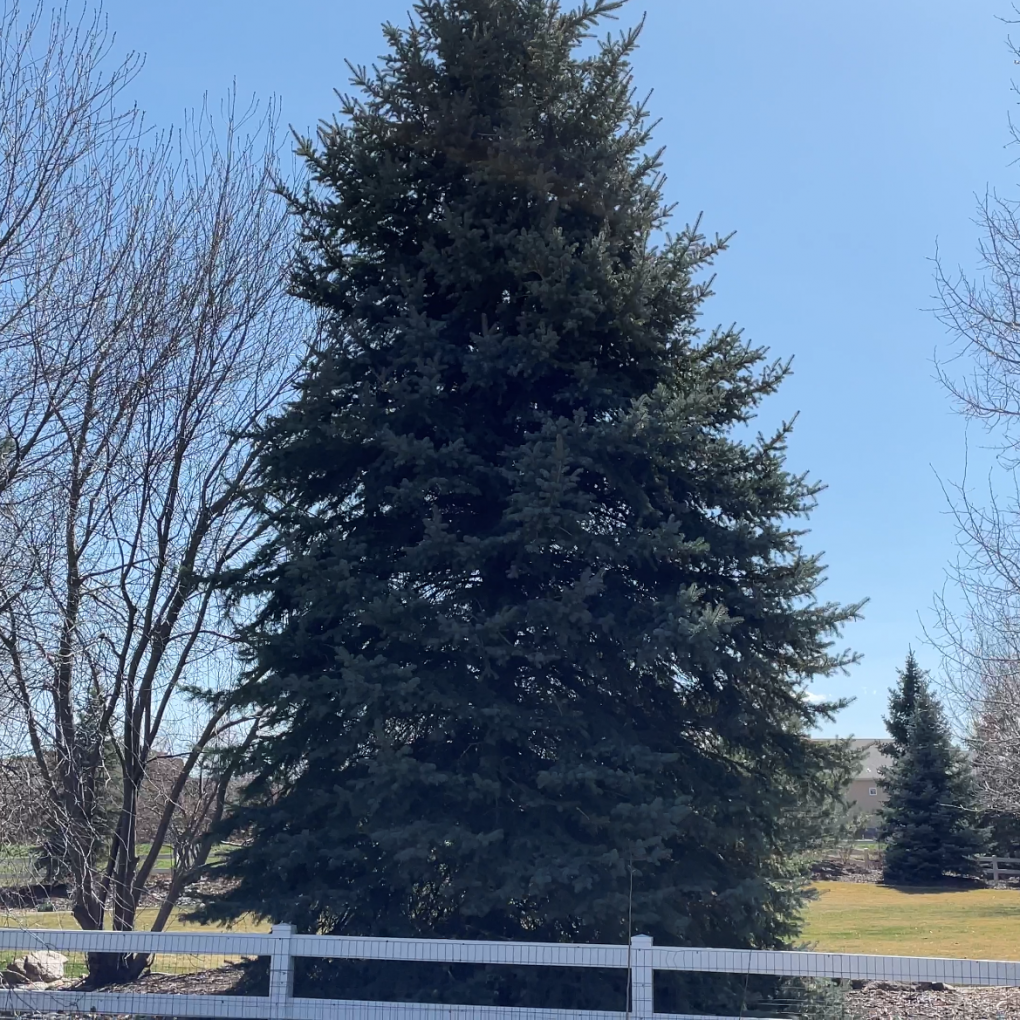
The culprit for us is that our previous neighbors re-did their landscaping and put pine trees and aspens on the other side of our garden. This makes our soil very acidic no matter what we try and do, the root system is all over our garden, and we are constantly getting aspen suckers that we’re cutting down.
Gardening with Straw Bales Set Up Video
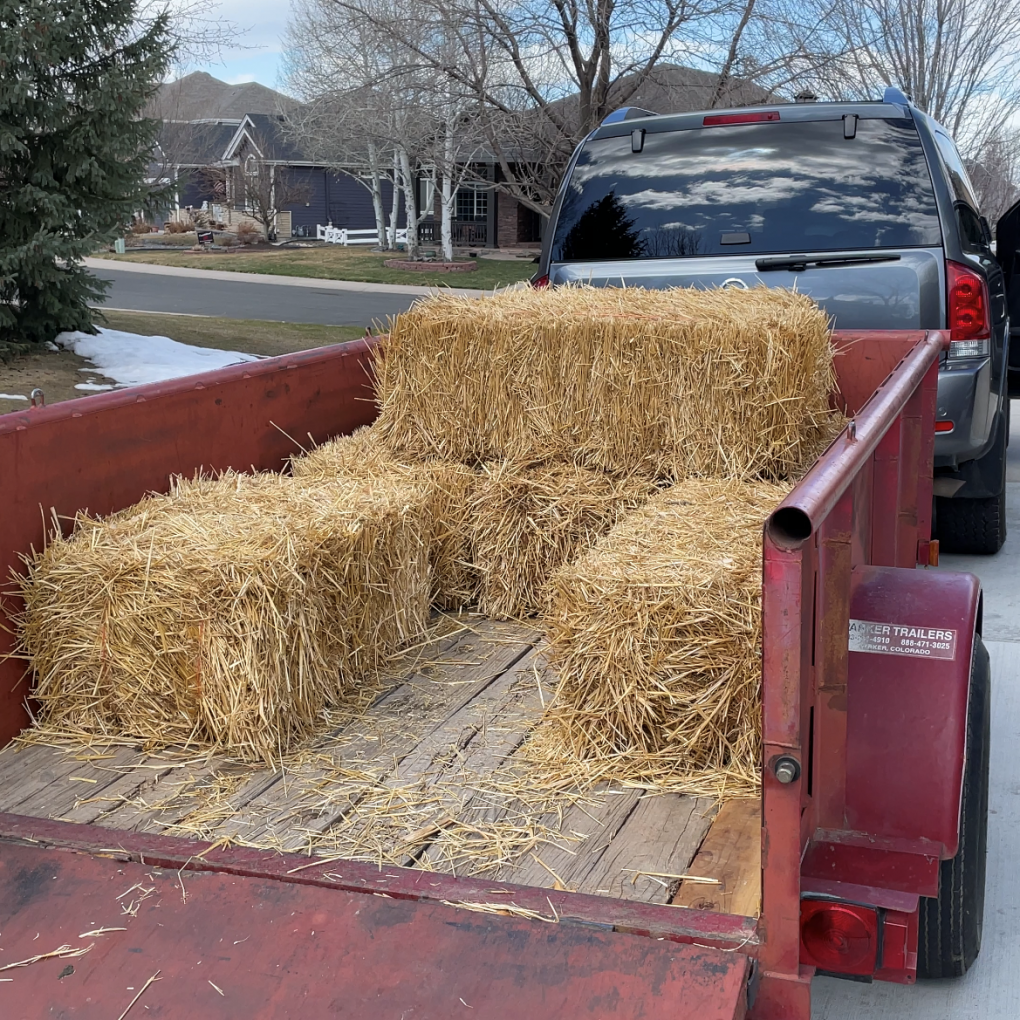
This year we are trying straw bale gardening.
Why is straw bale gardening good?
- It lifts the plants up above ground level. This is beneficial if you have poor soil. It functions essentially as a raised bed so it is perfect if you have physical limitations or limited mobility that make gardening a challenge.
- Bales of straw are natural
- Straw blocks or bales composts over time which will feed your plants. You can add any residual straw to the compost pile
- It offers good drainage
- You start fresh every year to help avoid spores and eggs that might end up in your soil.
Where do I get straw bales?
I was able to find a local farmer who was selling the bales for $5 per bale. You can use a search engine to find local stores or farms near you or ask at your local hardware store or garden center. One of the most important things to ask before purchasing is do they spray the bales with pesticides or other chemicals. You don’t want those chemicals near your food.
When should I start my straw bale garden?
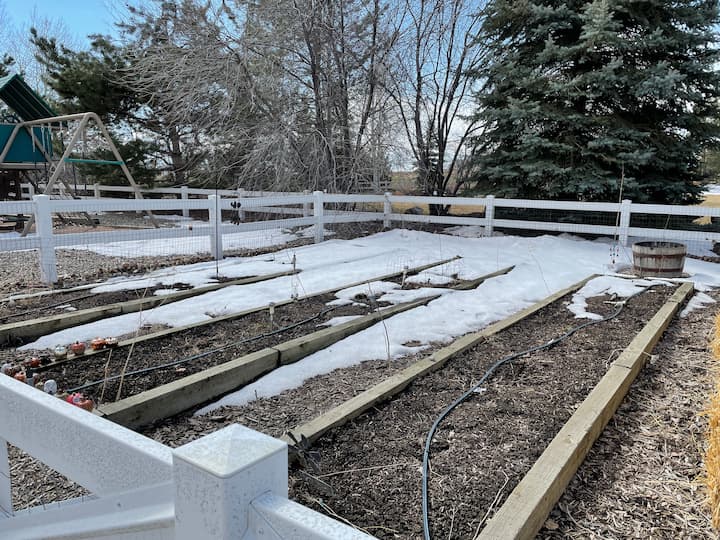
We had a big snowstorm during our spring break in March so I couldn’t pull out the old soaker hose when we purchased our bales.
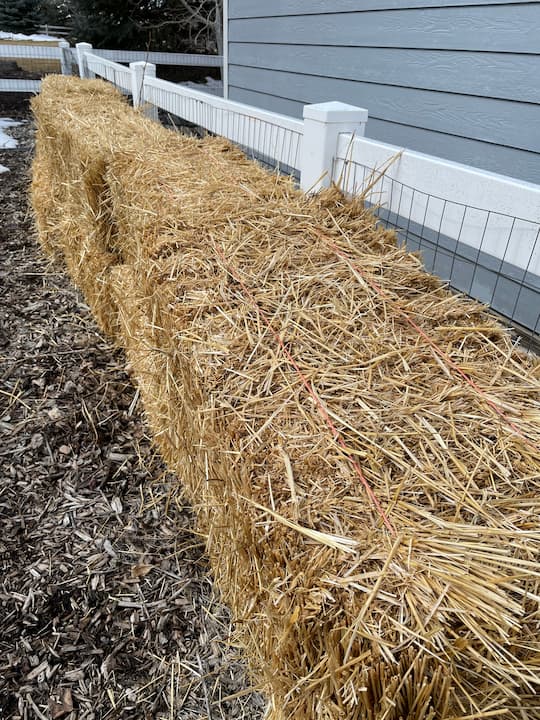
I stacked my bales along my fence to wait for the snow to melt. You can buy them in the fall and keep the bales all winter long, or you can wait until spring to get your bales.
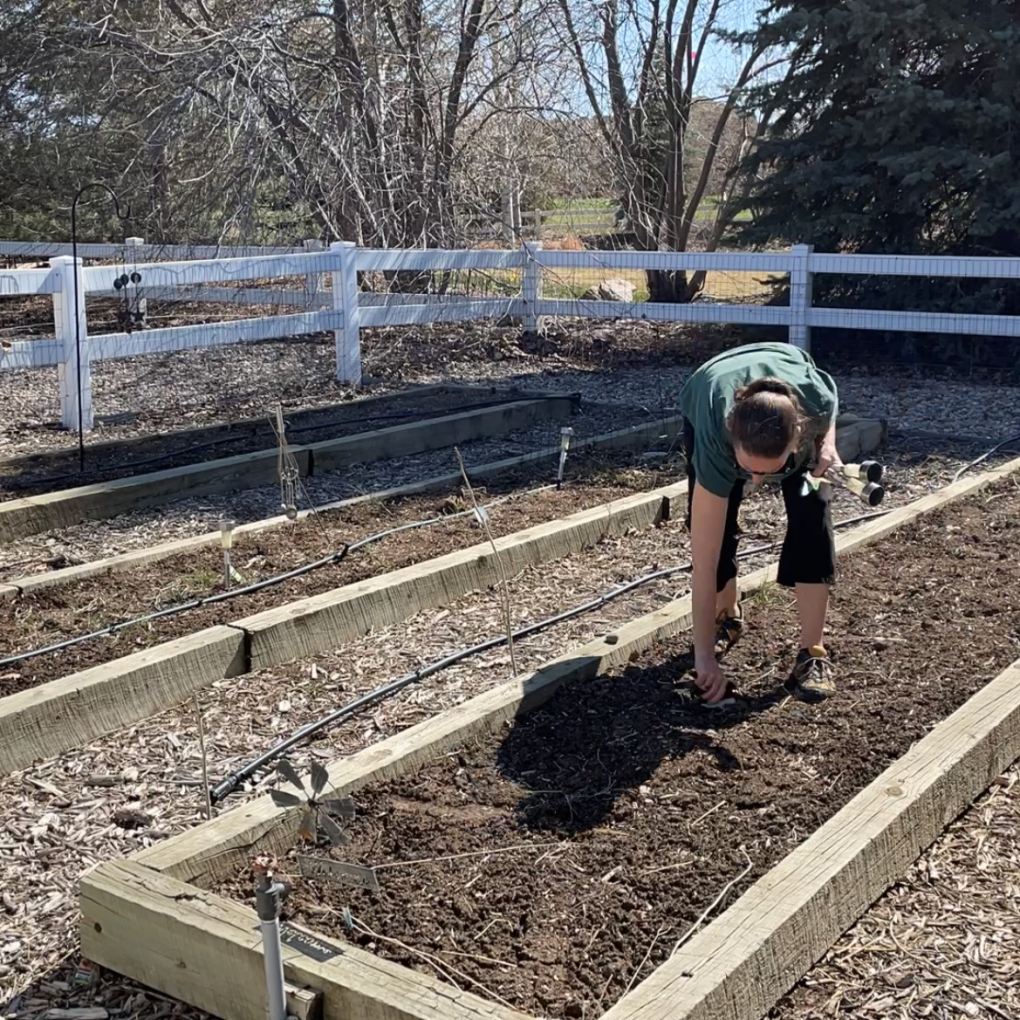
Once the snow melted, I removed the old watering line and anything else that I wouldn’t need in the garden beds.
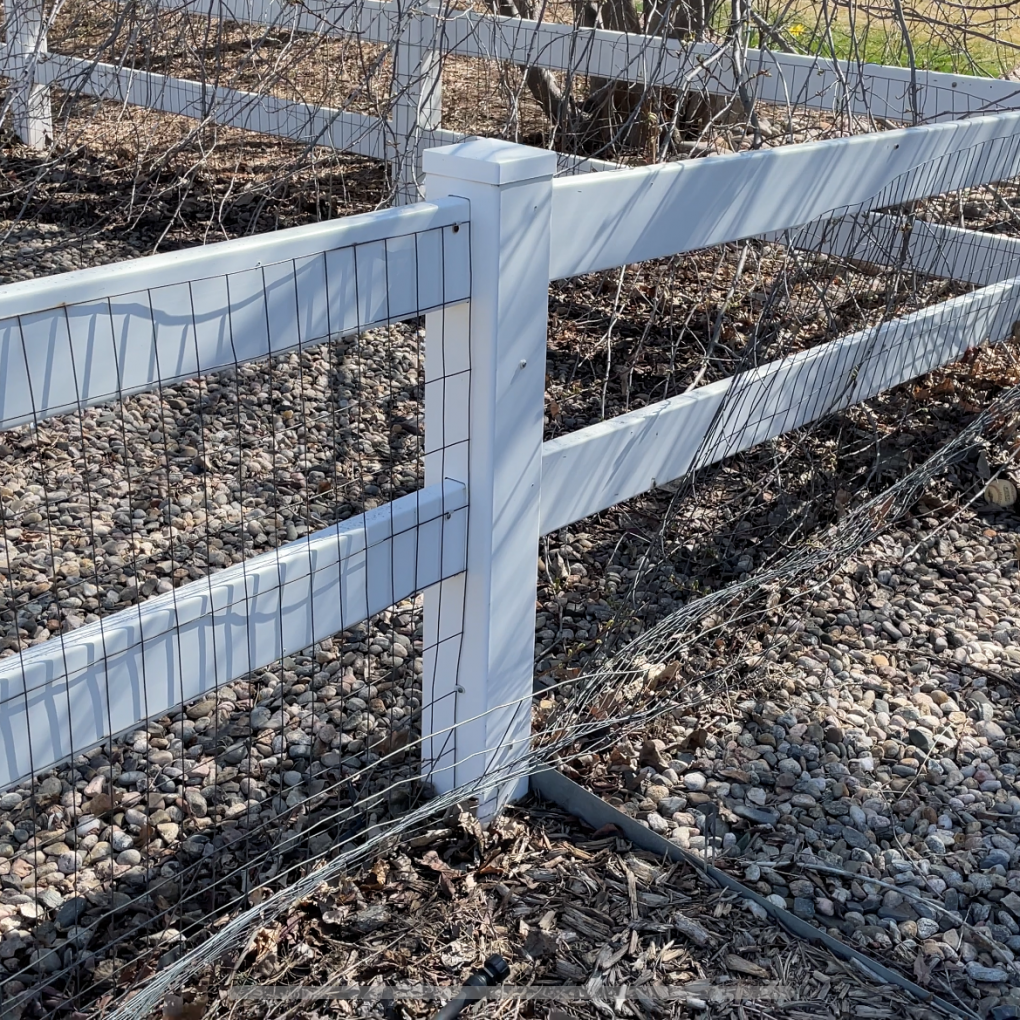
The snowstorm took out our rabbit fence so we mended that as well. You can see other tips on how to keep pests out of your garden here.
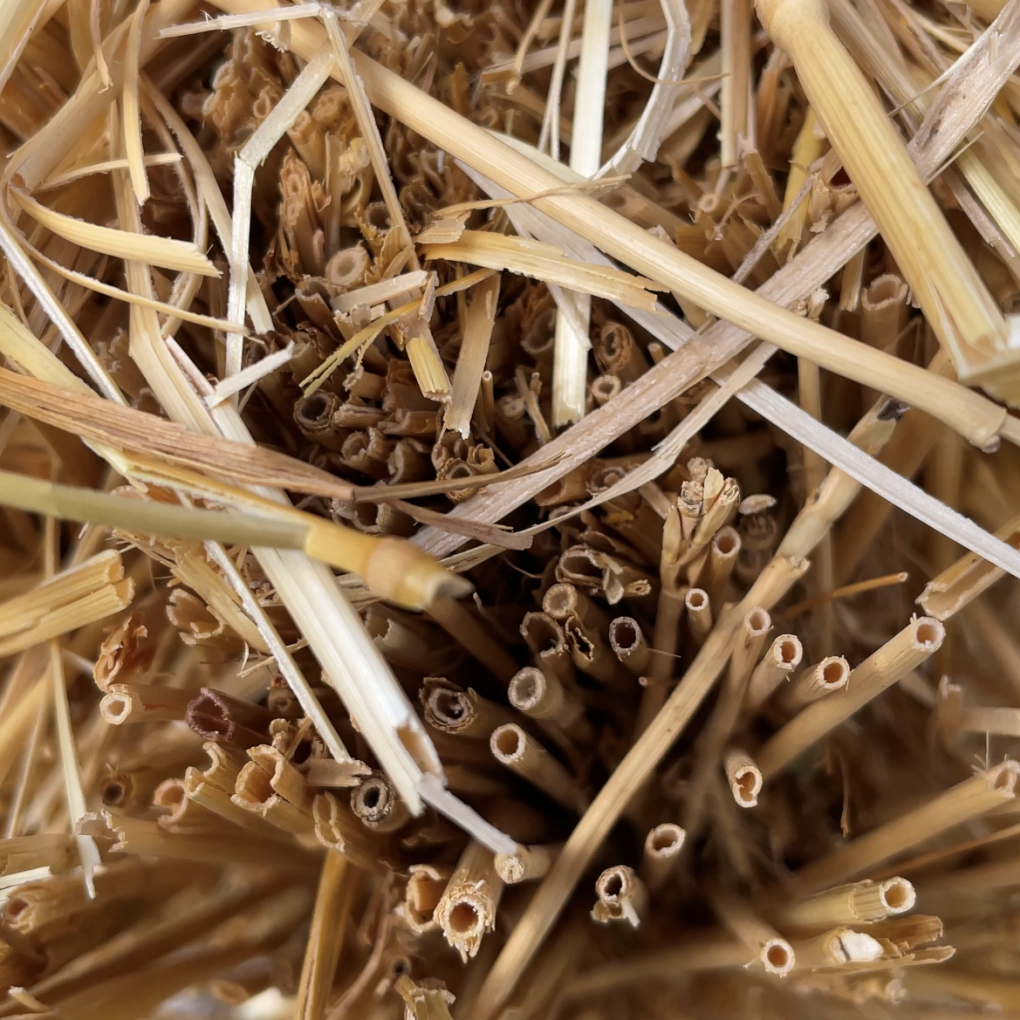
Should I use straw or hay Bales in my garden?
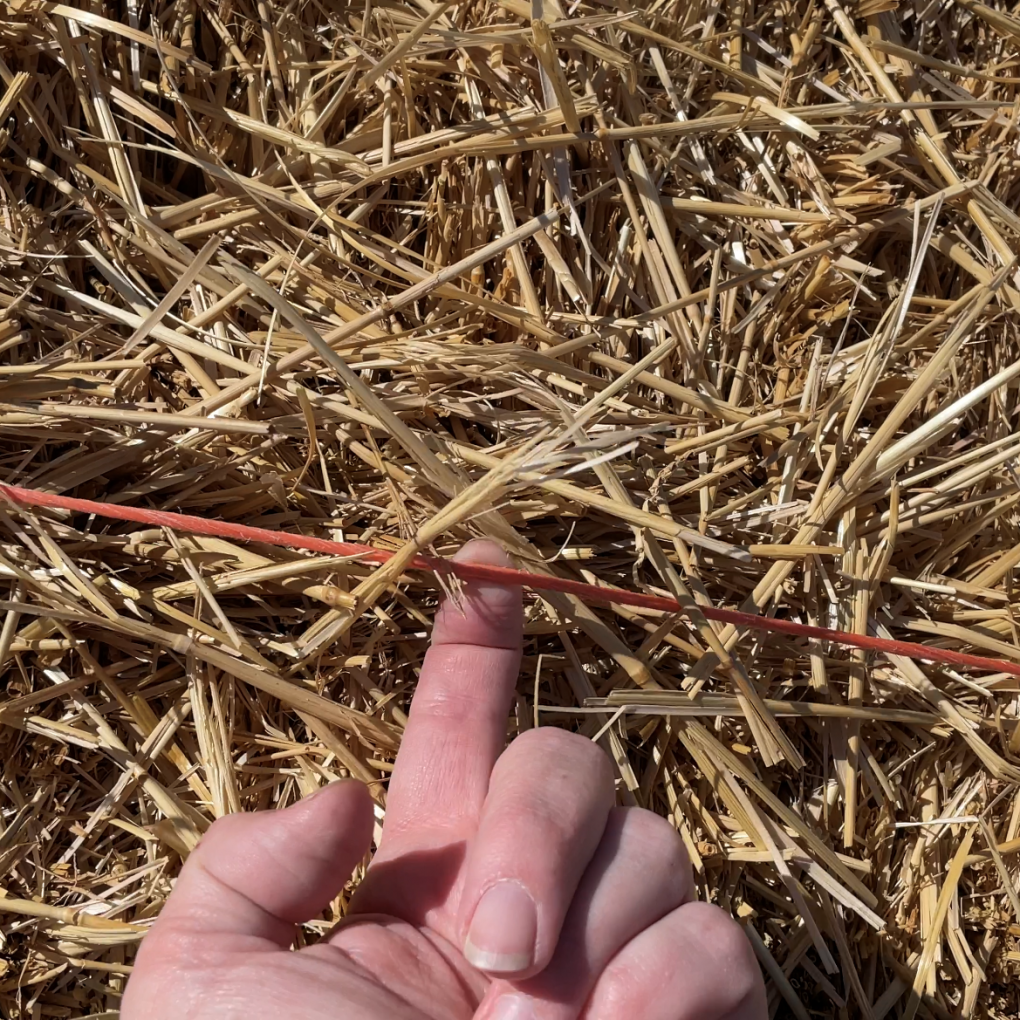
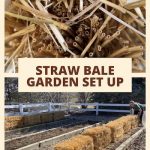
Pay close attention to what you are buying. You want to use straw because as you can see that the straw is hollow in the middle like the ones we use in drinks. This allows the bale to transport the water it’ll need to help the plants grow.
How do I set up the straw bales?
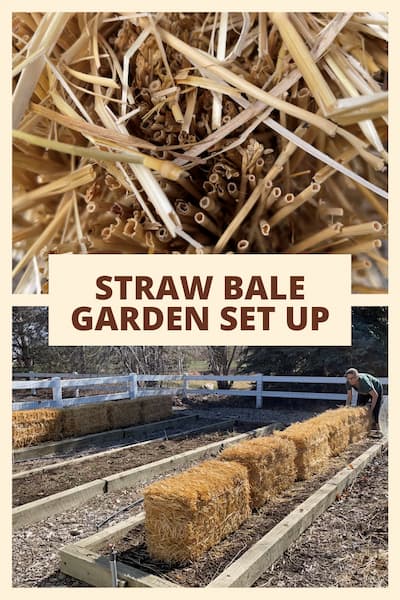
You want to make sure the strings that are on the top of the bale are facing the sides of the garden. So it’ll appear that the bales are sideways.
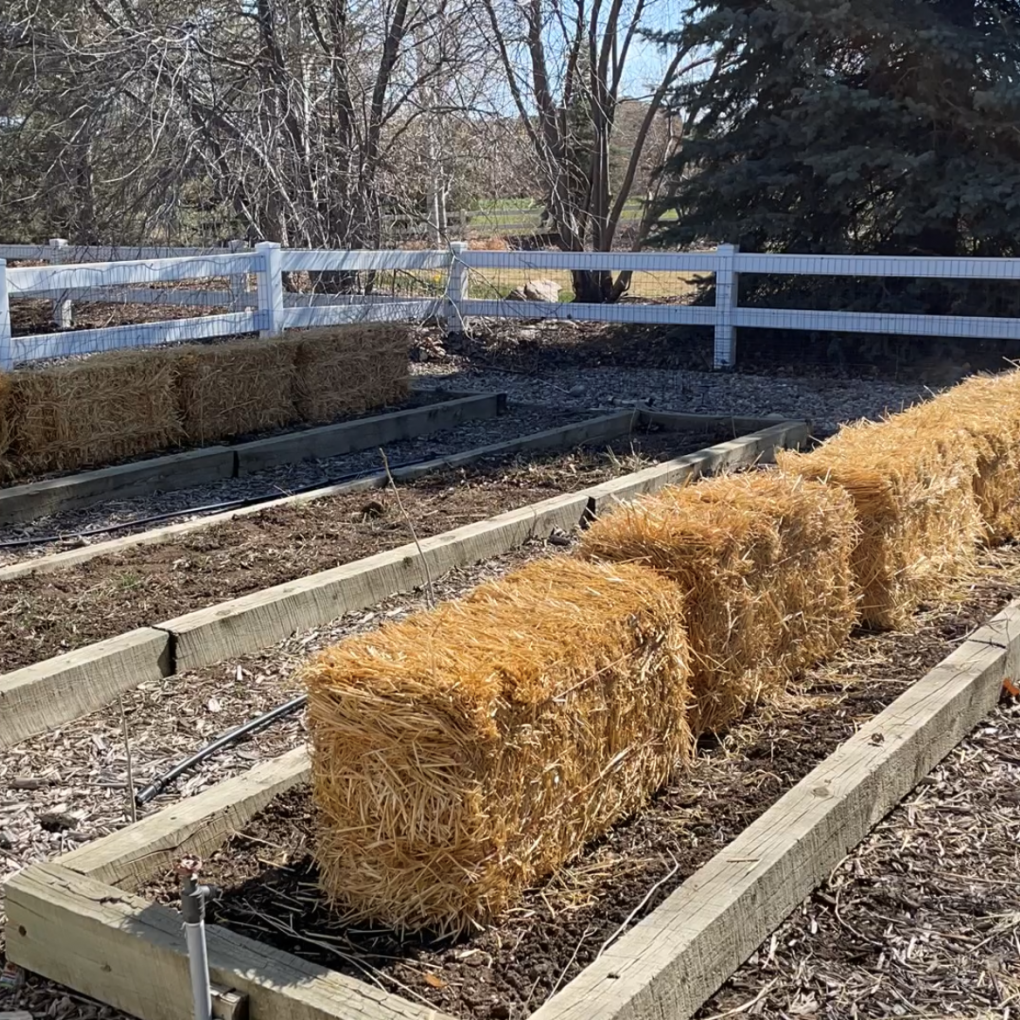
We have 3 rows in our garden, and we purchased 10 bales. I placed put 5 bales in the last row, and 5 bales in the first row. You can have as many or as few bales as you want. This is very adaptable for just about any yard even small gardens with limited space.
We didn’t put bales in the middle row as we have strawberries and rhubarb that will come back in half of that row. I’ll be growing some other things that have done well despite the roots and other factors that come up in that soil.
As you can see we have water available in each row. We’ll be running our hose along the top of all of the bales.
When should I start my straw bale garden?
Counting backward will help you decide when you should start your straw bale garden. I know in Colorado we cannot plant until mid-late May at the earliest as sometimes we get late snow. From there you’ll count backward as you’ll need to condition your bales to get them ready for planting. It takes approximately 12 days to condition the bales. Prior to that, it’s a good idea to get everything you will need and come up with a plan. You will need to get your bales, set them up, figure out what watering system you’ll be using, set it all up, and get the supplies you’ll need for conditioning.
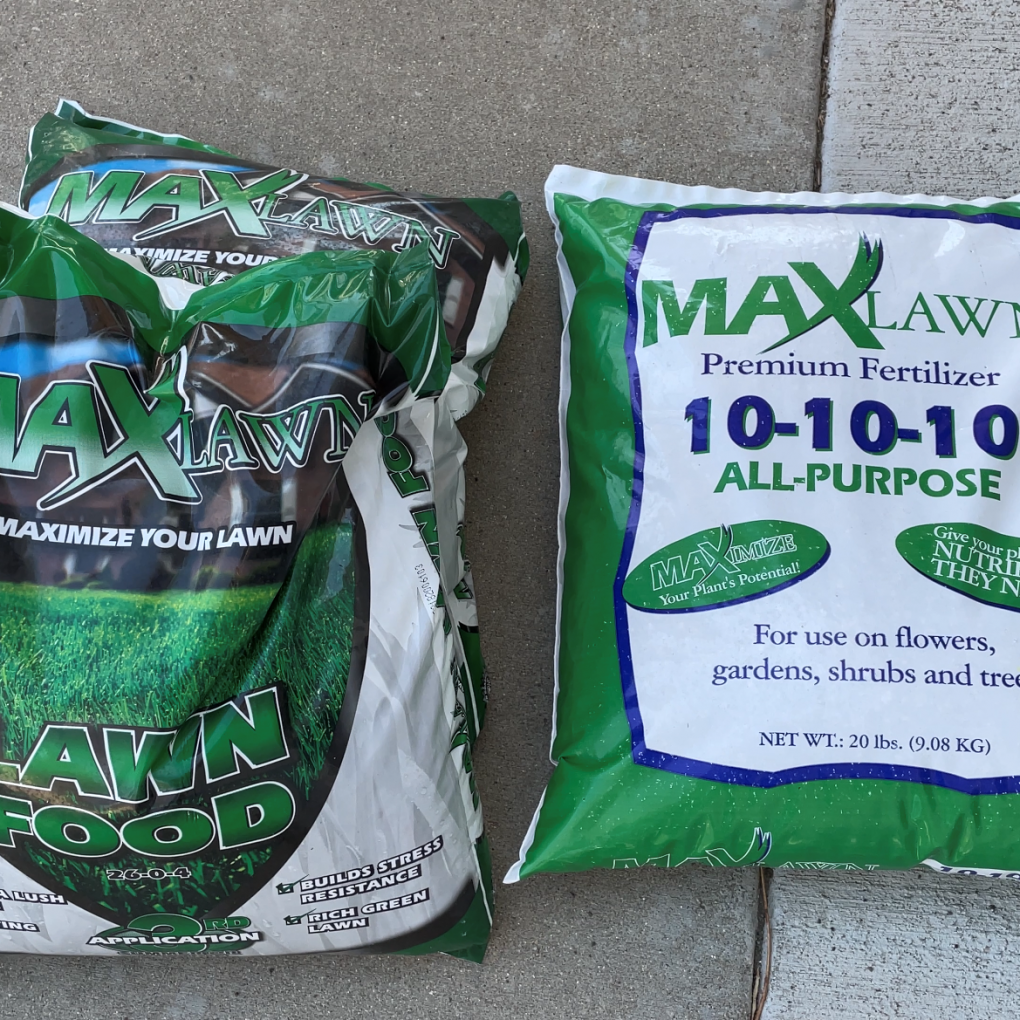
We bought inexpensive lawn fertilizer and we needed to make sure that it had 20% nitrogen, and was not a slow-release type. We also bought a fertilizer with 10-10-10 which is nitrogen, phosphorous, and potassium. Make sure neither has weed killer, herbicide, or crabgrass killer in it.
We have everything we need to get started. We’ll start conditioning the bales in May. Next we will post about the conditioning process and what we plant in our garden.
Gardening with Straw Bales Set Up video
If you want to know more about straw bale gardening, you can check out this post Straw Bale Gardening 101
Shop any of these stores and I receive a small commission at no cost to you.
 Straw Bale Gardens Complete...Shop on Amazon
 AA Plus Shop 100% Natural W...Shop on Amazon
 BaleBuster Straw Bale Garde...Shop on Amazon
Check out these other AMAZING gardening posts from my friends!
May Gardening in 9B – Life At Bella Terra
How To Divide Dahlia Tubers in the Spring – Shiplap and Shells
Early Spring Garden Tour – Bricks ‘n Blooms
Check out some of my other gardening posts!



What a creative idea! I”m sure it will work really well. Straw can do so much. I love your tip! xo
Thank you so much Stacy
I had no idea that straw did all of these amazing things in your garden. I do remember someone telling me that I was to use straw and not hay when laying it on the ground for my pumpkin patch so the pumpkins wouldn’t start molding. Thank you for the great tip, and for hosting this fun garden hop.
Oh that’s a great tip Kim, thank you so much for sharing that.
I recall doing a paper on straw bale homes back when I was in college. I did know that you could garden with them. I hope this is the answer to your garden producing lots more vegetables this year! I can’t wait until my backyard is finished and I decide what I want to do with it. I wish it was a little larger, but that is what comes from living in a “new urbanism” community.
Thanks Chloe, and you’d be surprised with how many things you can plant in one bale. It’s pretty amazing, so you might be able to have some fun with this technique in your yard.
Chas, I am so curious as to what you are going to do with the straw bales. I’ve never heard of this type of gardening. It makes sense that the adjacent evergreens are causing problems for you. Can’t wait to see more. Happy hopping with you!
Thanks, Mary, I’m so excited to share this journey and hope it solves a bunch of problems in our garden and we have an amazing produce year… we shall see 🙂