5 Ways To Make Garden Markers
Whether it is in your vegetable garden, herb garden, flower bed, or plants in pots, plant labels are a fun way to add the plant name and maybe even a picture of what you have to look forward to. They can be particularly helpful if you have planters with a wide variety of plants. How can you remember where you placed your basil, cilantro, oregano, chives and parsley?? Here are a variety of ways to make diy plant markers that are very easy and inexpensive. These also make a great gift for the gardener in your life.
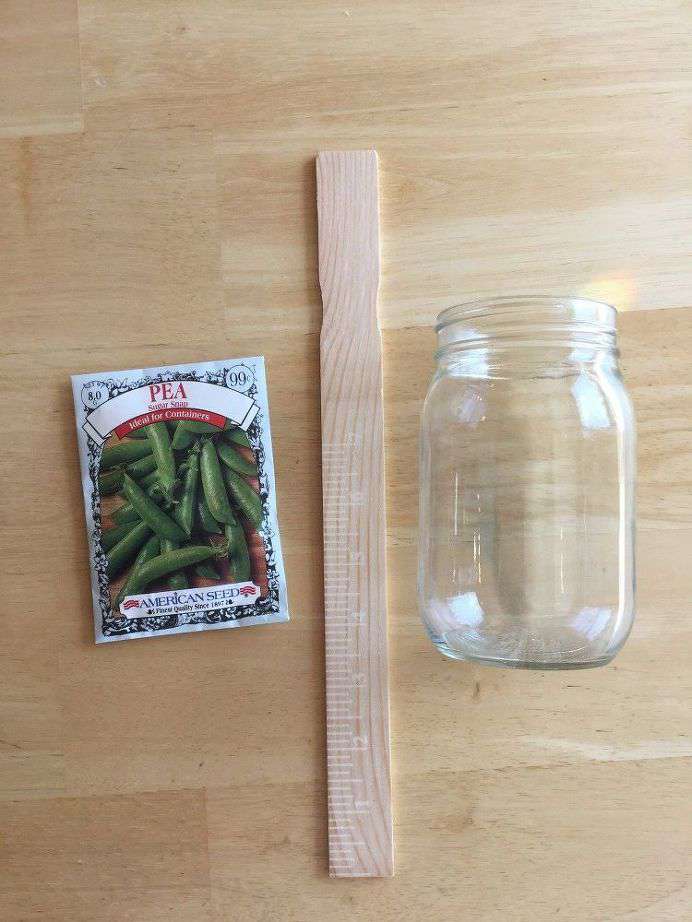
First Garden Marker – Here is a creative idea that will put your seed pack to good use. You’ll need the packet from your seeds, paint stirrers (or stick, skewer, wooden spoons, etc. – something to be a stake), and a glass jar.
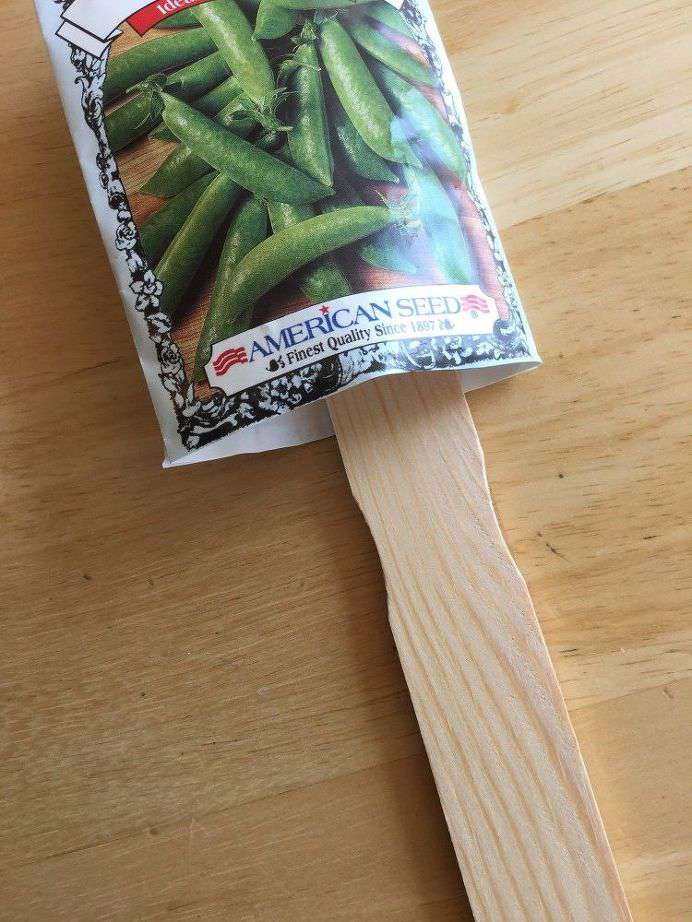
Use your empty packet of seeds and place on the stake of your choice. (Open your packet of seeds from the bottom.)
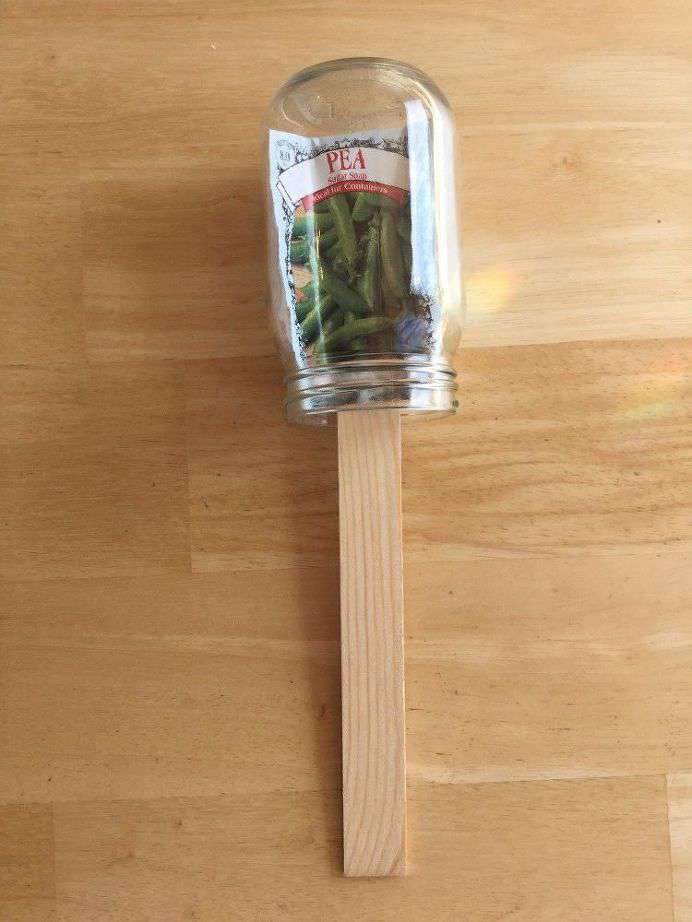
Place your recycled jar onto the top to cover and protect your seed packet from the elements.

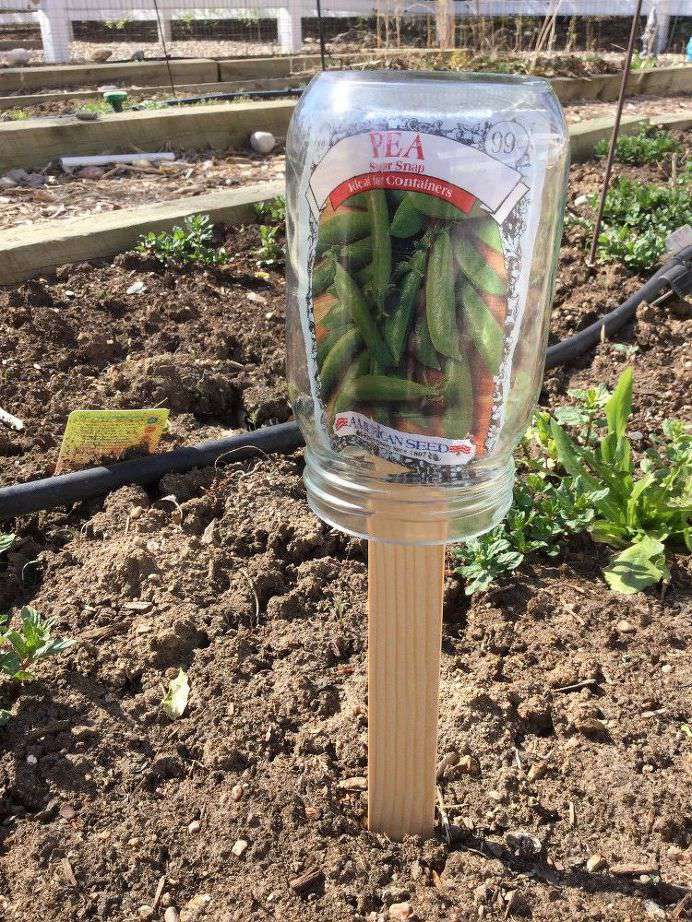
Stake in your garden.
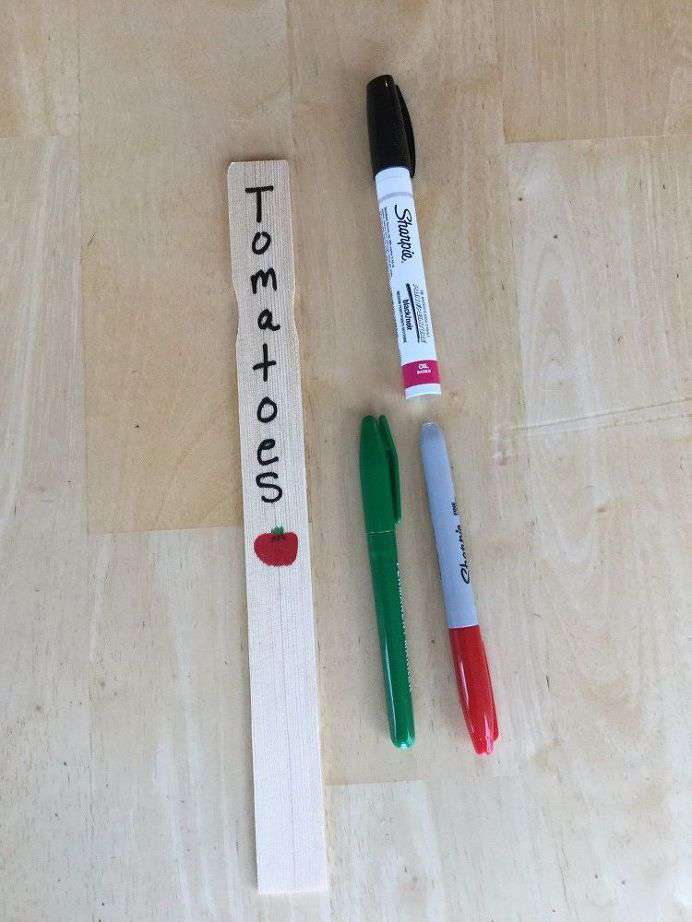
Option 2 – Write on a paint stick (10 for $1 at Home Depot) with a sharpie or a sharpie paint pen. Seal with acrylic sealer to protect.
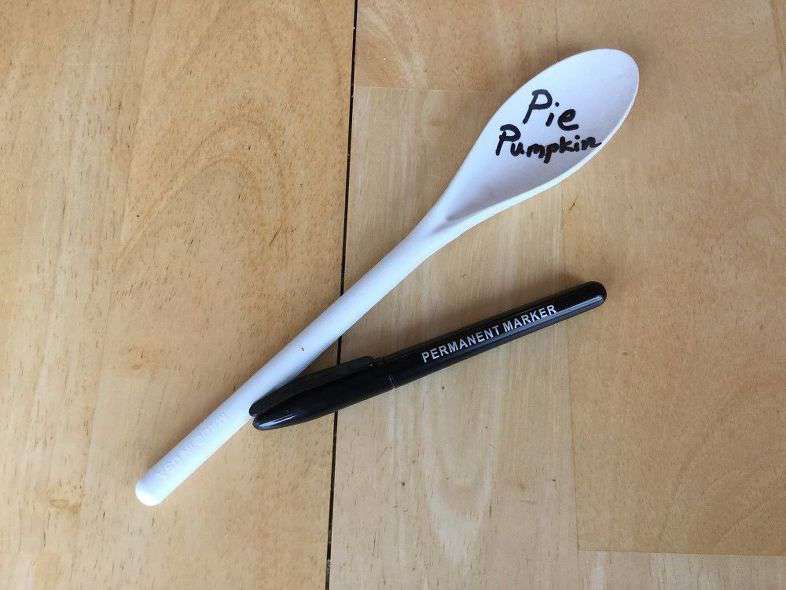
Option 3 – Write with sharpie on a plastic spoon (3 for $1 at Dollar Tree). You can stop here or …Using more colorful sharpies…
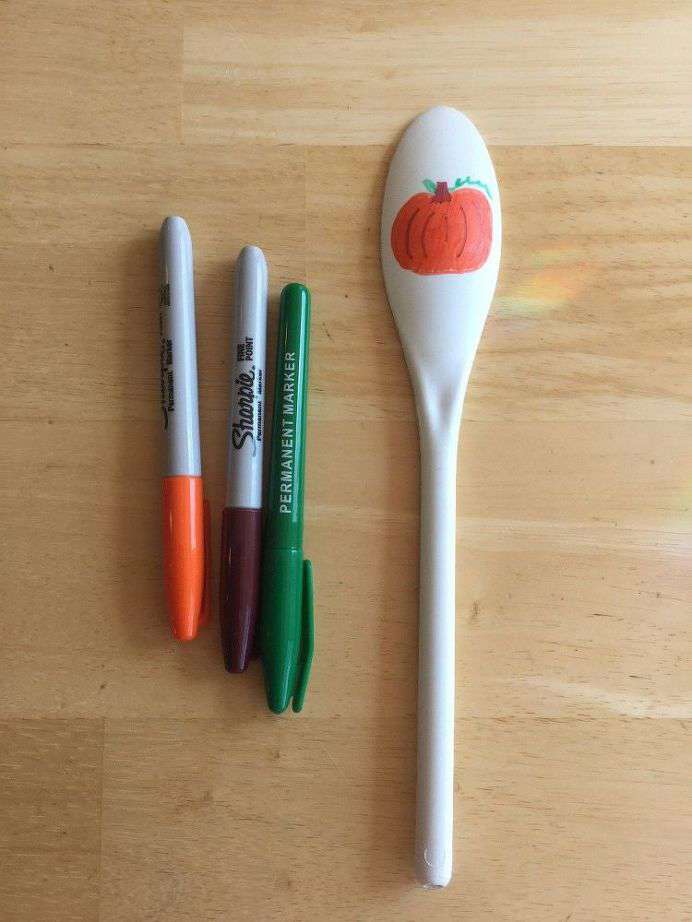
On the back side draw a picture of your planted item. This is a great option for color and a creative way to involve the kids or grandkids.
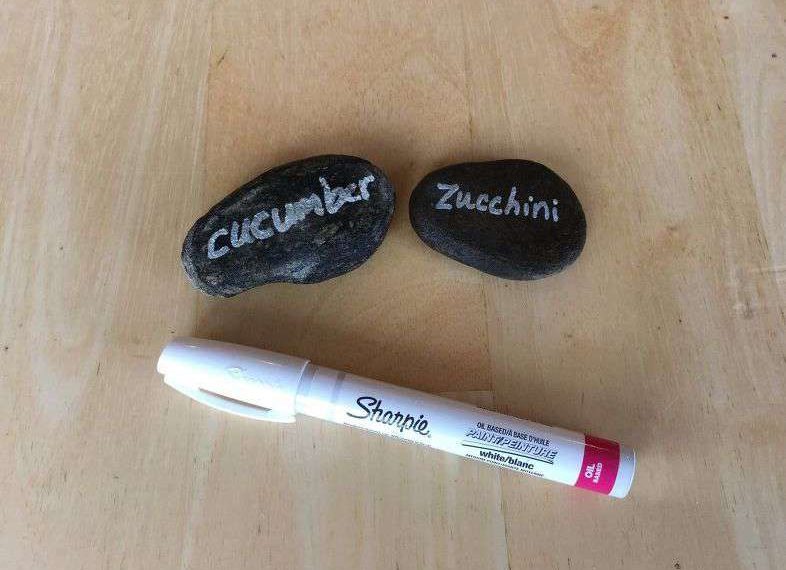
Option 4 – Here is a unique idea for an adorable garden marker. Wash a rock, let dry, and then use a paint pen or sharpie to write what you are growing. Once this is dry, spray with an acrylic sealer to protect it. You could also re-purpose bricks or tiles to use in the garden.
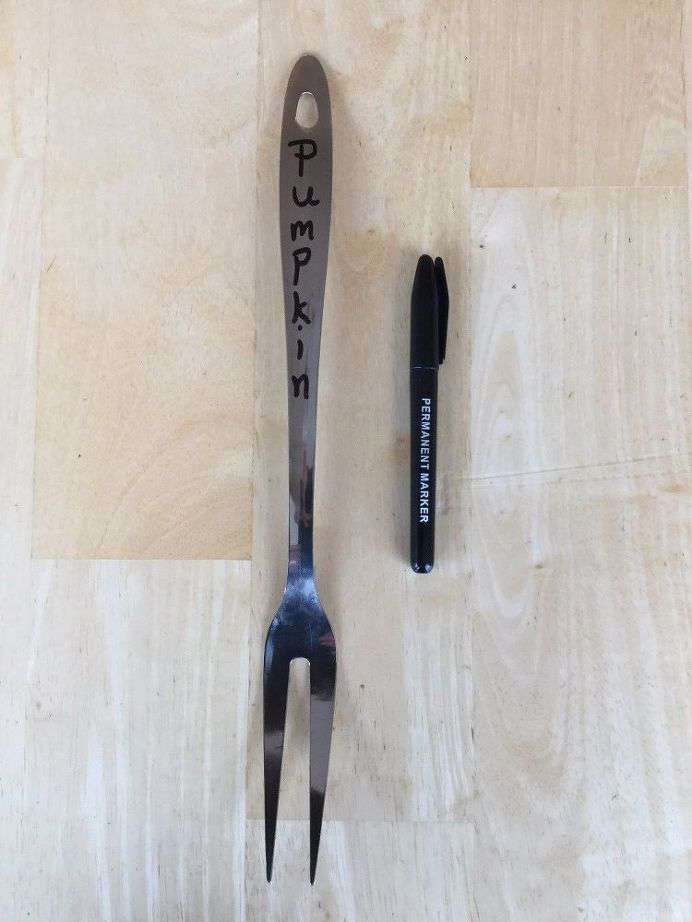
Option 5 – Write with a sharpie on an old kitchen utensil and stake into the ground by your plant.
Find out “What Exactly Does It Mean To Repurpose Or Upcycle“, save money, and create the most amazing things.
Watch me create these in the video below
 Flexzilla Garden Lead-in Ho...Shop on Amazon
 VIVOSUN 5-Pack 1 Gallon Hea...Shop on Amazon
 Kaytee Hummingbird ElectroN...Shop on Amazon
 INTEX 28131EH Easy Set Infl...Shop on Amazon
 Miracle-Gro Shake 'N Feed A...Shop on Amazon
Shop any of these stores and I receive a small commission at no cost to you.
Check out some of my other garden posts!



A clever idea to try! Every year I try a different way to mark my vegetable garden and every year, yup, I fail. And I’m horrible with identifying my herbs. I can’t decipher oregano from thyme to save my life. This might do the trick!
Thank you Jennifer. I know what you’re saying those are really tough to tell apart.
Clever ideas, Chas! Thank you for sharing at Party In Your PJ’s.
Thank you so much Ann 🙂
Thank you for sharing at #OverTheMoon. Pinned and shared. Have a lovely week. I hope to see you at next week’s party too! Please stay safe and healthy. Come party with us at Over The Moon! Catapult your content Over The Moon! @marilyn_lesniak @EclecticRedBarn
Thank you so much Marilyn, have a lovely weekend
Great idea!
You’re most welcome to join me in a cuppa at Tea With Jennifer,
Jennifer
Thank you so much for the invite 🙂
Great ideas for garden markers. Fun project to have the kids help with!
Hugs,
Kippi
Thank you Kippi, and I agree – great activity for the kids to keep them busy 🙂
So cute! I love the idea of sketching out little drawings on the back of plastic spoons like that! Thanks for sharing 🙂
Thank you so much Allie 🙂
These are some really fun, quick ways to make garden markers!
Thank you so much Pamela 🙂
Super creative!!
Thank you Tamar
I love the little jar over the seed packet, so simple and so effective.
Thank you so much Julie
These are such awesome ideas! Can not wait to try a few of them out! Pinning!
Visiting from Party in your PJ’s
Blessings,
Amy
Thanks Amy, and thank you so much for the Pin. I’m so glad you want to try a few 🙂
Thank you for the cute ideas for garden markers. This is a great way to add a little fun to a garden. Thank you for sharing at Talk of the Town link party.
Thank you so much Amy.
So simple and brilliant!
Thank you so much Michele
Extremely cute and fun ideas, Chas! Have a fabulous week.
Hugs! Stephanie
Thanks Stephanie, you too and hugs back 🙂
Great ideas Chas! All I have to do now is plant. LOL
Thanks Linda – I am started but don’t have everything in yet.