
Easy Dollar Tree DIY Giant Candy Decorations with Video

Do you want to make Dollar Tree DIY Giant Candy Decorations? I made a few different versions to share with you and they’re super easy.
Today I will show you how to make giant candy decorations that should really get you in the holiday spirit. This is an easy DIY craft the whole family can help with and when you are done you will have unique and colorful Candyland Christmas decorations that you can reuse every holiday season. You will just need a few inexpensive supplies you can find at your local dollar tree or craft store. Let’s get started with this easy tutorial.
How do you make giant fake lollipops?
DIY Giant Candy Decorations Materials
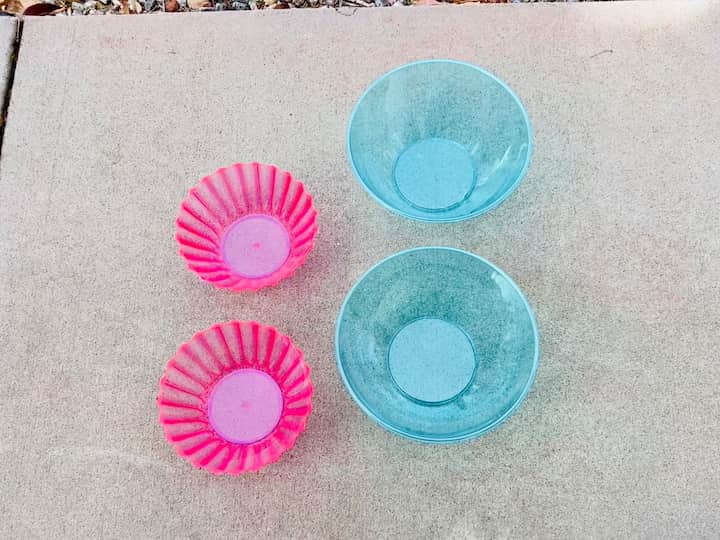
For this project, you’re going to need several Dollar Tree bowls in different colors, a hot glue gun, broom sticks, and pool noodles.
- Broom Handles
- Colorful Plastic Bowls
- Roll of Cellophane
- Ribbon
- Pool Noodles
- Duct Tape or Athletic Tape
 Rubbermaid 6361 Wood Thread…Shop on Amazon
 SCANDINOVIA – 13oz Unbreaka…Shop on Amazon
 AnapoliZ Clear Cellophane W…Shop on Amazon
, Decorative Ribbon for Gift Wrapping, Crafts Hair Bows, Flower Bouquet, Wedding Party Decorat") LIUYAXI 3/8 Inch Satin Ribb…Shop on Amazon
LIUYAXI 3/8 Inch Satin Ribb…Shop on Amazon Pool Noodles, Fix Find 5 Pa…Shop on Amazon
 Maxwel Manufacturing Duct T…Shop on Amazon
DIY Giant Candy Decorations Video
DIY Giant Candy Decoration Instructions
1. Glue the bowls together
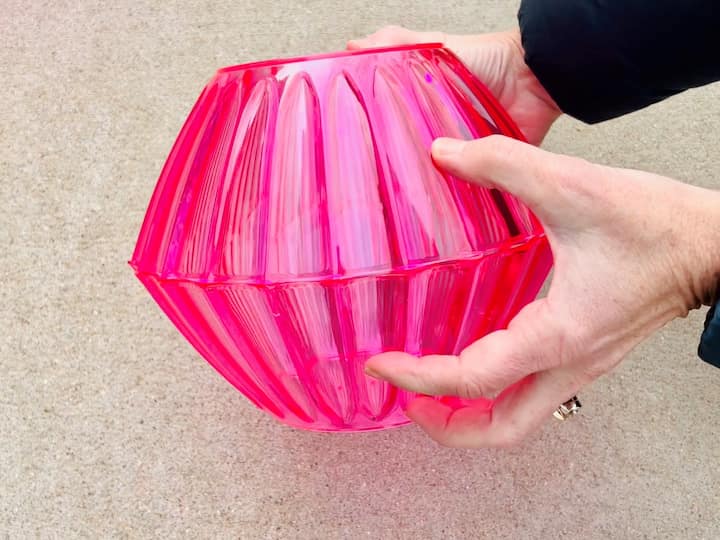
The first thing you want to do is prepare the lollipop tops. For this first Bowl, I’m just adding a little hot glue to all the little edges of the bowl. You can use as much or as little hot glue as you like. It really depends on where you are placing your lollipops. If you’re putting it outside and your climate is windy you may prefer to use something like E6000 or a more permanent adhesive. Next, I will take the other bowl and place it on top and wait for it to cool. This is what it looks like.

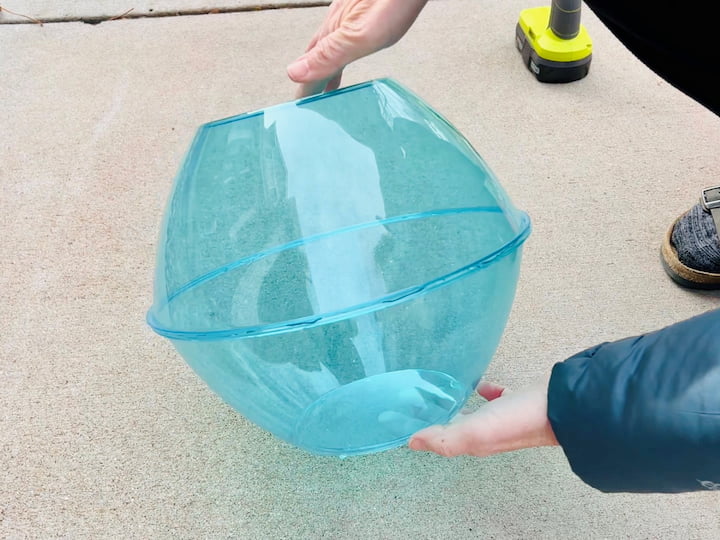
Now I’m going to do with the next large bowl. Again, I add dots or a line of glue around the top edge then place the other bowl on top and wait for it to dry.

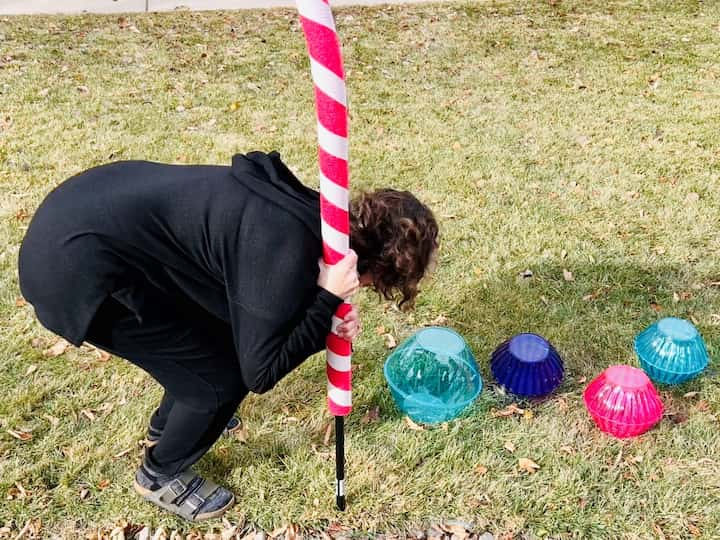
You can make as many of these bowls as you like. Here’s a quick look at all of the bowls that I’ve made so far. You can use a variety of colors.
2. Place your stakes into the ground
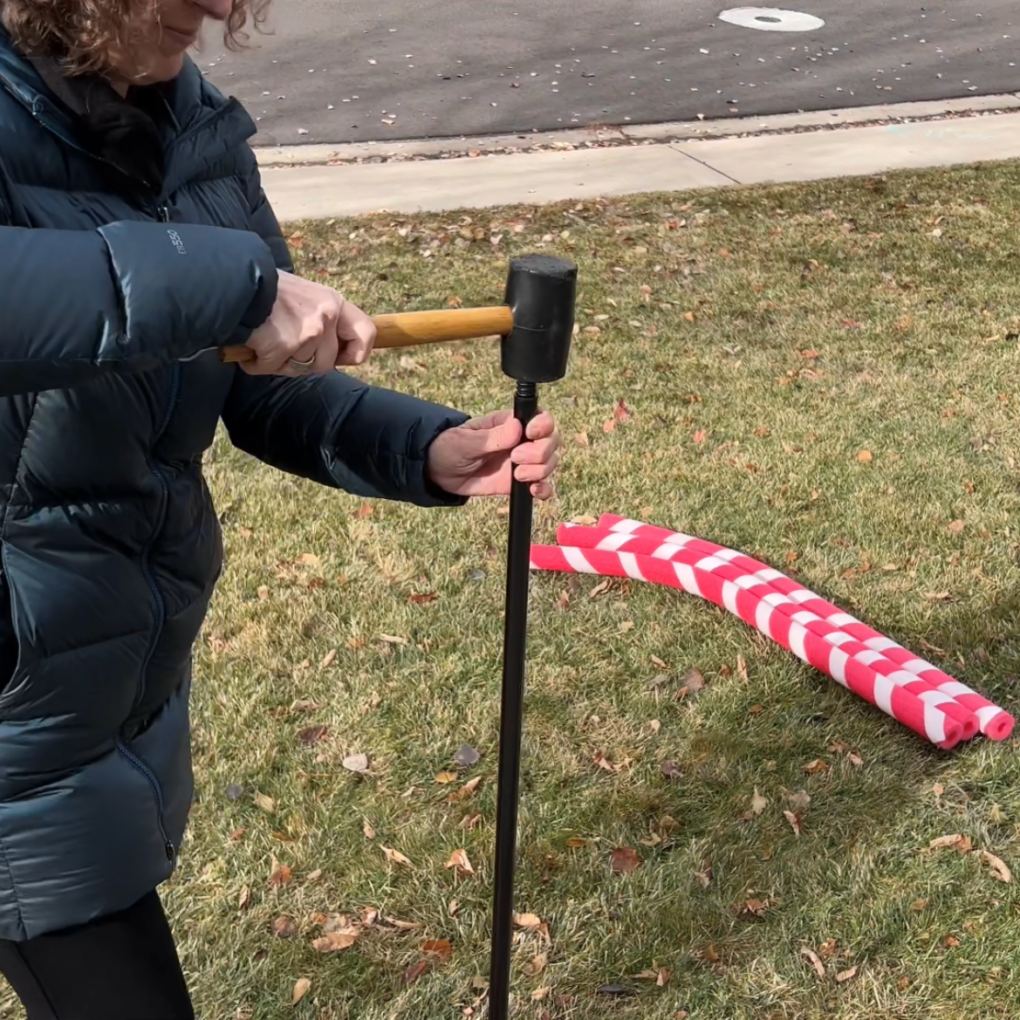
Next, I will map out where I want my DIY giant lollipops to go. I will use broom handles as the base for my lollipops, but you could use any sort of wooden dowel. I will take the top off each of the handles and hammer them into the ground just a bit to give them some stability.
You could use PVC pipe or a piece of rebar as well to make your giant lollipop decorations, but there will most likely be an extra cost over the dollar store broom handle.
How to make giant lollipops with pool noodles?
3. Decorate your Lollipop stick
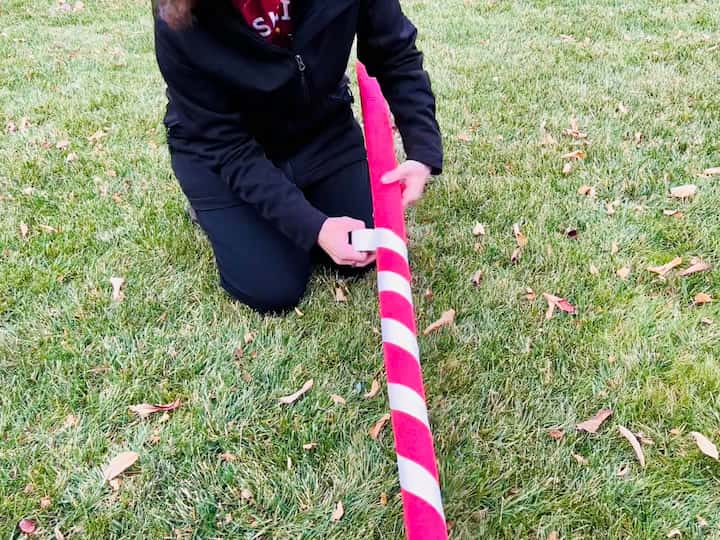
For the next step, I will be using red pool noodles as my lollipop stick. I will use athletic tape and twist it around the pool noodle to make candy stripes. I’ve done this to three of the poodle noodles. I will show you an alternative as well if you don’t want to use pool noodles.
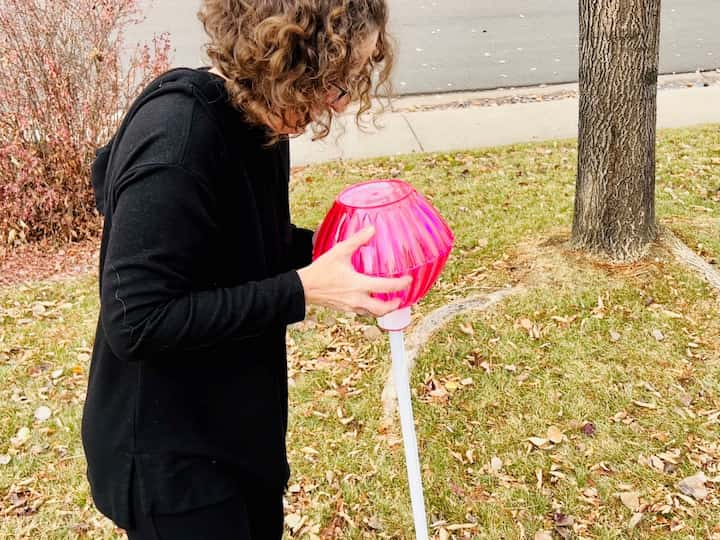
I will slide a pool noodle over each broom handle then use hot glue to secure the bottom of the bowl to the top of a pool noodle.

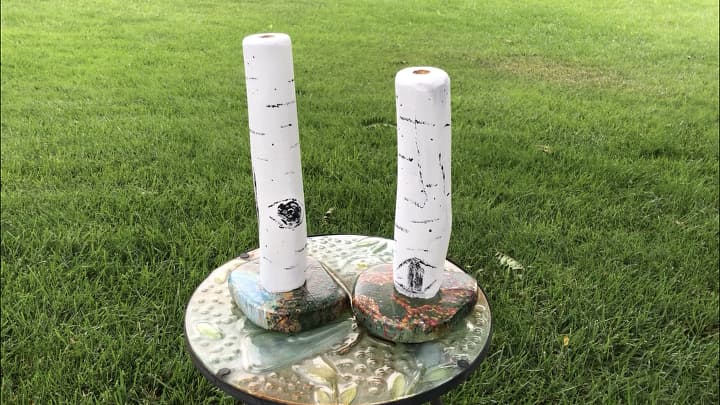
For an alternative version, you could leave the broom handle black or cover it with electrical tape or athletic tape in any color you like. You could wind the tape around the broom handle, but I found it easier to apply it vertically. I did one side and then the other.
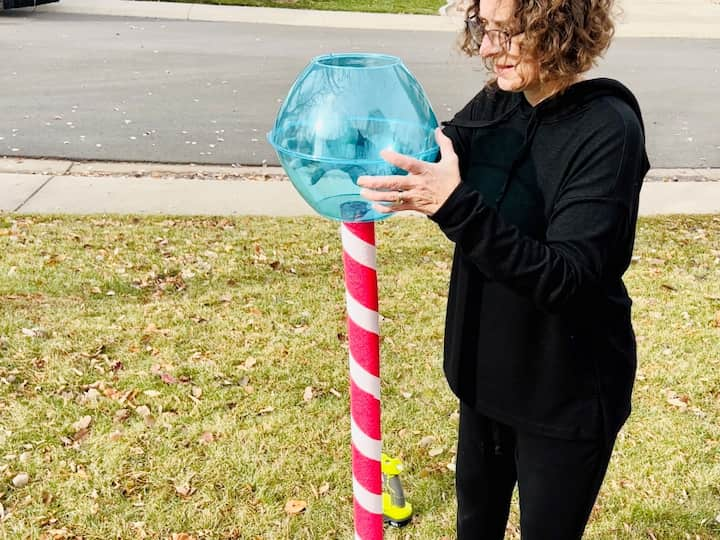
4. Attach the lollipop bowl to the stick
I placed the large bowl onto the pool noodle. This would give more surface area for the bowl to stick to the lollipop stick. I added some hot glue to the top of the noodle, and then I place the bowl on top and waited for it to cool.
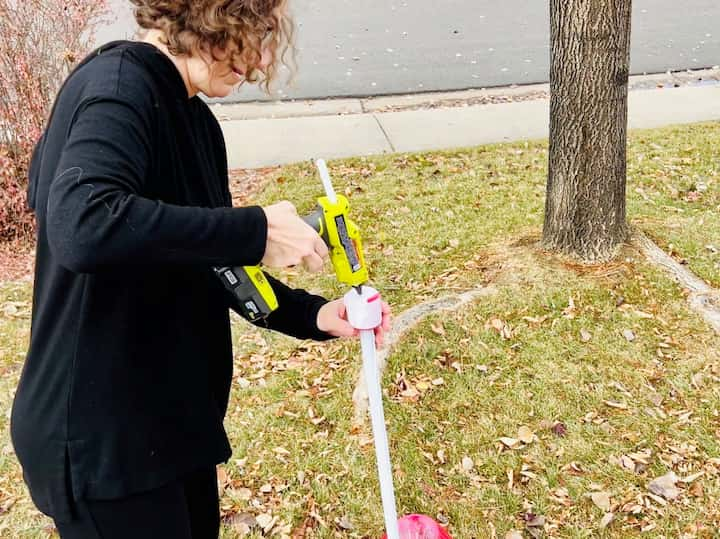
For the wrapped broom handle, I used a serrated knife to cut a small piece off the top of the pool noodle & slid it onto the broom handle, just to provide a more stable base for my bowls.
Next, I just use hot glue to attach the bowl set to the top of the pool noodle and let it cool.
How do you wrap a big lollipop?
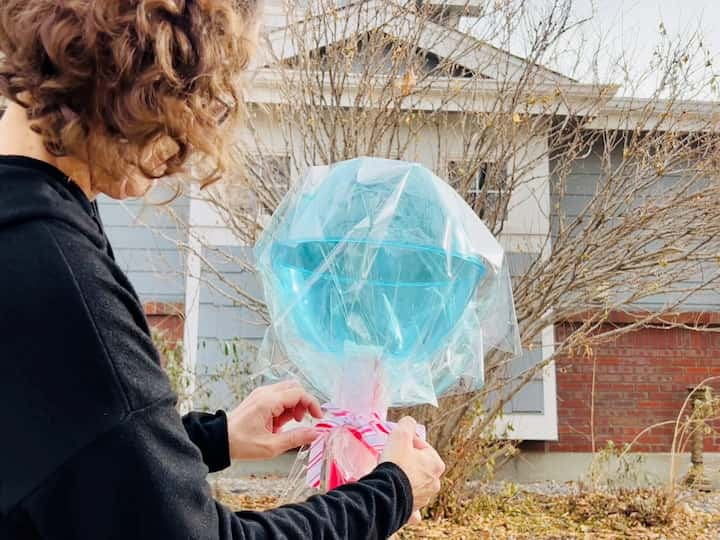
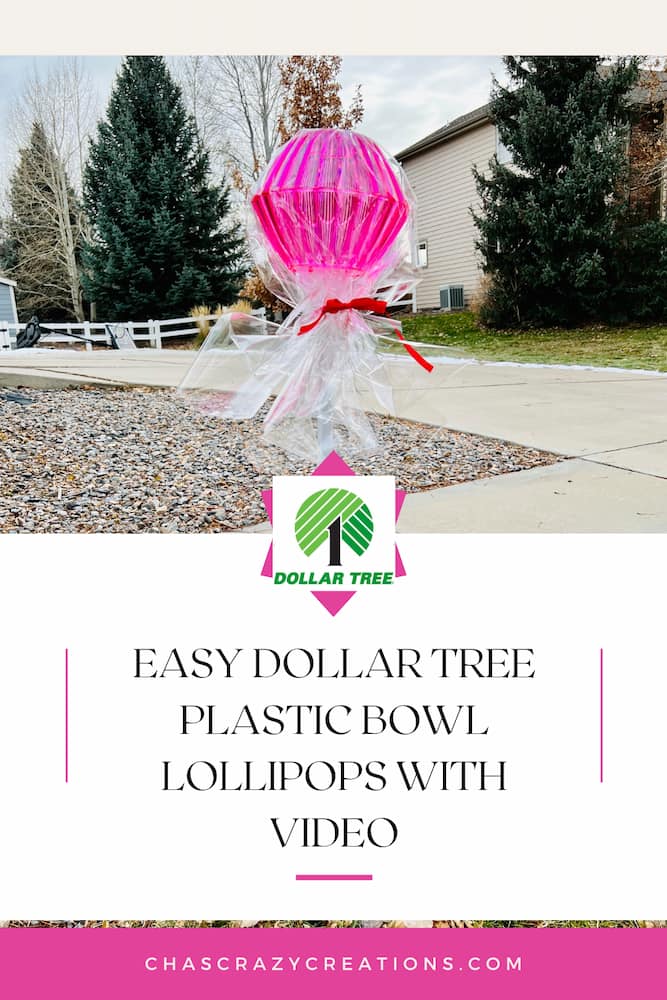
5. Wrap the lollipop
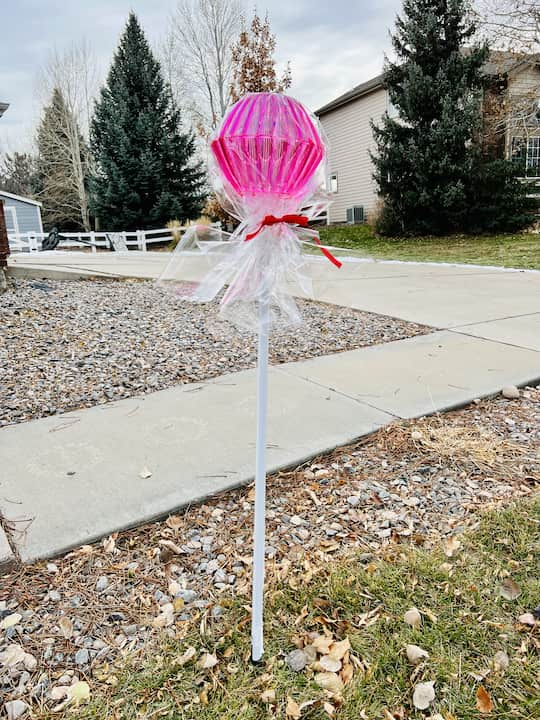
For the next step, I will be using clear cellophane wrapping paper. I cut a piece of cellophane wrap for each bowl set & wrap each one so that it looks like a lollipop. I then used ribbon to tie around the base and secure the wrapping paper around my bowl. Now my lollipop is all wrapped.
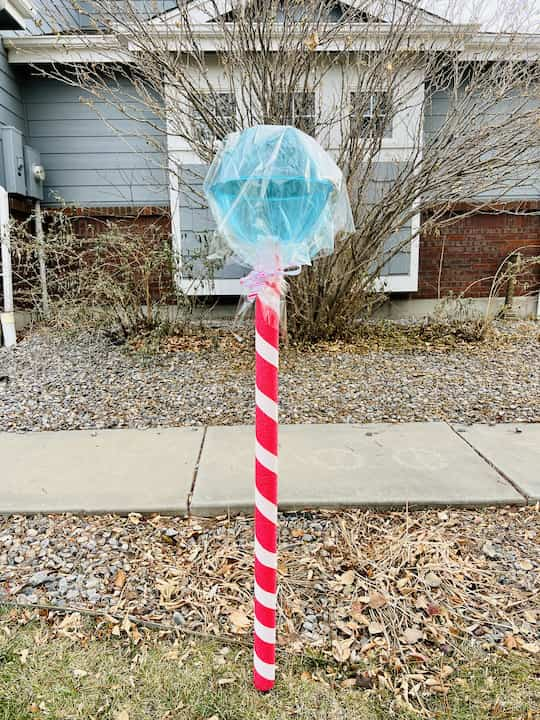
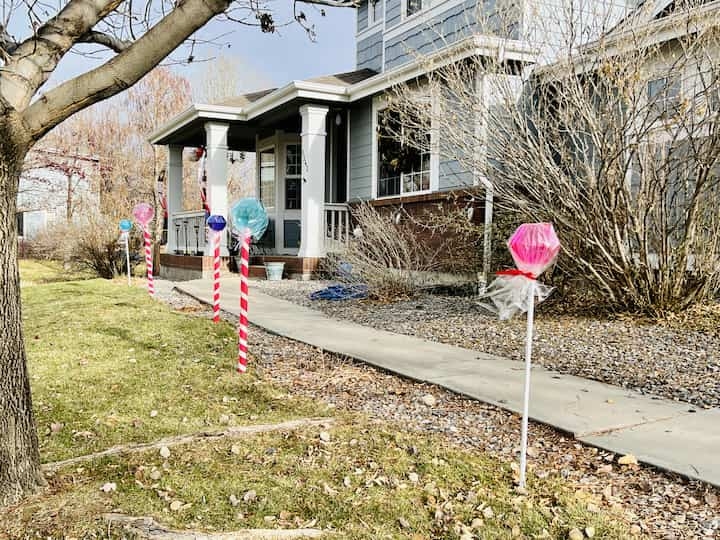
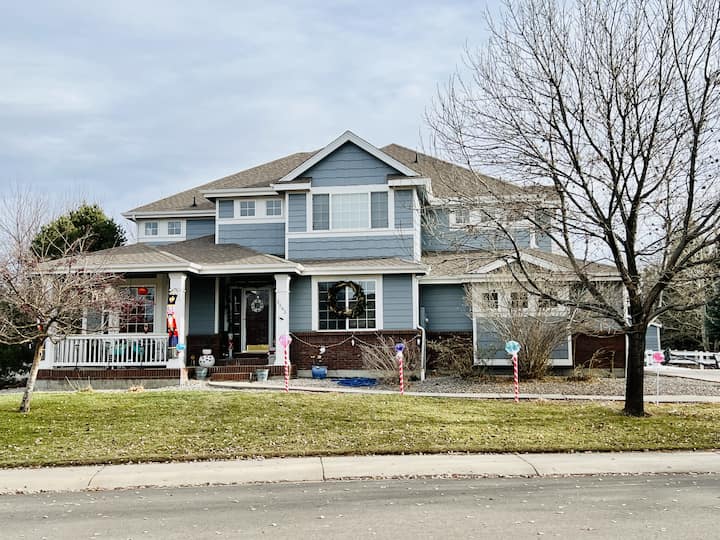
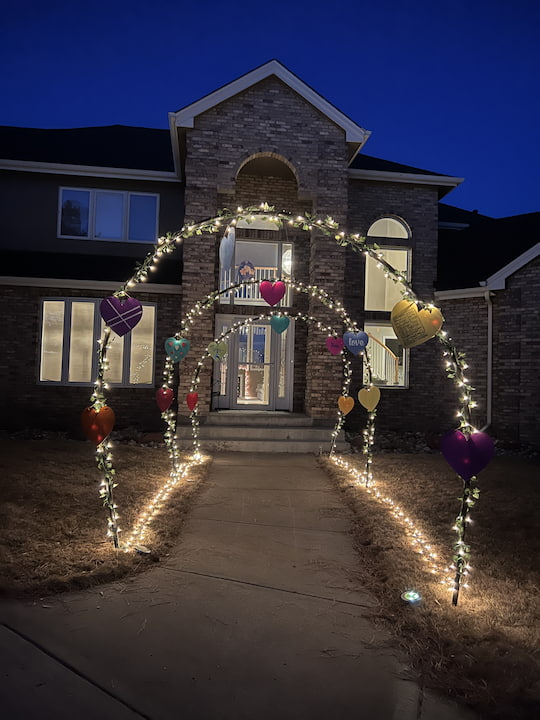
Let’s check out all of the lollipops. I have placed them in my front yard creating a fun walkway up to my front porch. I hope you enjoy this outdoor Christmas decoration idea. Merry Christmas!!
Other tips, tricks, and options:
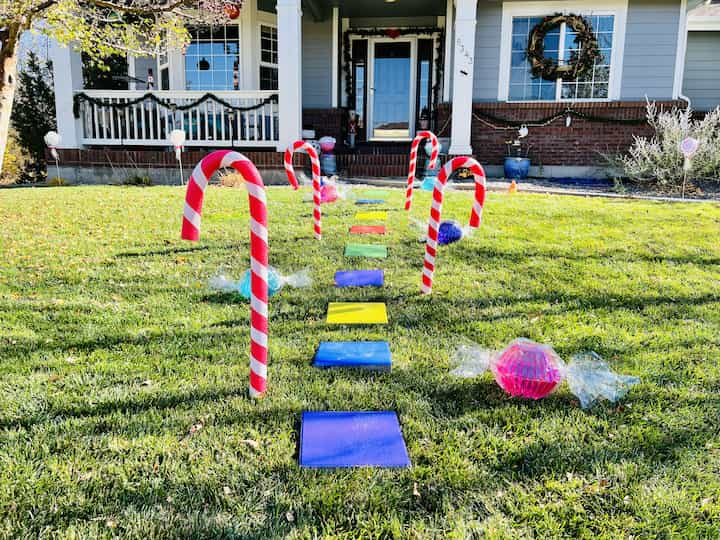
- You can add some candy canes to your walkway if you like.
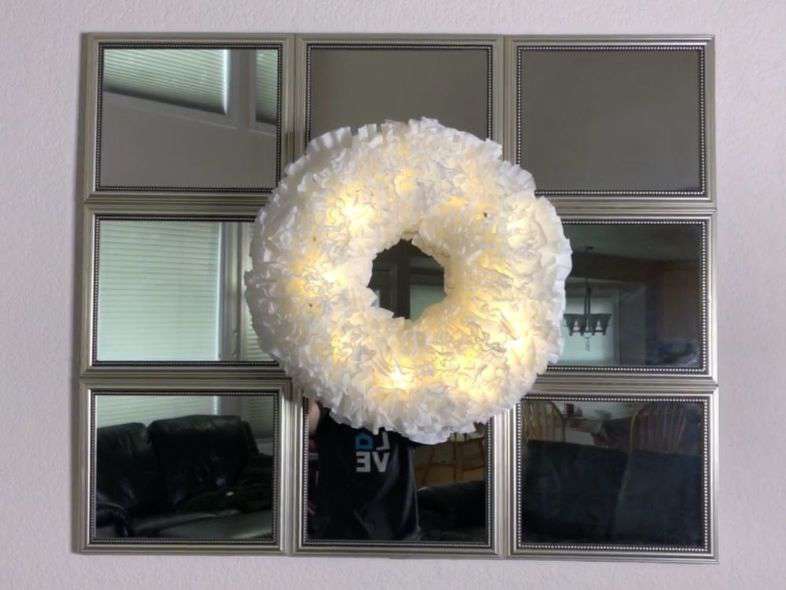
- You can embellish this by adding a candy wreath to your front door.
- If you don’t like the bowls you can always use a styrofoam ball instead and spray paint it or use giant Christmas ornaments. Maybe even wrap it to look like tootsie pops
- You could also make giant paper plate lollipops.
- If you don’t want to use the red ribbon you can always use pipe cleaners.
- If you can’t find the broom handle you can get a mop and take the mop head off. You can use the mop head to make this Santa
- You can make other items to stick in your yard like gum drops, plastic wine glasses, ping-pong balls decorated like candy, paper plates that look like candy, etc
- You can add a Christmas tree and add things like faux snow, clear ornaments, or small ball ornaments that you decorate like candy, string lights, snowflake ornaments, jingle bells, candy cane ornaments, small candies, lollipop ornaments
I hope this inspires you to create some Dollar Store lollipops of your own. I’d love it if you’d subscribe to my YouTube channel and my blog at chascrazycreations.com. Thanks for watching and I’ll see you in my next video,don’t forget to like, share and subscribe.
DIY Giant Candy Decorations Video
Shop any of these stores and I receive a small commission at no cost to you.
") How the Grinch Stole Christ…Shop on Amazon
How the Grinch Stole Christ…Shop on Amazon Alpine Corporation 24" Tall…Shop on Amazon
 Fancy Pets Cat Grass Treats…Shop on Amazon
 BWFY 3pcs New Christmas Dec…Shop on Amazon
") LIGHTSHARE LED Birch Tree L…Shop on Amazon
LIGHTSHARE LED Birch Tree L…Shop on Amazon Artoid Mode Waterclor Buffa…Shop on Amazon
Are you ready to make these giant lollipops? Let me know in the comments below.
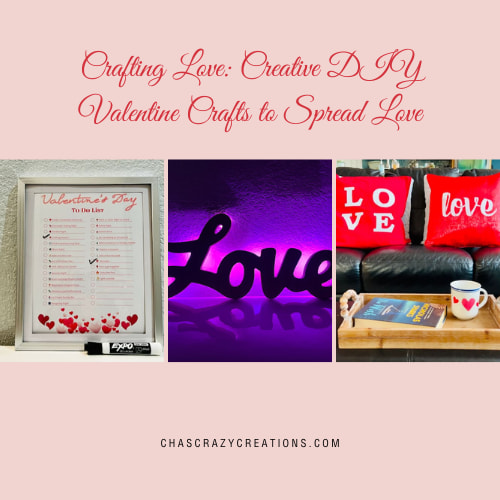
You might also enjoy my Candyland Theme decorations, and my giant candy canes.
so cuteChas
Thank you Faith 🙂