

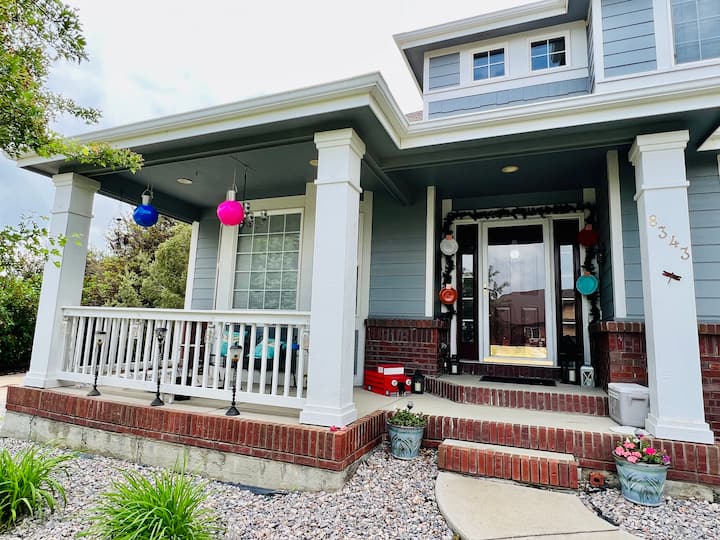
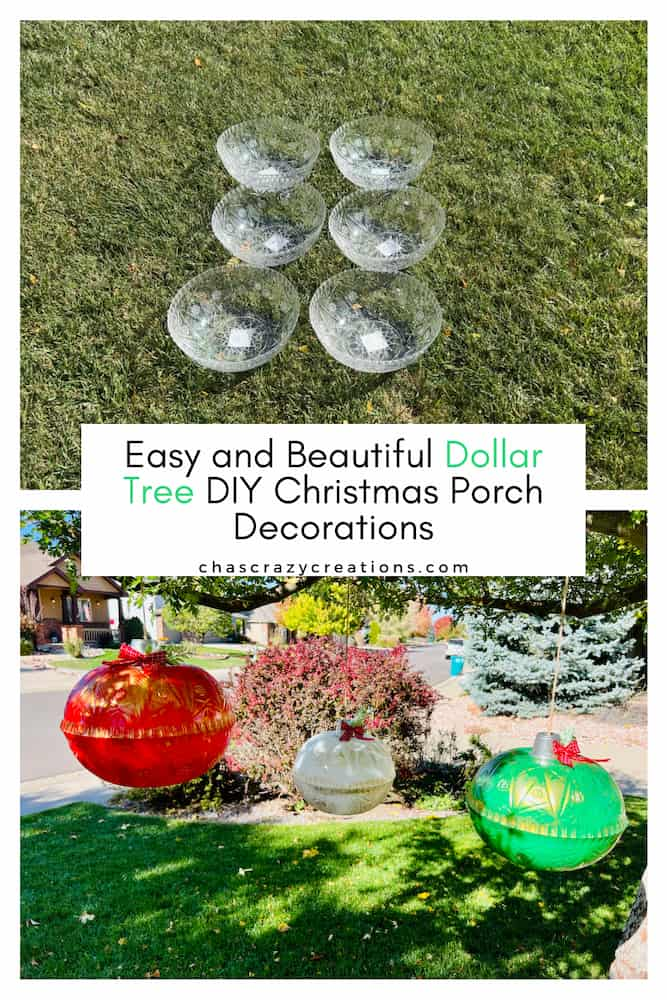
Easy Dollar Tree DIY Christmas Porch Decorations
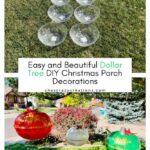
I refuse to pay $50 for giant ornaments! Here is how I hacked Dollar Tree bowls, plates, and beach balls to create huge outdoor Christmas decor on a budget.

Quick Answer: How do you make giant outdoor ornaments?
You can make oversized ornaments for your porch using plastic bowls from the dollar store:
- Paint: Spray paint 2 plastic bowls in festive colors.
- Assemble: Glue the bowls rim-to-rim to create a sphere.
- Cap: Glue a small plastic cup (painted silver or gold) to the top to look like the ornament cap.
- Hang: Drill a hole through the cup and bowl, add twine, and hang them from your porch!
Easy Dollar Tree DIY Christmas Porch Decorations Video
Can we talk about how expensive those oversized outdoor ornaments are? I love the look of them, but I just can’t bring myself to spend a fortune on something that sits outside in the snow.
One of my favorite things is to come up with creative ideas for my [outdoor Christmas decorations] that look high-end but cost pennies. So, I headed to the Dollar Tree!
In this post, I’m sharing 3 different ways I created massive impact for my front porch using simple items like plastic bowls, paper plates, and even beach balls. Just like when I created my [Dollar Tree Snowman Wreath], these projects prove you don’t need a big budget to have the best-decorated house on the block.
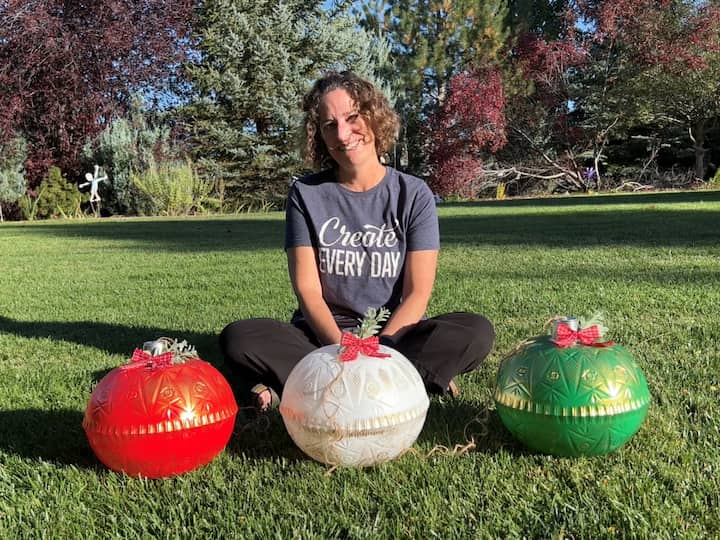
Project 1: My “Vintage” Bowl Ornaments
These are my favorite because people genuinely think they are expensive vintage glass!
Materials:
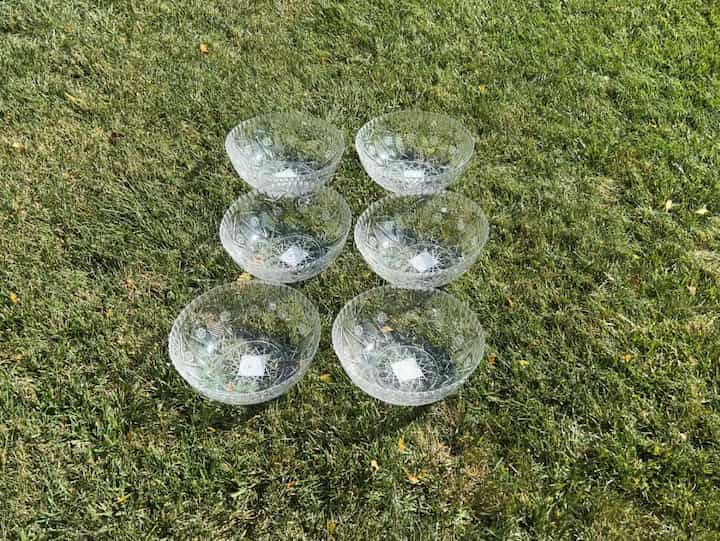
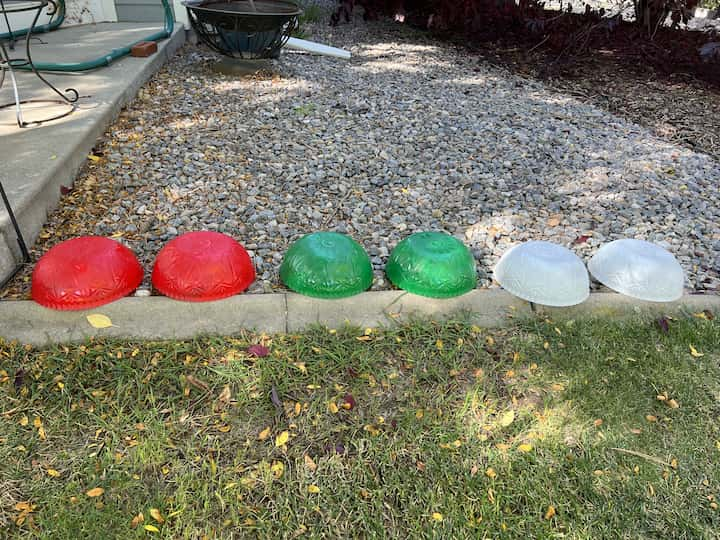
- 6 Plastic Bowls: I grabbed these from the party aisle.
- 3 Small Plastic Cups: To make the “caps.”Spray Paint: I used White (as a primer), plus Red and Green.
- Gold Paint: FolkArt Treasure Gold (my secret weapon for that vintage look).
- Super Glue or E6000: Essential for holding the rims together.
Instructions:
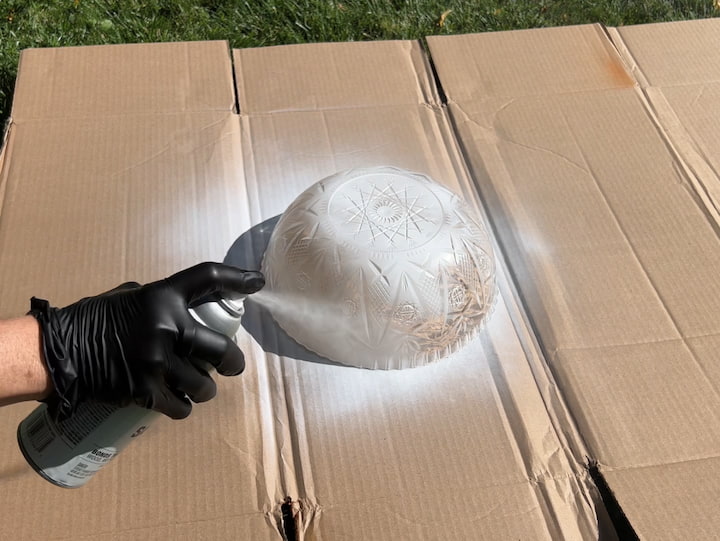
1. Prep & Prime
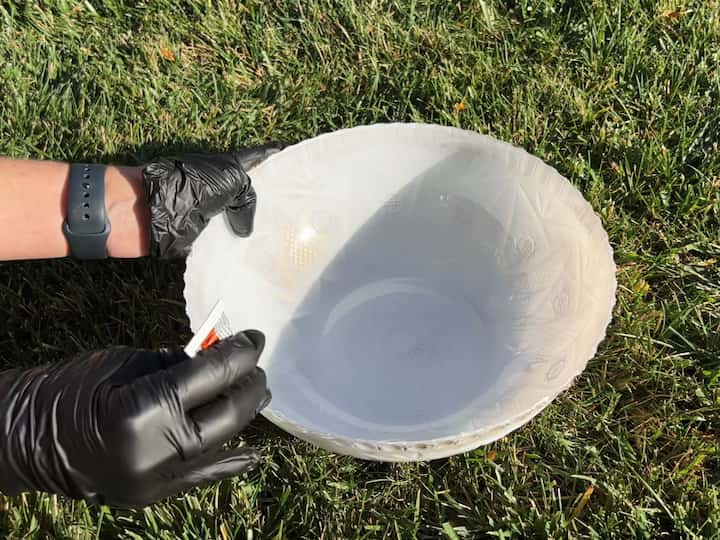
First, I removed those pesky labels. I gave everything a coat of white spray paint first.
- Expert Tip: Don’t skip the white! It acts as a primer and makes the red and green colors pop so much brighter on the plastic.
2. The “Therapeutic” Part (Adding Gold)
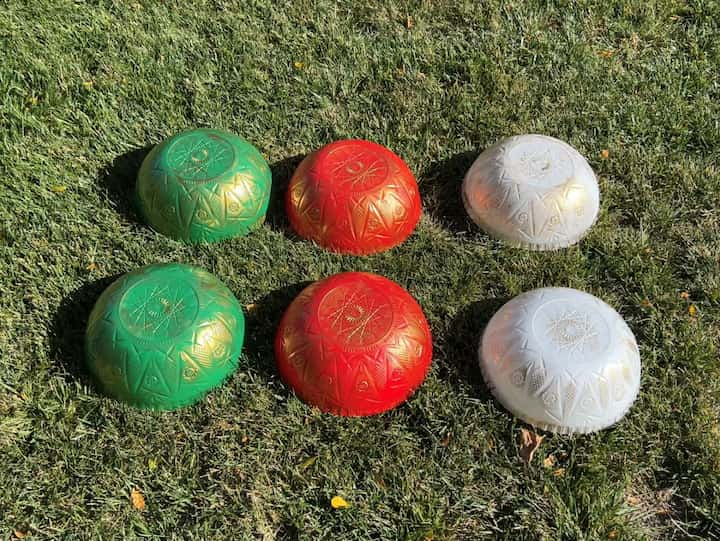
After spray painting the bowls their final colors (Red and Green) and the cups Silver, I added the vintage detail.
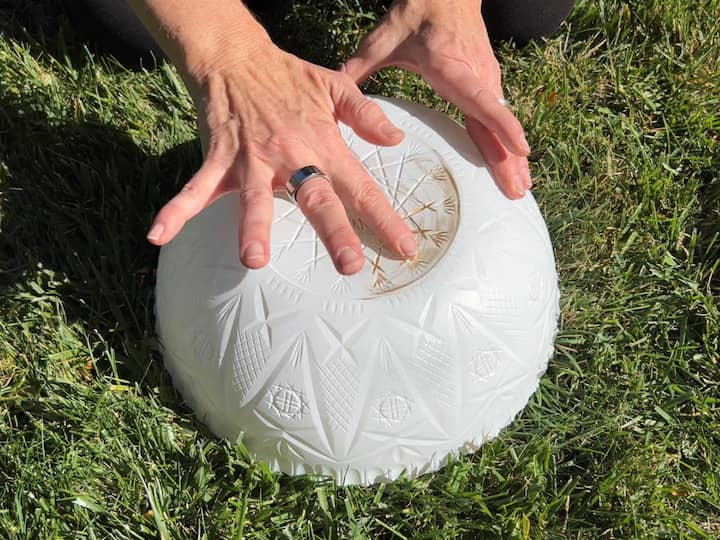
- I used my finger to rub Gold Treasure Paint into the grooves of the bowls.
- Honestly? This was so therapeutic! There is no right or wrong way to do it—just have fun highlighting the texture.
3. Assembly
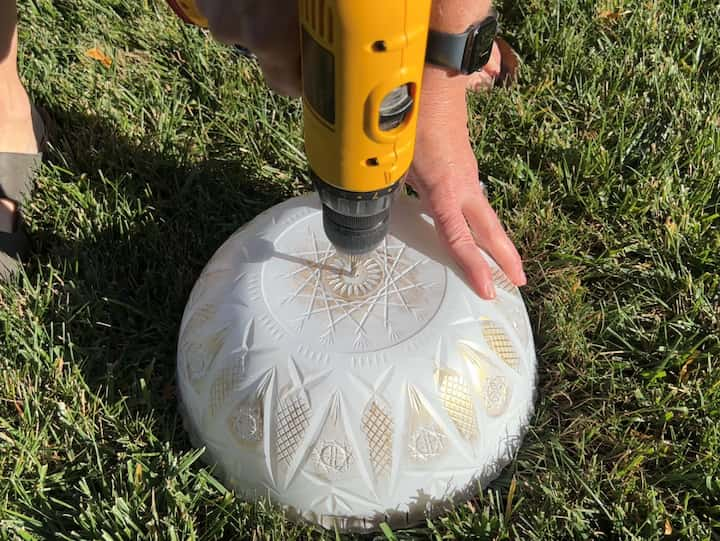
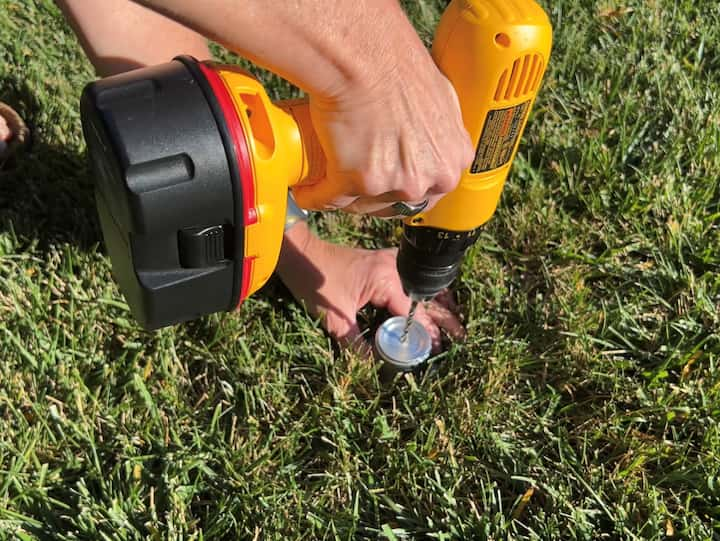
I drilled a small hole through the bottom of the bowls and the cups for hanging. Then, I used Super Glue to attach two bowls rim-to-rim.
- My Advice: Make sure the edges match up perfectly so you get a nice round sphere.

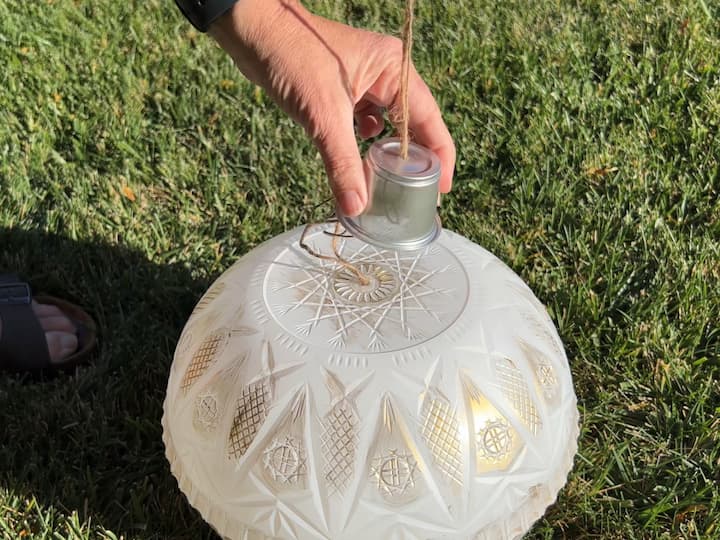
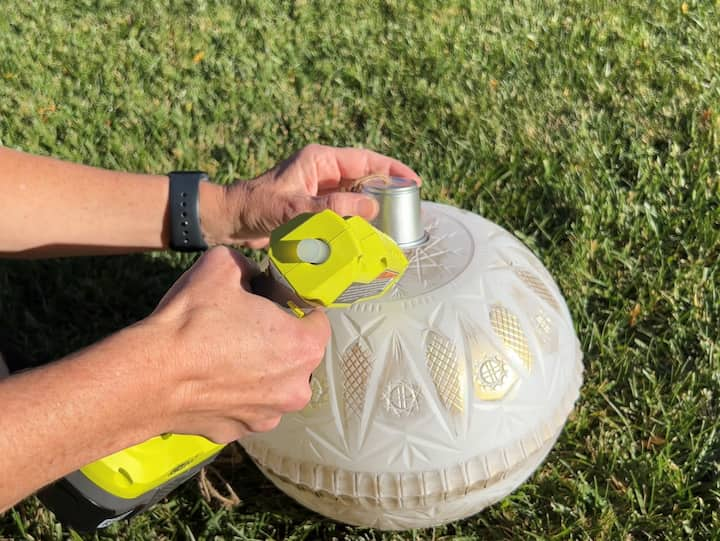
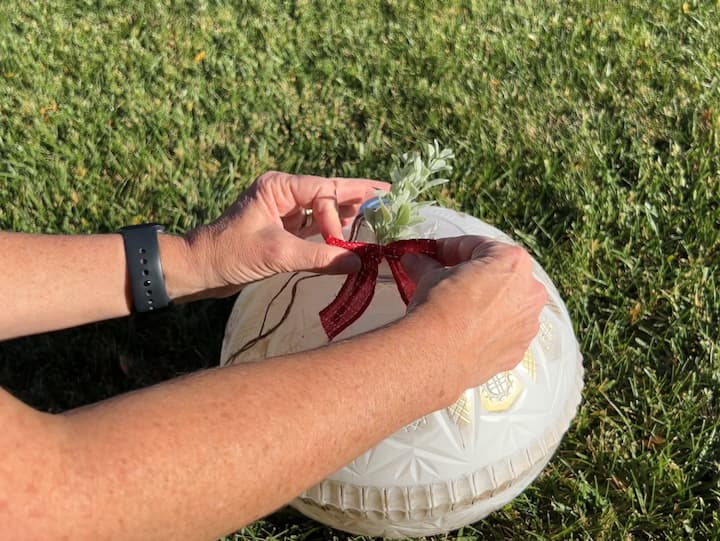
4. The Finishing Touches
I threaded twine through the silver cup and the bowl sphere, tying a knot inside. A little hot glue held the cup in place on top. I even added some holly and berries to dress them up!
DIY Christmas Porch Decorations Video
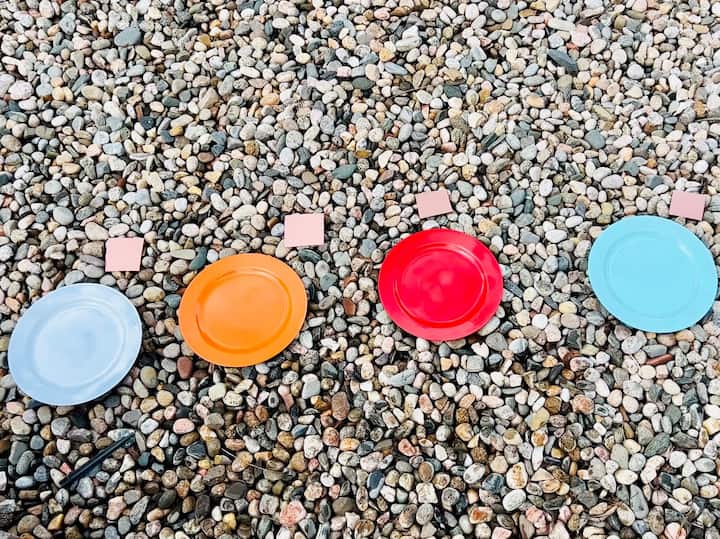
Project 2: The “Plate” Garland Hack
I wanted to add color to my greenery without weighing it down with heavy bulbs.
Materials
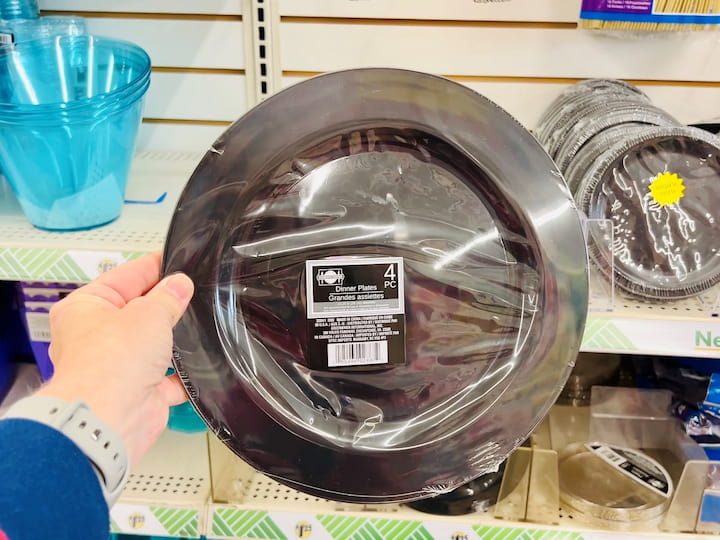
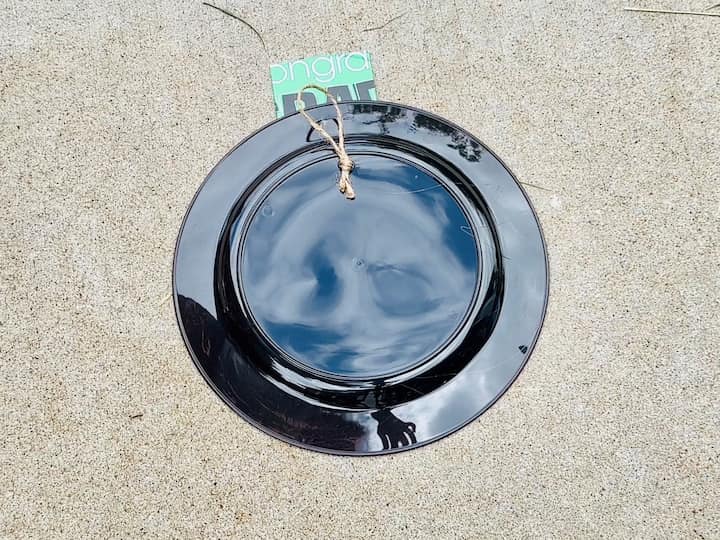
- Plastic Plates: I used black ones as the base.
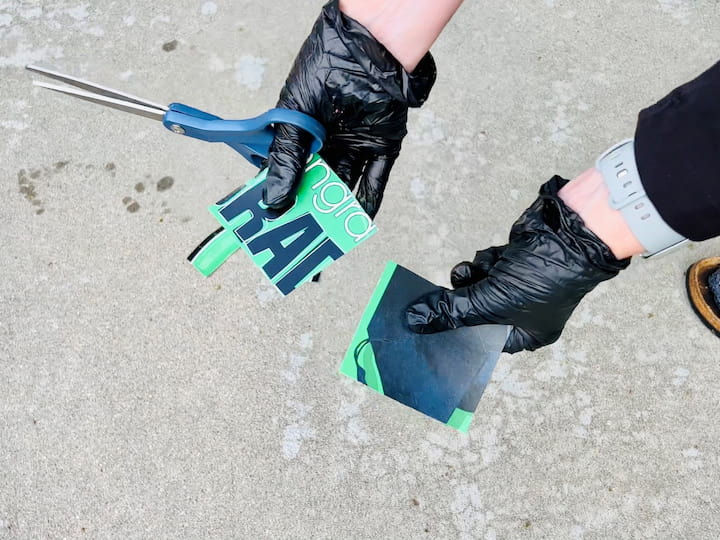
- Cardboard Squares: Painted gold/copper.
- Spray Paint: Bright festive colors.
Instructions
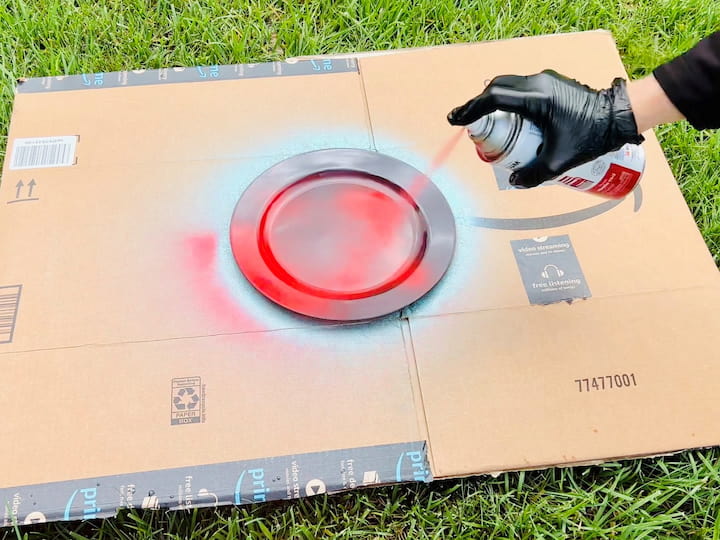
1. Paint the Plates
I spray painted the plates in fun colors like Teal, Orange, and Red.
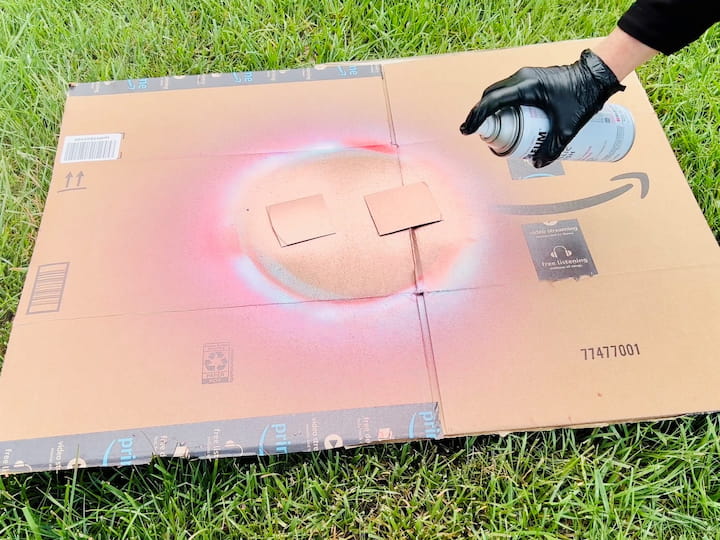
2. Create the “Cap”
I cut small squares of cardboard and painted them gold. I hot glued these to the top edge of the plates to mimic the square metal cap of an ornament.

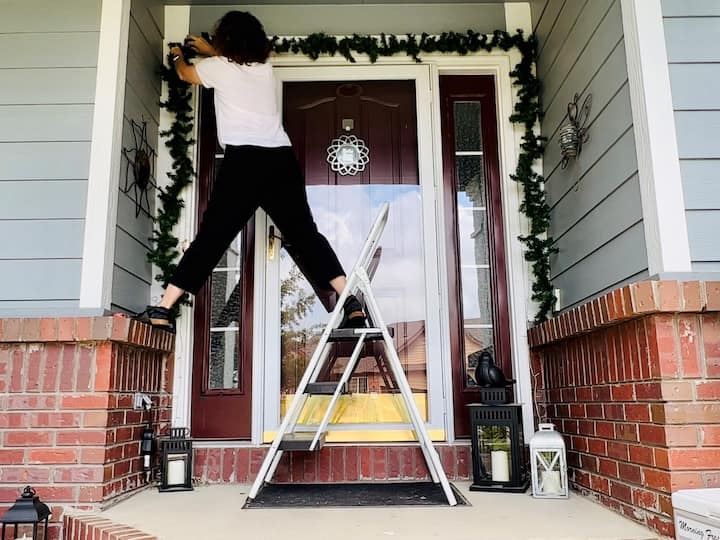
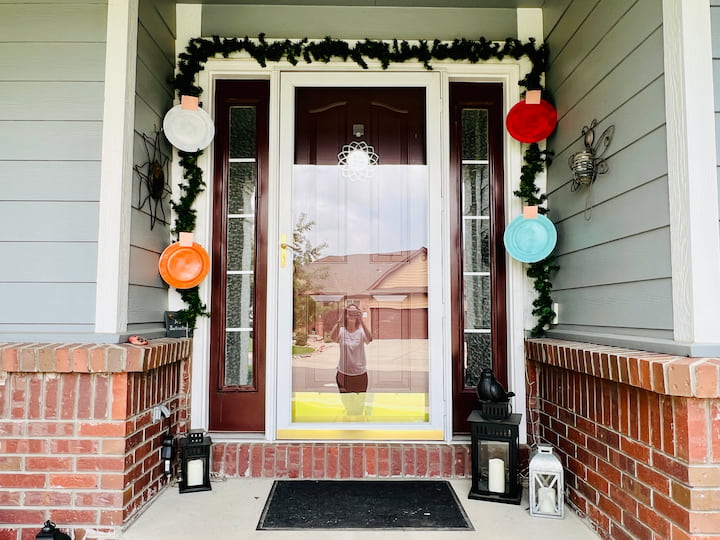
3. Hang Them Up
I glued a twine loop to the back and hooked them onto my porch garland.
- Why I love this: They are flat, so they don’t blow around in the wind as much as round bulbs, and they take up zero storage space in the off-season!

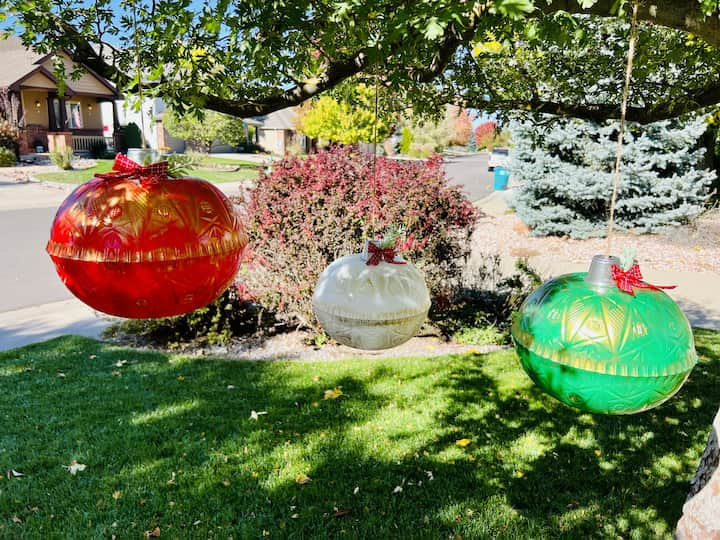
Project 3: Giant Beach Ball Ornaments
If you want something TRULY huge to fill a corner, this is the hack for you.
Materials
- Beach Balls: Large size.Small
- Buckets: From the Dollar Tree sand toy section.
- Glue Dots
- Twine
Instructions
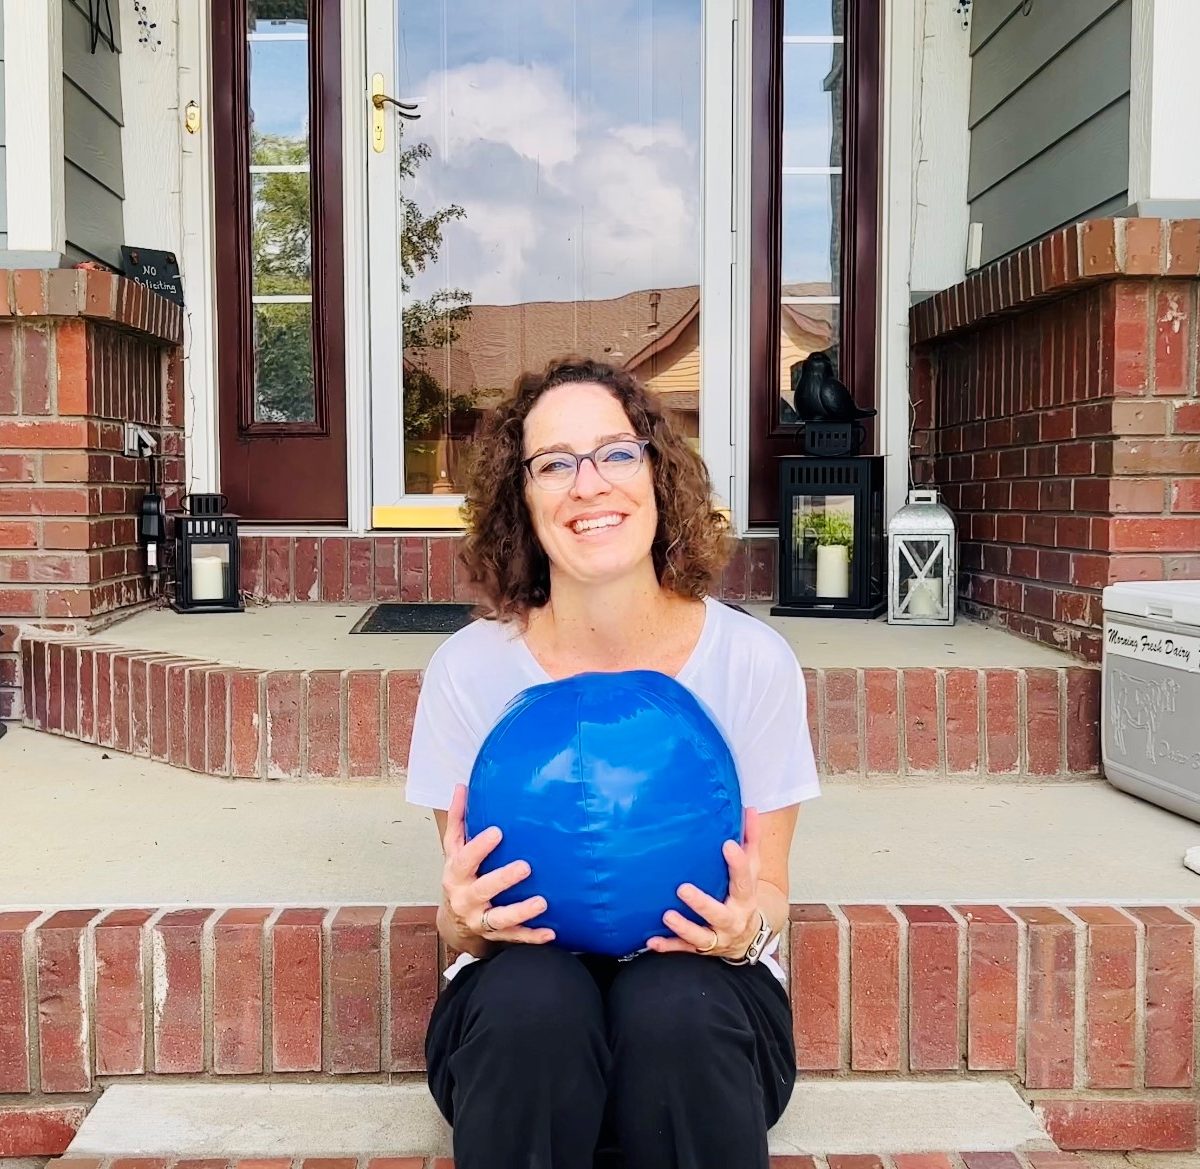
1. Inflate the Balls
First, I inflated the beach balls.
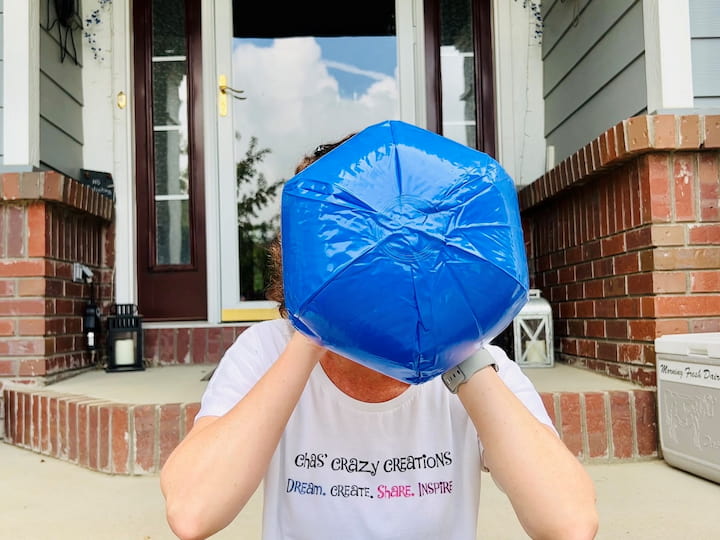
2. Attach the Cap
I applied Glue Dots to the bottom of a small plastic bucket. Then, I simply pressed the bucket firmly onto the top of the beach ball to secure it.
- Why Glue Dots? They hold the plastic-to-plastic bond well without melting the beach ball like hot glue might!

3. Add the Hanger
Once the bucket was secure, I tied a piece of twine onto the bucket handle to create the hanger.
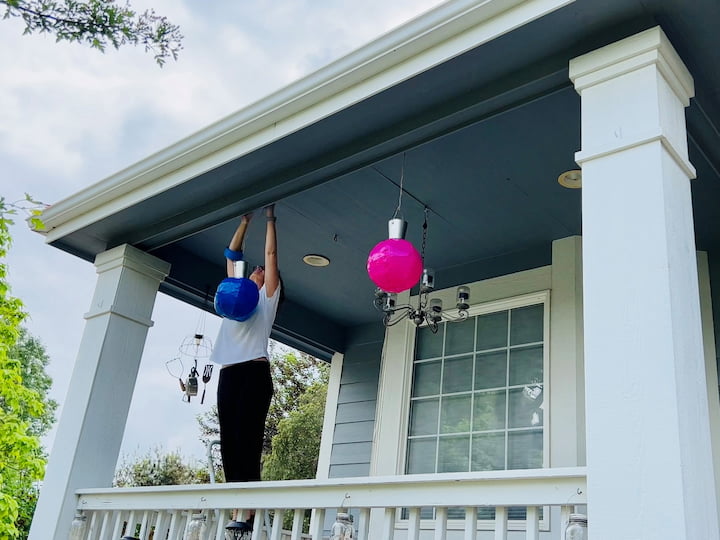
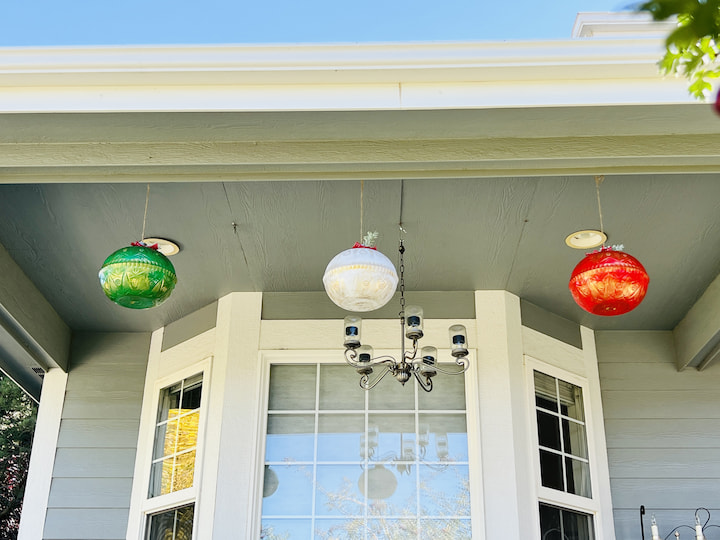
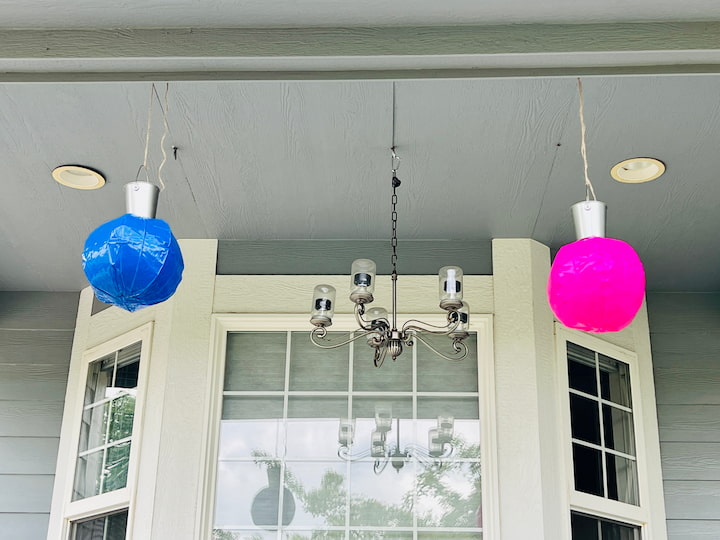
4. Hang
I used the twine to hang these massive ornaments from my porch ceiling!
More of My Outdoor DIYs
If you’re looking for more ways to decorate your yard, check out these projects I’ve built:

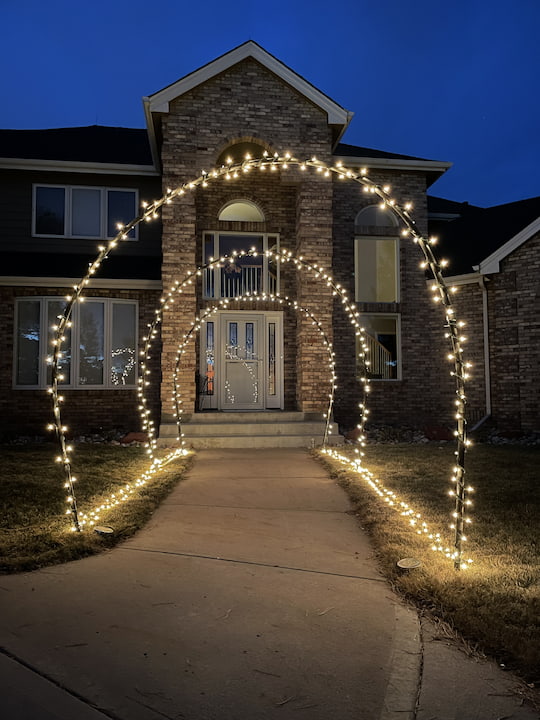
- [Stunning and Easy Lighted Archway]: Customizable for any holiday!
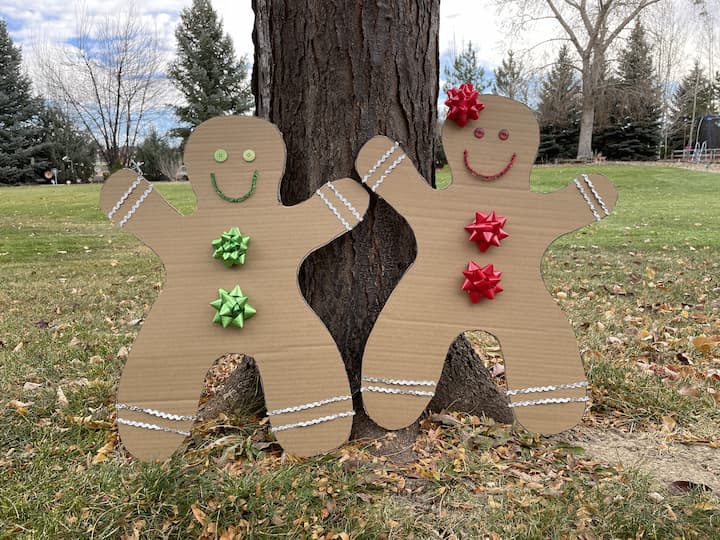
- [Super Cute Giant Gingerbread Man]: I made these out of recycled cardboard boxes.
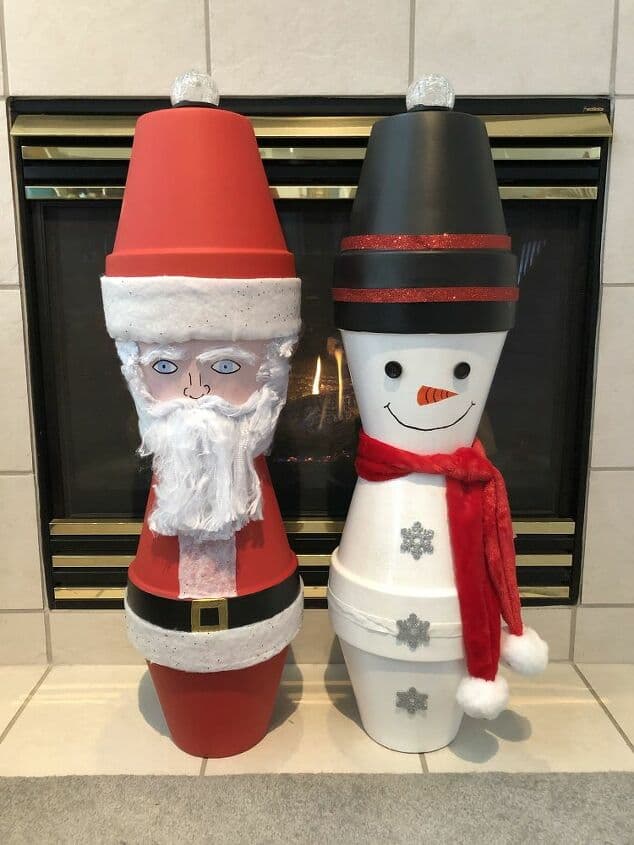
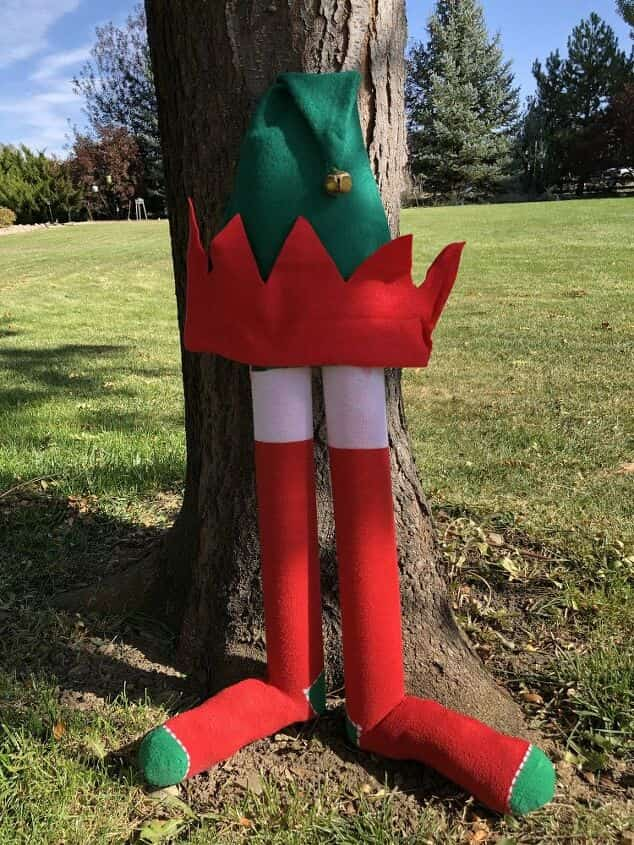
- [Easy Flower Pot Snowman and Santa]: Have terra cotta pots? Turn them into a holiday family.
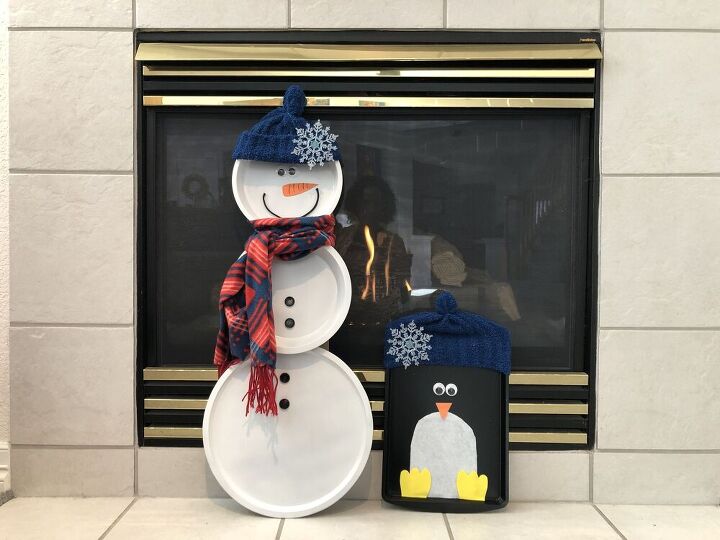
- [Penguin and Snowman Decorations]: Cute critters made from dollar store finds.
- [Holiday Pool Noodle Hacks]: Turn pool noodles into giant lollipops or candy canes.
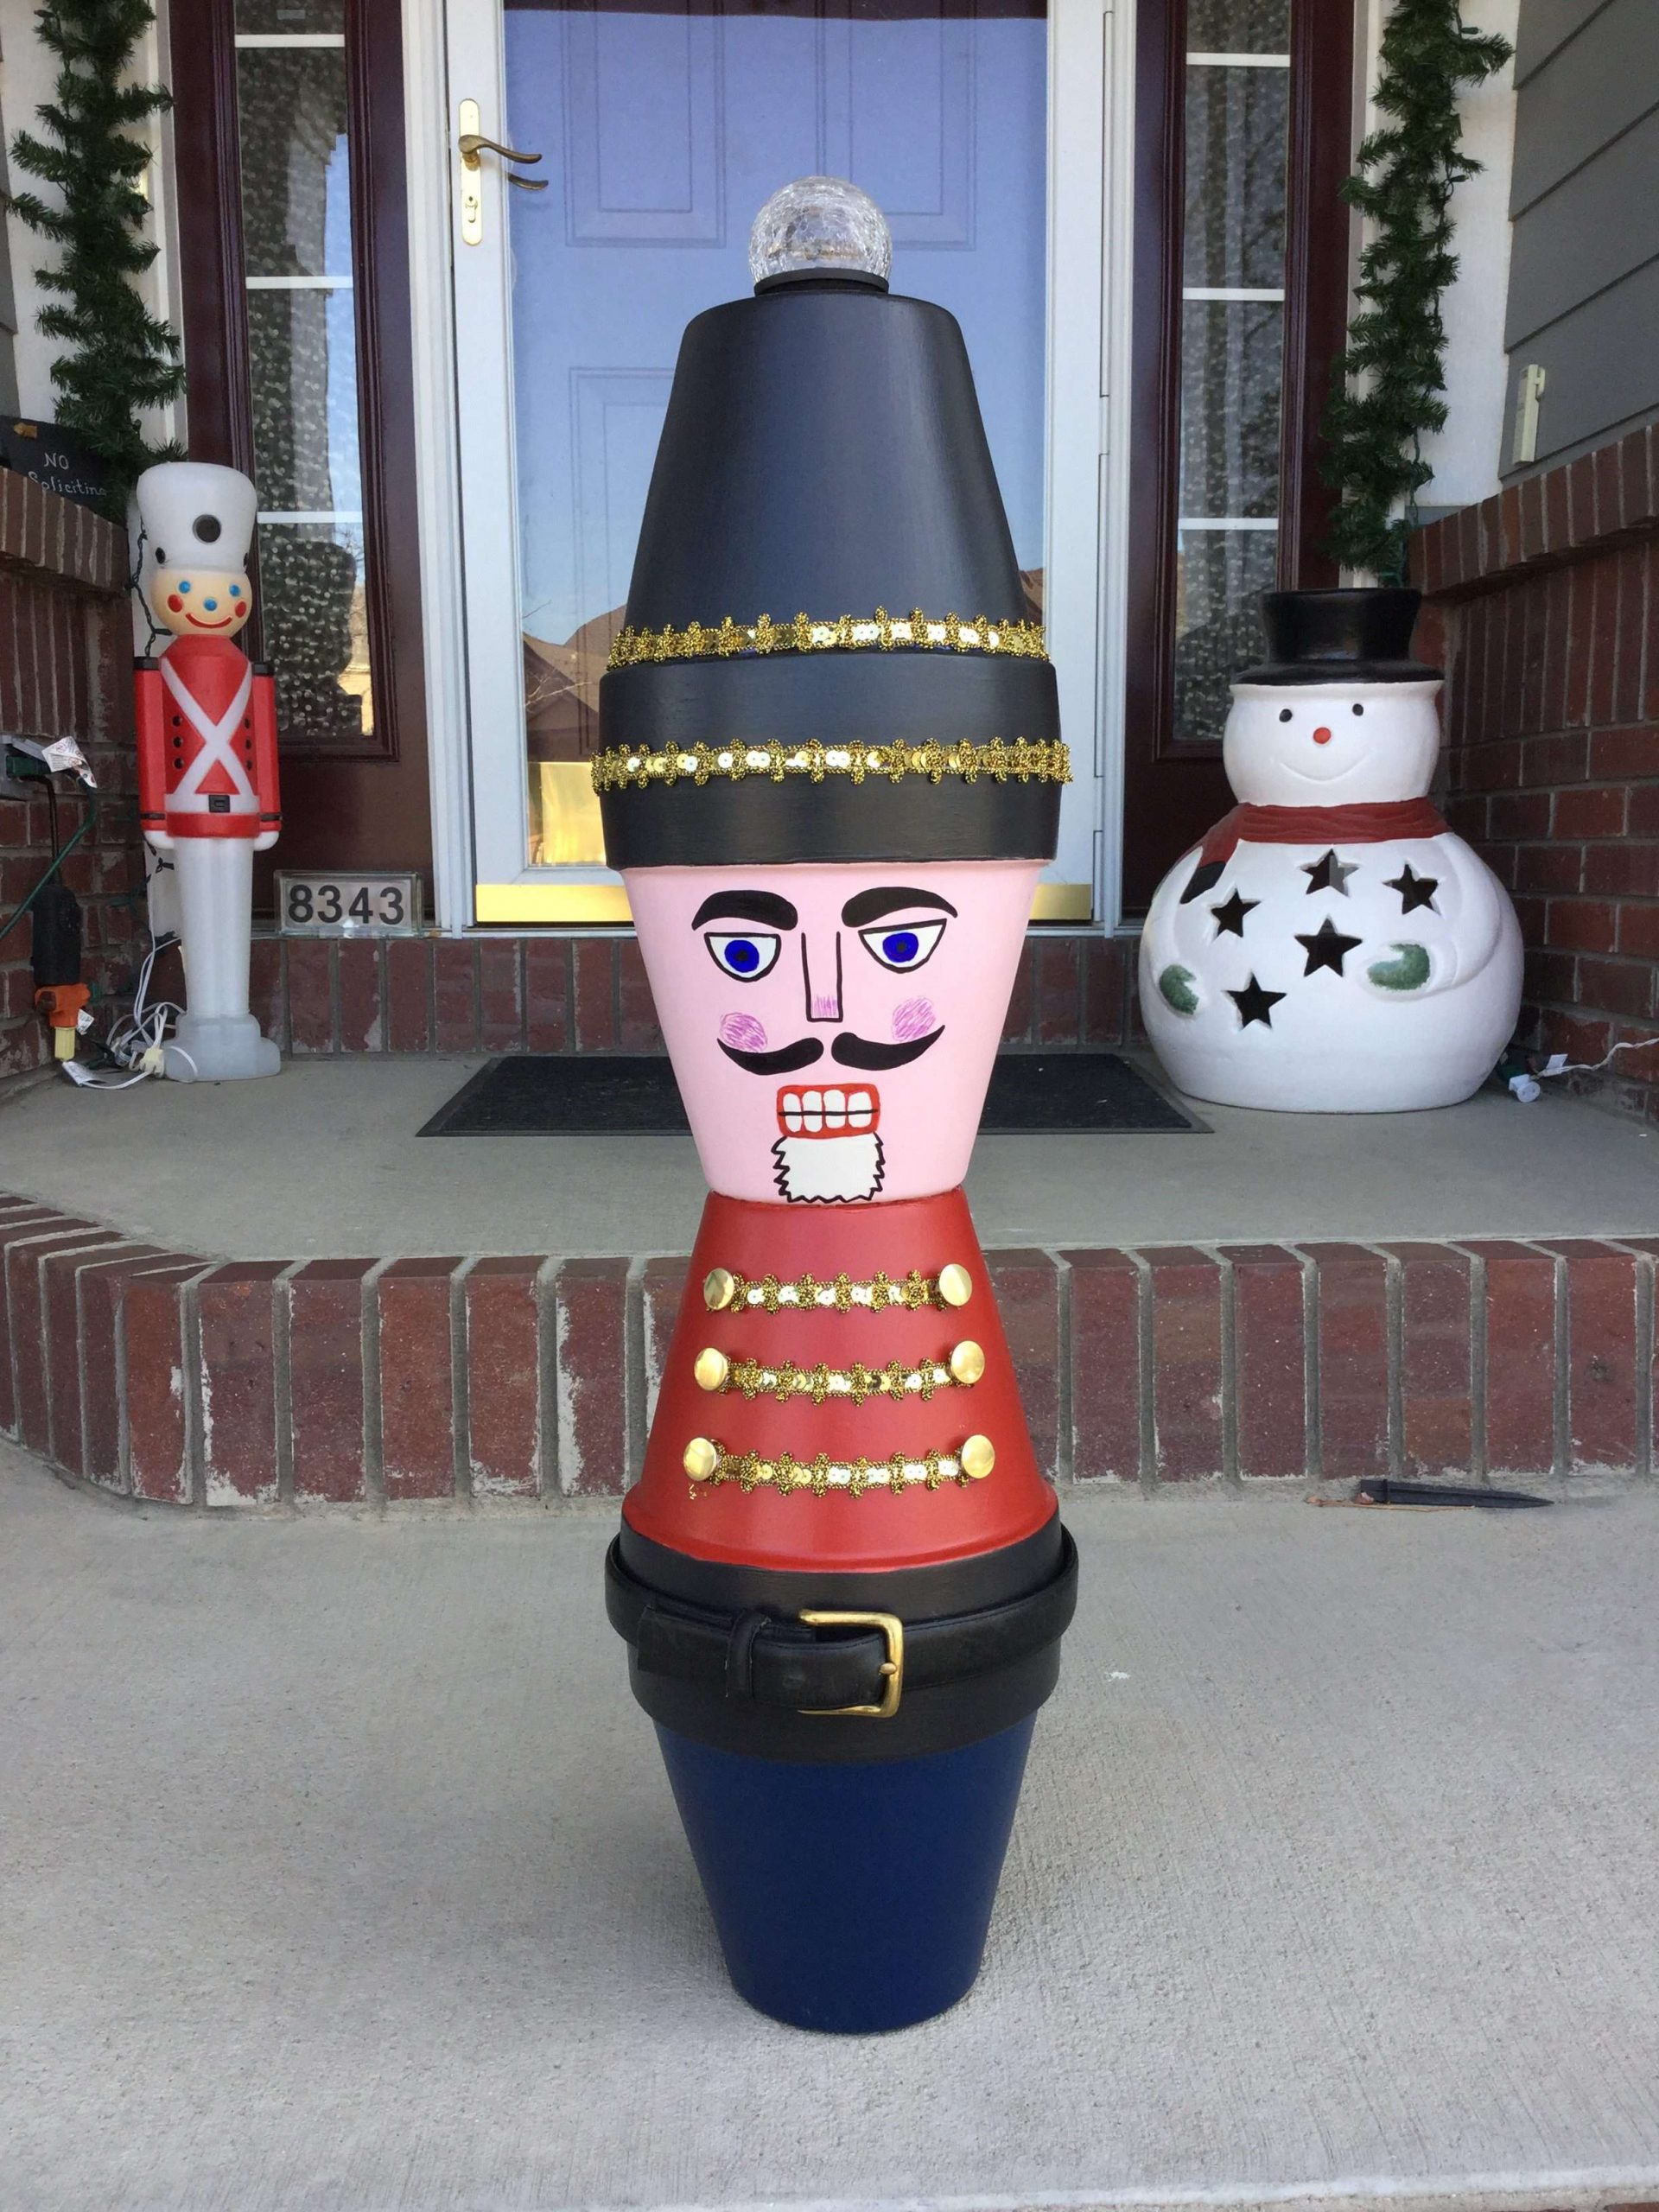
- [Terra Cotta Nutcracker Soldier]: A high-end look for a fraction of the price.
- [Dollar Tree Snowman Wreath]: I have 2 different versions of this wreath to share!
- [Wooden Snowman Family]: A rustic project that stands up well to winter weather.
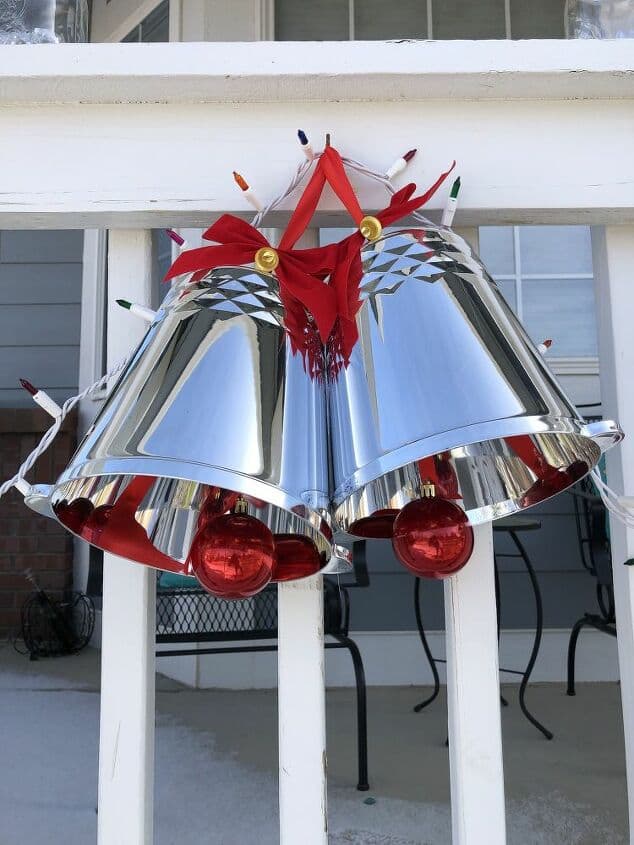
- [6 Amazing DIY Outdoor Decorations]: Including how to turn ice buckets into giant silver bells!
Frequently Asked Questions
Yes! That’s why I love using plastic bowls and plates. They are waterproof and won’t shatter if the wind knocks them down. However, extreme cold can make hot glue brittle, so I recommend E6000 or Super Glue for the main assembly.
That’s the best part—you just deflate them! They fold up tiny, unlike rigid plastic ornaments that take up huge bins in the attic.
Dollar Tree Bowl Ornaments
Equipment
- Drill
Materials
- 6 Plastic Bowls Dollar Tree
- 3 Small Plastic Cups
- Spray Paint Plastic-safe
- Twine
Instructions
- Paint: Spray paint bowls and cups. Let dry.
- Accent: Rub gold paint into the grooves with your finger for a vintage look.
- Holes: Drill holes in the bottom of the bowls and cups.
- Glue: Glue two bowls together rim-to-rim to form a ball.
- Cap: Thread twine through the cup and bowl ball. Glue the cup to the top.
- Hang: Display on your porch!
Are you ready to create a winter wonderland to greet your guests? Whether you try the giant bowl ornaments or the massive beach balls, these hacks are the perfect way to add huge curb appeal without spending a huge amount of money.
I hope these easy Christmas porch decorations inspire you to look at Dollar Tree items a little differently. There is no better way to bring a little holiday cheer to your front entry this time of year!
Which project was your favorite? Are you Team “Vintage Bowls” or Team “Giant Beach Balls”? Let me know in the comments below!
Don’t Forget to Subscribe!
Happy creating!
So creative Chas! Gettingt o be a lot like Christmas!
Thank you so much Linda
So many fun Christmas craft ideas Chas! Pinned.
I’m loving all these cute Christmas porch decorations, Chas! Thank you for sharing these great ideas with us.
You are the Dollar Store queen! This is a great idea and so creative!
Wow! I love your ideas! Thanks for sharing.
Chas, you are so creative. The bowl ornaments turned out amazing. See you at Haven.
Thank you so much Renae, and I can’t wait to see you too!
Chas!!!! I was thinking about you, I’m not going to Haven so I won’t get a chance to see you this year. Have a fantastic time!
Oh bummer, I hope to catch up with you soon!
I bet you are so fun to be around. Not just for the craft ideas but also because you actually like doing them. So many cute ideas. Enjoyed hopping with you today.
You are just so sweet Cindy, thank you so much.
So many fun holiday crafts, Chas. And I love that they are all so affordable. My favorite is the Nutcracker. He’s so cute. Happy to be hopping with you today.
Pinned!
Thank you Jen, and the Nutcracker is one of my favorites too 🙂
So many cute ideas. You are always coming up with such great easy crafts for every season on a budget.
Thank you Andrea, now I just need to figure out an amazing storage plan 😉
These look SO fun! What a great DIY!
Thank you so much Robyn
What a fun craft Chas. You always have such great ideas.
Thank you so much Wendy
Chas, you never cease to amaze me! Those bowl ornaments are so pretty! And only you would turn beach balls into holiday decorations. So many great ideas here, my friend! So happy to be on the blog hop with you.
Thank you for the kind and sweet words Mary 🙂
Chas,
I love all your creative ideas. I appreciate you so much for joining today’s blog hop. Have fun at Haven.
Thank you so much Rachel for hosting and congrats on another fantastic hop