
How To DIY A Can Organizer for Supplies: Easy and Inexpensive
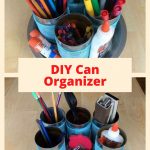
Do you love to reuse and recycle? Do you love to organize? I’m sharing how to make a DIY can organizer for supplies. I’ll share a few different ways to use this concept in your home.
Can Organizer Instructions
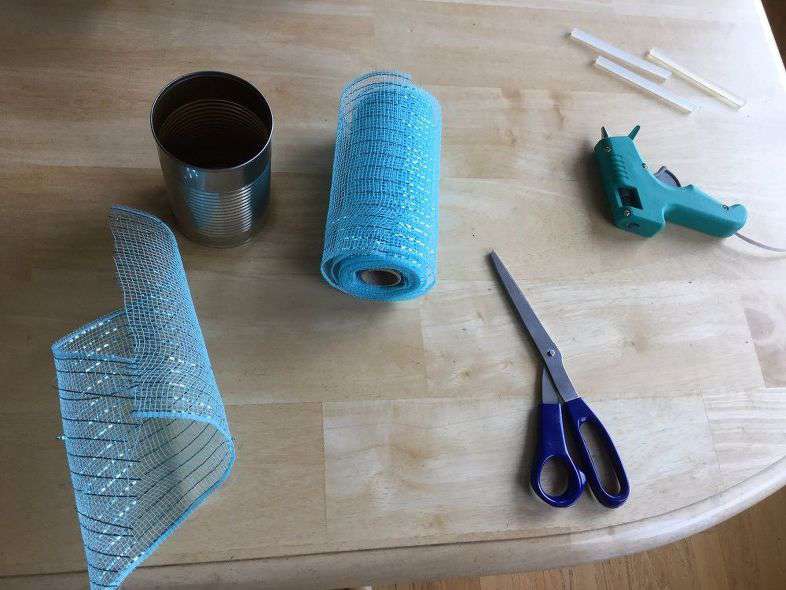
First decorate your cans – there are so many options – stickers, shelf liner, wrapping paper, fabric, ribbon, etc.
For this one I’ll be using a mesh ribbon.
You can find more of my can decorating options here:
- Fabric
- Paint
- Ribbon & Stickers
- Photos/Books/etc
How To DIY A Can Organizer for Supplies Video
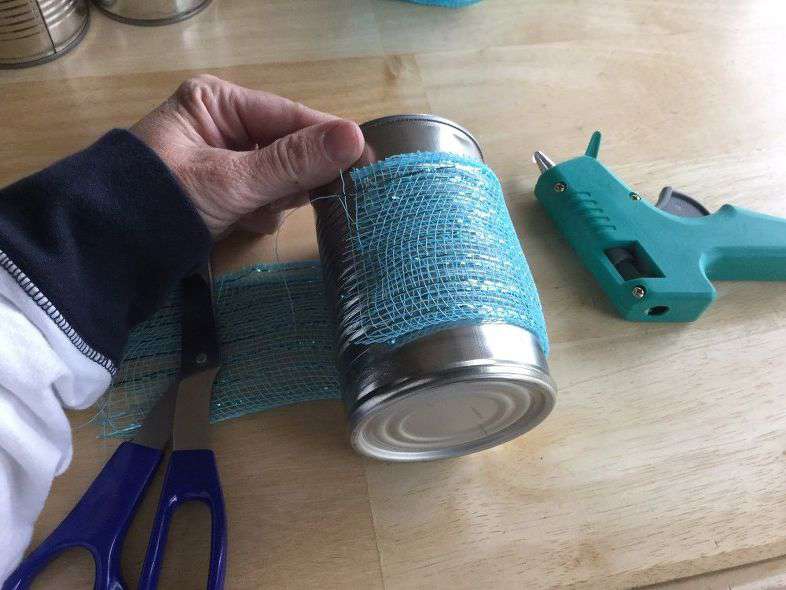
First cut your ribbon to fit your can. Place a line of hot glue and stick one side of your ribbon on it.
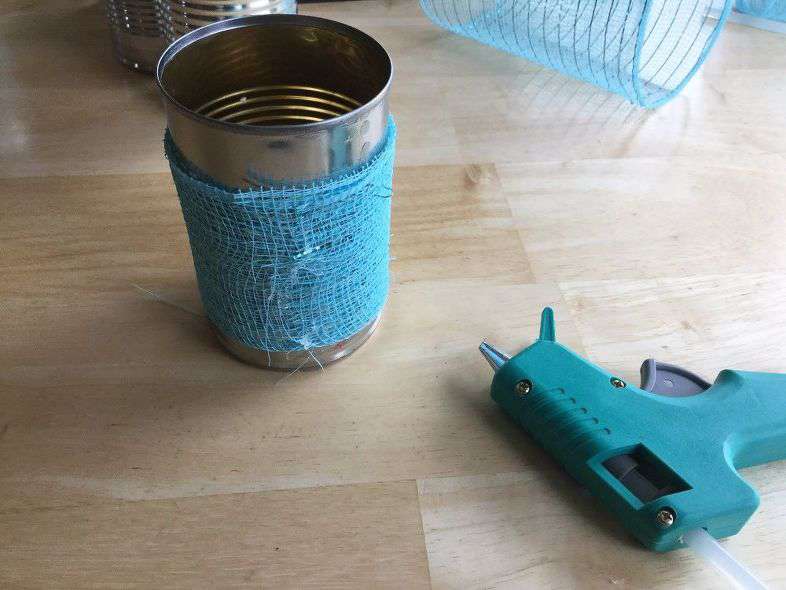
Place another line of glue on the end of the ribbon and stick to the can.
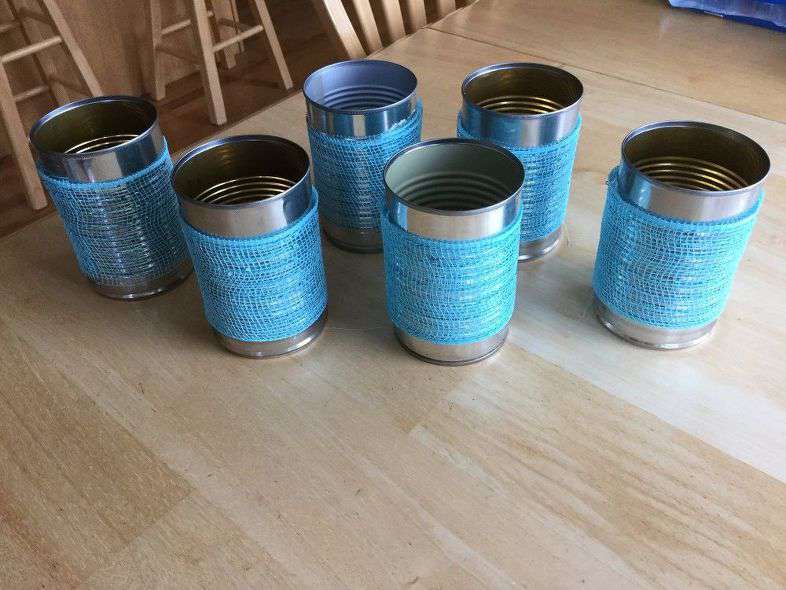
You’ll need to do 4-6 cans depending on which caddy you’ll be using/making.
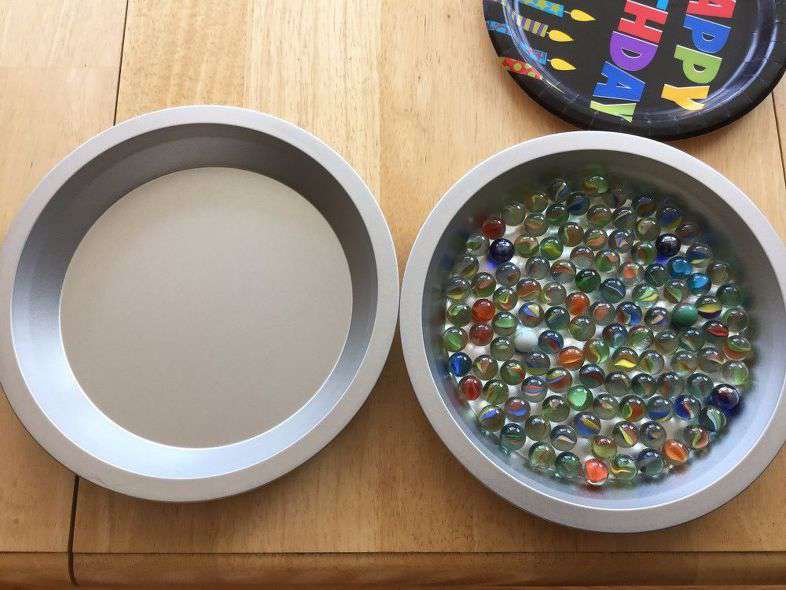
Our first caddy rotates. Place marbles in one of 2 pie pans.
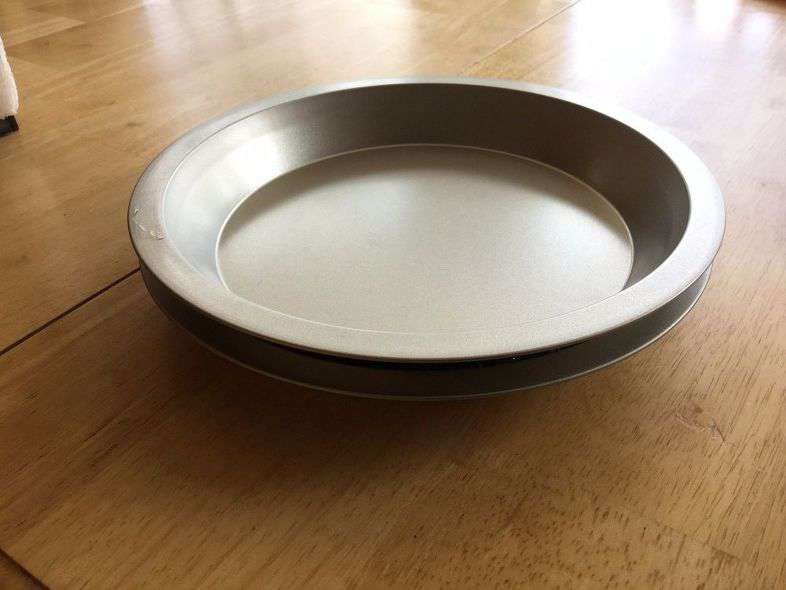
Stack the empty pie pan onto the marble pie pan.
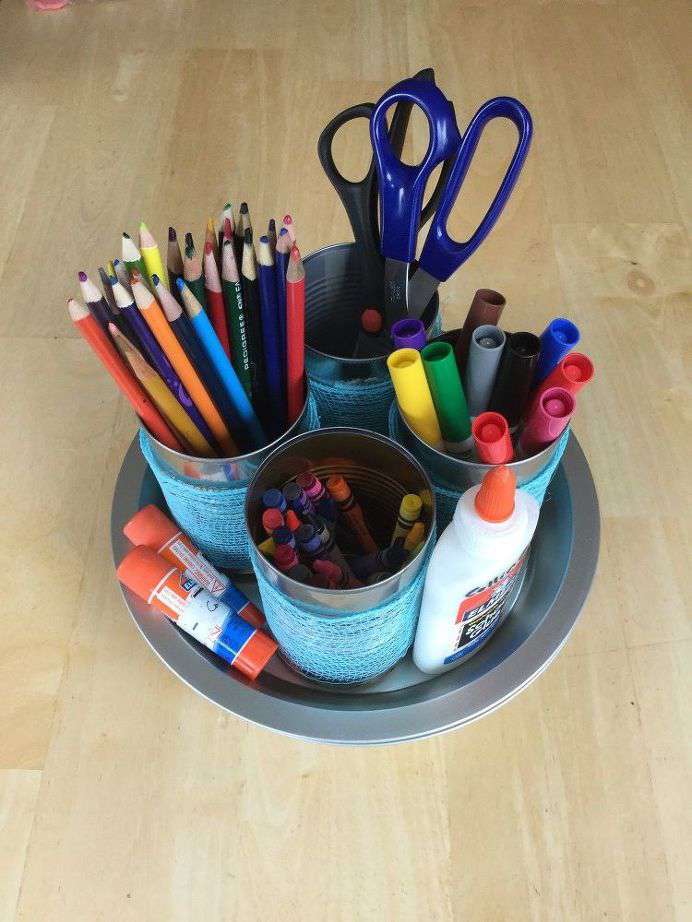
Place 4 cans inside your empty pie pan and fill with crafting supplies.
This option is great for a work station. Great for many people working around a table at the same time. Kids will use this during crafting and homework time.
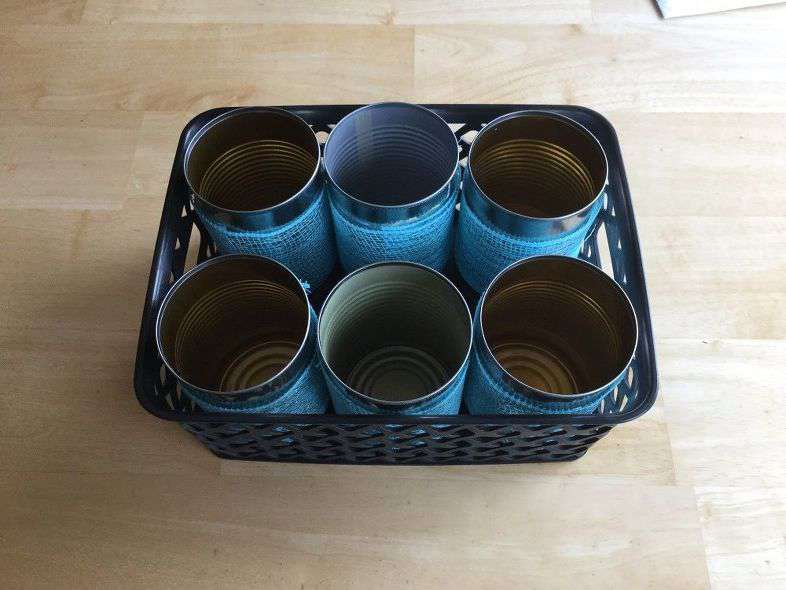
Option 2 – Place 6 cans in a basket.
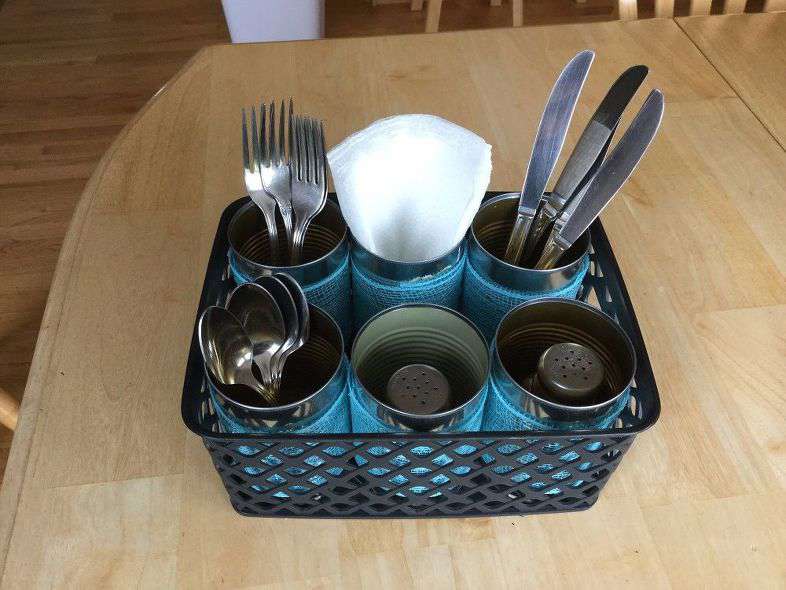
Fill the cans with silverware, napkins, salt and pepper shakers. Now you can bring this caddy inside or out with easy. This basket had more room, so I could have set the napkins & salt and pepper shakers in the middle between the cans and used those cans to hold other supplies needed.
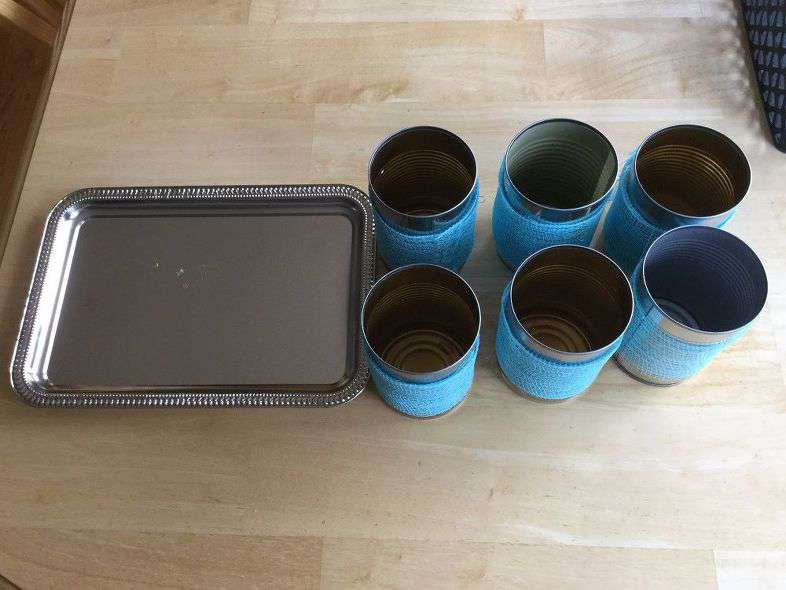
The 3rd option – Place 6 cans on a small serving tray. If you want to secure them – hot glue them, use a magnet on the bottom, or use E6000.
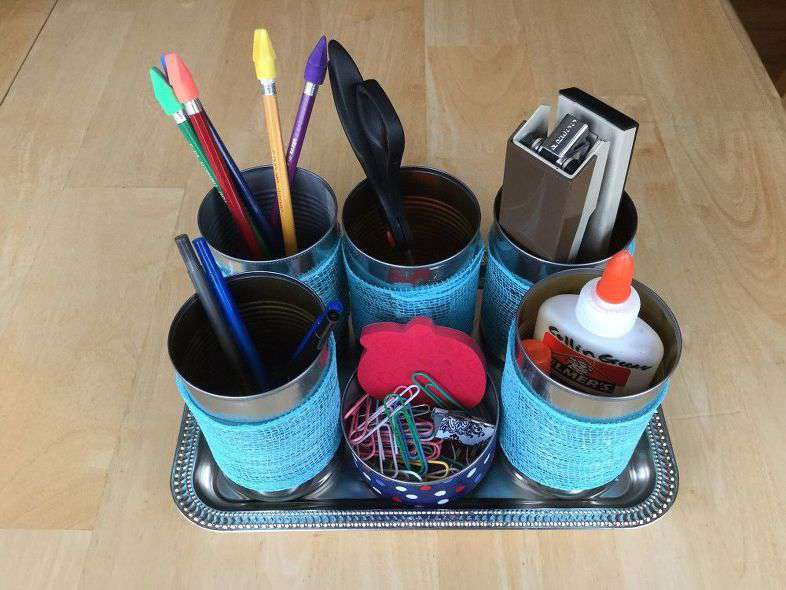
You’ll notice I decided to use 5 regular cans and 1 large tuna/chicken can. Fill with office supplies and set on your desk.
Mix and match any of these ideas to personalize for what you need.
How To DIY A Can Organizer for Supplies Video
More ideas on where you can use this easy DIY
- kitchen cabinets
- food storage ideas in your refrigerator or kitchen pantry on your pantry shelves
It’s a great way to save on storage space when you only have a small space to work with. Put them on a bottom shelf for small hands and easy access. The best part is that you can find a lot of the extra supplies you need at the dollar store. I love easy DIY projects, don’t you?
Now if you’re looking for ways to organize your cans, here are some tips for you
- check your expiration dates and put your oldest cans up front to use up first and the new cans in the back.
- get a can food organizer for your pantry, a wall-mounted can organizer, or a can dispenser. These can help hold your soup cans, chicken broth, and other canned goods like green beans, etc
- Awkward cans like large cans and cans of tuna will need a different kind of pantry organizer.
- Go to the dollar store and pick up another shelf unit, because they can act like a second shelf and then you gain another pantry shelf and this can give you a ton of space if done correctly. That extra space is huge.
- Make some lazy susans like above
- Use a magazine holder to hold your cans or other items in your pantry
- Get creative with other items like use photo boxes, and other pantry items that came in boxes like cereal that you can cut up and use again.
- Get a door storage rack that fits on your pantry door. These are the perfect spot to gain some extra space.
Here are some more storage systems that might help you with pantry storage ideas and find the perfect solution for you.
- Easy and Quick Walk in Pantry Organization Ideas
- 11 Amazing Walk In Pantry Organization Tips and Hacks
Shop any of these stores and I receive a small commission at no cost to you.
") Copco Basics Non-Skid Pantr…Shop on Amazon
Copco Basics Non-Skid Pantr…Shop on Amazon") POPLAY 50 PCS Beautiful Pla…Shop on Amazon
POPLAY 50 PCS Beautiful Pla…Shop on Amazon LaRibbons Deco Mesh Ribbon …Shop on Amazon
 MDHAND Office Desk Organize…Shop on Amazon
Learn more about “Why to Deep Clean and Organize Your Home” to save money, function better, and keep your sanity.
Love it, i’ve got the cans ready and waiting! thanks so much for sharing on craft schooling sunday!
Thank you so much Sara, I’m thrilled you want to give it a try.