Faux Wood Grain Tool: The Best DIY Technique for a Wood-Like Look
Welcome to Chas’ Crazy Creations. If you’re looking for how to use a faux wood grain tool, you’re in luck. Today I’m going to demonstrate how to create beautiful wood grain effects on different pieces of furniture using various painting techniques and a wood graining tool.
Faux Wood Graining Tool Video – 3 projects!
How Do You Paint Fake Wood Grain?
You use a wood graining tool. A wood graining tool is a specialized painting tool designed to create the look of real wood grain on surfaces like furniture, walls, and doors. It typically has a rubber or plastic head with a textured pattern that mimics natural wood grain. By dragging or rocking it over wet paint or glaze, you can achieve realistic knots, streaks, and grain patterns, making any surface look like beautifully finished wood without the need for expensive materials. You can buy your wood graining tool on Amazon – Get Your Innovative Tool Now
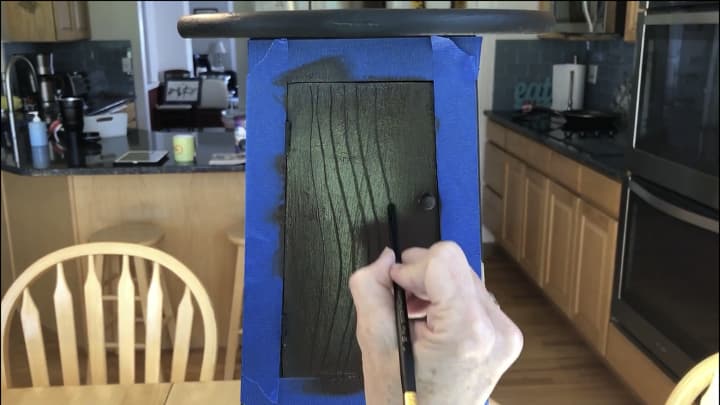
Project 1: Transforming a Garage Sale Step Stool
Preparation and Base Coat
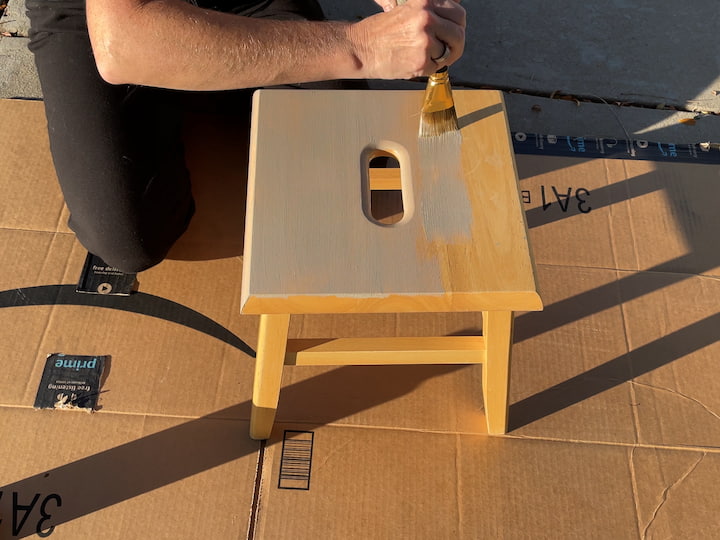
I started with a step stool found at a garage sale that needed some attention. The first step was sanding down any rough spots and residue on the surface to ensure it was completely level for painting. After a thorough cleaning with Crud Cutter, I applied FolkArt Home Décor Chalk Paint in the color Castle over the entire piece and allowed it to dry completely.

Creating the Wood Grain Effect
The key to achieving the wood grain look is in the glaze mixture. I combined FolkArt Home Décor Chalk Paint in Partisan Gray with FolkArt Glazing Medium in a 1:1 ratio. This mixture helps slow down the drying process, giving you more time to work with the surface. After applying the glaze mixture over the entire surface, I used the wood graining tool, starting at the top and gently rocking it back and forth to create a natural plank look.
Perfecting the Finish
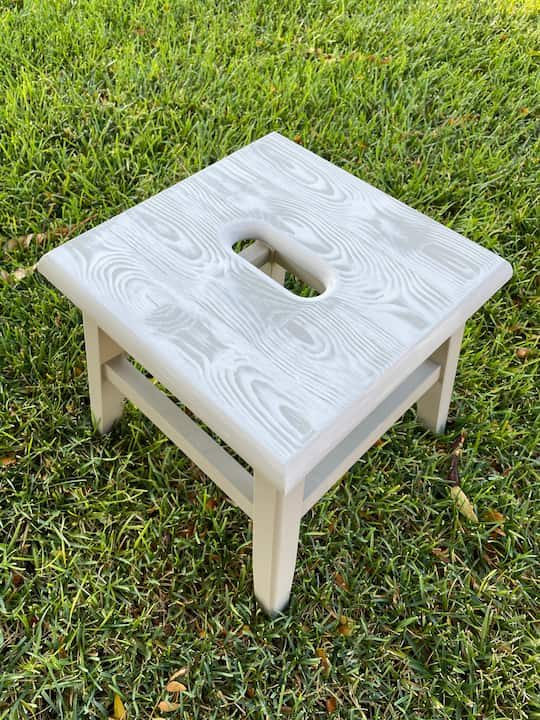
One of the best aspects of this technique is its forgiving nature. If you’re not satisfied with how an area looks, whether it’s too smeary or not clean enough, simply add more glaze to that section and try again. The key is to not push too hard with the tool – you want the effect to look as natural as possible. Once you achieve the desired look, allow the glaze to dry completely before applying a protective coat of FolkArt Home Decor varnish.
You can find the full tutorial and video for this specific step stool in my post How To Paint Wood Grain: An Easy Guide with Video
Project 2: Decorative Bench Makeover
Creating the Wood Effect
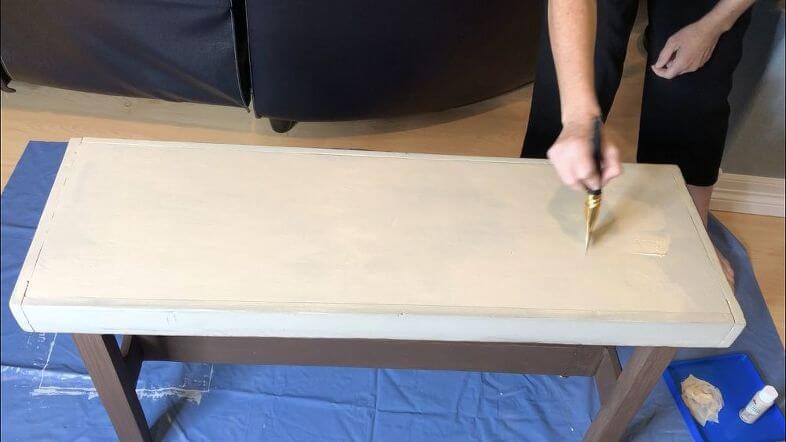
For this project, I took a different approach using acrylic paint. The legs received a coat of Apple Barrel burnt umber paint, while the top was painted with Apple Barrel multi-surface warm buff.
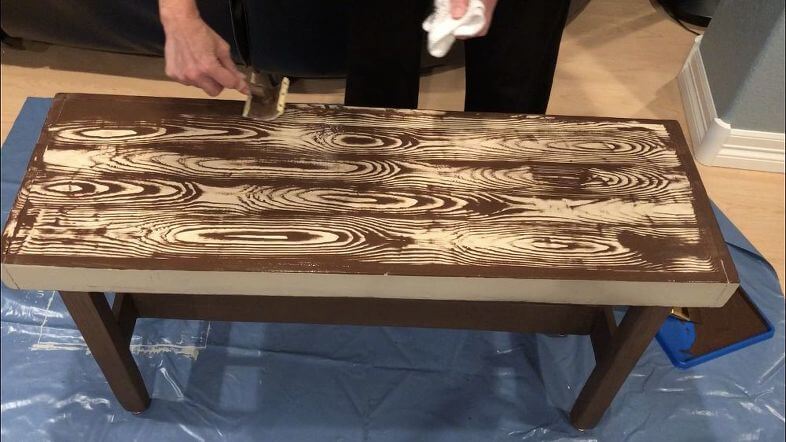
Once dry, I created a glaze by slightly watering down the burnt umber paint and applied it over the top of the bench. Working quickly, I used the wood graining tool while the glaze was still wet, rocking it back and forth to create the wood grain pattern. This same process was repeated on all sides of the bench.
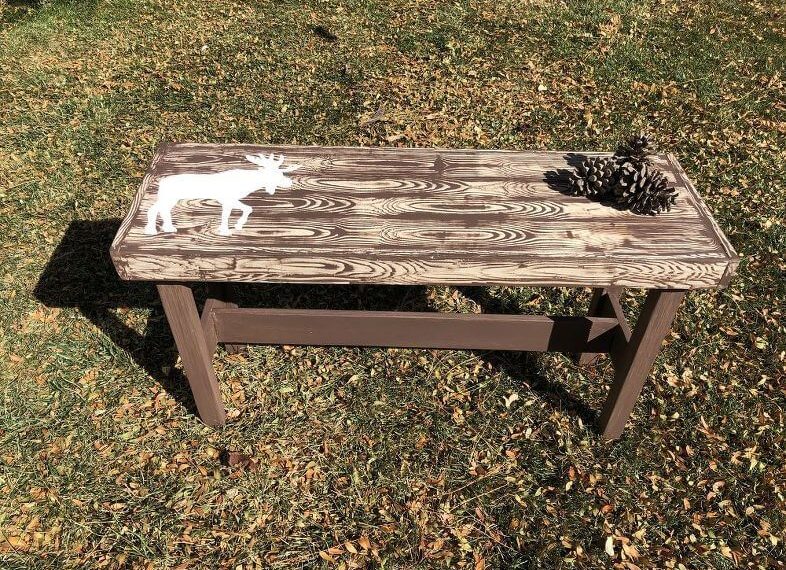
Adding Decorative Elements
To add a unique touch to the piece, I incorporated a Plaid woodland moose stencil. I mixed white Apple Barrel paint with a touch of buff paint to create a softer white that wouldn’t appear too stark against the wood grain. Using a stencil brush, I carefully pounced the paint through the stencil until it was fully covered, then removed it carefully to reveal the design.
You can find the full tutorial and video for this specific step stool in my post Easy and Awesome How To Paint A Bench with Video
Project 3: Table Transformation

Surface Preparation and Base Coat
This project presented a unique challenge with its laminate top, requiring Dixie Belle Slick Stick primer before painting. After priming, I applied Dixie Belle Manatee Gray paint as the base color. The glaze for this project was mixed using Dixie Belle whitewash glaze and Dixie Belle cotton paint in a ratio of four parts glaze to one part paint.
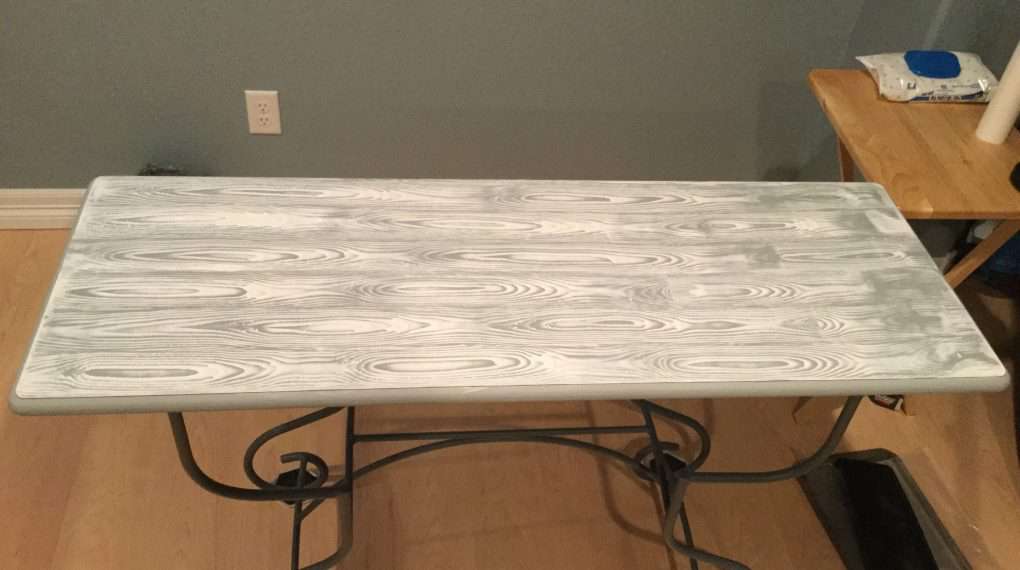
Mastering the Wood Grain Technique
Using a Warner wood graining tool, I demonstrated the simple yet effective process of creating a wood grain look. The technique involves applying the glaze evenly, then using the tool with a rocking motion to create the grain pattern. It’s important to clean the tool between applications to avoid paint buildup. If you miss a spot or aren’t happy with a section, you can easily add more glaze and redo that area – there’s no strict right or wrong way to achieve the effect.
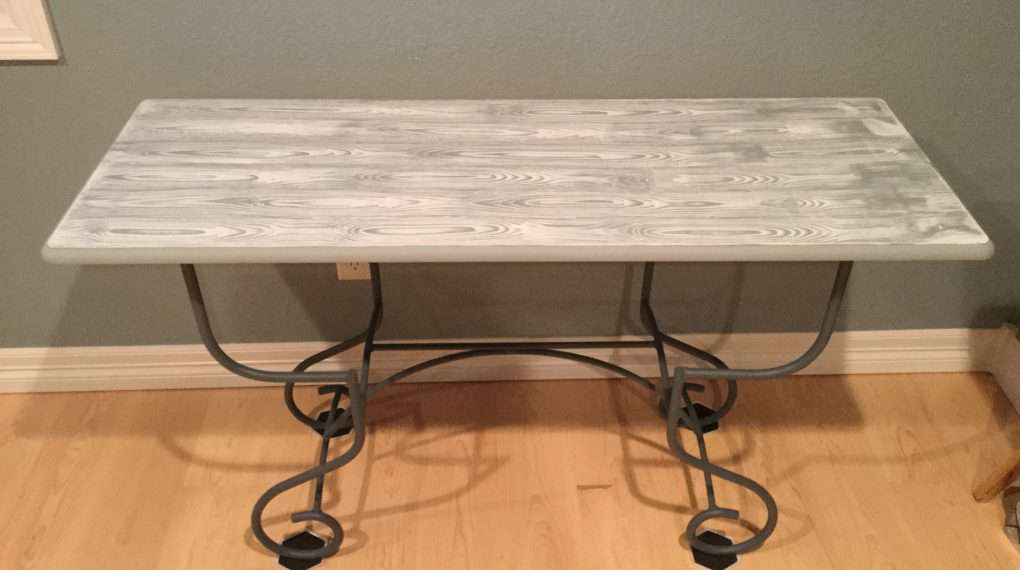
Color Selection and Final Steps
While I chose gray and white to match my home’s color scheme, this technique works with any contrasting colors. The key is ensuring your base coat and glaze create enough contrast to achieve the wood grain effect you desire. Once you’re satisfied with the look, protect your work with a coat of varnish.
Watch me use the faux wood graining tool on YouTube
Further Wood Grain Reading
You might be interested in manually creating a wood texture without a tool, and I did this with a plant stand. You can find the full tutorial at Hobby Lobby Plant Stands Side Tables
Other Wood Graining Options Include:
- DIY Painted Wood Grain Tablecloth – using fabric
- Easy Inexpensive Laundry Room Makeover on a Budget – I used wallpapers to give my laundry room that wood grain look
- 50+ Incredible Before and After Furniture Makeover Ideas
This wood graining technique is a versatile way to transform old furniture pieces with a professional-looking finish. Whether you’re working with chalk paint, acrylic, or specialized furniture paint, the principles remain the same. Take your time, don’t be afraid to make adjustments, and enjoy the process of creating your own wood grain masterpiece.