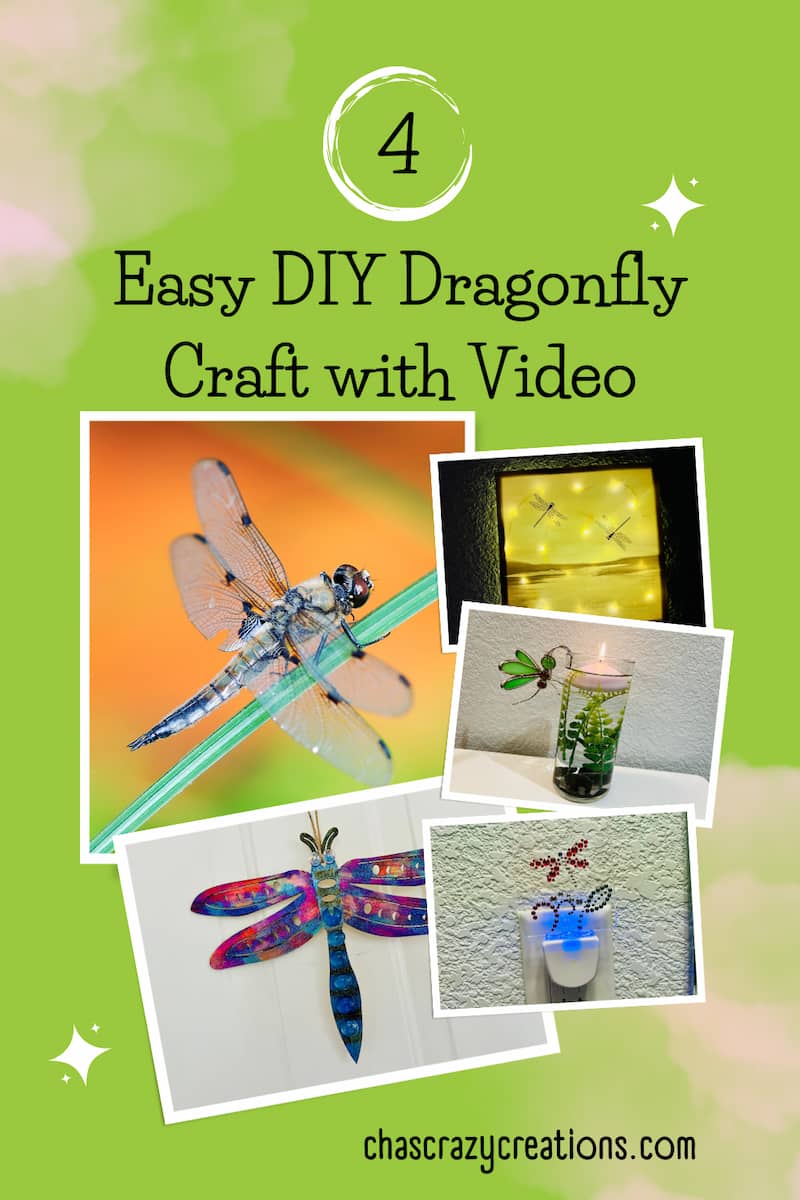
Easy DIY Dragonfly Craft with Video
Transform your space with our step-by-step guide to creating a dragonfly craft! Learn easy techniques, and materials needed, and unleash your creativity today.
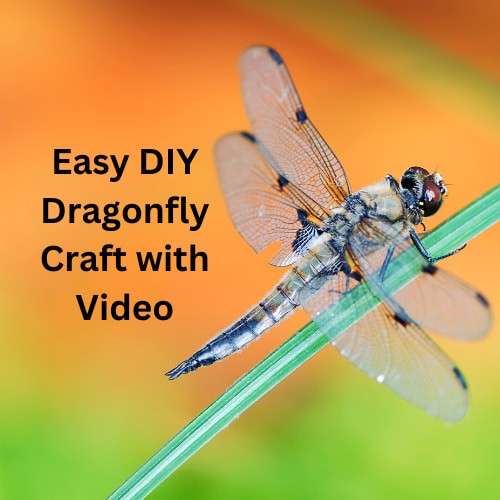
Dragonfly Craft Video
Dragonfly Insect Crafts
If you love dragonflies, this is for you. Head over to Dollar Tree and grab a few craft supplies. We are going to make some awesome DIYs. Let’s get started.
Hanging Dragonfly Door Decor
This craft gets a little messy, so it is good for adults to supervise and older kids.
Hanging Dragonfly Materials List:
- wooden dragonfly
- Folk Art Ultra Dye
- Folk Art Dragonfly Glaze
- Folk Art Color Shift
- twine or yarn
- magnet (optional)
- glass rocks
- Mod Podge
- stencil tape
- gloves
- paper towels
- paint brushes
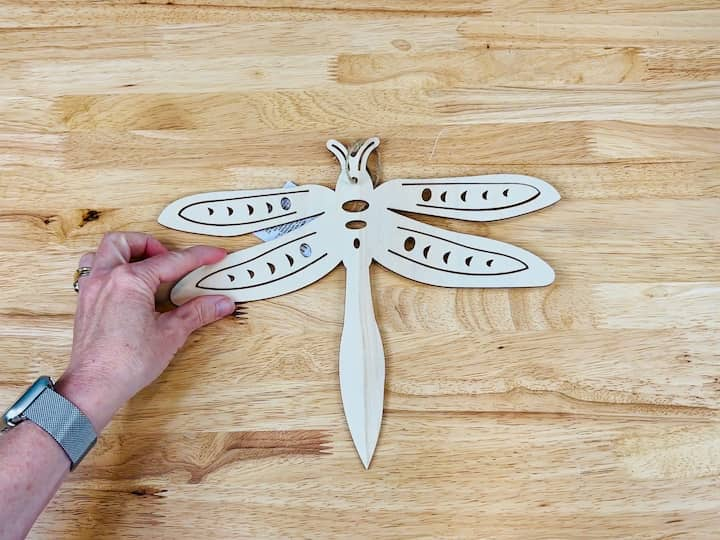
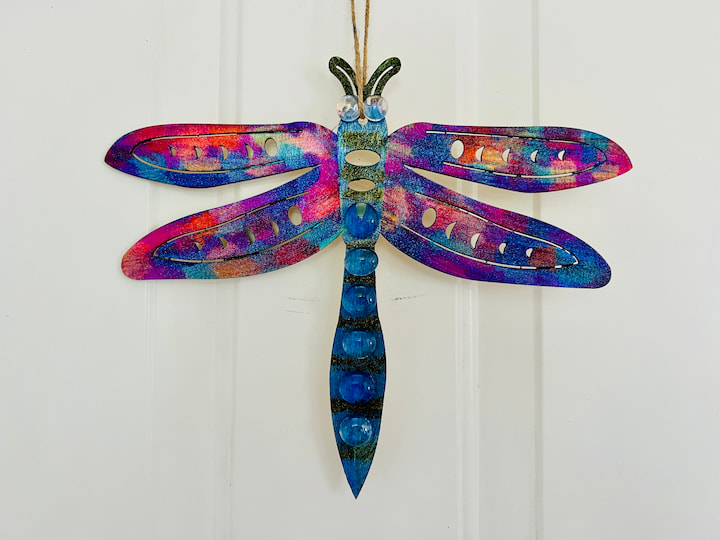
For this first project, I found this wooden dragonfly at Dollar Tree in Crafter’s Corner.

Step 1. Secure Dragonfly
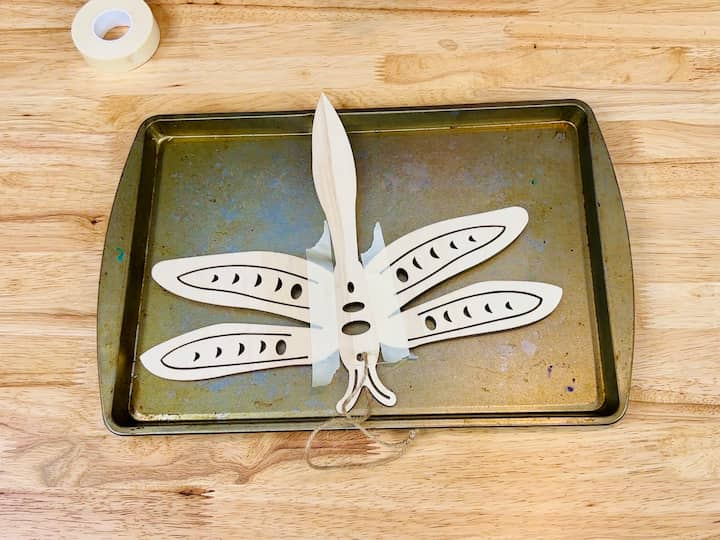
I placed it on a pan to protect my surface and I added some stencil tape from Plaid to the edges of the wings. I’m adding gloves to my hands to protect them so they don’t get dyed from the items I’m going to be using today.
Step 2. Paint Dragonfly Body
I’m starting with FolkArt Ultra Dye in the color Blue Bayou. I painted the whole body and antennae of the dragonfly with the blue Ultra Dye.
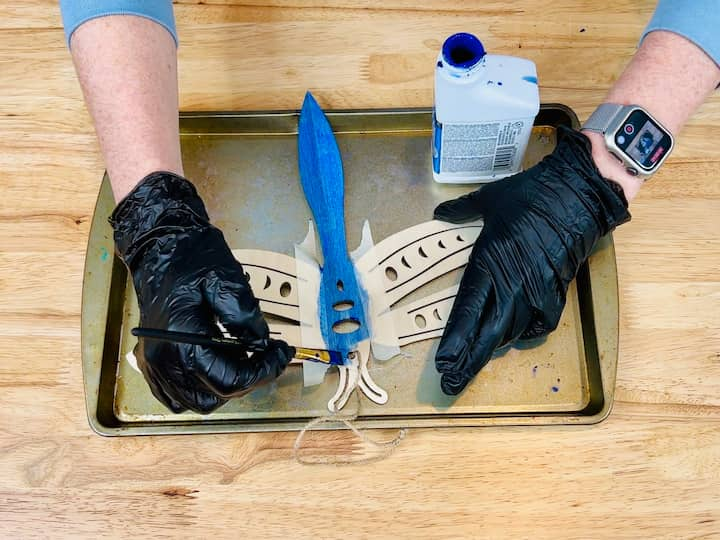
I peeled the stencil tape off once that was complete. I didn’t wait for it to dry first.
Step 3. Cover body with tape after dry
Once the blue Ultra Dye was dry, I went ahead and added stencil tape to cover the blue, this time.
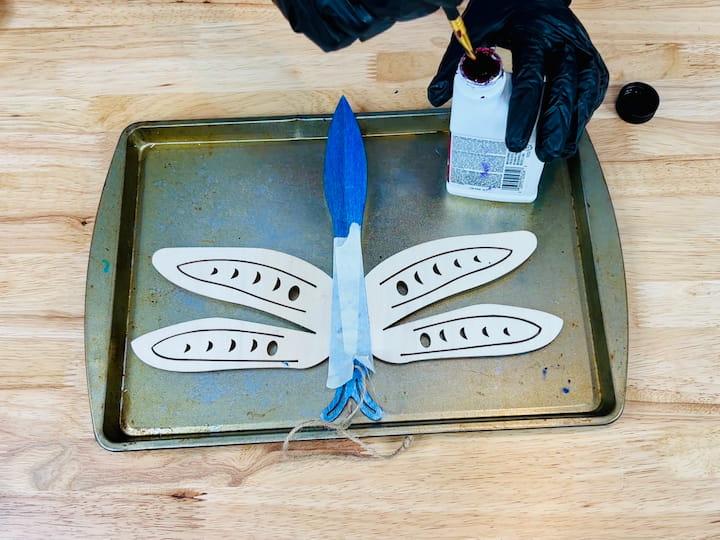
Step 4. Paint Wings
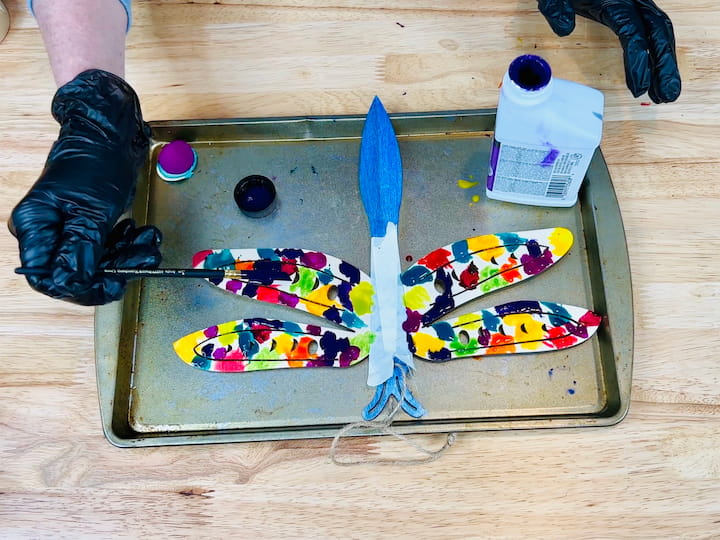
Now comes the fun and inconsistent part. I just went out on a whim and I wanted to make the wings of a variety of colors.
I started with FolkArt Ultra Dye Hot Flash and just added dabs of this onto the wings.
I worked my way through all of my FolkArt Ultra Dye colors, including Lady Marmalade, Solar Power, Turquoise Tantalizing Teal, Up Emerald City, Round View Venom, Raspberry Beret, Purple Rain, and Hot Pink, to name a few.
Step 5. Blend paint on wings
In all honesty, this was a risk I was taking. I wasn’t sure how it was going to turn out.
Here goes the experiment. I grabbed a clean brush and I just smeared the paint so it would all blend together. I did that on one wing.
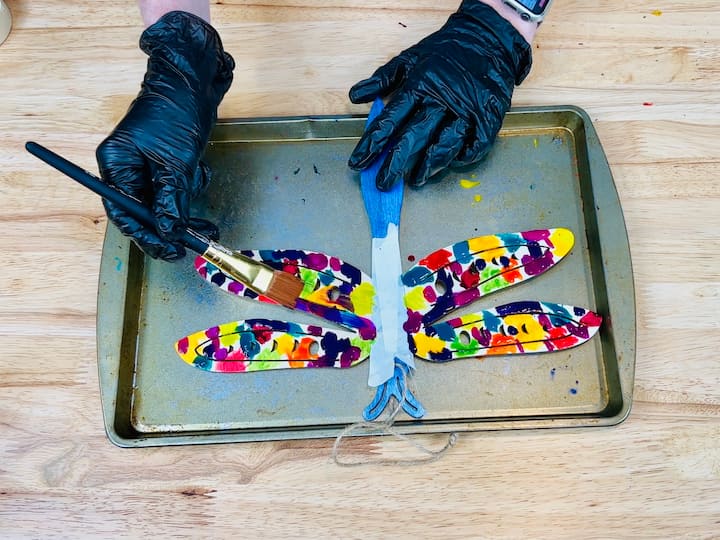
Then, I grabbed a new clean brush and started on the next wing. I repeated the process until I got through all four wings.
Some of the darker tones overpowered some of the lighter tones. That was a learning lesson for me. But overall, I was very pleased with the way this was turning out.
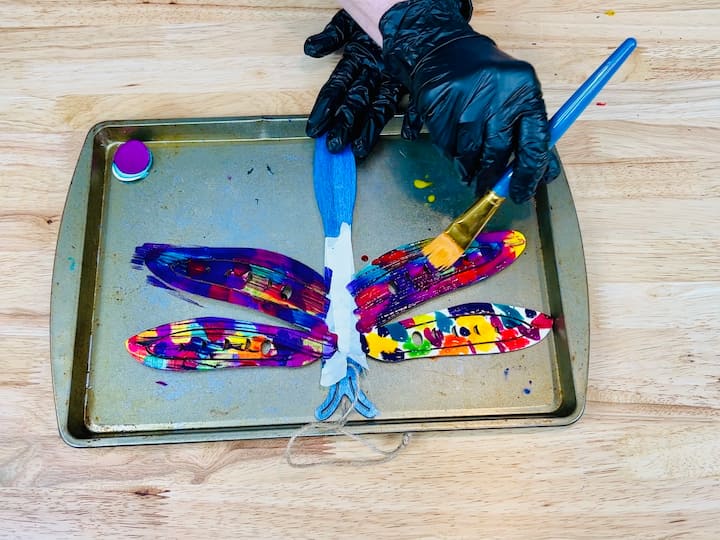
Now again, I want to mention how I am wearing gloves to protect my hands from the dye, and then so it also cleans up super easy.
One of the things I love about FolkArt Ultra Dye is it’s water-based, so everything will clean up nice and easy.
Step 6. Wipe off access
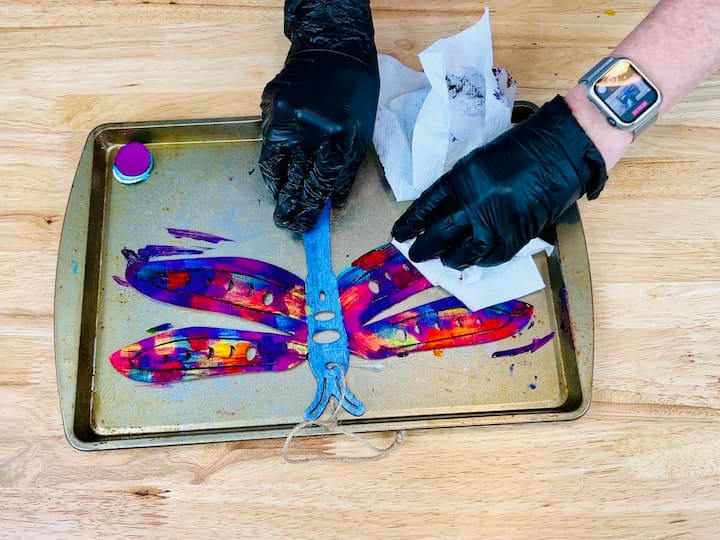
Once I was done blending all of the paint, I peeled off the stencil tape while it was still wet. I could have stopped here and let the FolkArt Ultra Dye keep soaking in, but I decided to grab a paper towel and wipe off the excess.
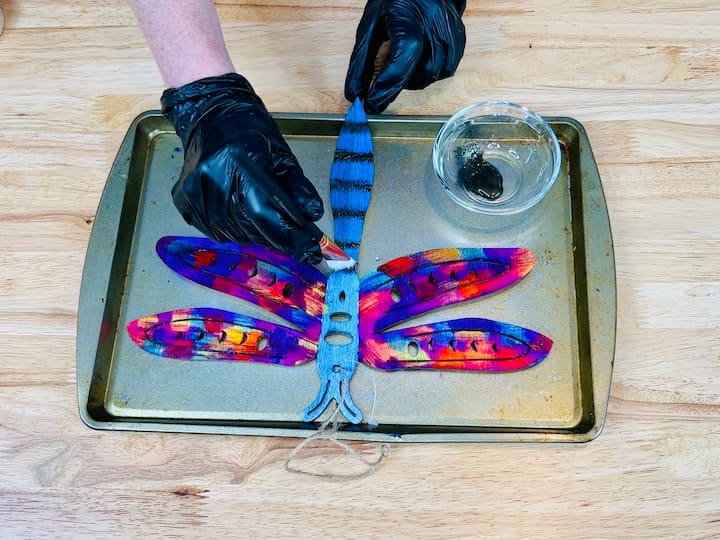
Step 7. Paint stripes
I noticed a lot of dragonflies have these little black stripes on them. I’m using FolkArt Color Shift in the color Black Gold for the stripes.
Step 8. Add teture
I grabbed some Mod Podge and some Dollar Store rocks. I added some Mod Podge to the Dollar Store rocks and then I glued them to the body. I wanted to give the body more texture and dimension, and already had these little glass rocks that I got from a thrift store.
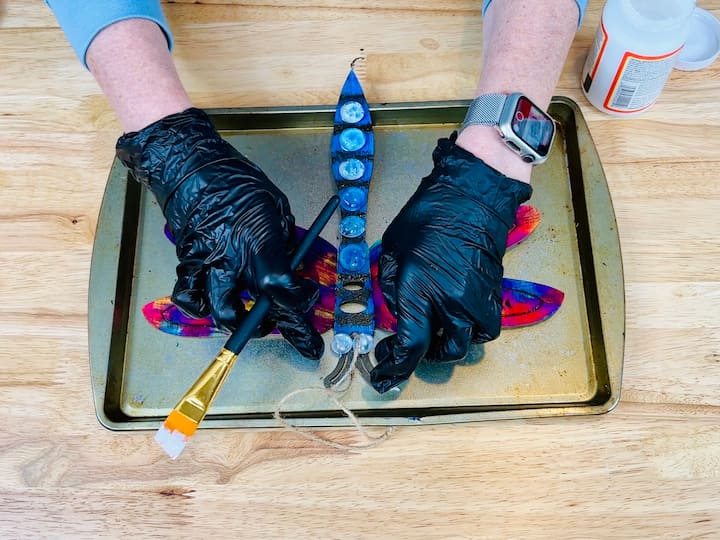
You could add any crafting supply for texture. Use what you have on hand. Some ideas may be pipe cleaners, pom poms, or plastic pony beads. Just anything really to add texture and dimension.
I added a little Mod Podge to these little tiny rocks and I added them to the top of the dragonfly to create some eyes. You could use googly eyes or buttons, too.
I just kept adding more and having more fun. You could decorate your dragonfly with any crafting supplies like glitter and pipe cleaners.
Step 9. Add shimmer
I added FolkArt Dragonfly Glaze in the color Violet Blue Green Shift.
I just put it on the wings. One of the things that I love about it is it goes on kind of white. You can see what you’re doing. It adds shimmer and iridescence to it, which is exactly what these dragonfly wings need.
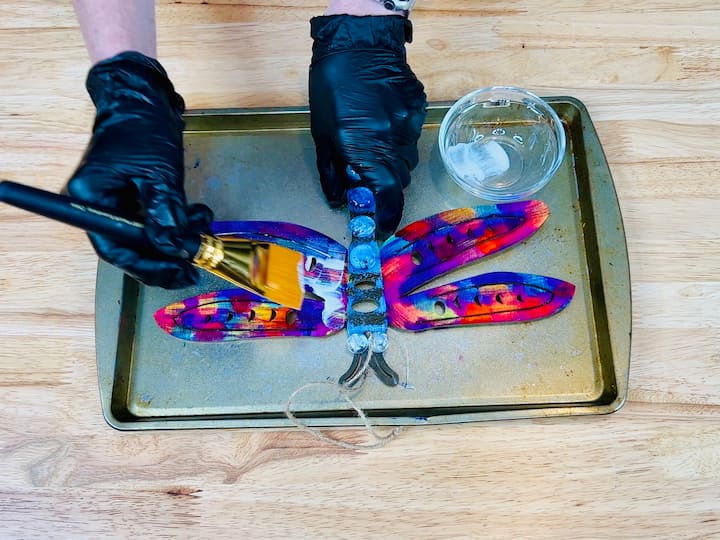
I decided that the body needed some shimmer too. I used a different shade of Dragonfly Glaze in the Blue Green Gold Shift.
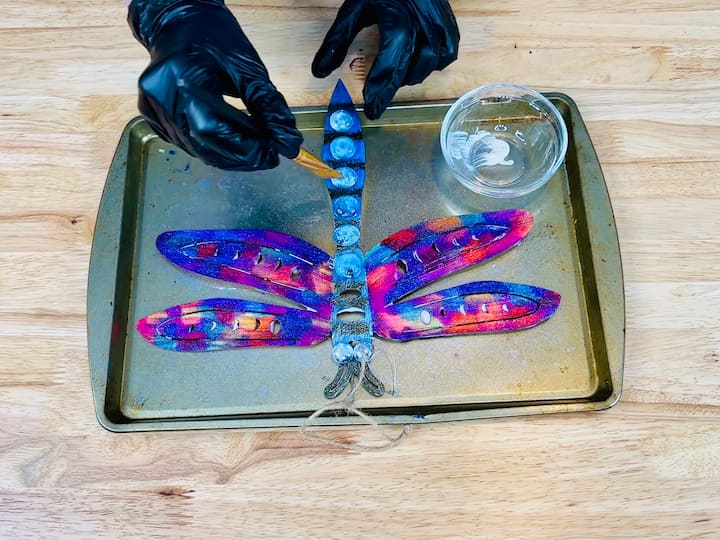
Step 10. Let dry and hang
I let him dry completely and then I hung him up. I love how he turned out. Now you just need to see how this sparkles in the sunlight.
You could glue a magnet on the back and place the dragonfly craft on the refrigerator.
Dragonfly Candle Craft
For this dragonfly craft, I’m going to use craft supplies mainly from Dollar Tree. I love this candle because it reminds me of summer and dragonflies near a pond.
Candle Craft Materials List:
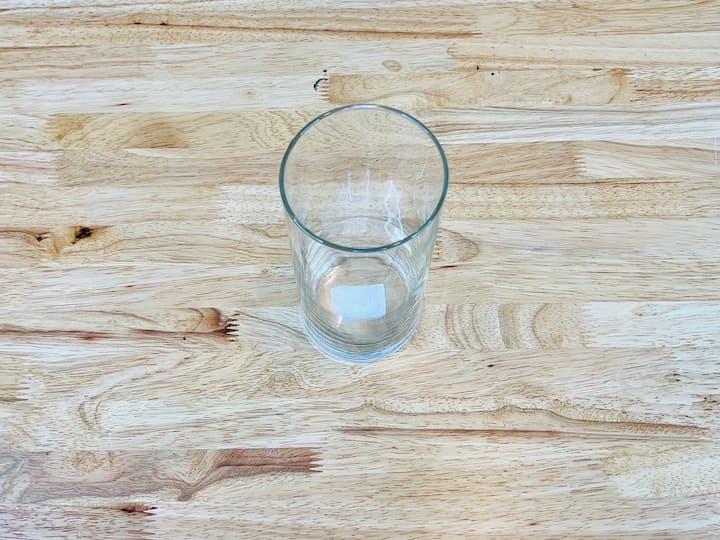
Step 1. Add rocks to vase
For this dragonfly craft, I’m going to place some rocks in the bottom of a Dollar Store vase.
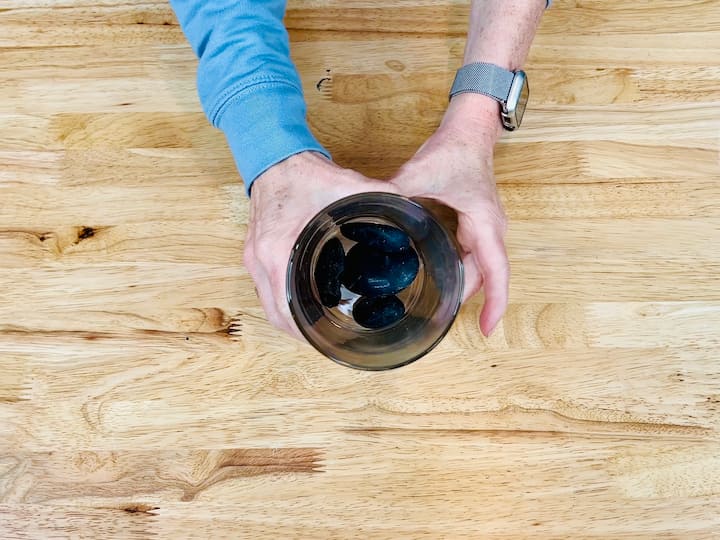
Step 2. Add foliage
I’m adding some foliage that I just pulled apart from some fake foliage that I got from the Dollar Store.
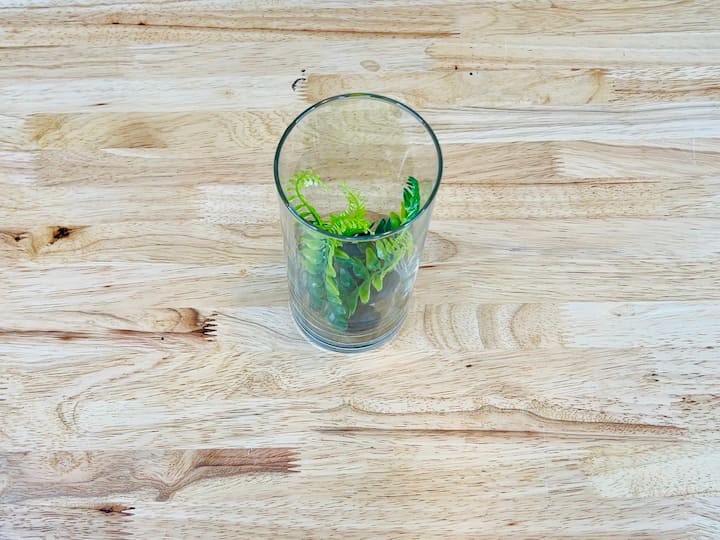
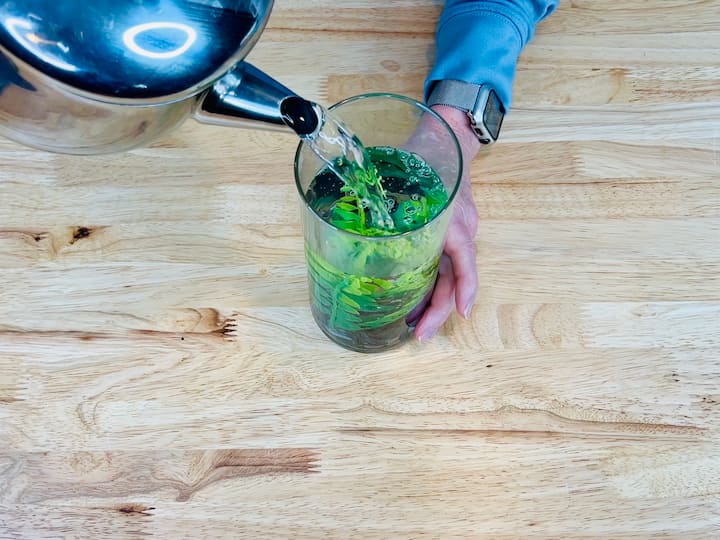
Step 3. Pour water in vase
I’m adding some water and I’m going to fill it so it’s almost all the way full of water.
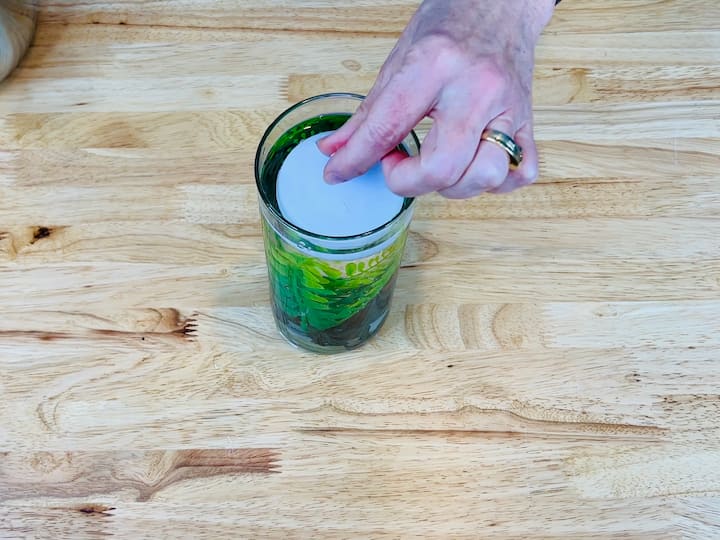
Step 4. Place candle on water
Next, I’m going to place a Dollar Store candle, a floating candle, on the top of all of this. They come in a set of two at the Dollar Store.
Add dragonflies
My mom gave me this cute dragonfly. It hangs on flower pots, but I’m going to hang it right here on this floating candle for my display.
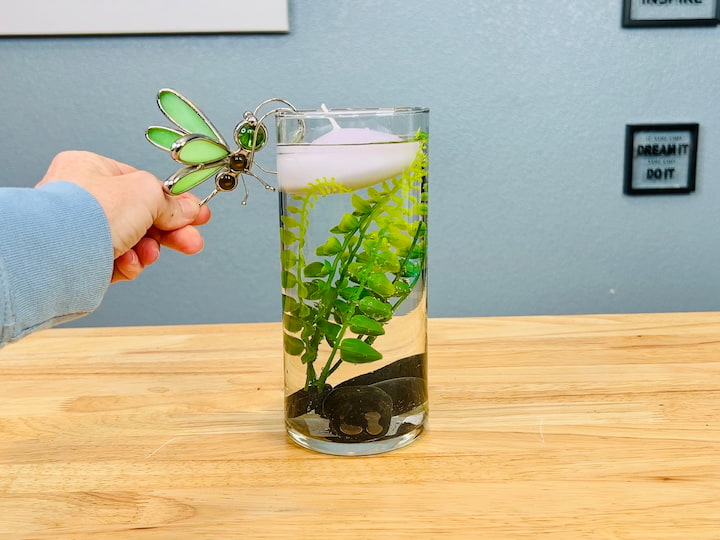
Another thing you could do is add some decals or stickers to the candle if you want instead.
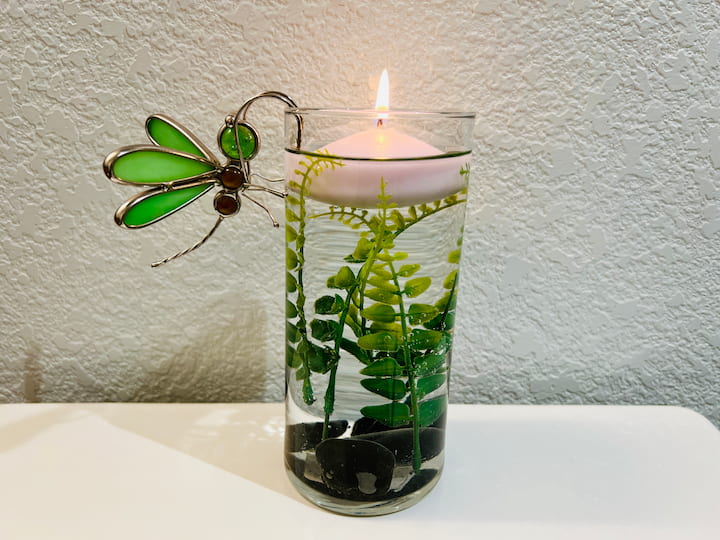
I’m placing this in my bathroom. I think it’ll make a nice, lovely display for the summer.
Dragonfly Glowing Artwork
For this craft, it isn’t just artwork. I have an added surprise. Keep reading.
Dragonfly Artwork Materials List:
- art (make or buy)
- decals
- LED lights
- low-temp glue gun
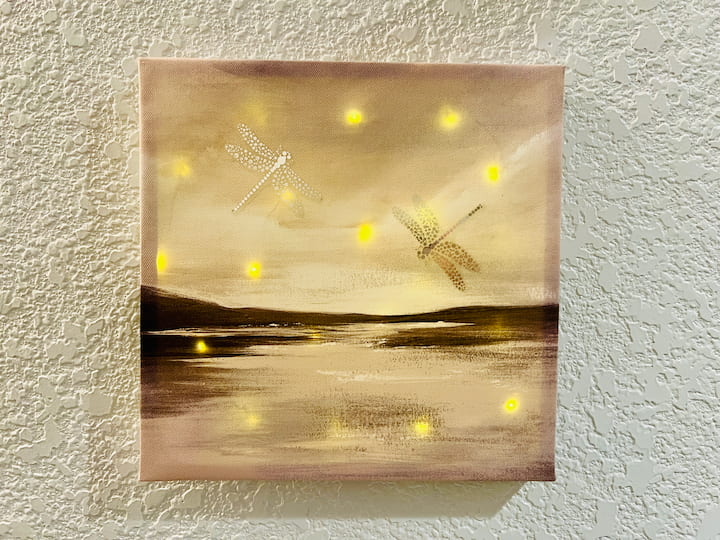
For this project, I’m starting with some Dollar Store art. I’m also going to be using some decals that I got from the Dollar Store, as well.
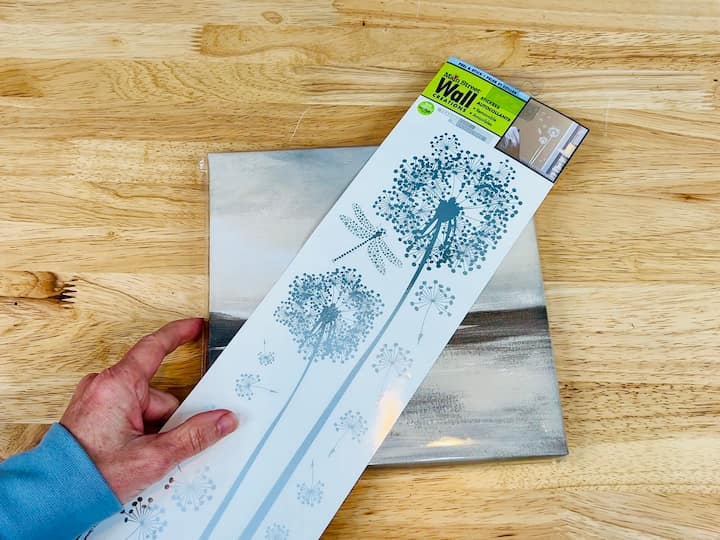
Step 1. Add decals to artwork
I started by peeling off some of the dragonflies and placing it onto the artwork.
Now, the great thing about using decals is if you don’t like where it sets the first time, you can peel it up and place it again until you get the look that you want.
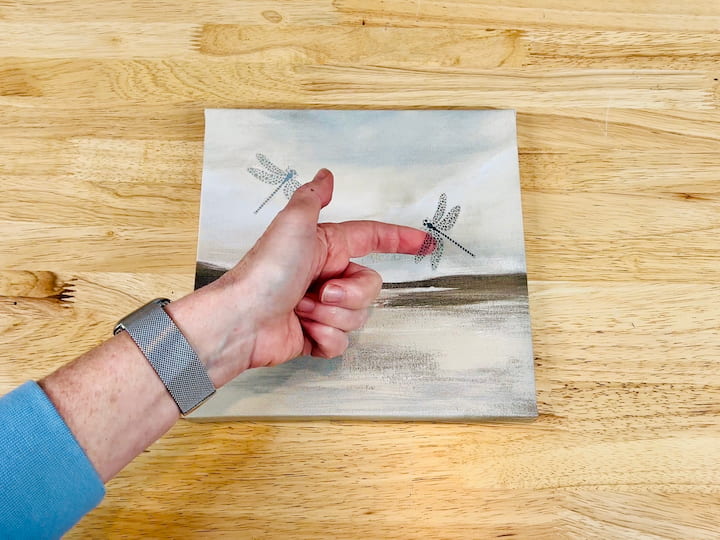
Step 2. Add lights
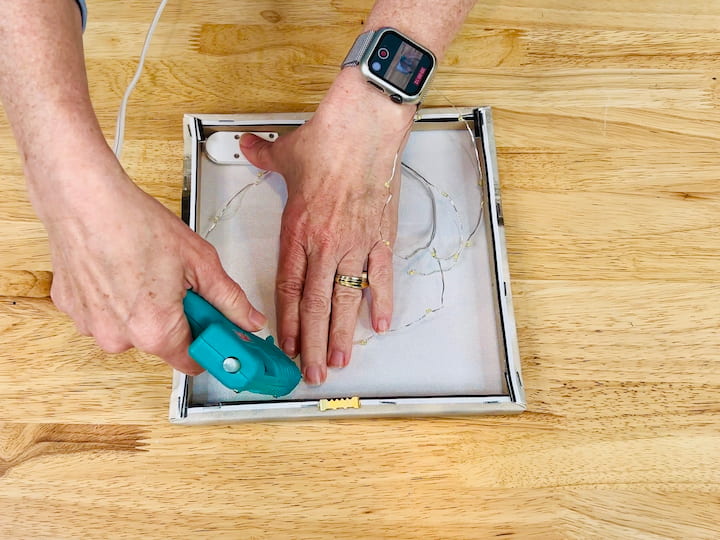
Ready for that surprise? Yeah, I’m going to be using some of those battery-operated LED lights.
I’m going to be using them on the back side. I’m spacing them out how I want it to look.
Then I’m going use my hot glue gun to glue the battery pack down. You can see that I’m leaving the screws available so I’ll be able to get to the battery pack again at a later point to replace the battery.
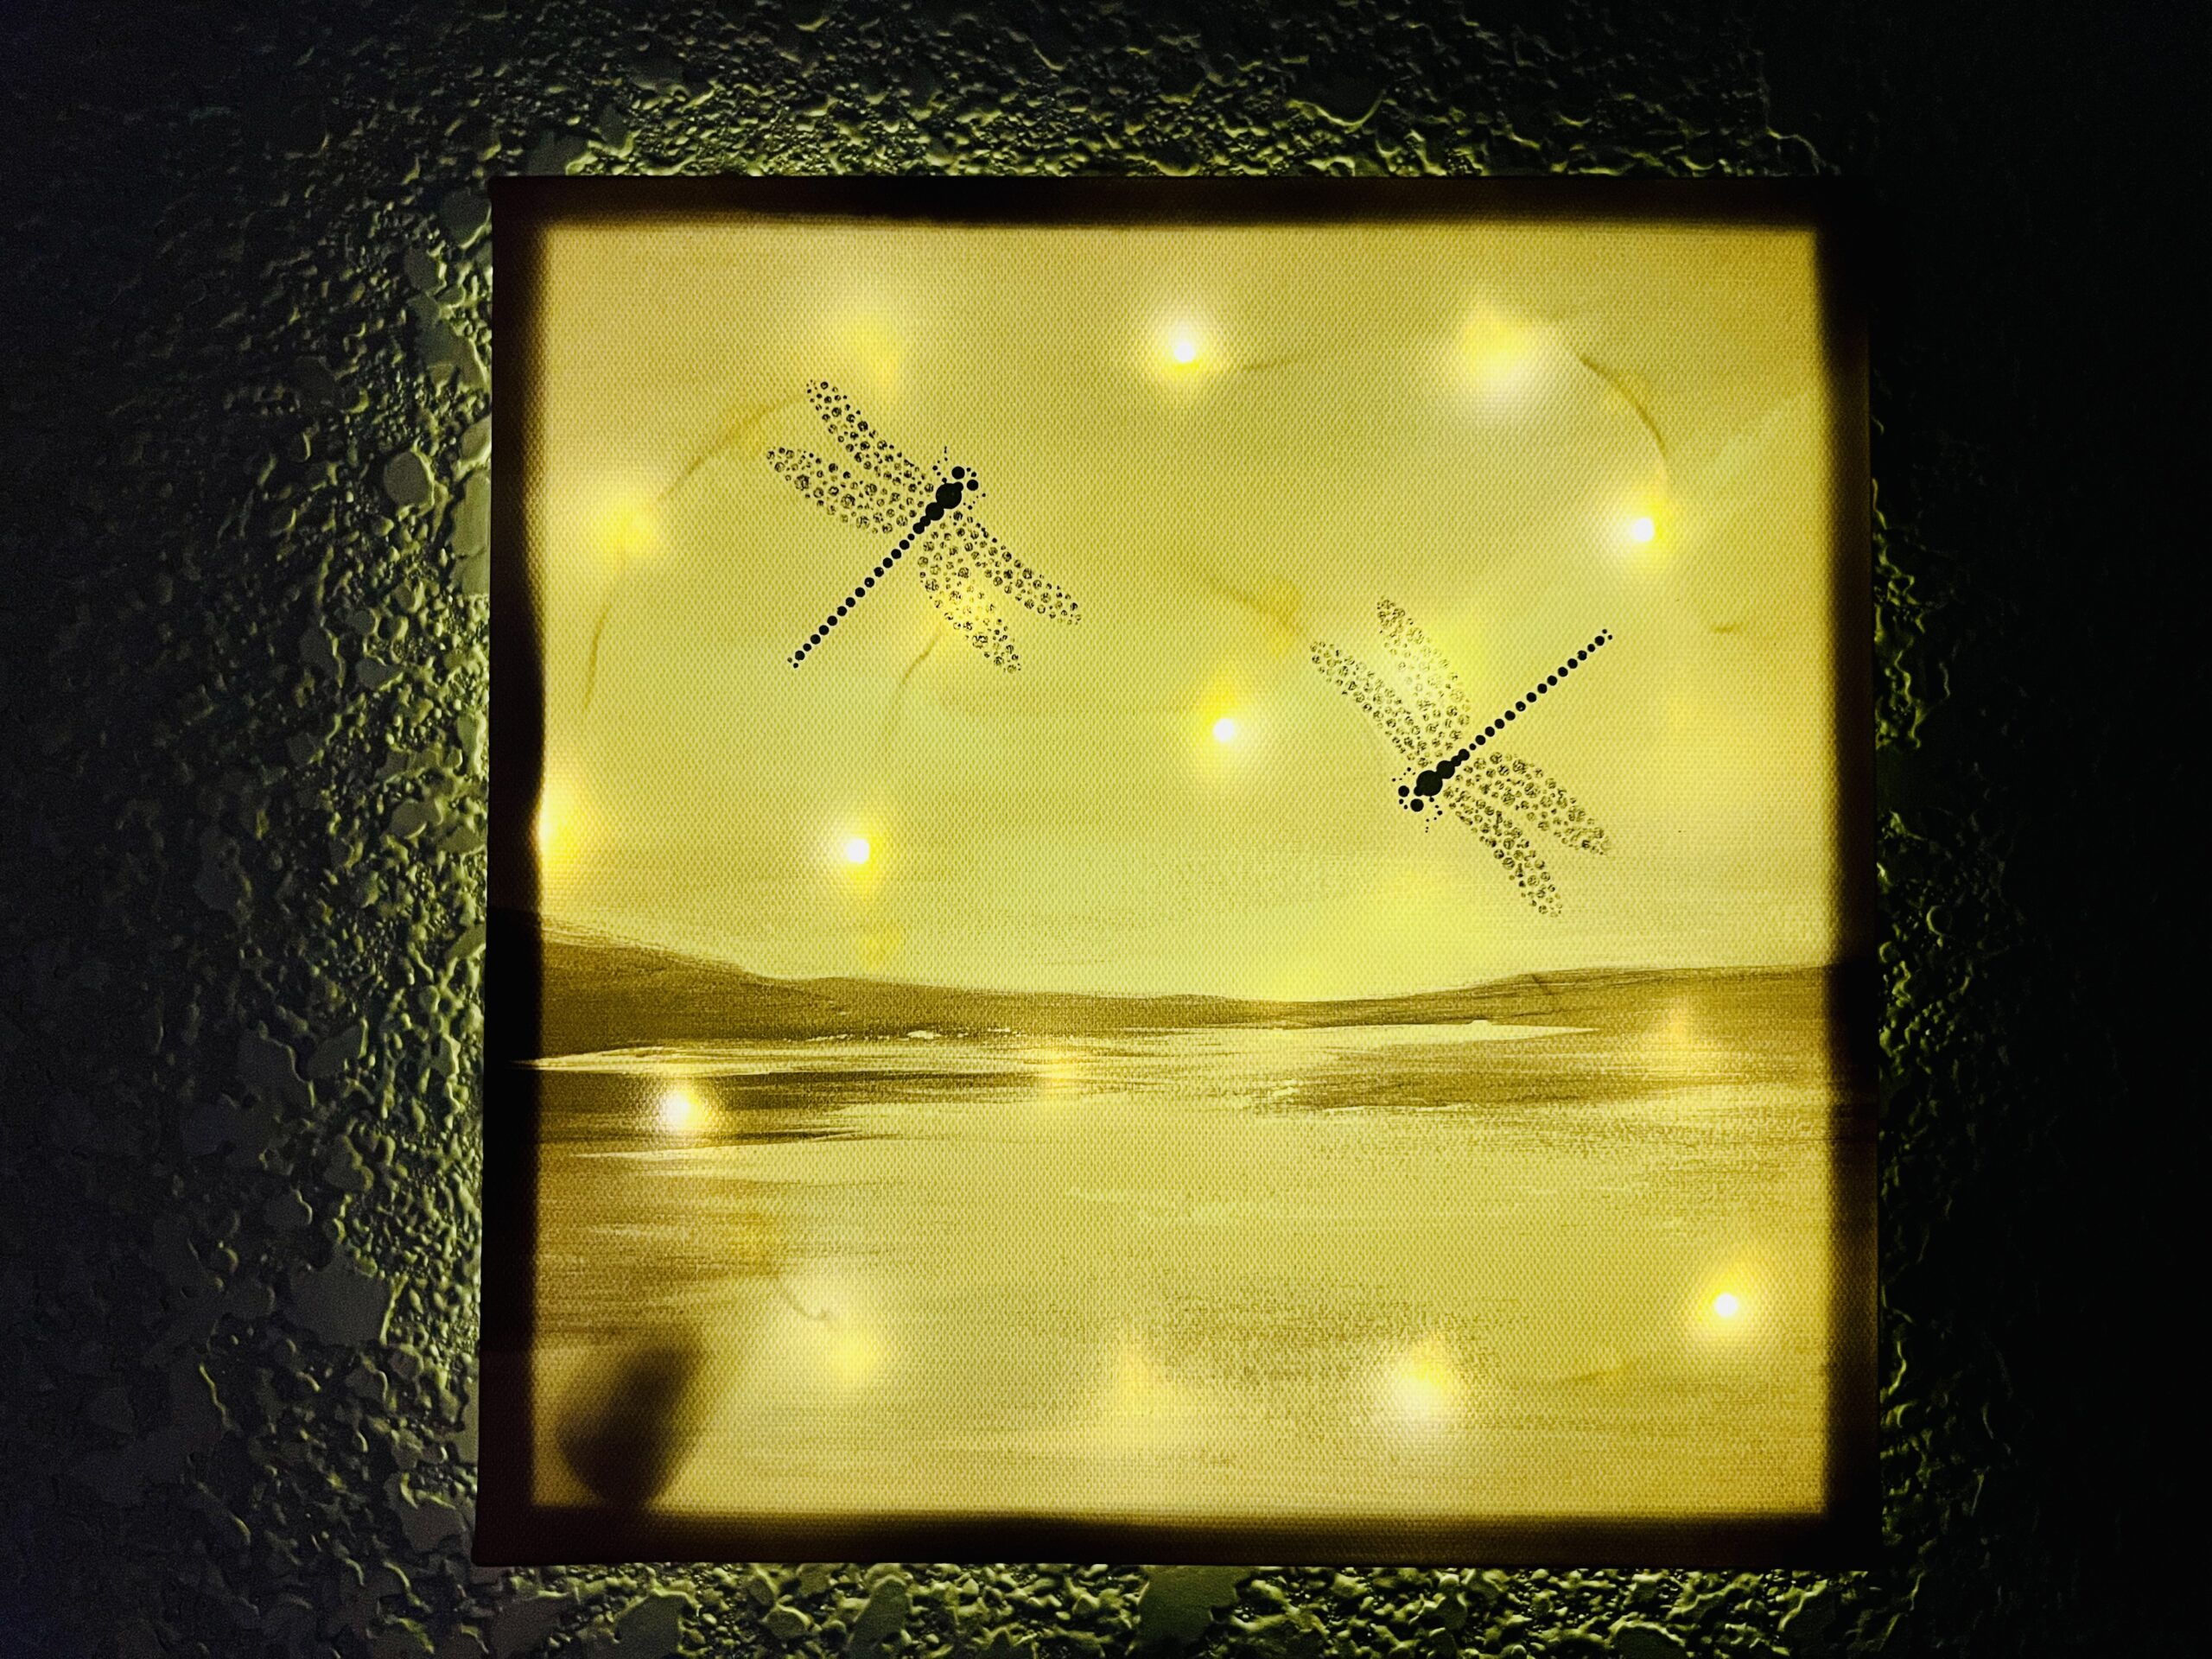
Then I’m just going to continue hot gluing, holding until everything holds firm. I can flip it over and turn it on. You can see the lights glow through the artwork.
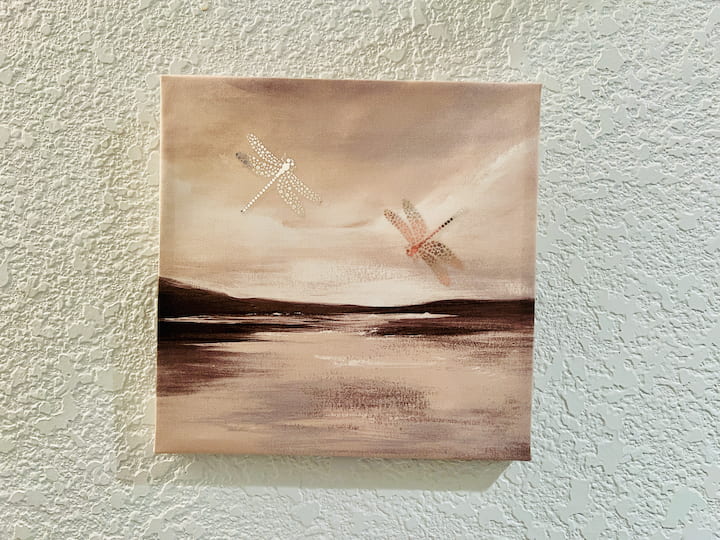
Step 3. Hang artwork
I hung this dragonfly picture up and I love it even more than I thought I would, especially for such an easy craft.
By day, you can see the light shine through. As it gets darker and dimmer, the lights shine up more. By the time it’s completely dark, it just glows. This artwork can be decor in any room, but would be fun in a room for younger children as a nightlight.
I absolutely love it. Let me know what you think in the comments below.
Dragonfly Nightlight with Decals
For this project, I grabbed a few craft supplies from the dollar store.
Nightlight Materials List:
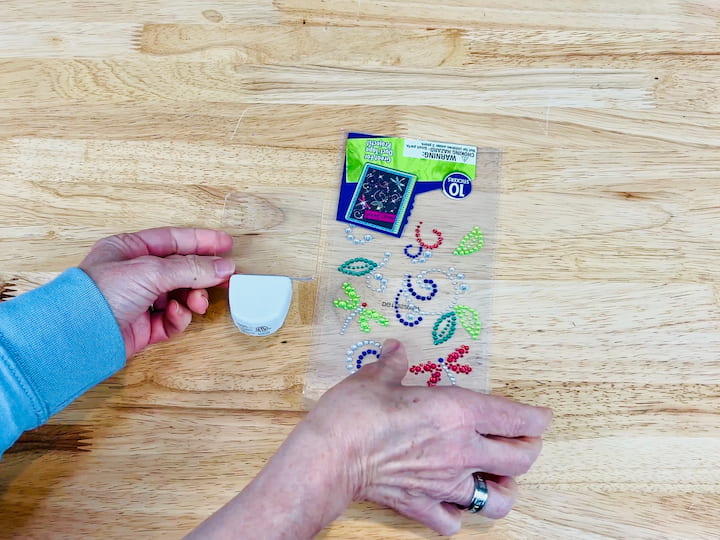
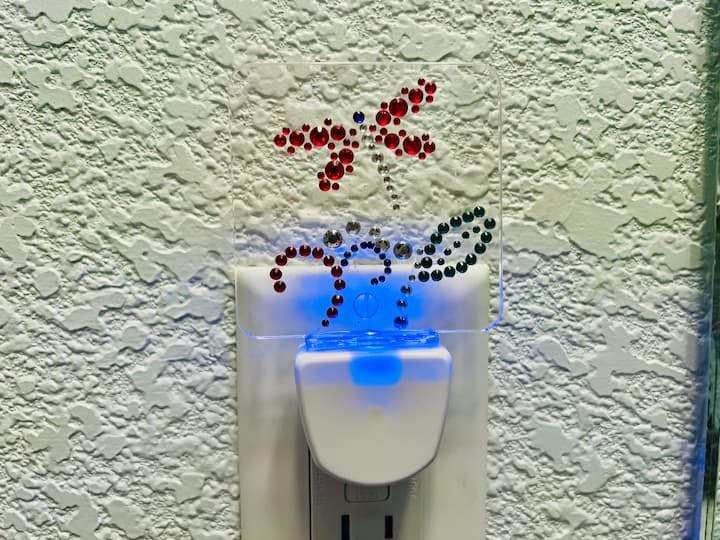
Below are the nightlight and some stickers from the Dollar Store. Now, these are not as forgiving as the decals.
Step 1. Add stickers
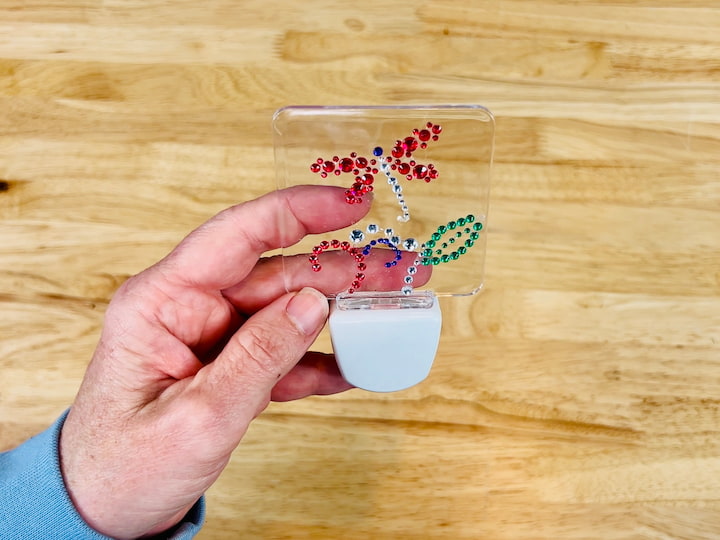
I started by placing the sticker on and it was a little hard to move. I decided it needed a little bit more than just the dragonfly on it.
I started looking for the other stickers and I was trying to move it around and at one point like it started falling apart. I had to really work with this one to kind of recover.
It was a little bit frustrating. In the end, I was happy with the design that I finally came up with. But, it did take some negotiating on my end.
Have you ever been frustrated like that? Let me know in the comments.
Step 2. Find an outlet
This nightlight had a blue LED light in so it glowed up from the top. This a perfect craft to light up hallways for toddlers or preschoolers.
I hope this inspires you to create some dragonfly crafts of your own.
Dragonfly Craft Video
What other insect craft have you made? Bee craft, spider craft, beetles or ladybugs? Leave a comment and let me know.
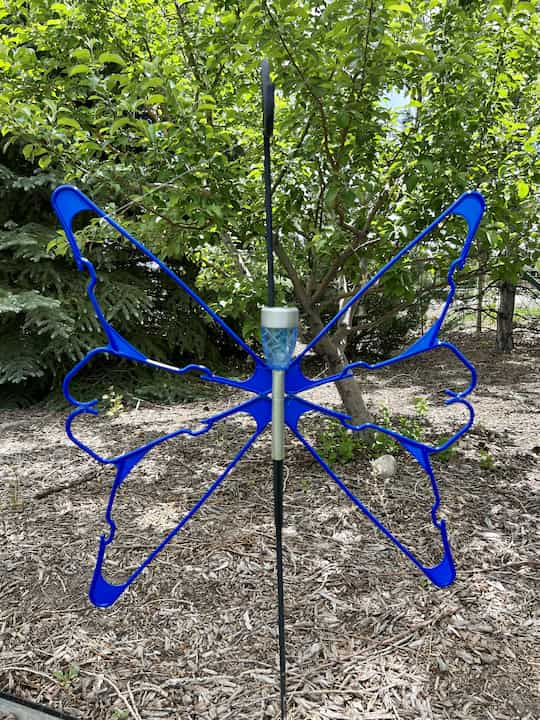
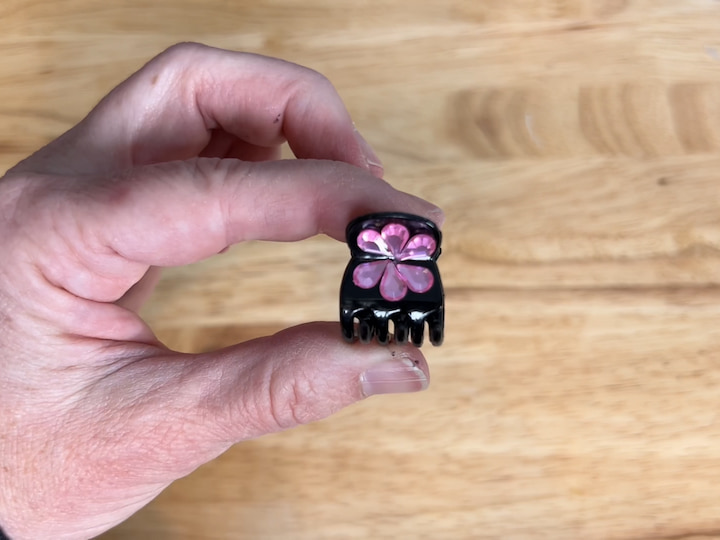
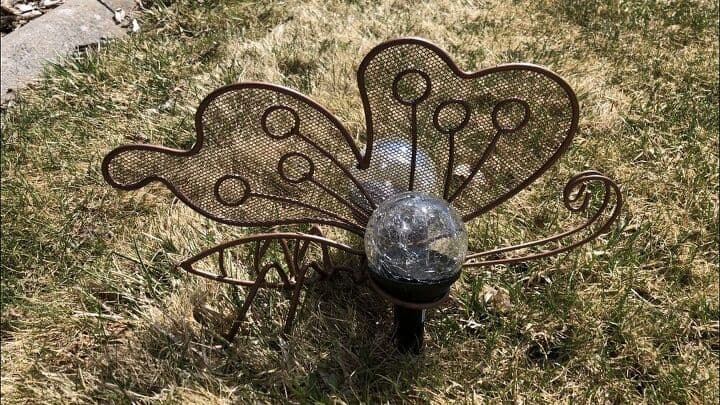
Here are butterfly crafts you may enjoy making:
- How To Make A Butterfly: Easy and Awesome
- Awesome DIY Butterfly Hair Clips and Headbands
- Easy Homemade Garden Decor Ideas on a Budget
