
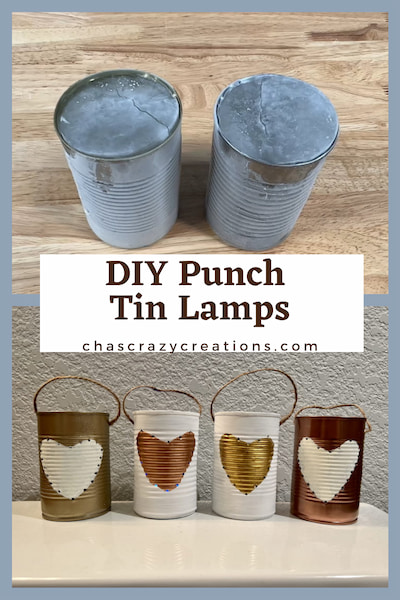
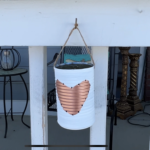
Easy and Terrific DIY Punch Tin Lamps For Your Backyard
Do you remember creating punch tin lamps? This is a DIY the whole family can have fun with and it makes your yard glow all season long.
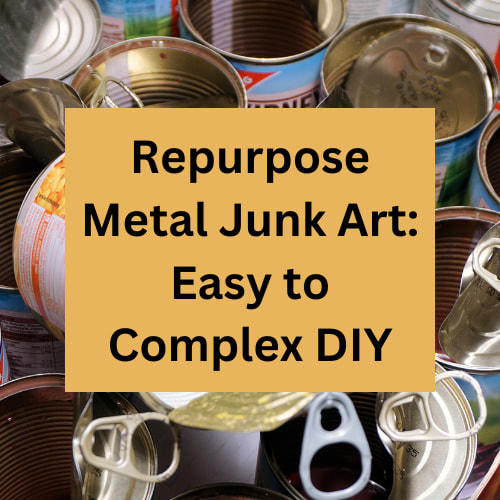
I made these can lanterns when I was in girl scouts and I remember how fun it was. What better way to use recycled cans than creating a fun glowing lantern for your yard.
Punch Tin Lamps Materials
Punch Tin Lamps Videos
How do you make Tin can lanterns?
How do you make tin can luminaries?
Punch Tin Lamps Instructions
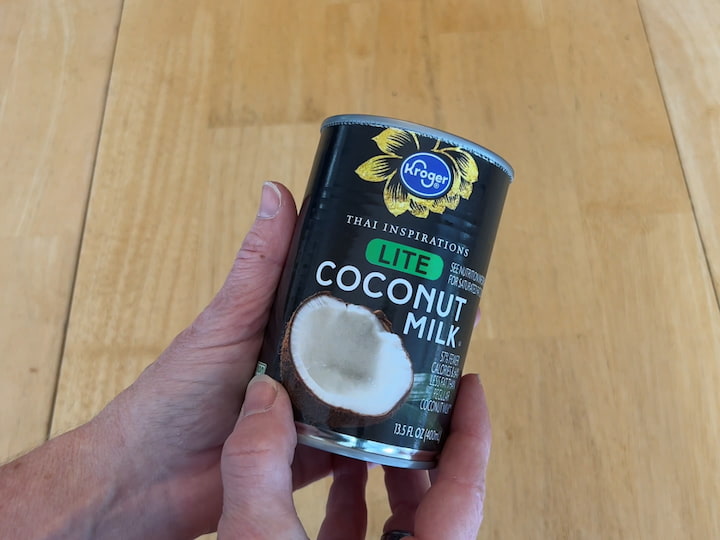
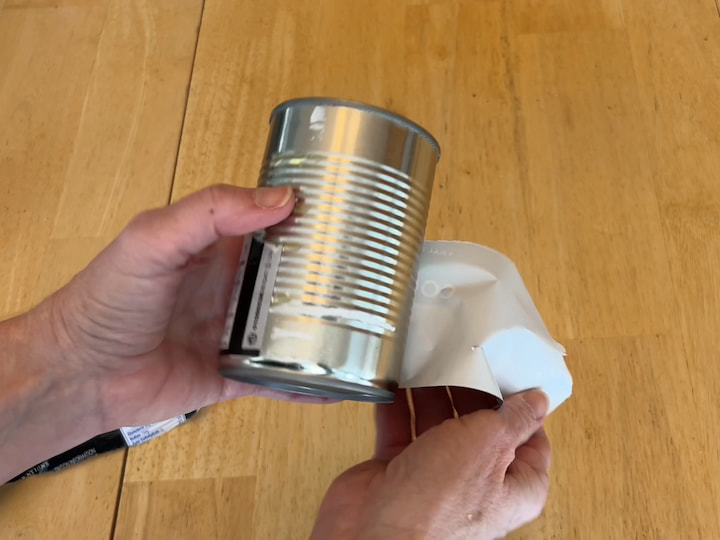
1. Wash out the can and remove the label
I peeled the label off and then washed out the can with soapy water and let it dry.
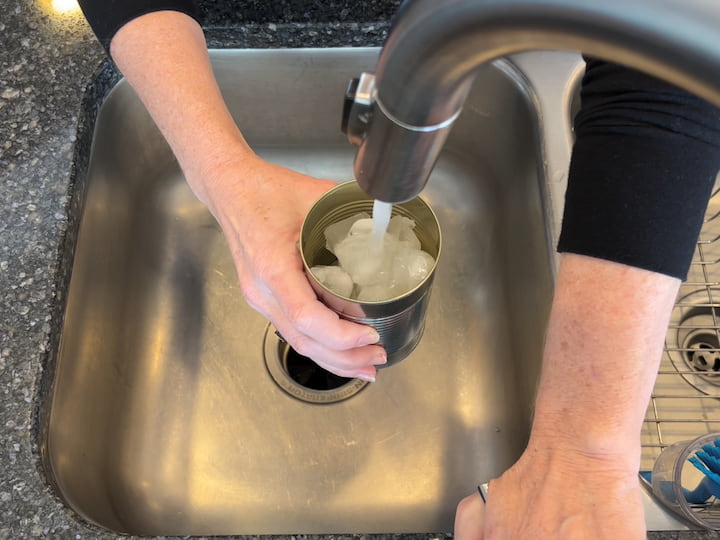
2. Fill the can with water and ice
I filled the can with ice first and then filled the rest with water. This will speed up the process of freezing the water in the can, so you can also just use water instead.
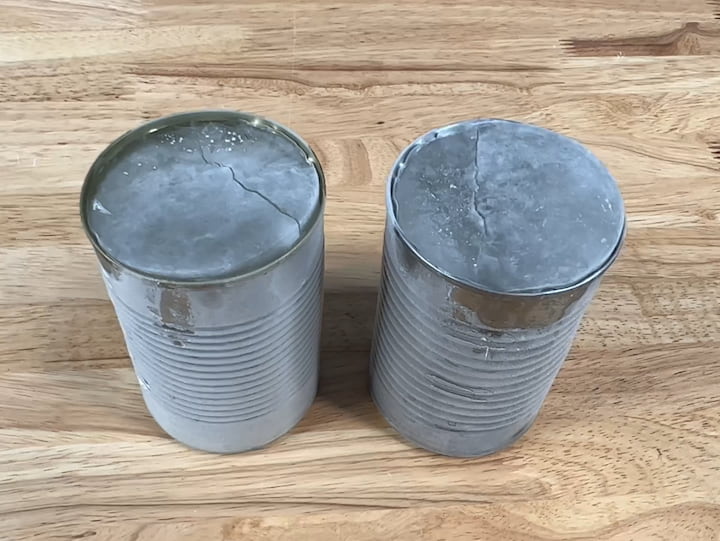
3. place the can in the freezer
I placed the cans in the freezer overnight and pulled out the frozen cans the next day to get started on the rest of the project.
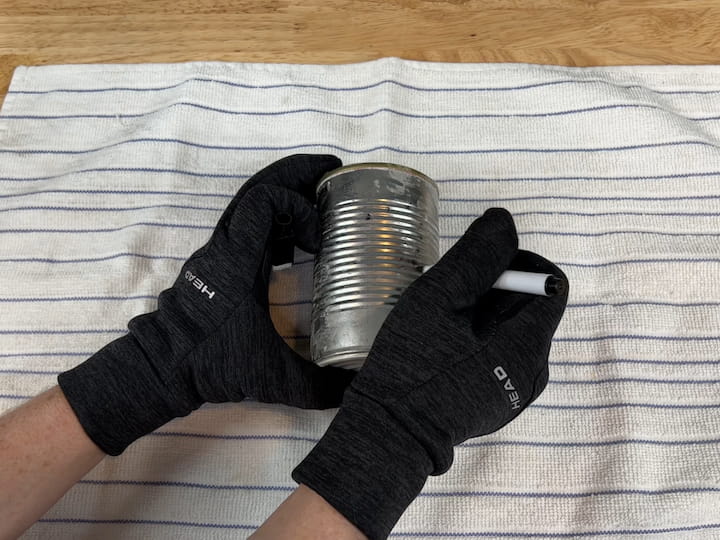
4. Draw your design on the can
I used gloves to protect my hands as the cans were very cold. I used a dry erase marker to draw my heart design on my can. This would make it easy to erase and move the mark if I needed to.

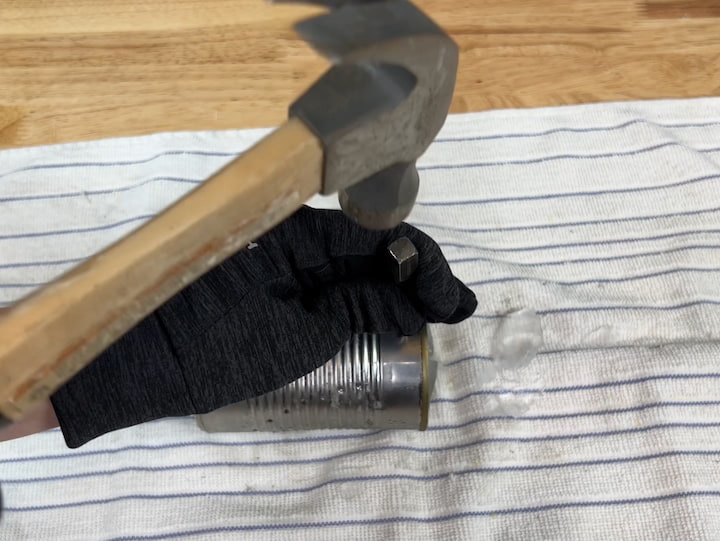
5. Use a hammer and punch to indent the can
I placed the punch onto the mark on the can. I tapped the hammer until the punch made a dent in the tin can.
How do you punch Holes in tin cans?
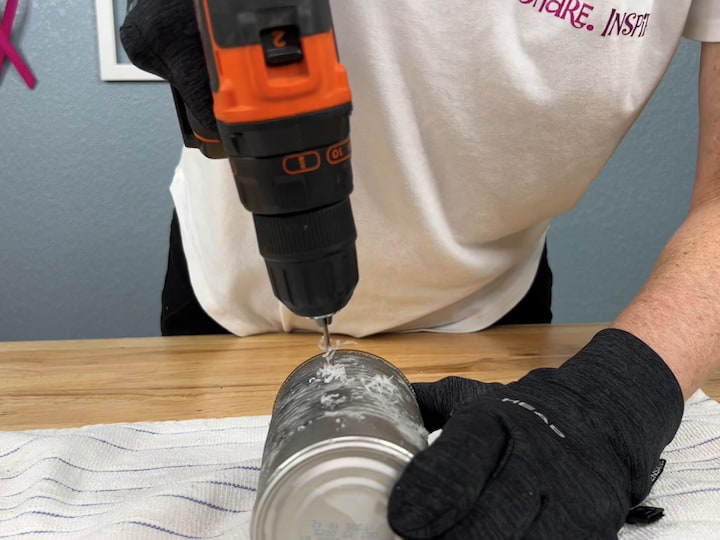
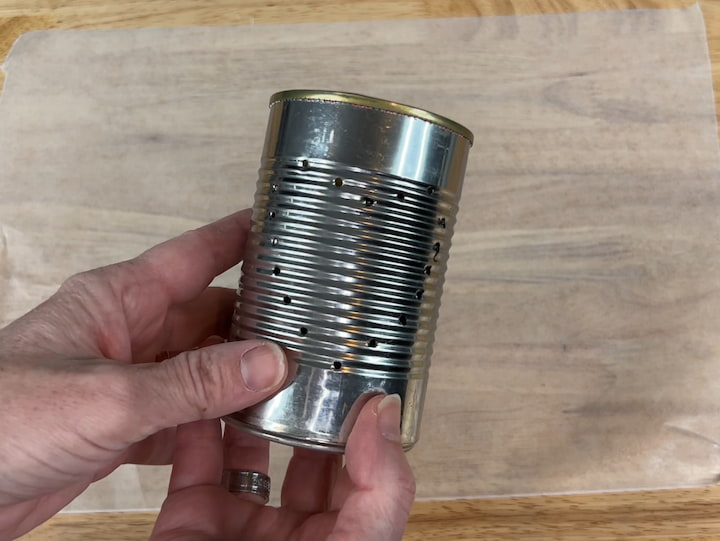
6. drill the holes in the can
I put on my safety goggles. I took my drill and placed it into the dents I had made with the punch. I then drilled into the can until I made my hole. I repeated this process until all the holes were made.
how do you make a hole in tin without a drill?
If you don’t want to use a drill, you could alternatively use the punch and hammer to puncture holes through the can, or a nail would work as well.
7. Punch a hole into each side
I want to hang my tin can lantern so I hammered my punch on either side of my can to create a hole.
You can stop here if you are happy with the tin can look, or you can continue on to paint your can.
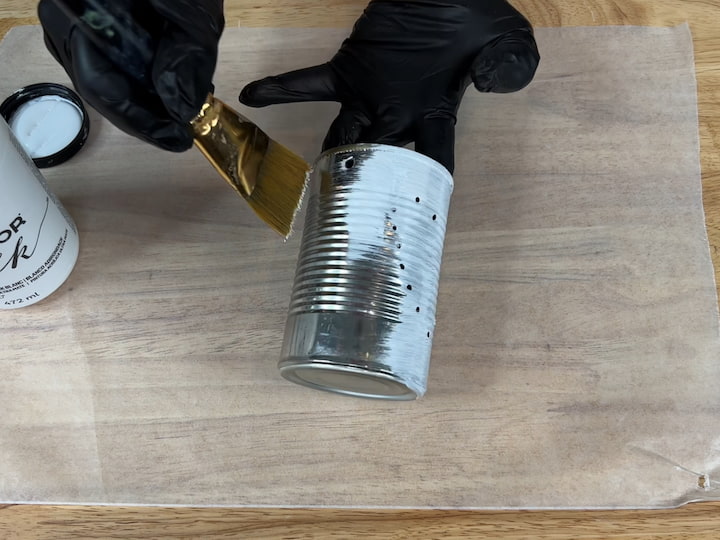
8. Paint your can
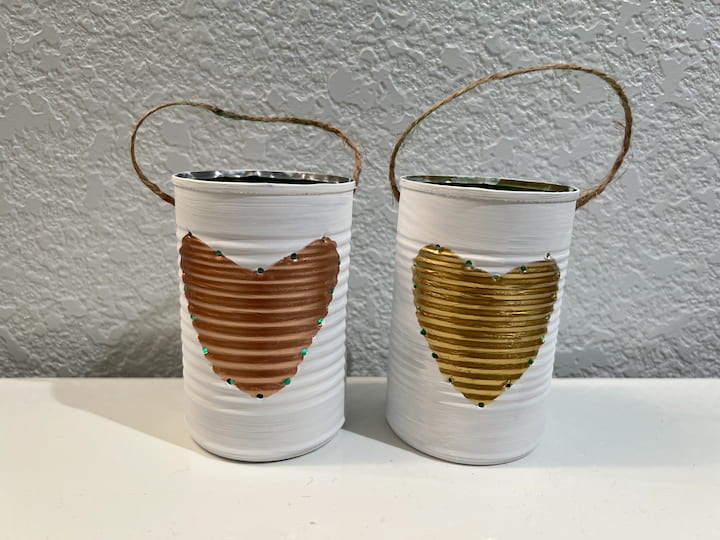
I painted my can with white Folk Art Home Decor Chalk Paint. It took 2 coats and I let it dry for an hour between each coat. I then let it dry completely before moving to the next step.
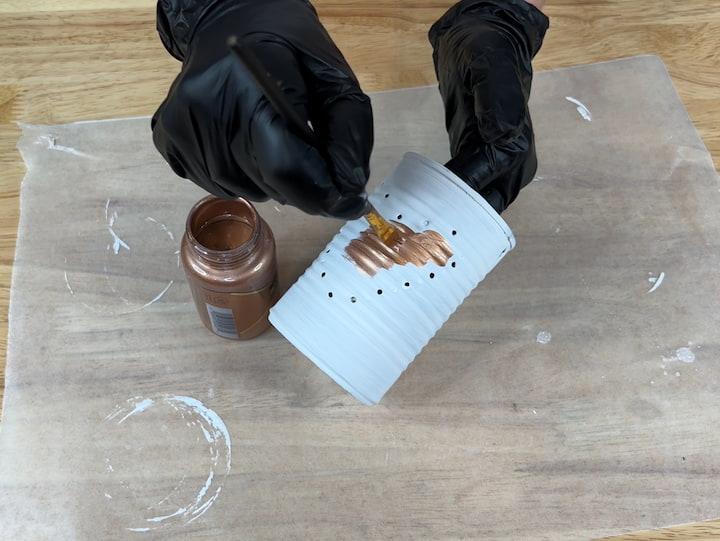
Once the white paint was dry, I painted my heart in with Folk Art Treasure Gold in the color Rose Gold. My other can I would paint the heart in with Gold Treasure Gold.
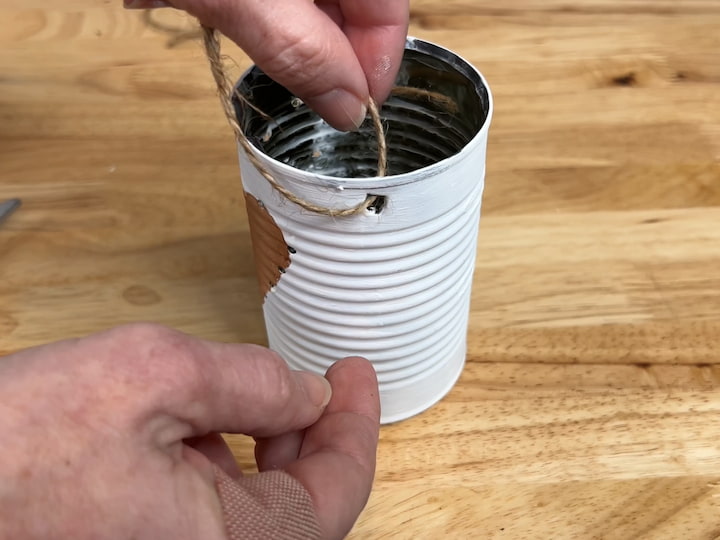
9. make the handle
I tied twine through the holes on both sides to create a handle to hang the tin lantern. You could use wire or a variety of other things for the handle.
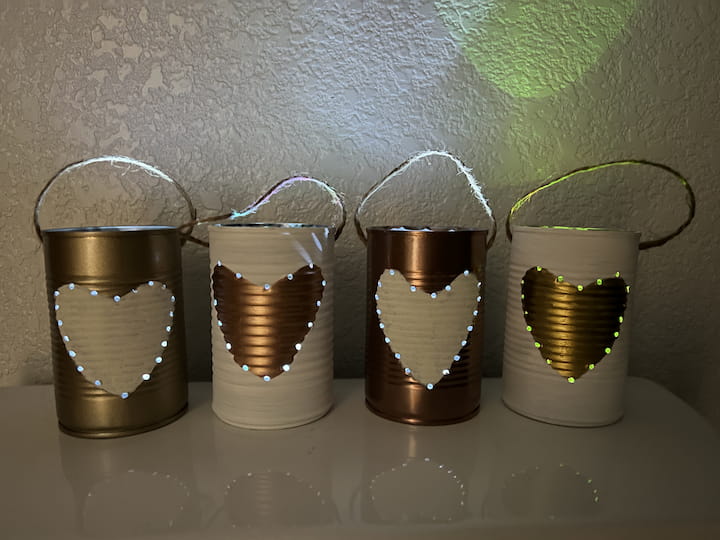
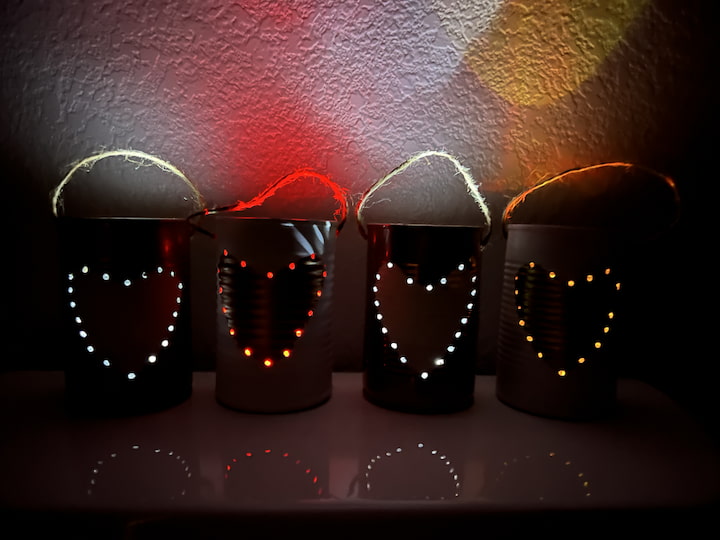
10. Add lighting
I placed battery-operated LED lights in my cans that color change. They’re also waterproof. You could use other options to light up your cans as well.
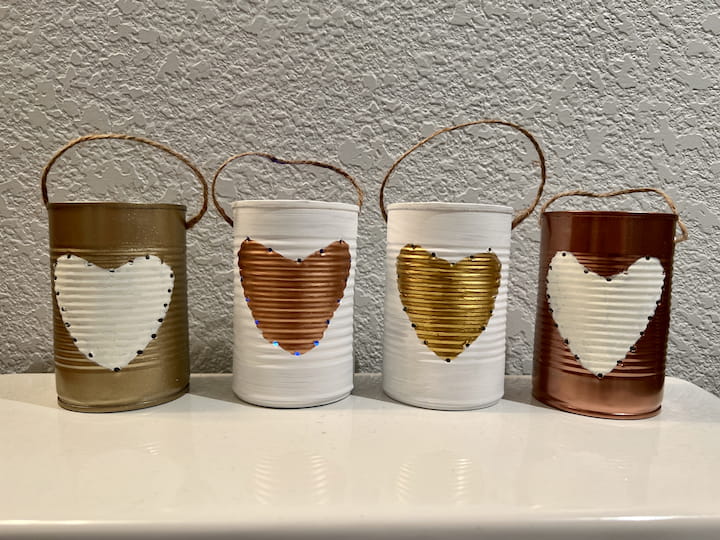
I made 2 other can lanterns. For those, I spray painted the cans with gold and copper paint, then painted the center with Apple Barrel White Paint.

I’ll be hanging mine on my front porch from the hooks that hang our garland during the holidays. There are several other ways you can use tin cans and they can be recycled too.
Punch Tin Lamps video
Shop any of these stores and I receive a small commission at no cost to you.
 NEIKO 02638A 5-Inch Automat...Shop on Amazon
 Mr. Pen- 8oz Small Magnetic...Shop on Amazon
") BLACK+DECKER 20V MAX Cordle...Shop on Amazon
BLACK+DECKER 20V MAX Cordle...Shop on Amazon YunTuo 2 pack Safety Goggle...Shop on Amazon
") TDLTEK Waterproof Submersib...Shop on Amazon
TDLTEK Waterproof Submersib...Shop on Amazon
You might also like these tutorials
-
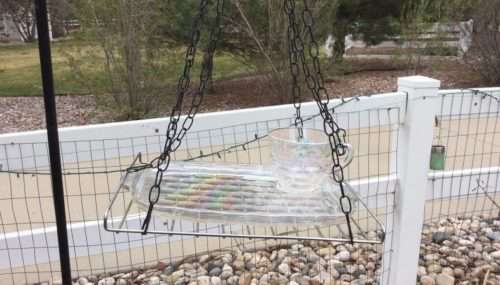
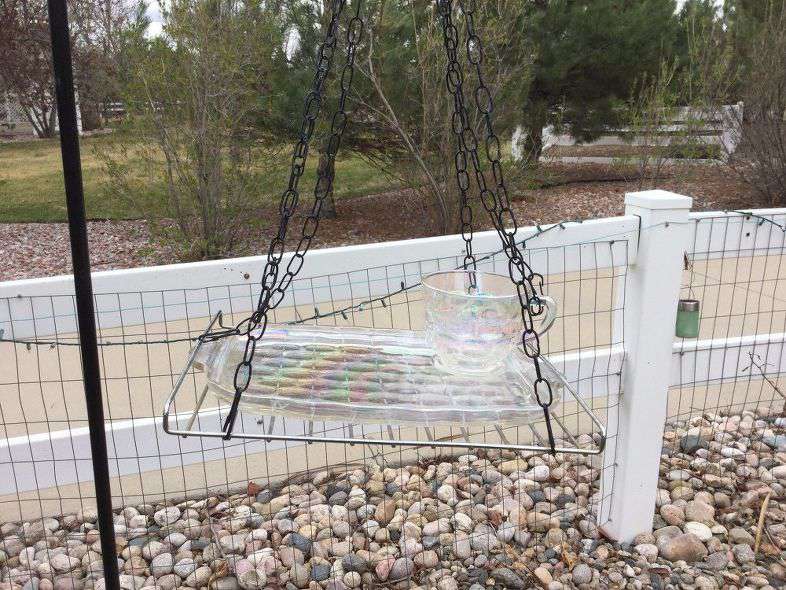
Vintage Dishes to Bird Feeder
-
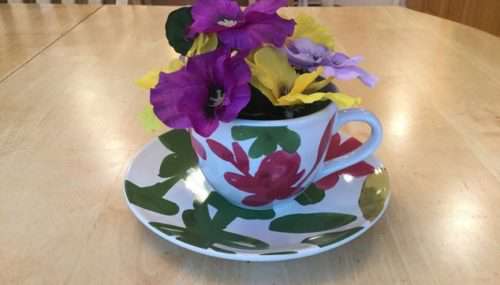
9 Things To Do With Tea Cups
-
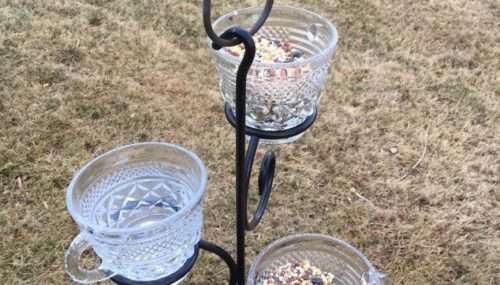
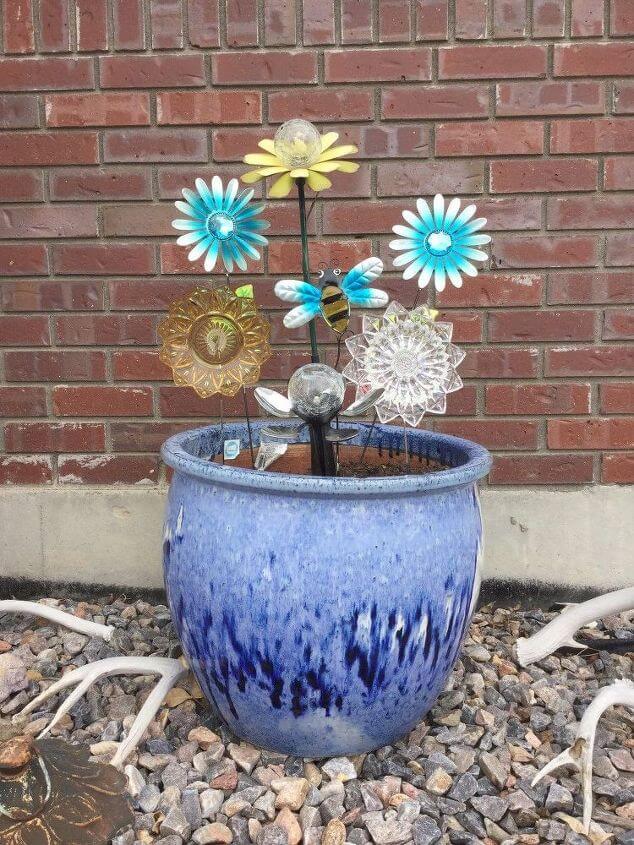
Candle Holder to Tea Cup Holder – 3 Options
Easy and Terrific DIY Punch Tin Lamps For Your Backyard
Equipment
- Drill
Ingredients
- Tin Cans
- Water
- Punch
- Hammer
- Safety Googles
- Twine
- LED light
Instructions
- WASH OUT THE CAN AND REMOVE THE LABEL
- FILL THE CAN WITH WATER AND ICE
- PLACE THE CAN IN THE FREEZER
- DRAW YOUR DESIGN ON THE CAN
- USE A HAMMER AND PUNCH TO INDENT THE CAN
- DRILL THE HOLES IN THE CAN
- PUNCH A HOLE INTO EACH SIDE
- PAINT YOUR CAN
- MAKE THE HANDLE
- ADD LIGHTING
Video
Check out some of my similar projects!


Wow that’s cool! These are just darling and I love your tutorial! Thanks for making it so easy! Happy Saturday my friend!
You are so very sweet, thank you Barbara
Those turned out so cute! I love the tutorial, Chas.
Thank you so much Pam 🙂
Detailed article, thanks Chas!
As children, we used to make similar things from empty tin cans, only by hand with a nail and a hammer. Now I want to make a garland of these jars and hang them in my backyard in the summer.
Love that, thank you so much for sharing 🙂