
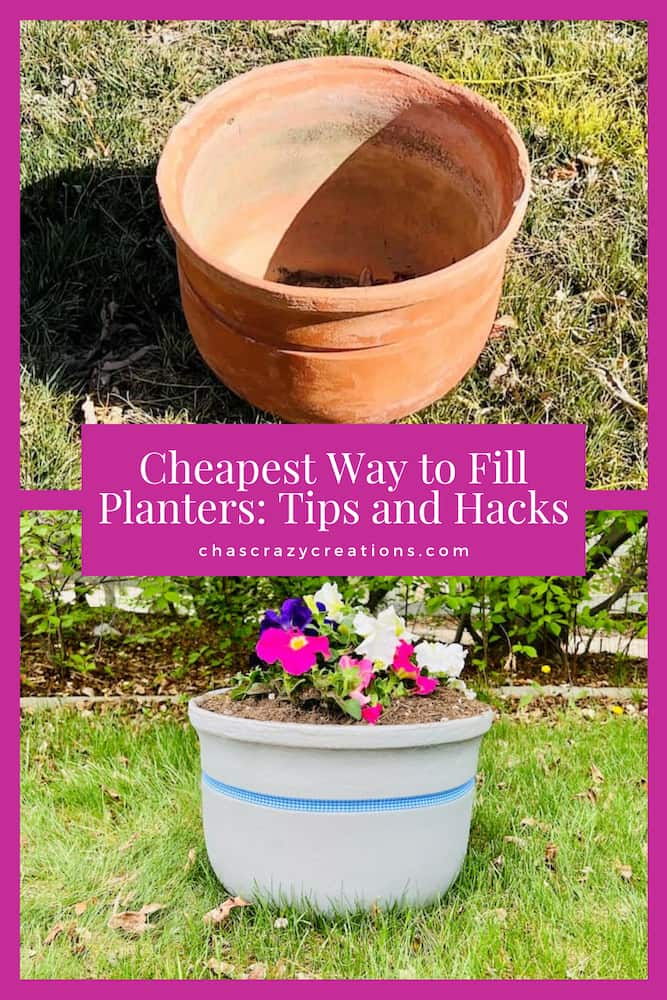
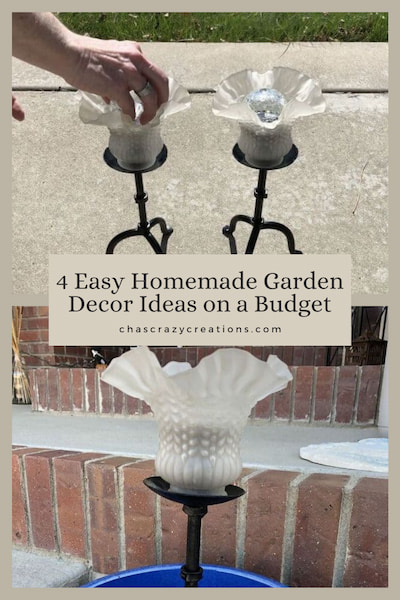
Cheapest Way to Fill Planters: Tips and Hacks
Let’s face it: huge flower pots look stunning on a porch, but filling them entirely with potting soil is expensive and makes them nearly impossible to move. If you have ever hurt your back trying to drag a heavy planter across the patio, or gasped at the price of soil at the garden center, this post is for you. I have been on a mission to garden smarter, not harder—just like when I shared my Vegetable Garden 101 guide or my favorite Thrift Store Finds for Unique Planters. Today, I’m sharing my favorite “crazy” hacks to fill both wide and tall planters for pennies using items you probably already have in your recycling bin.
To save money and weight, fill the bottom 1/3 to 1/2 of your pot with lightweight, bulky materials before adding soil.
For Wide Pots: Use cut-up pool noodles or empty milk jugs.
For Tall Pots: Use an inverted lampshade frame or a kitchen colander to create a “false bottom.”
Always: Weigh down the very bottom with a brick or rock to prevent tipping.
Project at a Glance:
- Goal: Use 50% less soil and create lightweight pots.
- Cost: $0–$5 (using household items or Dollar Tree finds).
- Time: 10–15 Minutes.Skill Level: Beginner.
Why I Love These Planter Hacks
Years ago, I realized that most annual flowers (like petunias or geraniums) only need about 6–10 inches of soil for their roots. Filling a 24-inch tall pot with dirt is literally burying money at the bottom of the pot!
By using these fillers, you get three huge benefits:
- Better Drainage: Water flows right through these fillers, preventing root rot.
- Lighter Weight: You can actually pick these pots up!
- Huge Savings: You buy half the bags of potting mix.
Materials & Fillers You Can Use
Depending on what you have at home, grab these supplies:
The “Crazy Creation” Tools:
- For Wide Pots: Pool Noodles (Dollar Tree), Pizza Pan (with holes), or a serrated knife.
- For Tall Pots: Old Lampshade (fabric removed), Colander/Strainer, or a “DropnPlanter.”
- Exterior Update (Optional): Rust-Oleum Cement Spray Paint and Ribbon.
Other Cheap Fillers (Check your Recycling Bin!):

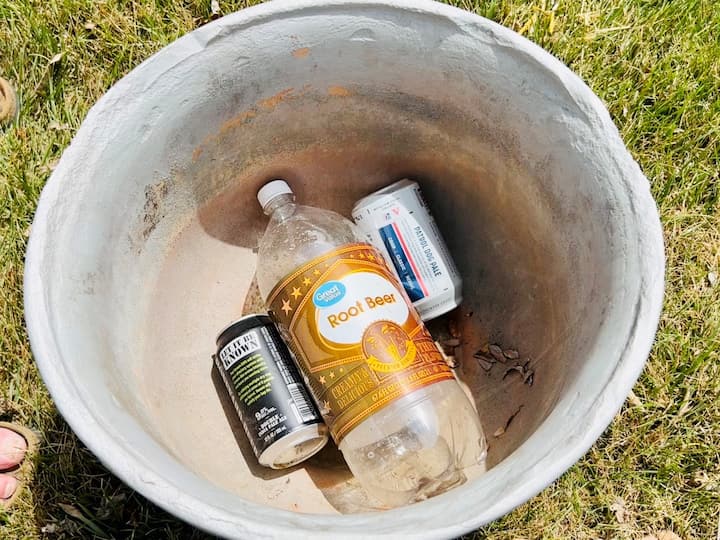
- Plastic Milk Jugs or Soda Bottles (Caps ON so they don’t crush)
- Styrofoam packing peanuts (put them in a mesh bag first!)
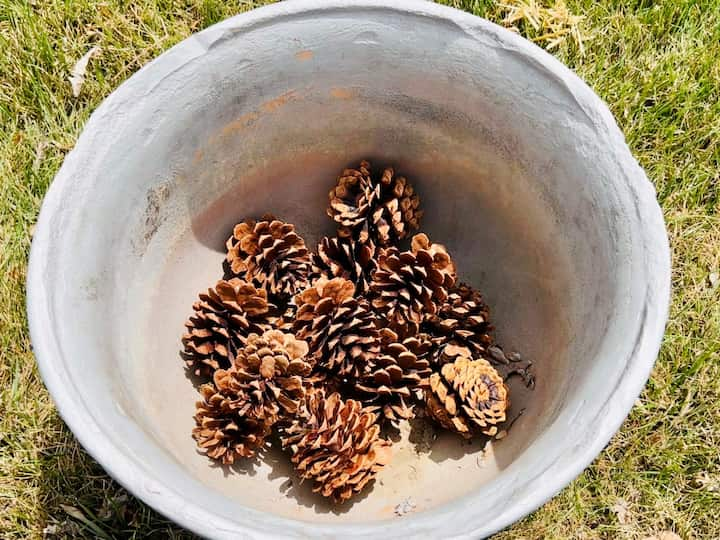
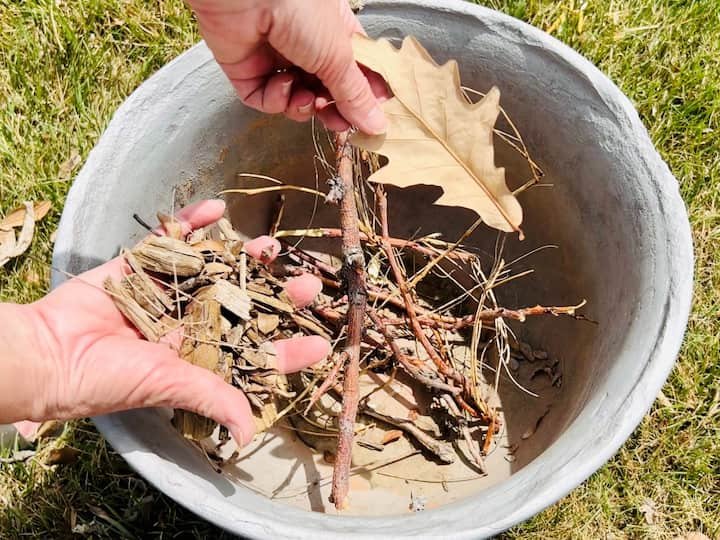
- Pinecones, Sticks, or Logs (Great for “Hugelkultur” nutrients)
- Mulch or leaves
- Aluminum cans (crushed slightly)
Method 1: The Pool Noodle Hack (For Wide Planters)
This is my go-to method for standard large flower pots.
Cheapest Way To Fill Planters Video
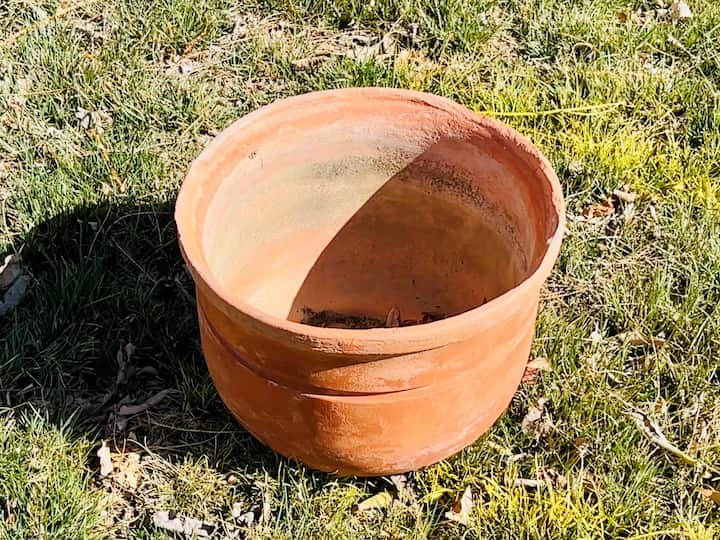
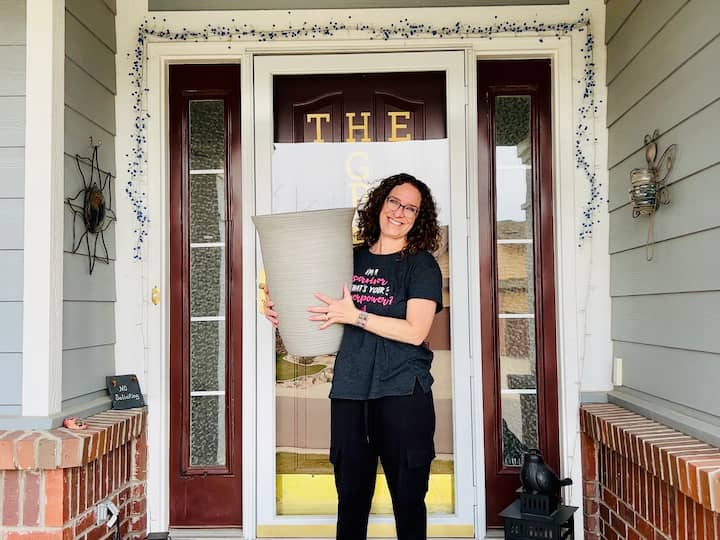
Step 1: Prep the Pot
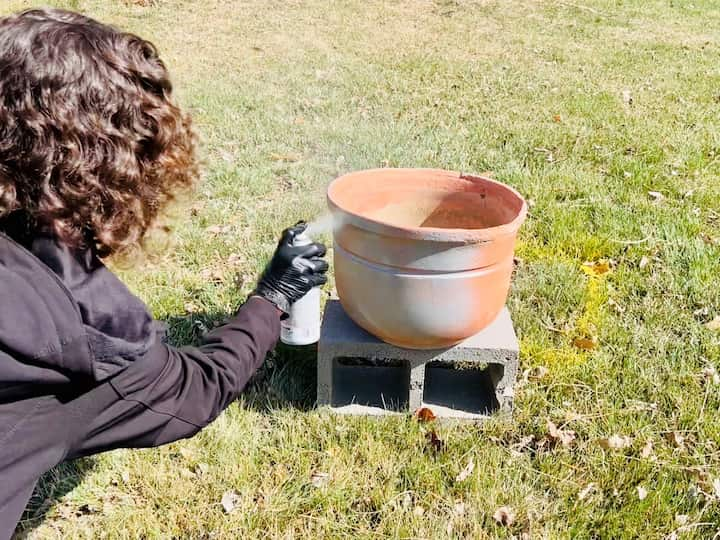
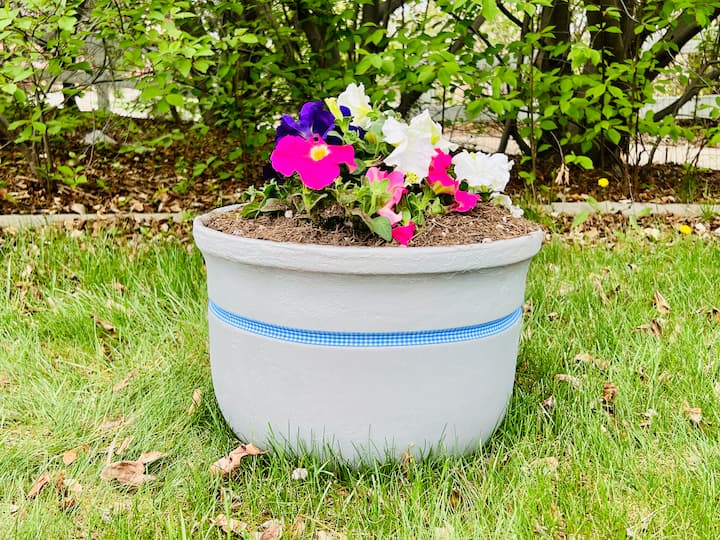
I started with a plain plastic planter. To give it a high-end look for cheap, I sprayed it with Rust-Oleum Cement Spray Paint to mimic the look of stone.
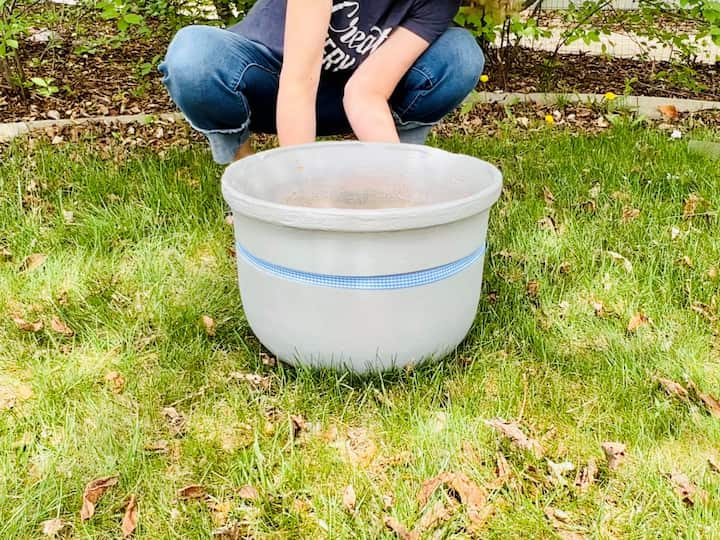
Once dry, I tied a simple ribbon around the rim for a pop of charm.
Step 2: Cut the Noodles
Take a standard pool noodle and use a serrated knife to chop it into chunks. The size depends on your pot depth, but 3-4 inch chunks usually work well.
Step 3: Fill ‘Er Up
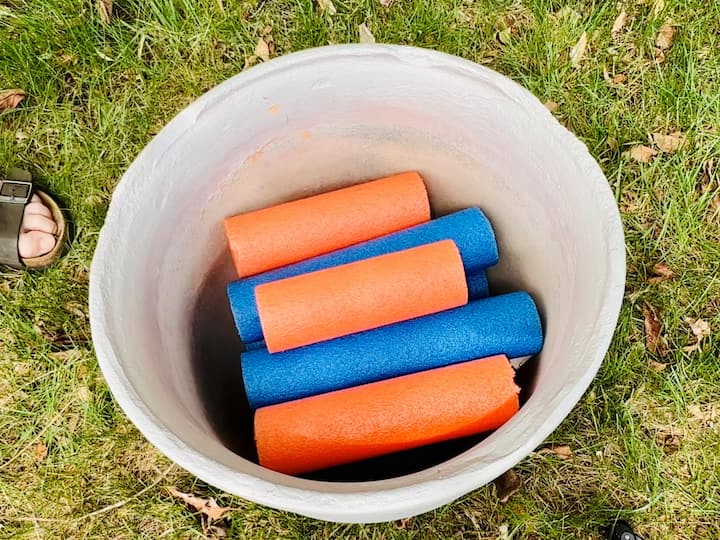
Toss the noodle chunks into the bottom of the pot. You can stack them vertically (like little pillars) or lay them horizontally. Fill the pot about halfway up.
Step 4: The Pizza Pan Trick
This is the secret sauce! Place a cheap Dollar Tree pizza pan (poke holes in it if it doesn’t have them) right on top of the noodles.
- Why? It acts as a solid floor to hold the dirt up, but the holes allow water to drain through to the noodles below.
Step 5: Plant

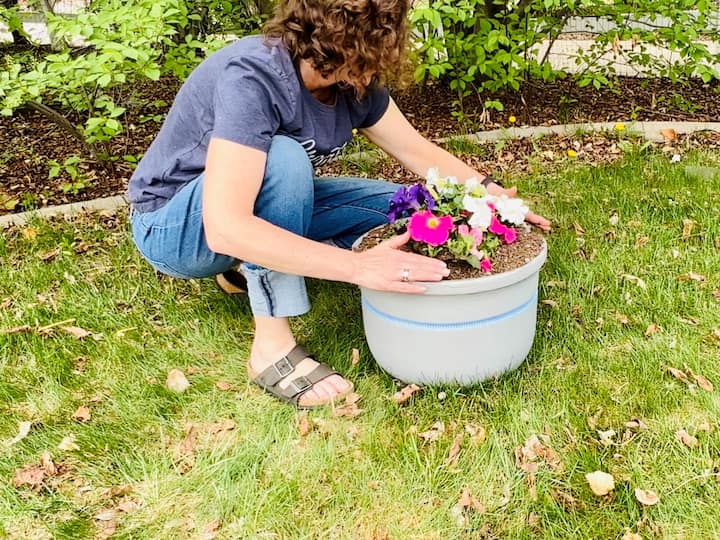
Add your dirt on top of the pan and plant your flowers. Easy!
Cheapest Way To Fill Planters Video
Method 2: Hacks for Tall, Skinny Planters
How To Fill Large Planters Video
Tall urns are beautiful, but they tip over easily and take massive amounts of soil. Here is how I solve that.
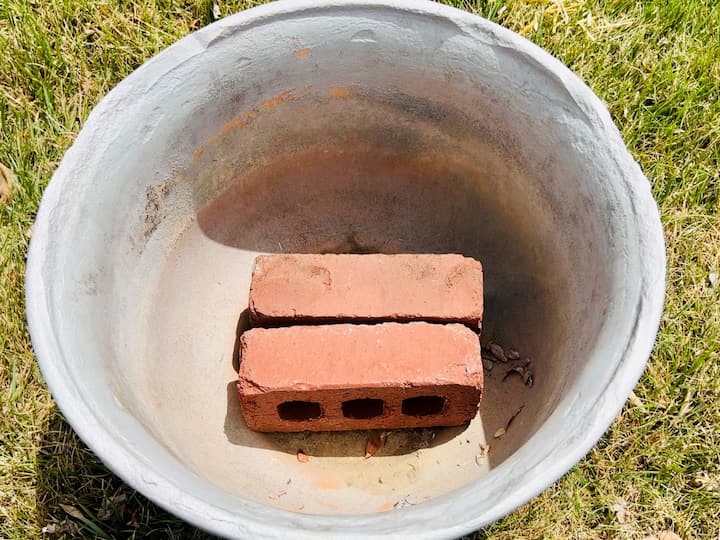
Crucial Step: The Anchor
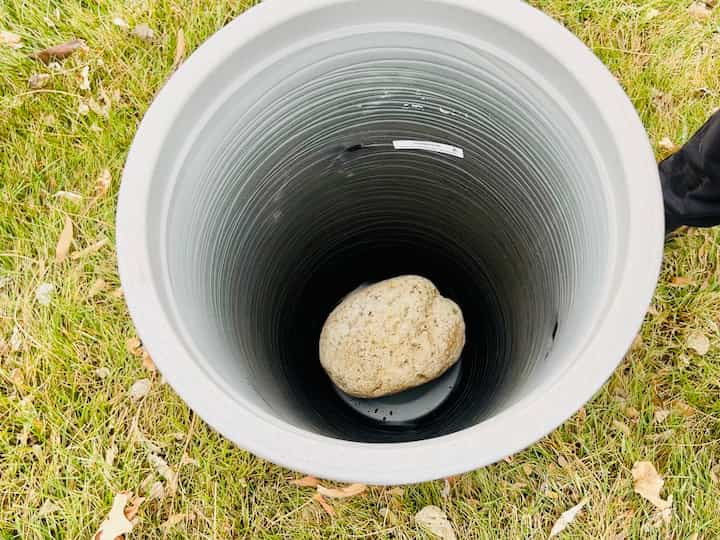
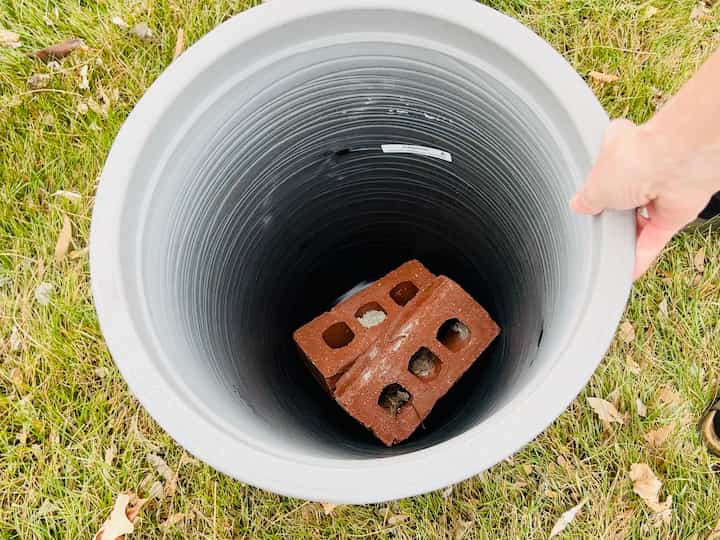
Before you add any light filler to a tall pot, you must add weight. Because we are making the top heavy with wet soil and the bottom light with air/plastic, wind can knock these over.
- The Fix: Place one large rock or 1-2 bricks at the very bottom of the empty pot.
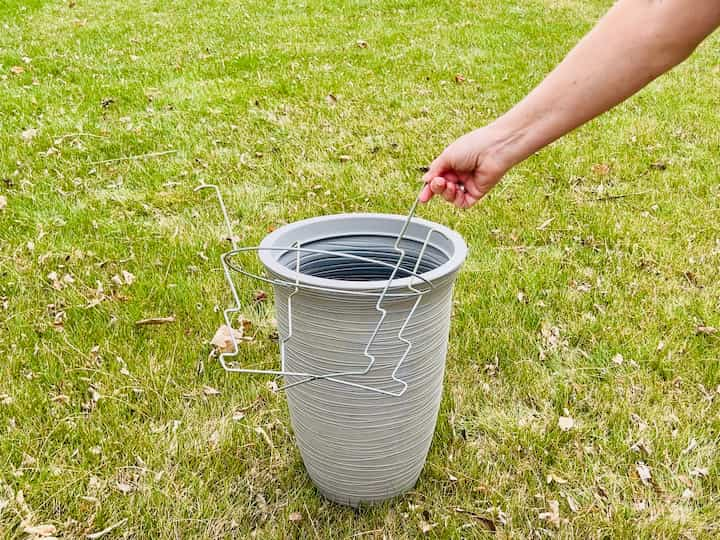
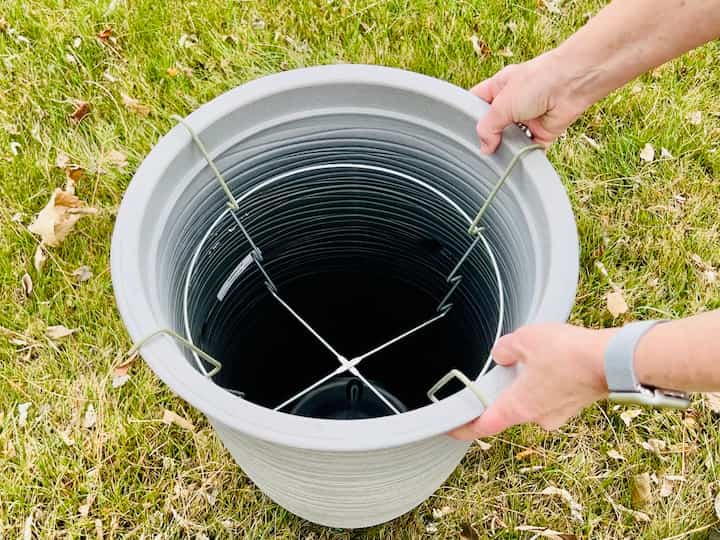
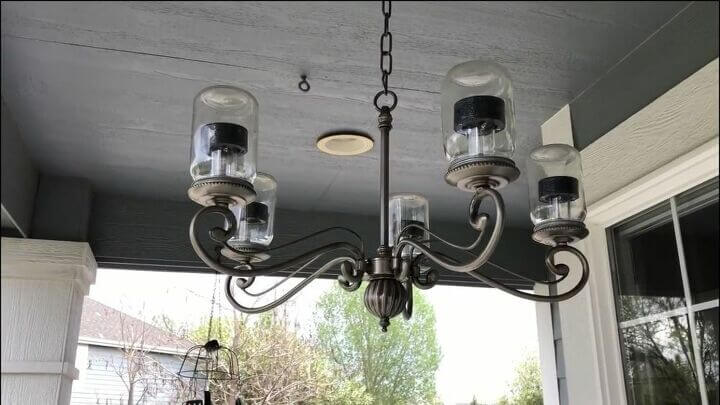
Option A: The Lampshade Frame
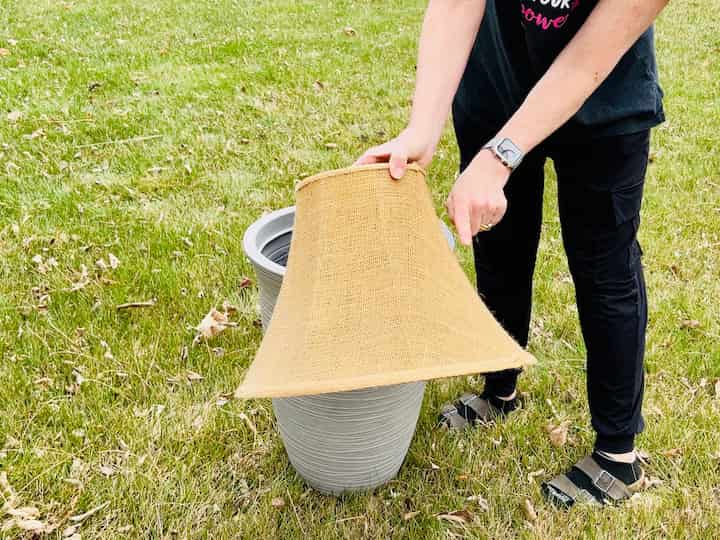
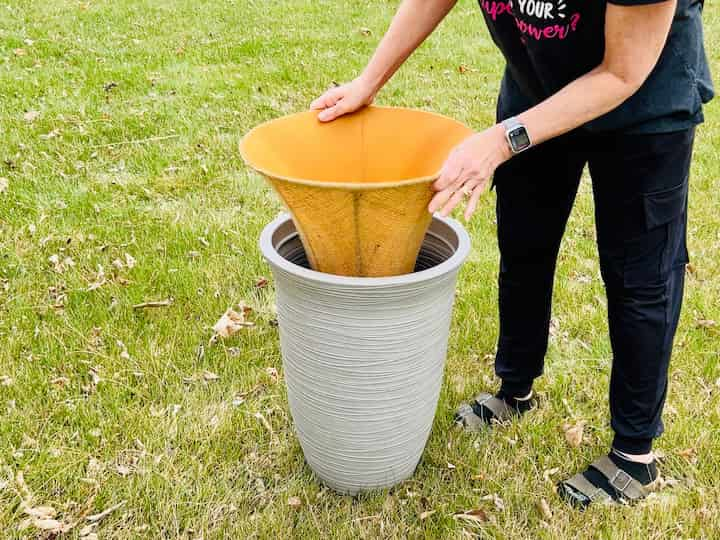
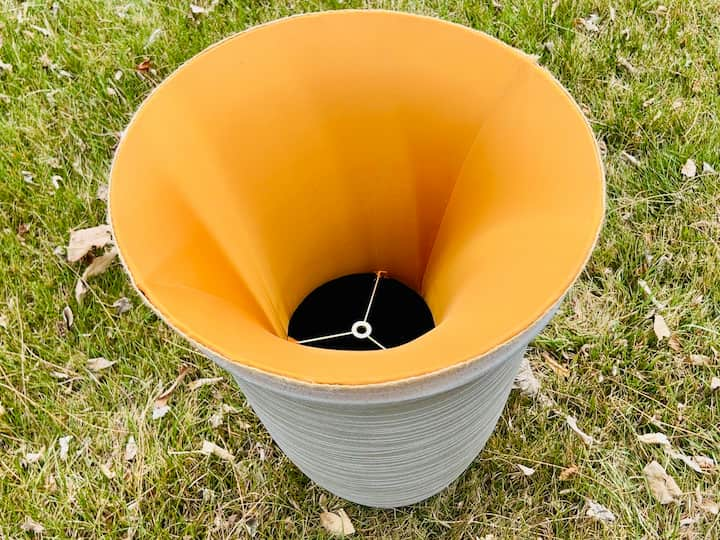
Go to the thrift store and find an old lampshade that fits inside your pot.
- Rip off the old fabric/paper.
- Flip the wire frame upside down and place it in the planter.
- The ring of the lampshade holds your flower pot perfectly, leaving the entire bottom empty!
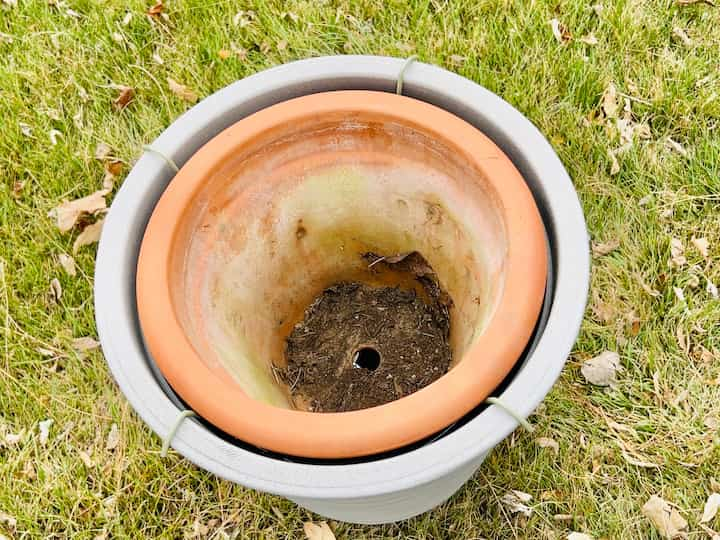
Option B: The Kitchen Strainer (My Favorite!)
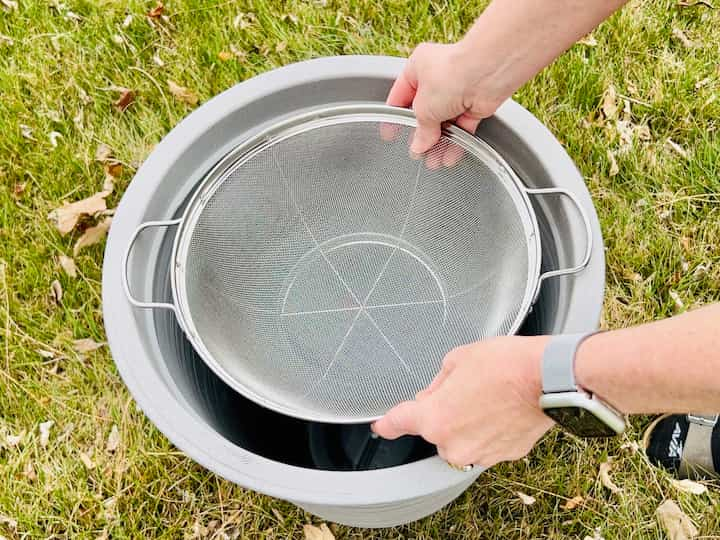
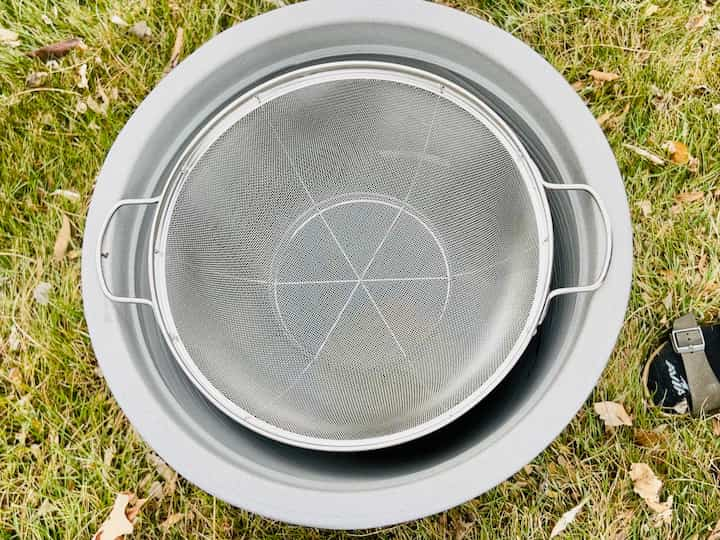

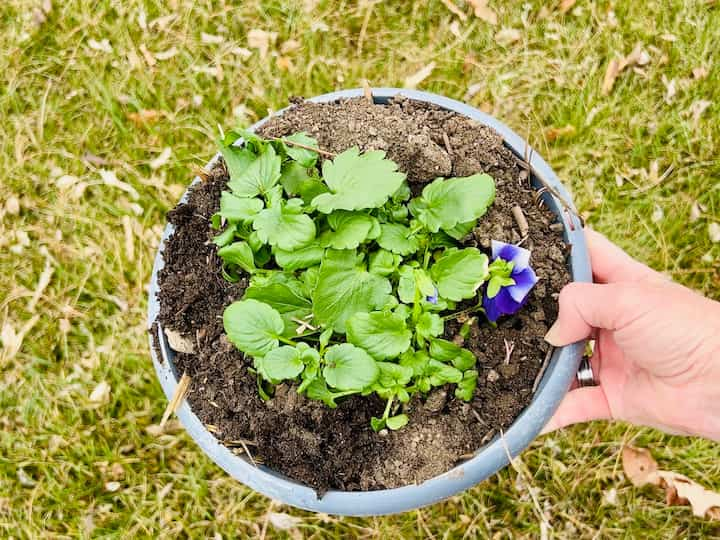
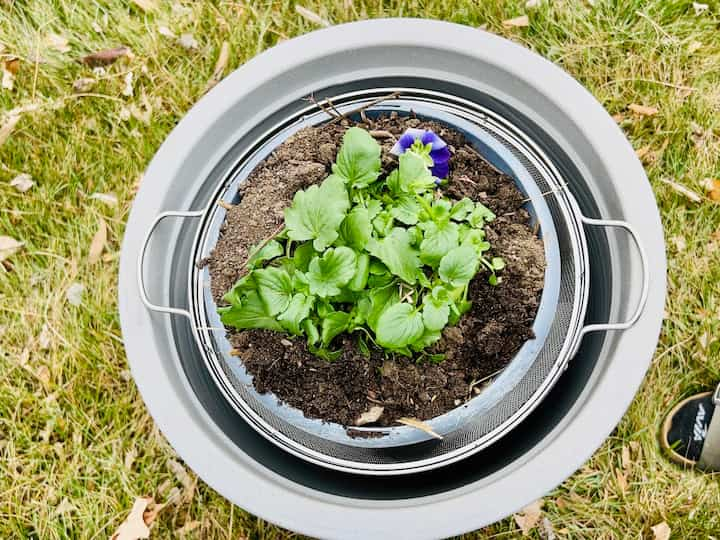
If you don’t have a lampshade, grab an old plastic or metal colander/strainer.
- Find one that is the same diameter as your pot’s opening.
- Set the strainer right on the rim (or just inside).
- Why I love this: It has built-in drainage holes! You can plant directly into the strainer or just set a potted plant inside it.
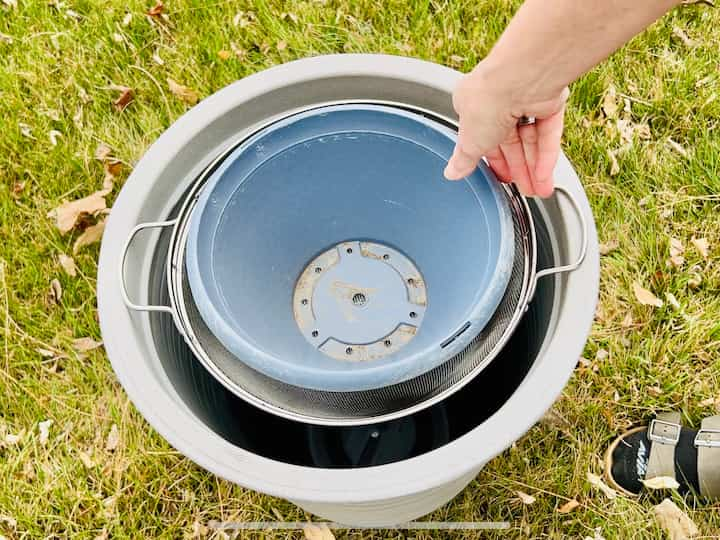
Option C: The “DropnPlanter”
If you prefer a store-bought solution, the DropnPlanter is an insert designed exactly for this purpose. It drops in, holds your plant, and leaves the bottom empty.
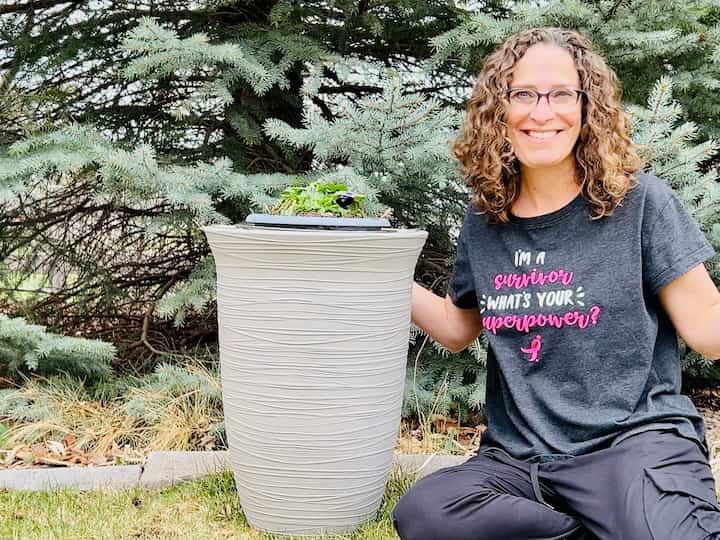
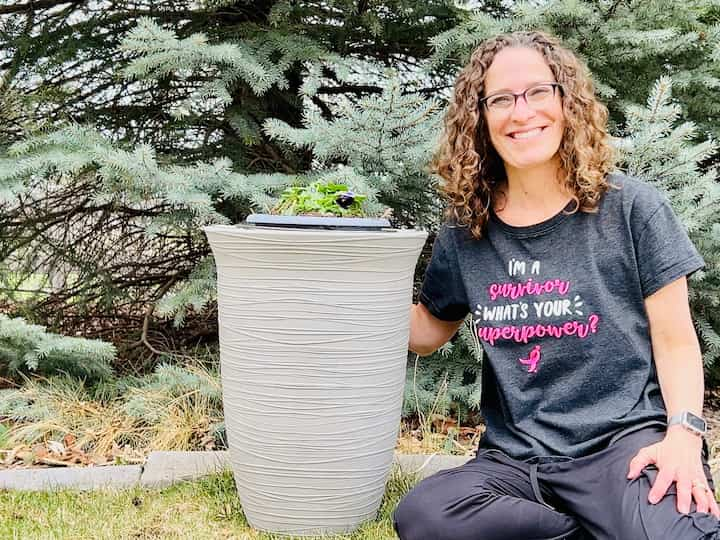
So no more super heavy flower pots. I can easily pick these up and carry them where I want them to go.
How To Fill Large Planters Video
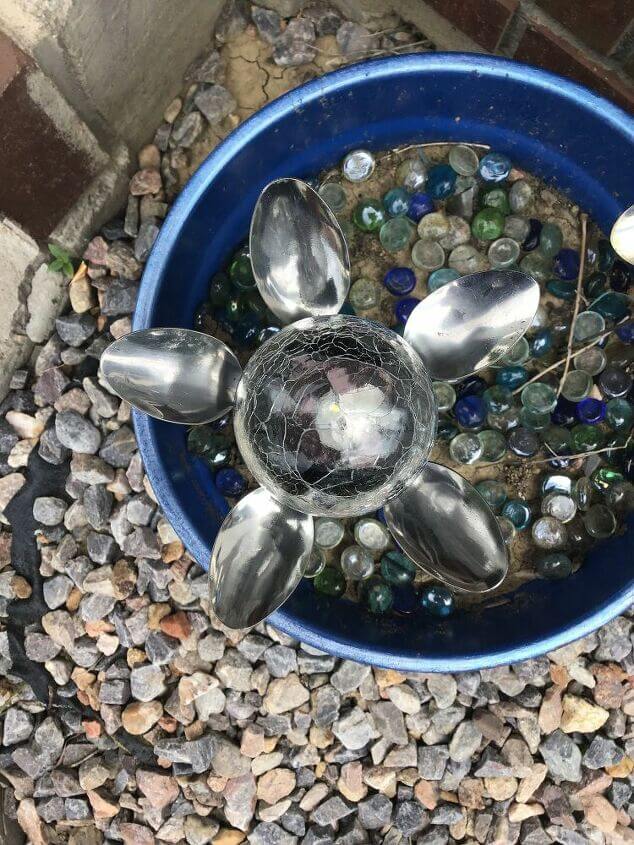
Frequently Asked Questions
You can, but I don’t recommend it. A solid bowl has no drainage. If it rains, your plant will drown in a “soup” of water. If you use a bowl, you must drill holes in it first.
No. Pool noodles are made of synthetic foam that takes a very long time to degrade. I have used the same noodles for multiple years!
If you are growing food in [Vegetable Gardens], I recommend using natural fillers like old logs, pinecones, or leaves (this is called Hugelkultur). Plastic fillers are fine for decorative flowers, but natural materials will feed your veggies as they break down.
The Cheapest Way to Fill Planters
Materials
- 1 Large Planter Pot
- 1 or more Choice of Filler Pool Noodles, Milk Jugs, or Pinecones
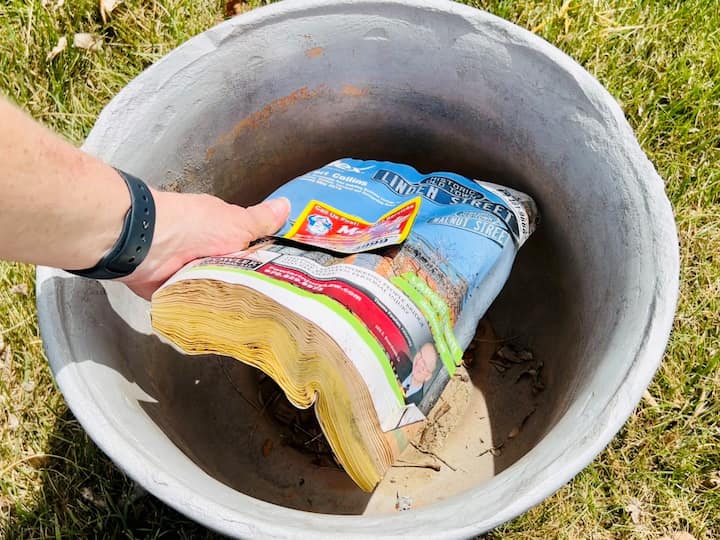
- 1 Separator Short Pots: Pizza Pan, Landscape Fabric, or Newspaper. For Tall Pots: Colander, or Lampshade frame
- 1 For Tall Pots Bricks (for weight)
- 1 bag Potting Soil
- 1 or more Plants
Instructions
- Anchor (Tall Pots Only): If using a tall urn, place a brick or heavy rock at the very bottom to prevent tipping.
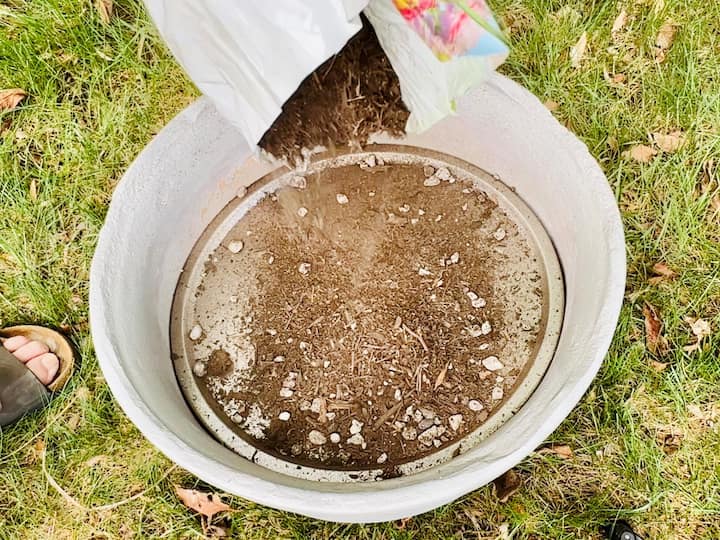
- Add Filler: Fill the bottom 1/2 of the pot with your chosen lightweight material (cut pool noodles, capped milk jugs, or pinecones).
- Create a Floor: Place your pizza pan, fabric, or newspaper on top of the filler. This stops the soil from washing down.
- Add Soil: Pour potting soil on top of the separator (you only need 6–10 inches).
- Plant: Add your flowers and water immediately. The water will drain through the filler and out the bottom.

I live in Southern California with pretty hot sun and having green thumb I do love gardening and with my low budget I’ll use your creative and not pricy budget ideas for sure.
Really appreciate your time and creativity
I can’t wait to try to plant in some of the big pots that I have while using your smart ideas for filling 🙏🌹
Also I have a very big pot it’s dark brown plastic but the color and plastic is coming off due to hot sun any suggestion for redo the color before I plant in it the paint is faking off and does not look good at all I saw someone where that I can wrap whole pot with nice rope but it will be pricy to buy the rope not the plastic rope I mean
Thank you for the kind words and I’m glad to hear this post helped you. As for your flaking pot, I would sand and probably either spray paint it, or you could hand paint it after sanding with a multi-surface paint. You could also sand and clean, then use outdoor Mod Podge and glue fabric, wrapping paper, or whatever you want to if if you’d like to go that route instead.
Great ideas to save time and money.
Thank you