
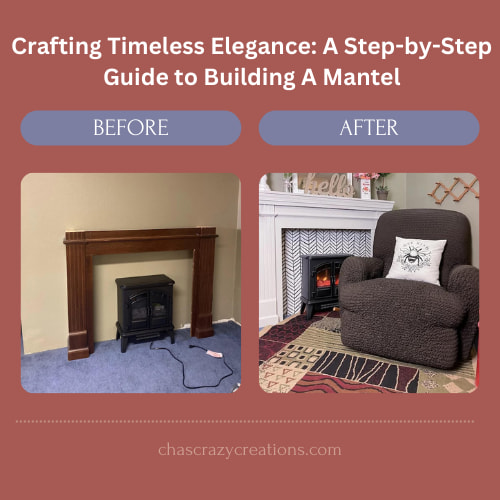
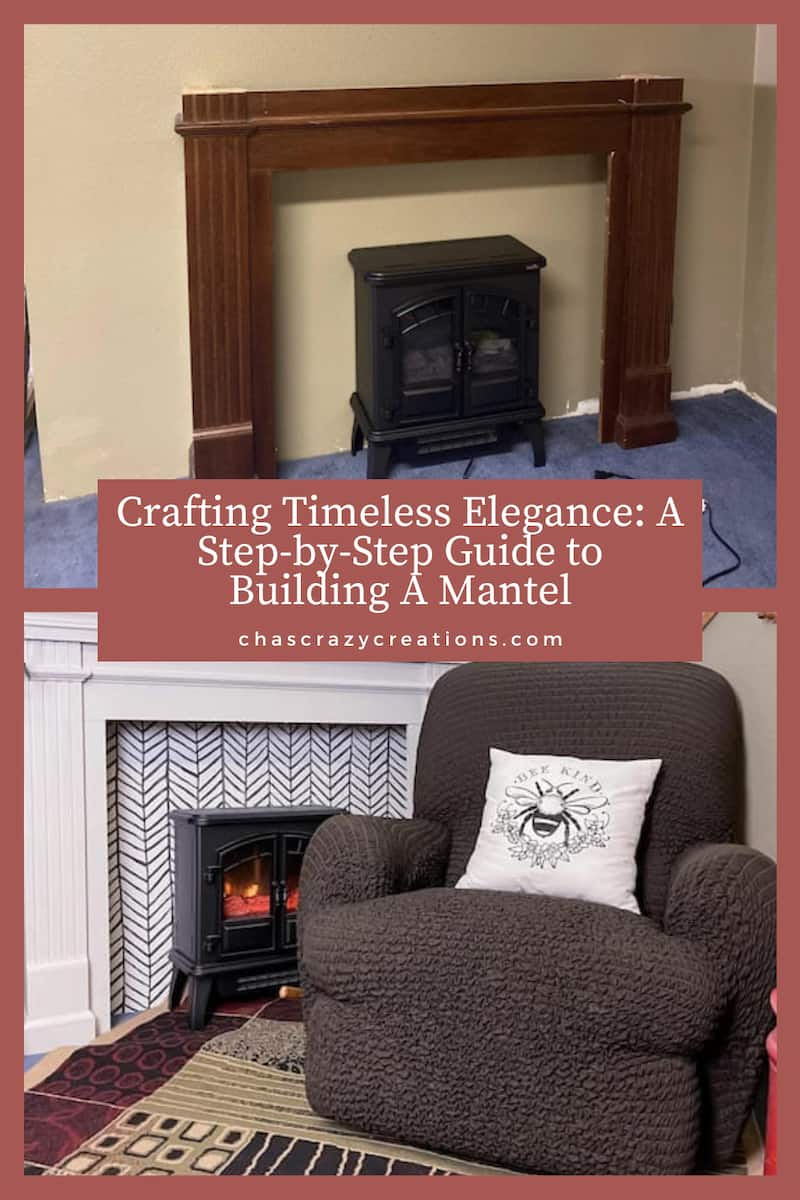
Crafting Timeless Elegance: A Step-by-Step Guide to Building A Mantel

Is building a mantel somewhere in your future? Discover the joy of creating a personalized fireplace focal point with our comprehensive guide on building a mantel. From design considerations to hands-on construction tips, embark on a journey to enhance your home’s aesthetic with a touch of DIY craftsmanship.
Today I’m featuring Rachel from Rae Elizabeth’s House and her DIY Mantel project! Rachel is an interior decorator and author about all things home and making one that you thrive in.
Join this step-by-step DIY journey and learn how to create a personalized fireplace mantel from scratch. From sourcing materials to adding stylish touches, follow along and elevate your home’s coziness with expert tips. Uncover the secrets to building a unique mantle that leaves a lasting impression.
Building A Mantel Materials List:
Prepare for your DIY adventure with a comprehensive materials list:
- Mantle base
- Extra board for customization
- Screw gun
- Screws
- Paint
- Level
- Measuring tape
- Wood glue
- Paintbrush
Building A Mantel Instructions

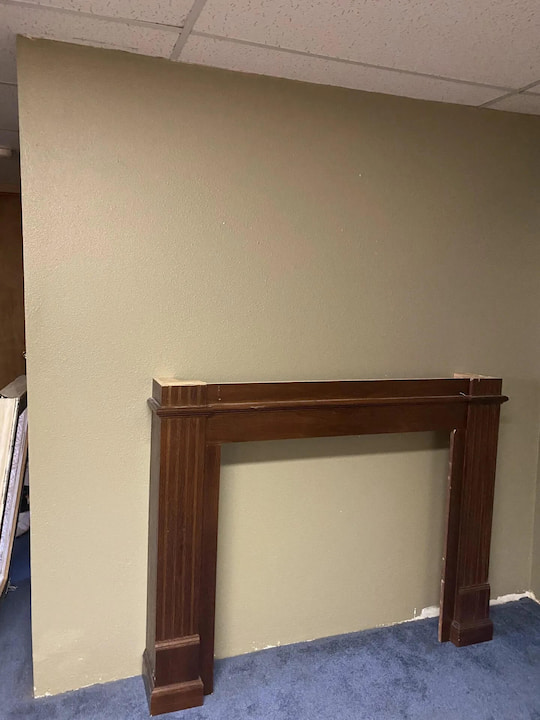
Here is a look at the room before.

Step 1: Getting the Mantel Base
Begin your DIY adventure by searching for an affordable mantle base. Explore platforms like Facebook Marketplace to find a simple brown wood mantle base, just like the one our project used for around $20.

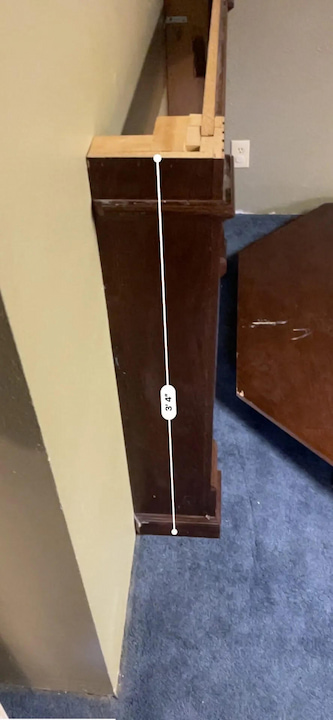
Step 2: Getting the DIY Mantel Measured
With materials in hand, focus on precision. Measure the space thoroughly and ensure accurate dimensions. In our case, the mantle measured 4’4″ x 7″ and stood 3’4″ tall. Once measured, anchor the base to the wall for stability.
Anchor the mantel to the wall so it’s nice an solid.
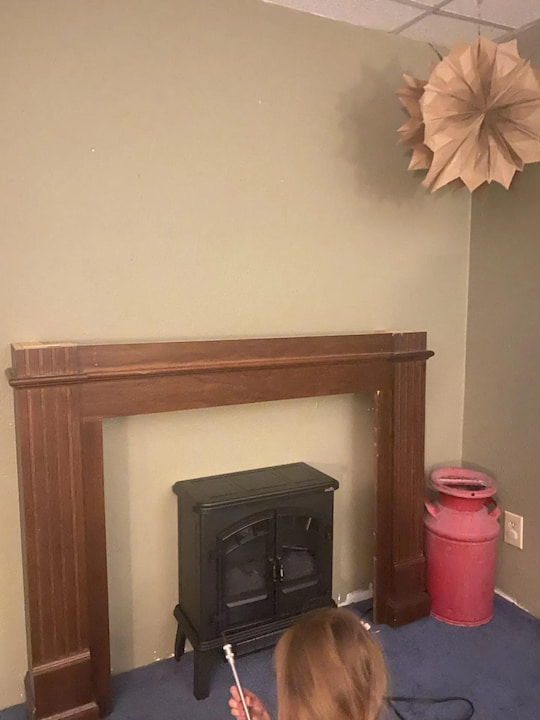
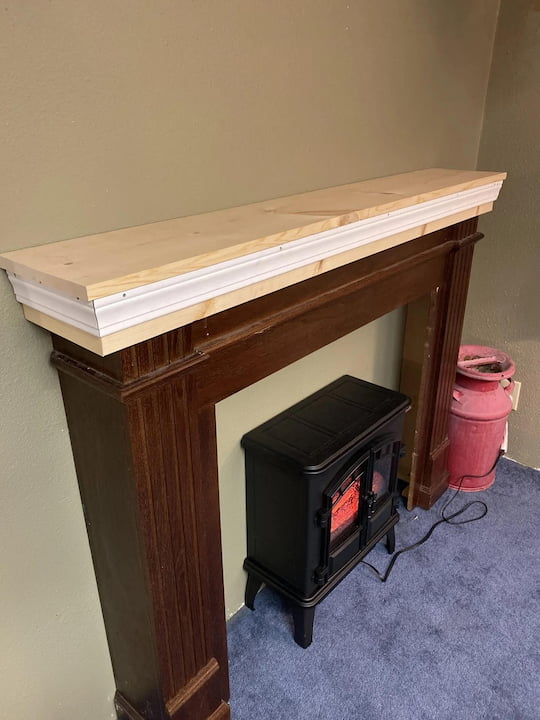
Step 3: Creating and Installing the Top Boards
Enhance the aesthetic appeal of your DIY mantle by crafting a top portion. Attach this finishing touch to the base, marking a significant milestone in the project’s progress.
Step 4: Painting and Wallpaper Time
Refine the crafted mantle by painting it in a cohesive color. Add a touch of flair with a carefully chosen wallpaper on the inside. Use the provided affiliate link to shop for the exact wallpaper used in the project.

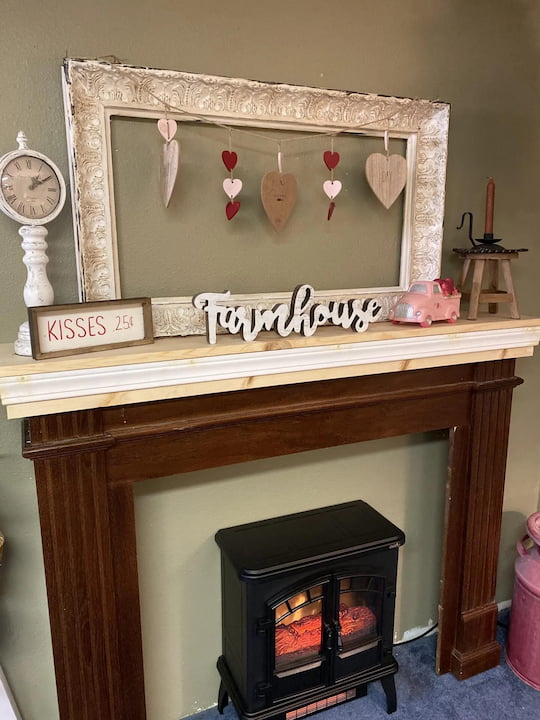
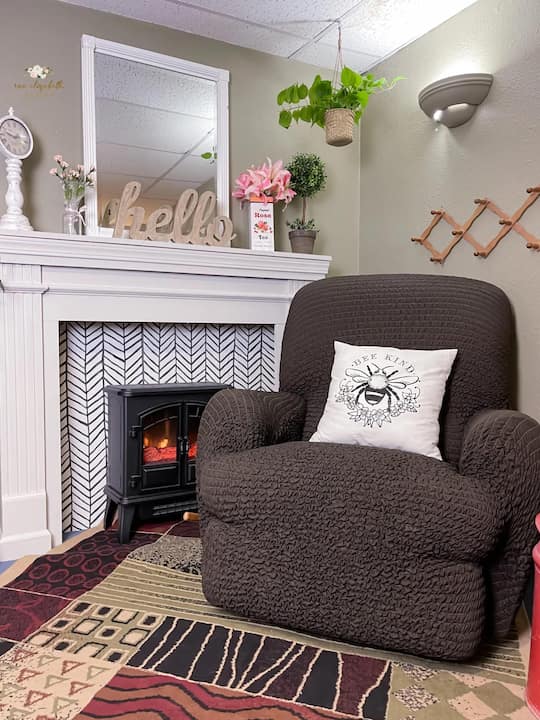
Step 5: The Finished Product
Allow the painted mantle to dry overnight. Once ready, add the chosen wallpaper to bring the project to life. Now, it’s time for the most exciting part – decorating your mantle to reflect your unique style.
Building a Mantel Q & A
Here you’ll find questions and answers to commonly asked questions for a DIY fireplace mantel.
The proper height for a mantel is generally around 54 inches from the floor to the bottom of the mantel shelf. This can vary based on individual preferences and the specific dimensions of the fireplace and room.
The best depth for a mantel is typically between 6 to 8 inches. This provides enough space for decor and allows the mantel to stand out without overwhelming the fireplace. However, the specific depth can vary based on the design and proportions of the fireplace and the room.
Typically, a fireplace mantel should stick out around 1.5 inches from the wall, but this can vary depending on personal preference and the design of the fireplace. It’s important to consider the proportions of the room and the fireplace when determining the ideal depth for the mantel.
When building a fireplace mantel, the overhang should typically be around 1-3 inches on each side of the fireplace. This allows for a balanced and visually appealing look while also providing enough space for decorations.
When placing a TV above a mantel, the bottom of the TV should be about 4-12 inches above the mantel. This allows for comfortable viewing without straining the neck. Remember to consider the height of your fireplace and the seating arrangement in the room for the best viewing experience.
Most mantels are made of wood, as it provides a classic and elegant look. However, there are also mantels made of stone, marble, or metal, each offering unique aesthetic and design options.
The best wood for mantels is often hardwoods such as oak, cherry, maple, or walnut. These woods are durable and have a beautiful grain, making them ideal for creating timeless elegance in your home.
Building a DIY wood mantel can be a rewarding project, and having the right tools and materials will make the process more efficient. Here’s an expanded list that includes some of the relevant words you provided:
Miter Saw: Used for making precise angled cuts on the wood to create corners and edges of the mantel.
Circular Saw: Useful for making straight cuts on large pieces of lumber or plywood.
Jigsaw: Ideal for intricate or curved cuts, especially if you plan on adding decorative elements to your mantel.
Table Saw: Helpful for ripping and cross-cutting larger pieces of lumber with precision.
Drill/Driver: Necessary for making holes for screws and attaching various components together.
Screwdriver or Screw Gun: Essential for driving screws into the wood for assembly.
Wood Glue: A strong adhesive to reinforce joints and secure components together.
Clamps: Used to hold pieces together while the glue dries, ensuring a strong bond.
Level: Ensures that your mantel is installed evenly and straight.
Measuring Tape: Essential for accurate measurements during the planning and building stages.
Pencil and Carpenter’s Square: Used for marking and ensuring accurate cuts and angles.
Wood Screws: Depending on the thickness of your wood and the design of your mantel, you’ll need an assortment of wood screws for assembly.
Wood Filler and Grit Sandpaper: Used to fill any gaps, holes, or imperfections in the wood, and to sand the surface for a smooth finish.
Paint or Stain and Brushes/Rags: If you plan on finishing your mantel, you’ll need paint or stain, as well as brushes or rags for application.
Safety Gear: Don’t forget safety glasses, hearing protection, and dust masks, especially when cutting or sanding wood.
Nail Gun/Brad Nailer: For efficiently attaching moldings and securing wood pieces.
Caulk: Used for sealing gaps and seams to provide a finished look.
Stud Finder: Essential for locating studs in the wall for secure attachment.
Sherwin Williams Paint: If you opt for Sherwin Williams paint, ensure it matches your desired finish.
Electric Fireplace: If incorporating an electric fireplace into your design, follow the manufacturer’s instructions for installation.
Kreg Jig: Helpful for creating precise pocket holes for strong and concealed joints.
Hammer: Useful for traditional nailing if not using a nail gun.
Wood Veneer: For adding a decorative layer to your mantel, if desired.
Poplar: A type of wood commonly used in woodworking projects.
Degree Angle: Considered when making specific cuts, especially for corners.
Top Board: The top surface of your mantel, which may require special attention to detail.
Baseboard: Consideration for the design and placement if your mantel extends to the floor.
Drywall: Consider the type of wall material when attaching the mantel.
Ensure you adapt the tools and materials to your specific project requirements and design preferences.
Reflect on the joy derived from the completed DIY mantle project. While the project author had to leave it behind during a move, you can cherish your creation in your home. With confidence and creativity, embark on your mantle-building journey to add extra coziness and fun to your living space.
You might also enjoy reading this article about Choosing the Right Type of Mantel for Your Fireplace


Related Posts:


Thank you so much for featuring my DIY, Chas! Im honored to be on your blog and be a part of this awesome community you’ve created. 🙂
You are most welcome Rachel, and thank you for sharing your wonderful DIY with us!