IKEA Cabinet Door DIY Serving Tray
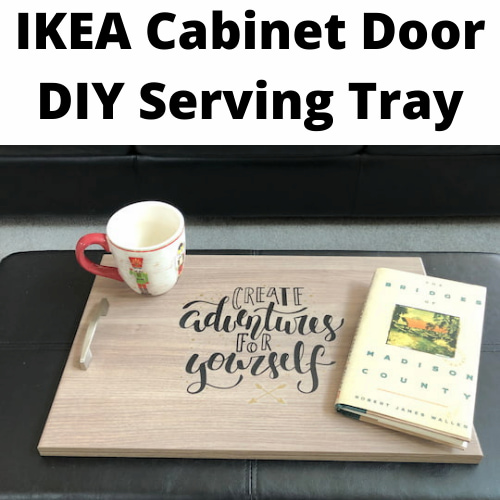
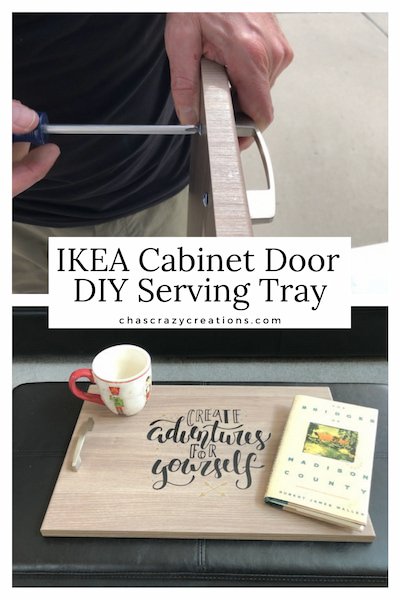
Do you want an easy DIY serving tray? I found some cabinet doors on clearance at IKEA and turned them into a serving tray for my home.
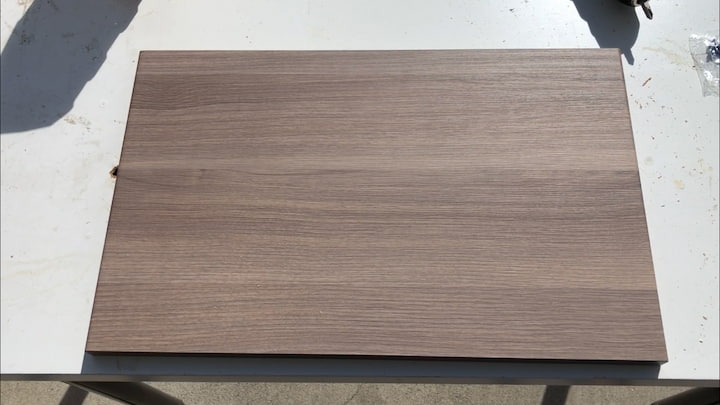
Here’s the cabinet door I got from the clearance section at IKEA for just $2!
What materials are needed for a DIY Serving tray?
- cabinet door or wood
- drill
- handles
- ruler
- pencil
DIY Serving Tray Video
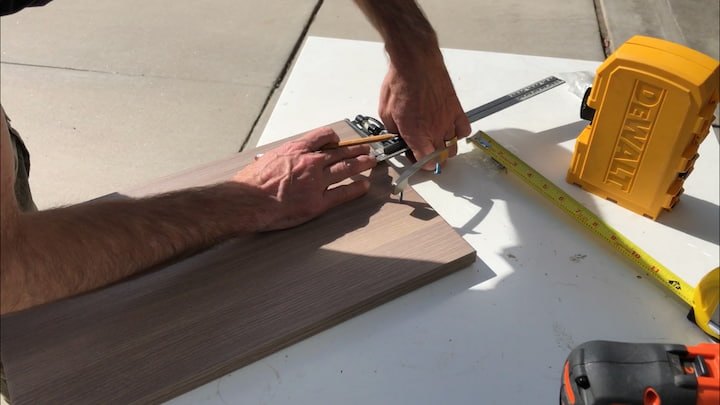
Here are the instructions for the diy serving tray
We started by measuring and marking where we would want to place the handles on either side.
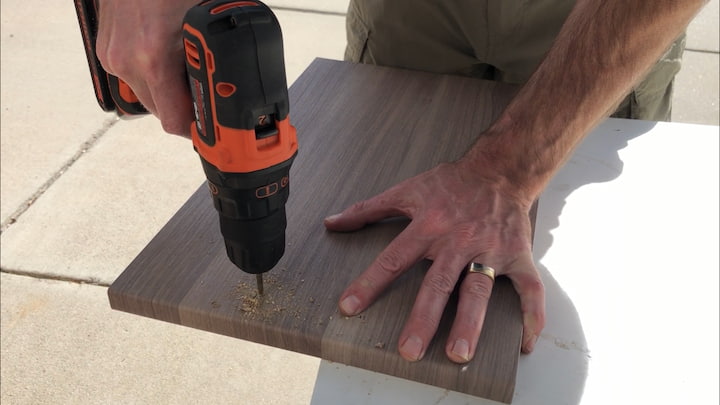
Next, we drilled the holes where the marks on the cabinet doors were.
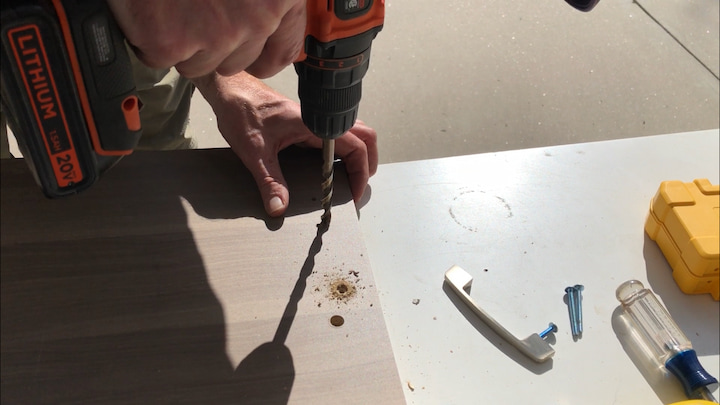
On the bottom, we used a wider bit and drilled in so that the screws would sit into the wood and not on top so it wouldn’t scratch surfaces.
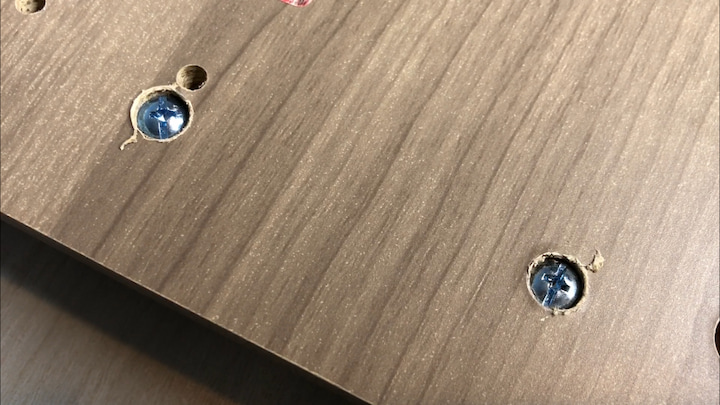
We screwed the handles into place.
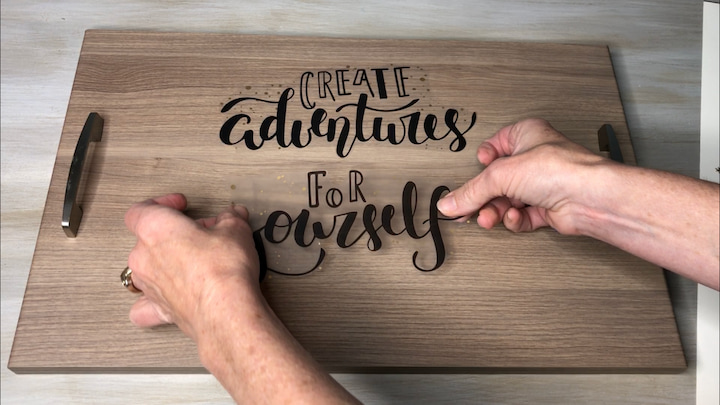
Now I could have stopped and left the serving tray as is, but instead, I decided to apply a decal from Dollar Tree. These stickers are removable, so I can take them off with ease, and replace them for different occasions.
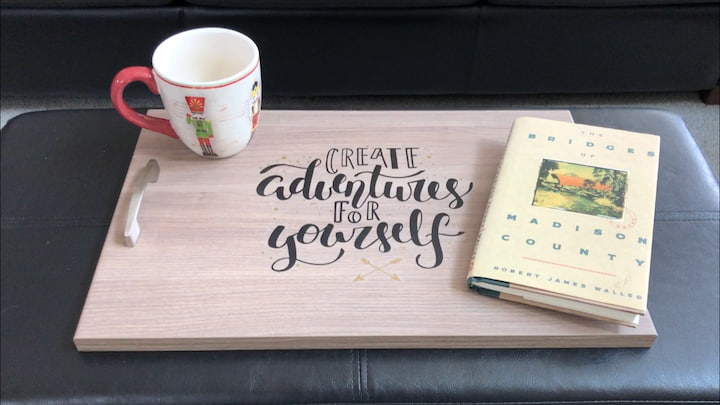
I’m so excited about how this serving tray turned out! It will be put to great use in our home. Wouldn’t this make a great gift idea too?
Find out “What Exactly Does It Mean To Repurpose Or Upcycle“, save money, and create the most amazing things.
You can build one from scratch, but you can make a serving tray easily out of cabinet doors, picture frames, or upcycle an old existing tray you find at a thrift store.
I have created a few out of cabinet doors. Simply add some handles and optional paint.
You can find my full tutorial here – Create A 3 Tiered Stand For Your Home
IKEA Cabinet Door DIY Serving Tray Video
Shop any of these stores and I receive a small commission at no cost to you.


Now check out what my friends made for Home Decor DIY
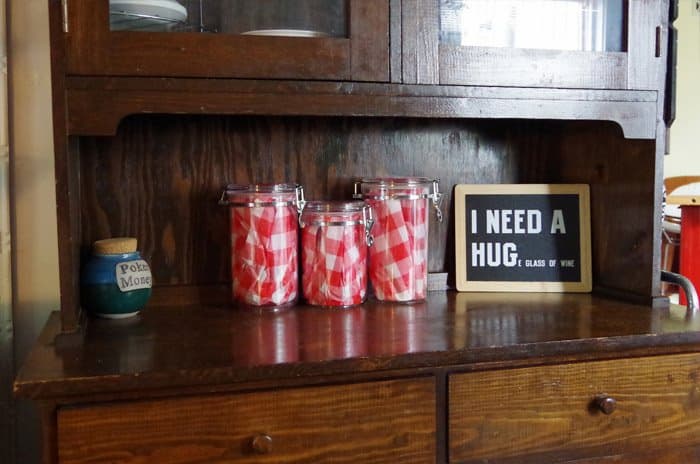
Quick Plastic Canister Update – Grandma’s House DIY
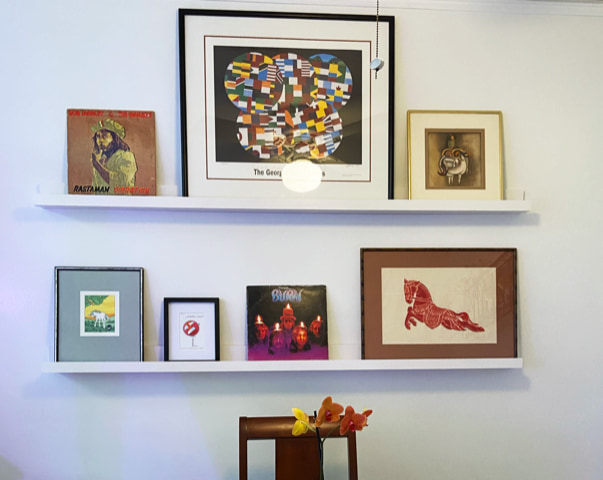
DIY Apartment Dining Space – Thrifting Wonderland
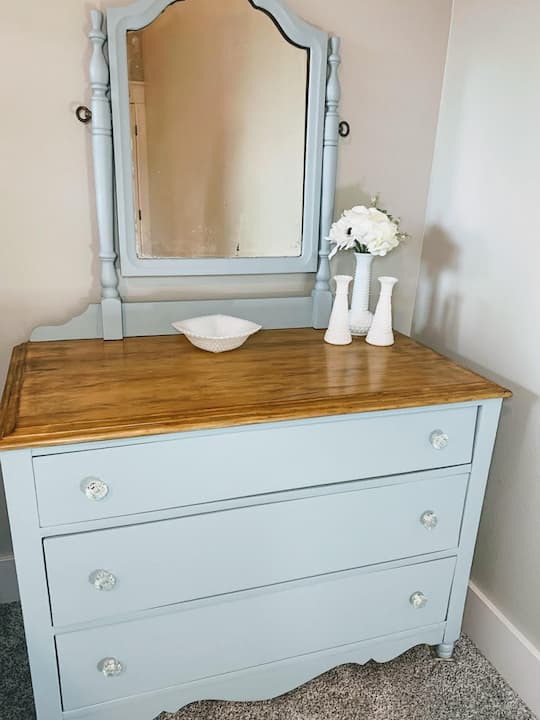
Antique Dresser Makeover – The House on Silverado

Easy 5-minute Galvanized Farmhouse Wreath – Health Home and Heart
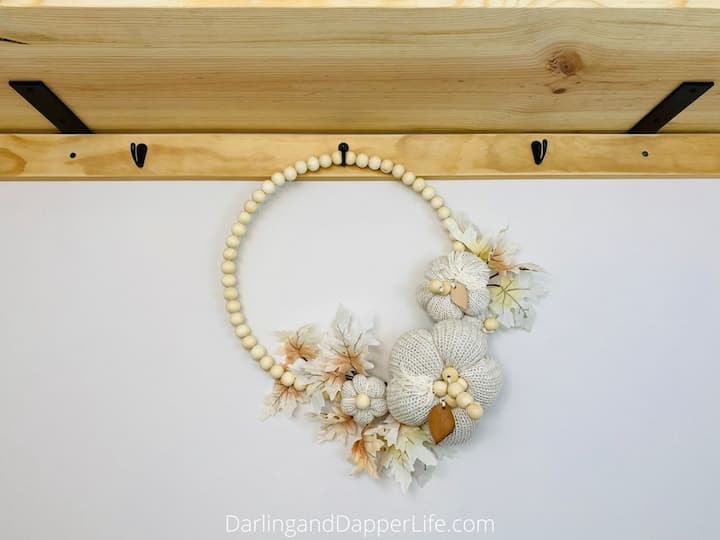
Easy Wooden Bead Wreath with Sweater Pumpkins – Darling and Dapper Life
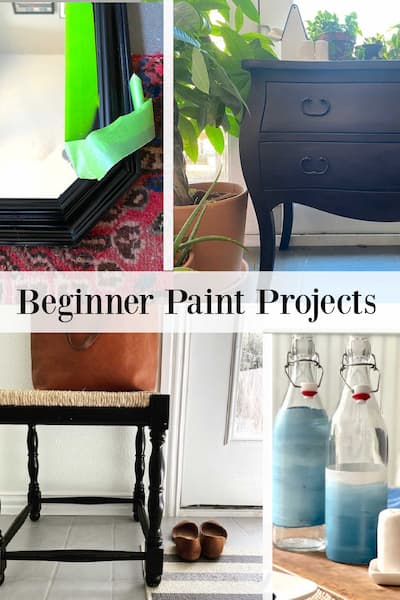
Painting Projects for Beginners – Design Morsels
IKEA Cabinet Door DIY Serving Tray
Equipment
- Drill
Ingredients
- cabinet door or wood
- handles
- ruler
- pencil
Instructions
- We started by measuring and marking where we would want to place the handles on either side.
- Next, we drilled the holes where the marks on the cabinet doors were.
- On the bottom, we used a wider bit and drilled in so that the screws would sit into the wood and not on top so it wouldn’t scratch surfaces.
- We screwed the handles into place.
- Now I could have stopped and left the serving tray as is, but instead, I decided to apply a decal from Dollar Tree. These stickers are removable, so I can take them off with ease, and replace them for different occasions.
- I’m so excited about how this serving tray turned out! It will be put to great use in our home. Wouldn’t this make a great gift idea too?




Such a great idea for a tray! I love a simple diy and a good bargain and it’s even better when they come together like this! It looks so stylish with the decal too, what a great touch ?
Thank you so much Allison
Super cute and doable for most of us! Love the Bridges of Madison County book, too! I love super close to all of the bridges. 🙂
Pinned!
Niky @ The House on Silverado
Thanks Niky, and oh my gosh that’s awesome. Thanks for sharing.
What an awesome upcycle of cabinet doors – that turned out really pretty! Its great hopping with you every month – happy summer!
Thank you so much friend and happy summer to you too
How cute and creative is this? Not sure I would have ever had the idea to turn a random cabinet door into a tray, but it’s fantastic! So many different ways you could use it. And I love the decal. Perfect!
Thanks Amy, and aren’t serving trays the best? So very useful.
What a great idea to use a cabinet door. There are so many possibilities with different handles. Great for teens as a lap desk for a computer. Thanks for this great suggestion! What to stencil? Do they make a “you’re so annoying” stencil? That’s my son’s favorite quote right now. ?
Thanks, Andrea, and I’m not sure if they do, but that’s so funny! Love serving trays, they’re so useful.
What a great idea for a super tray. love the addition of the decal. Can’t wait to give this a try.
Lynne, Thrifting Wonderland
Thank you so much Lynne