
Using a Wood Burning Tool
Today I’ll be sharing 2 things – how to transfer an image onto a surface and how to use a wood burning tool. Both are so easy to use and the possibilities are endless once you give it a try!
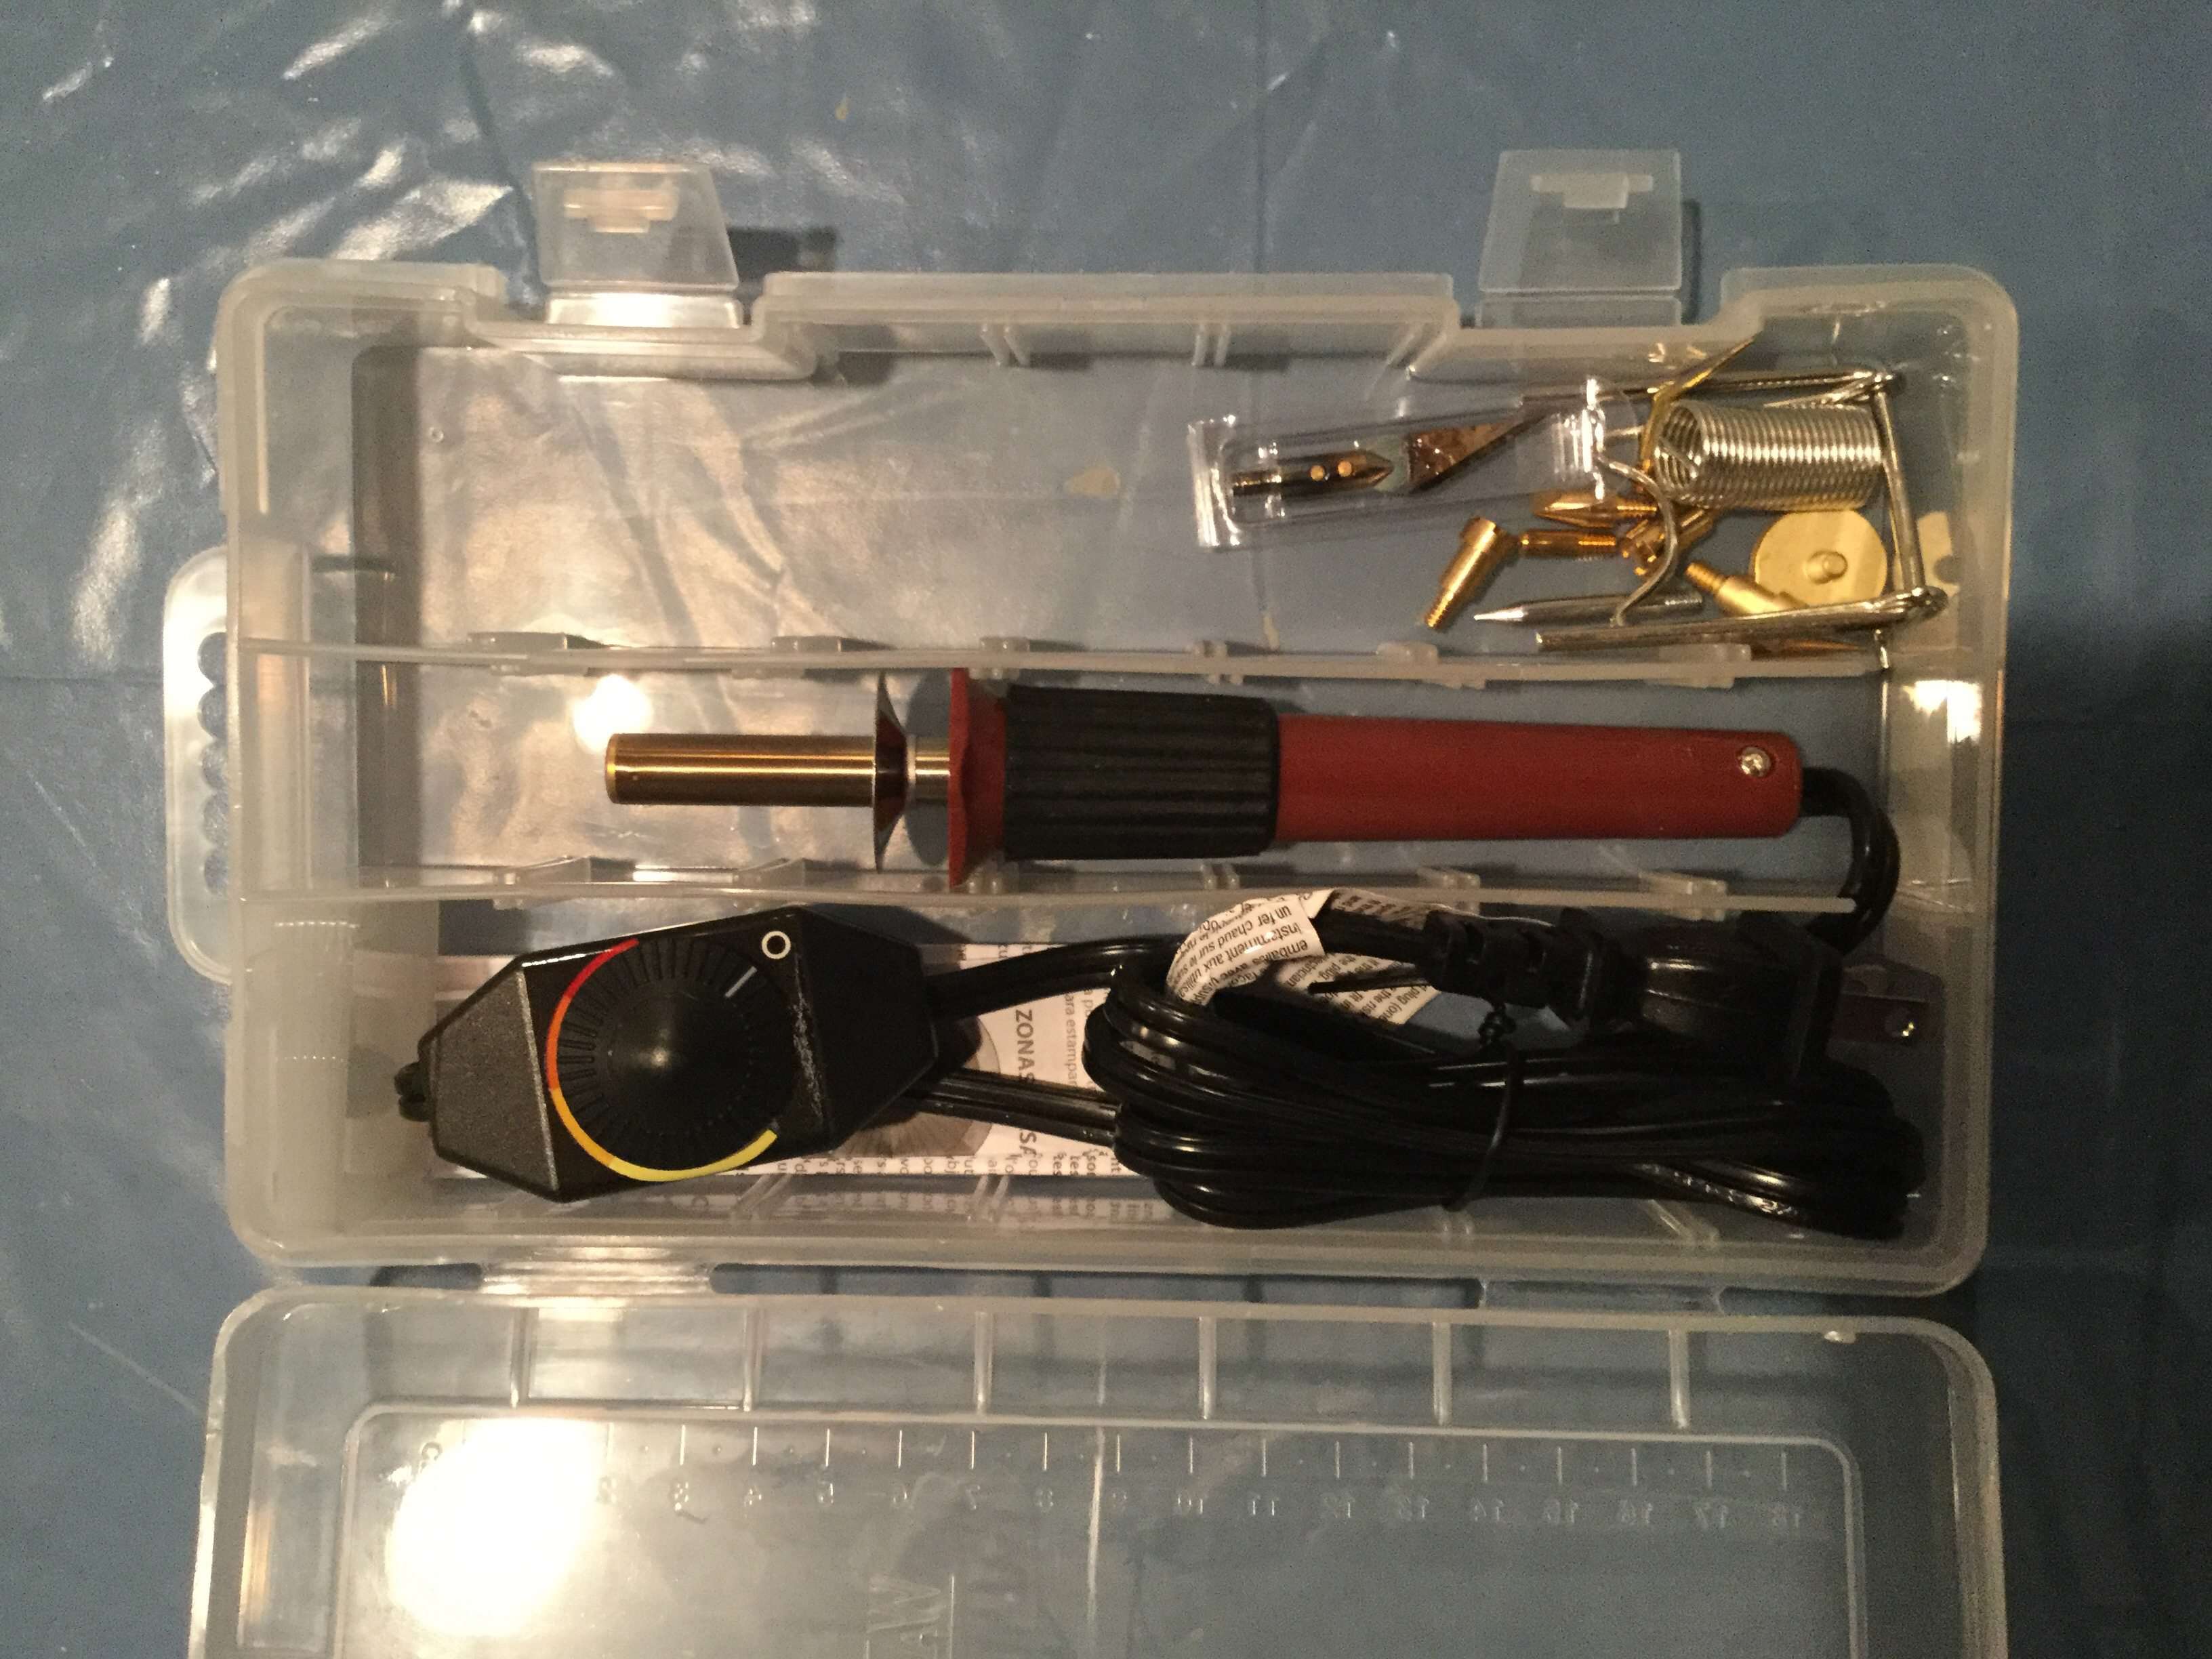
I purchased my Creative Vera Tool from Amazon. It comes with many tips for different kinds of wood burning as well as some other tools.
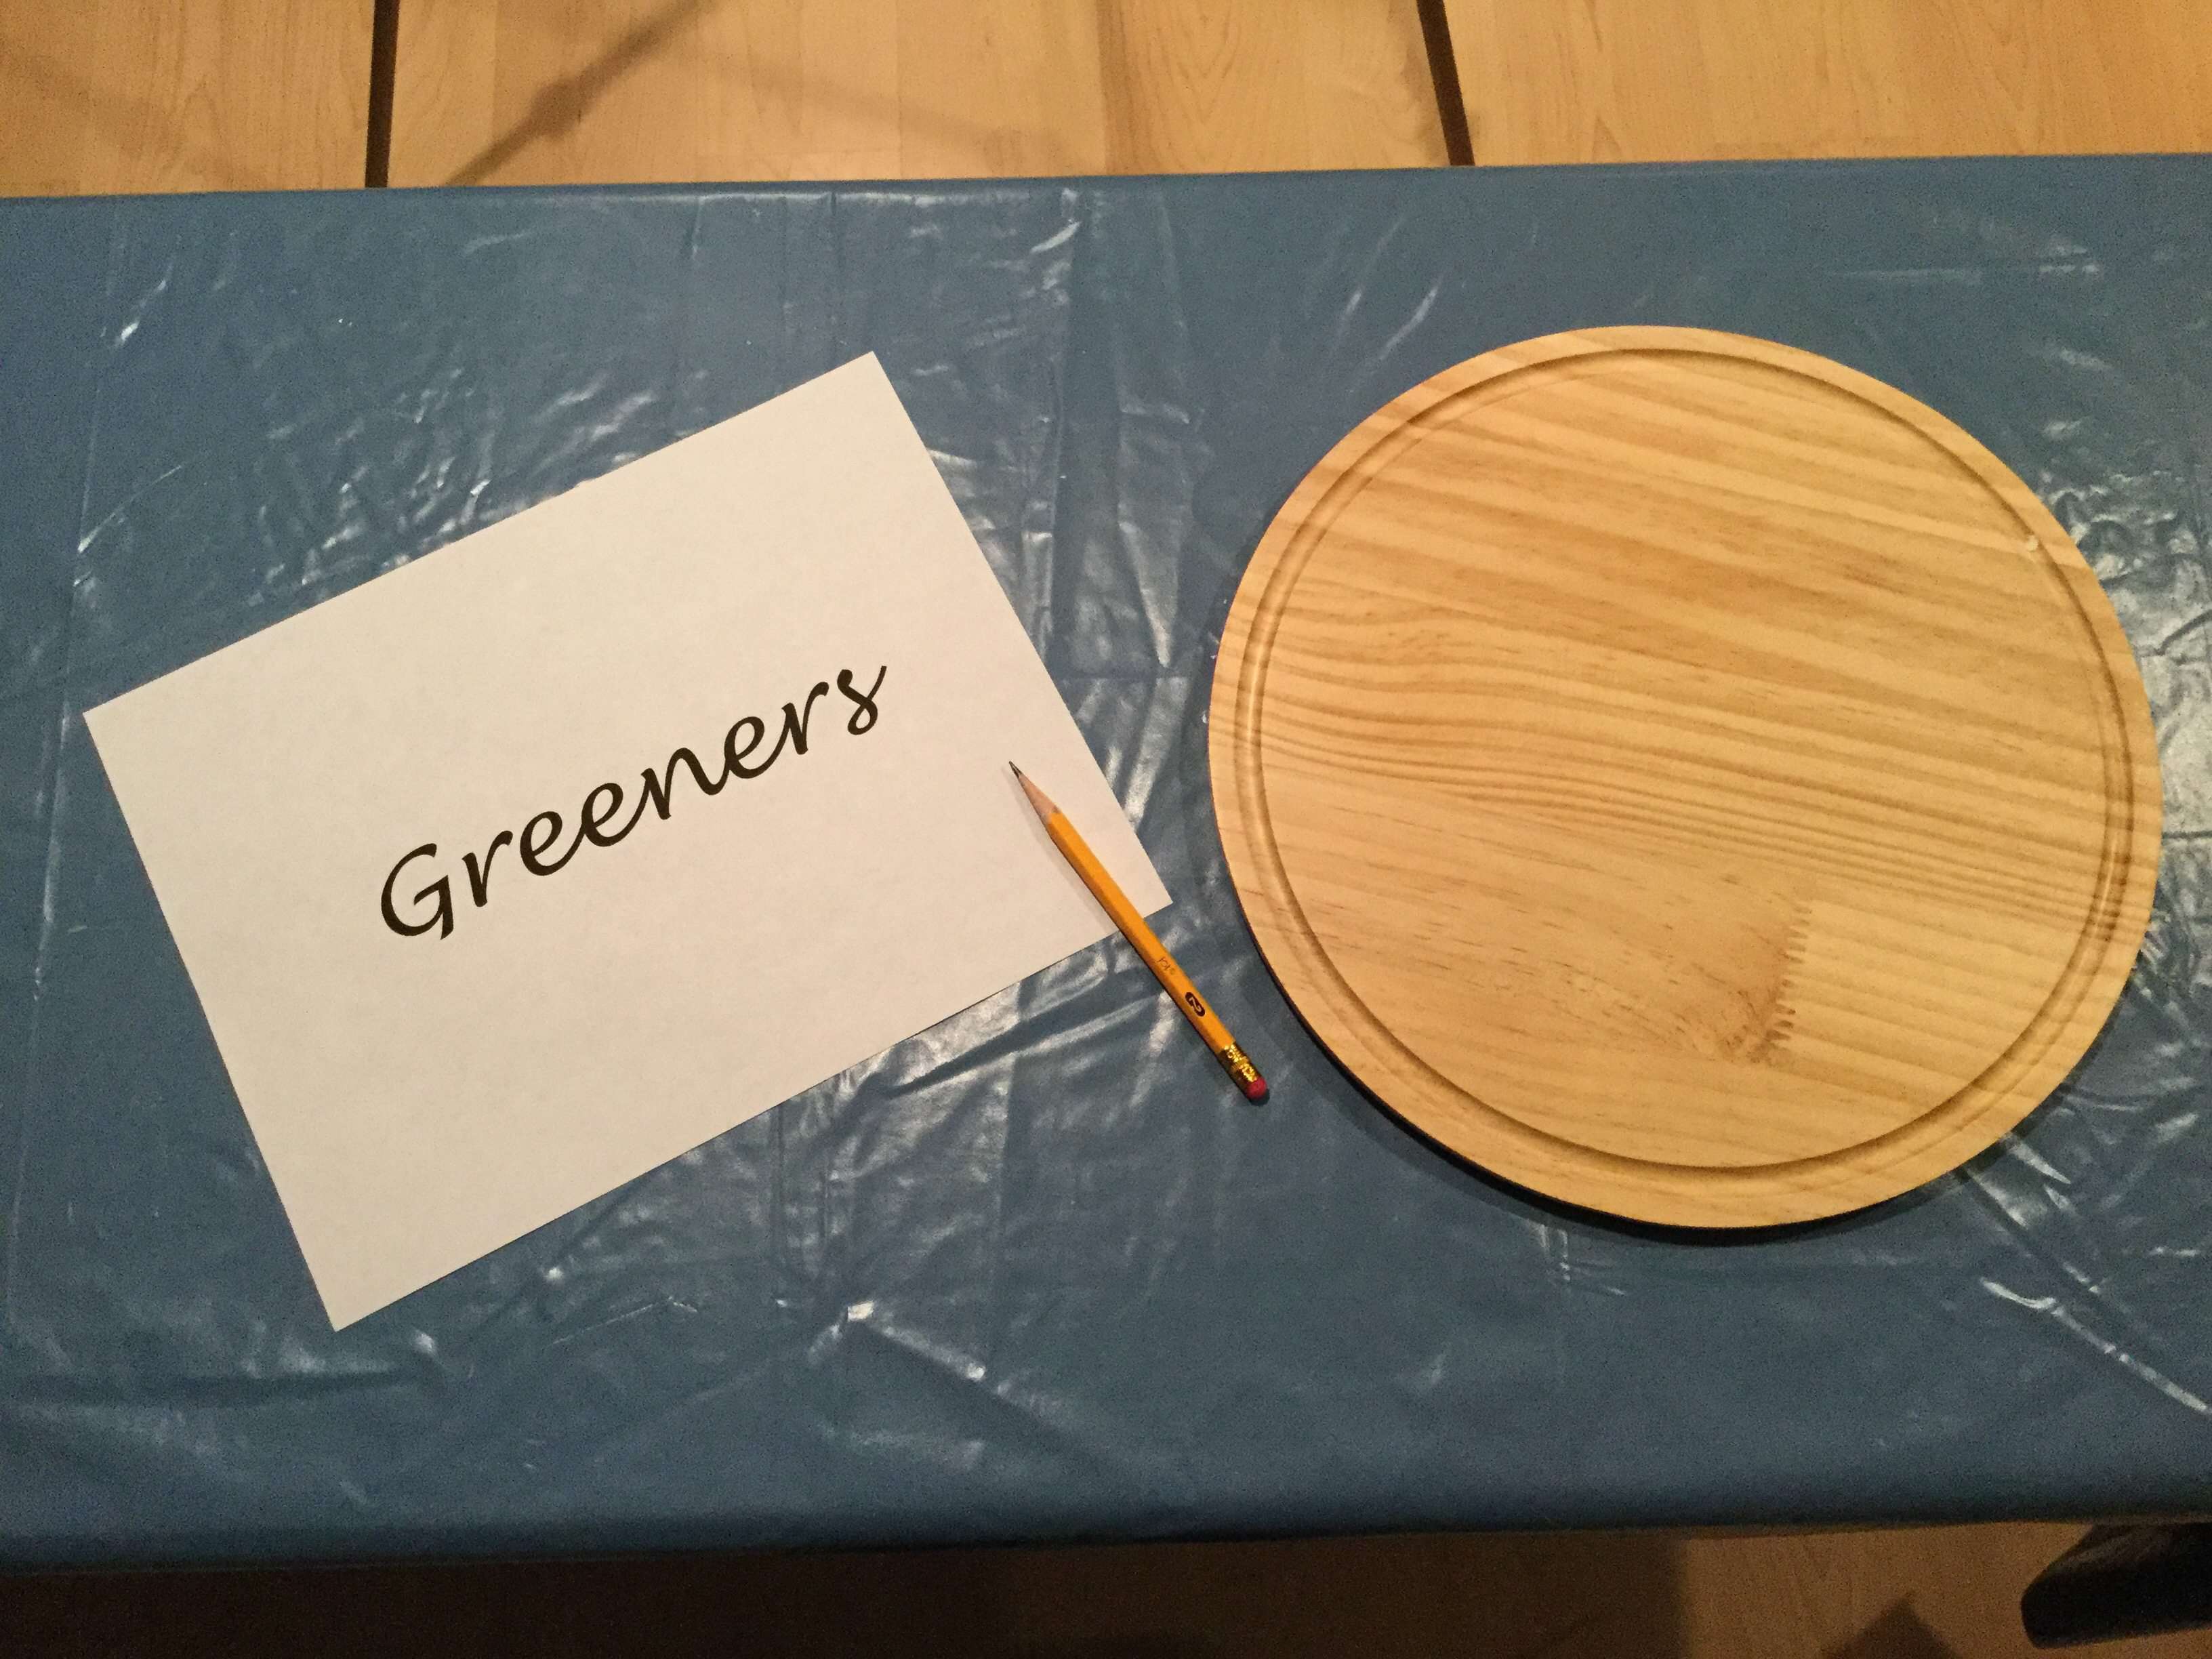
Let’s start with making your transfer. Print out a design, words, or monogram on a regular piece of paper.
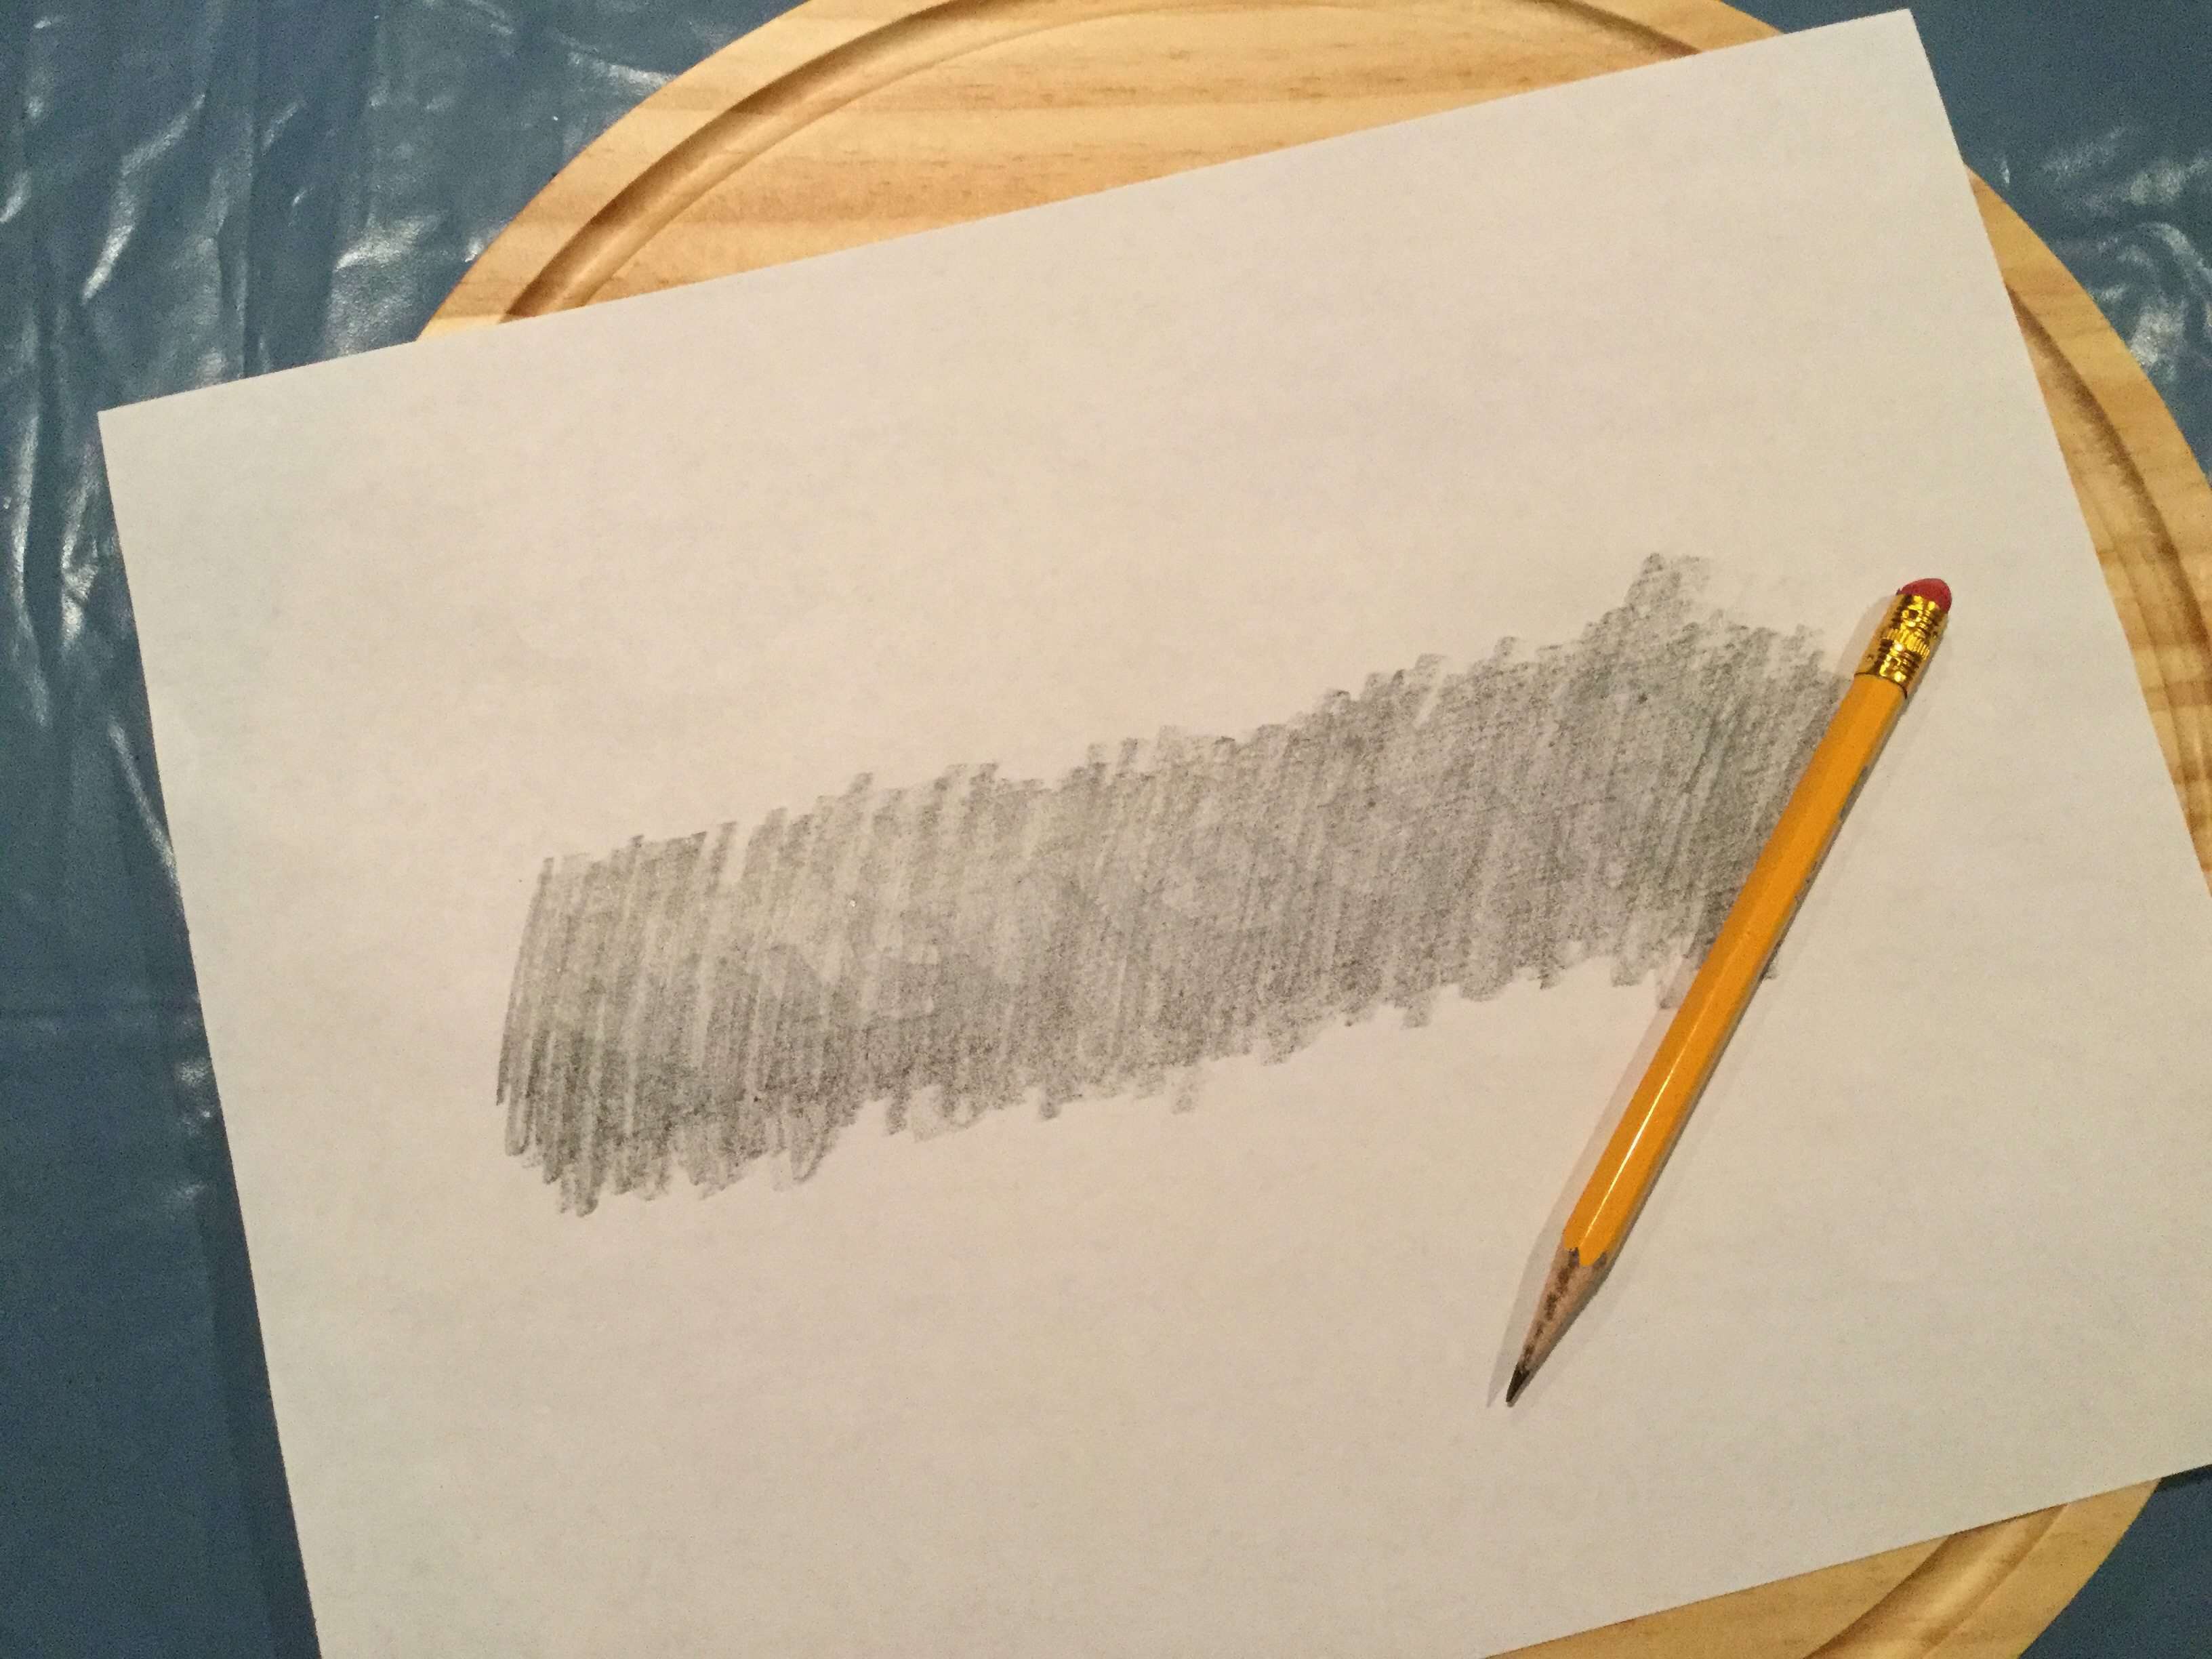
On the back side of the paper rub a pencil and cover the whole design with the graphite.

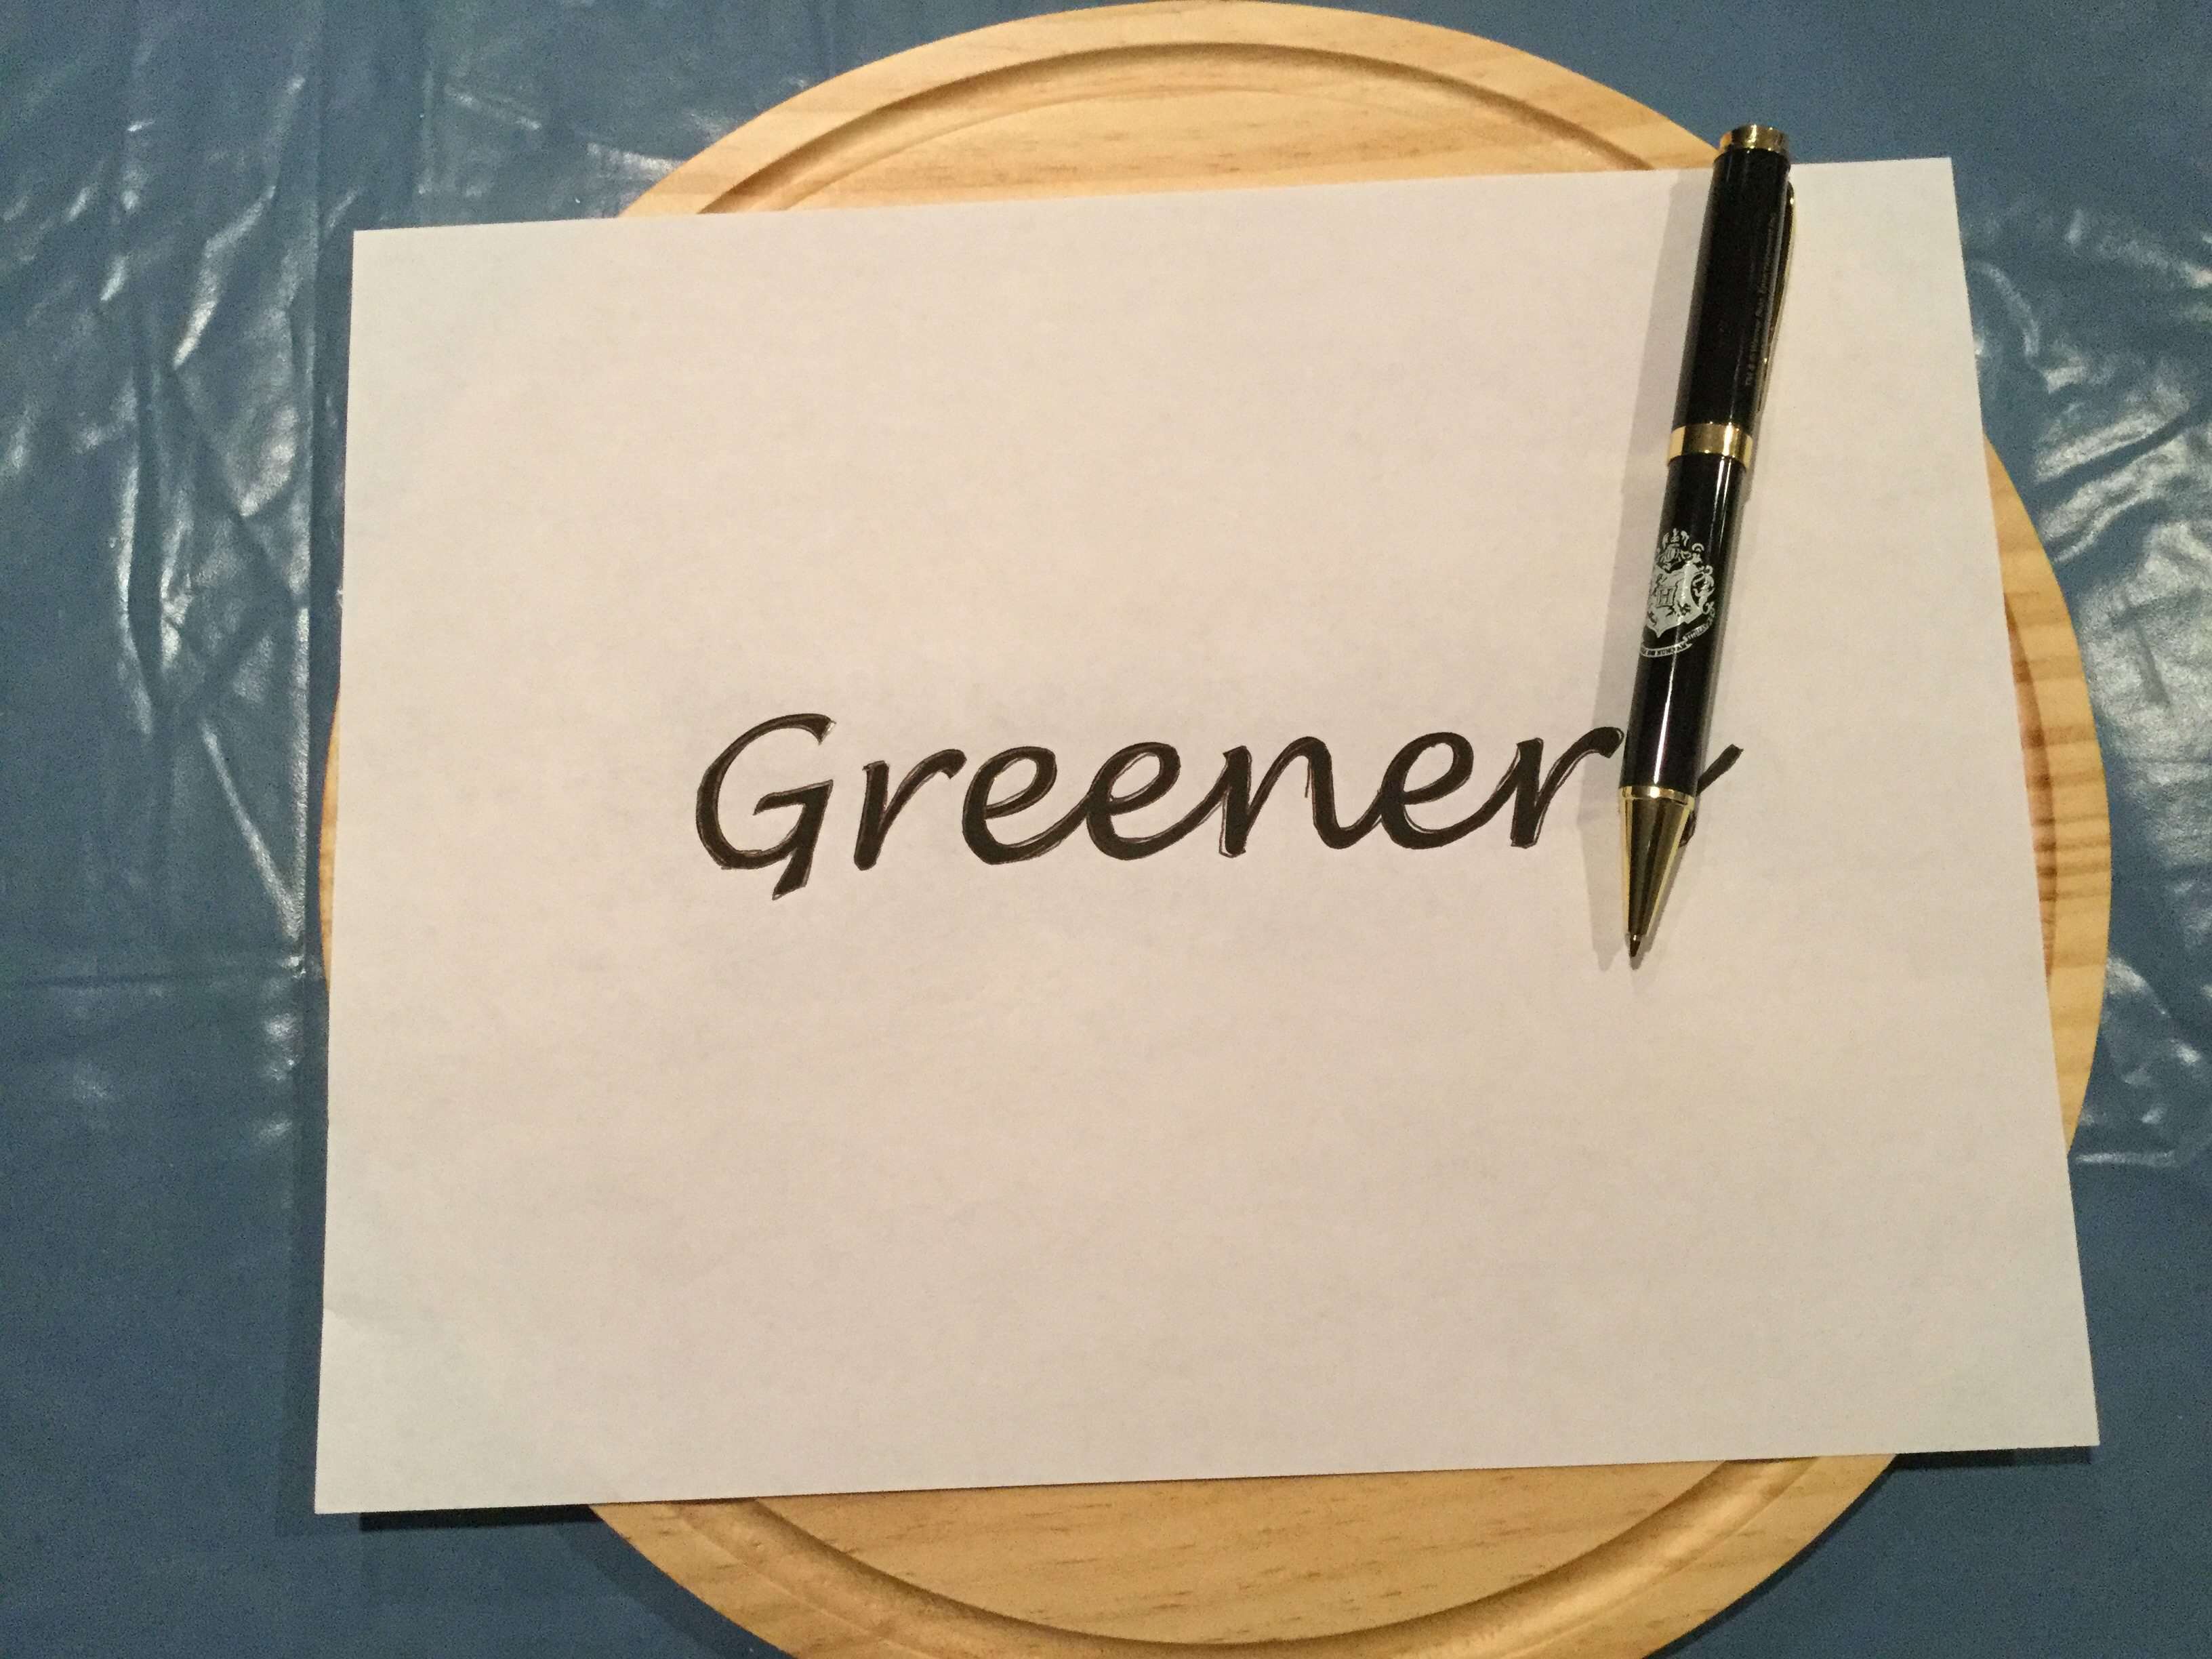
Flip the design over, place it on your piece (I’m using a cutting board) and you might want to tape it in place. Trace around your design or lettering.
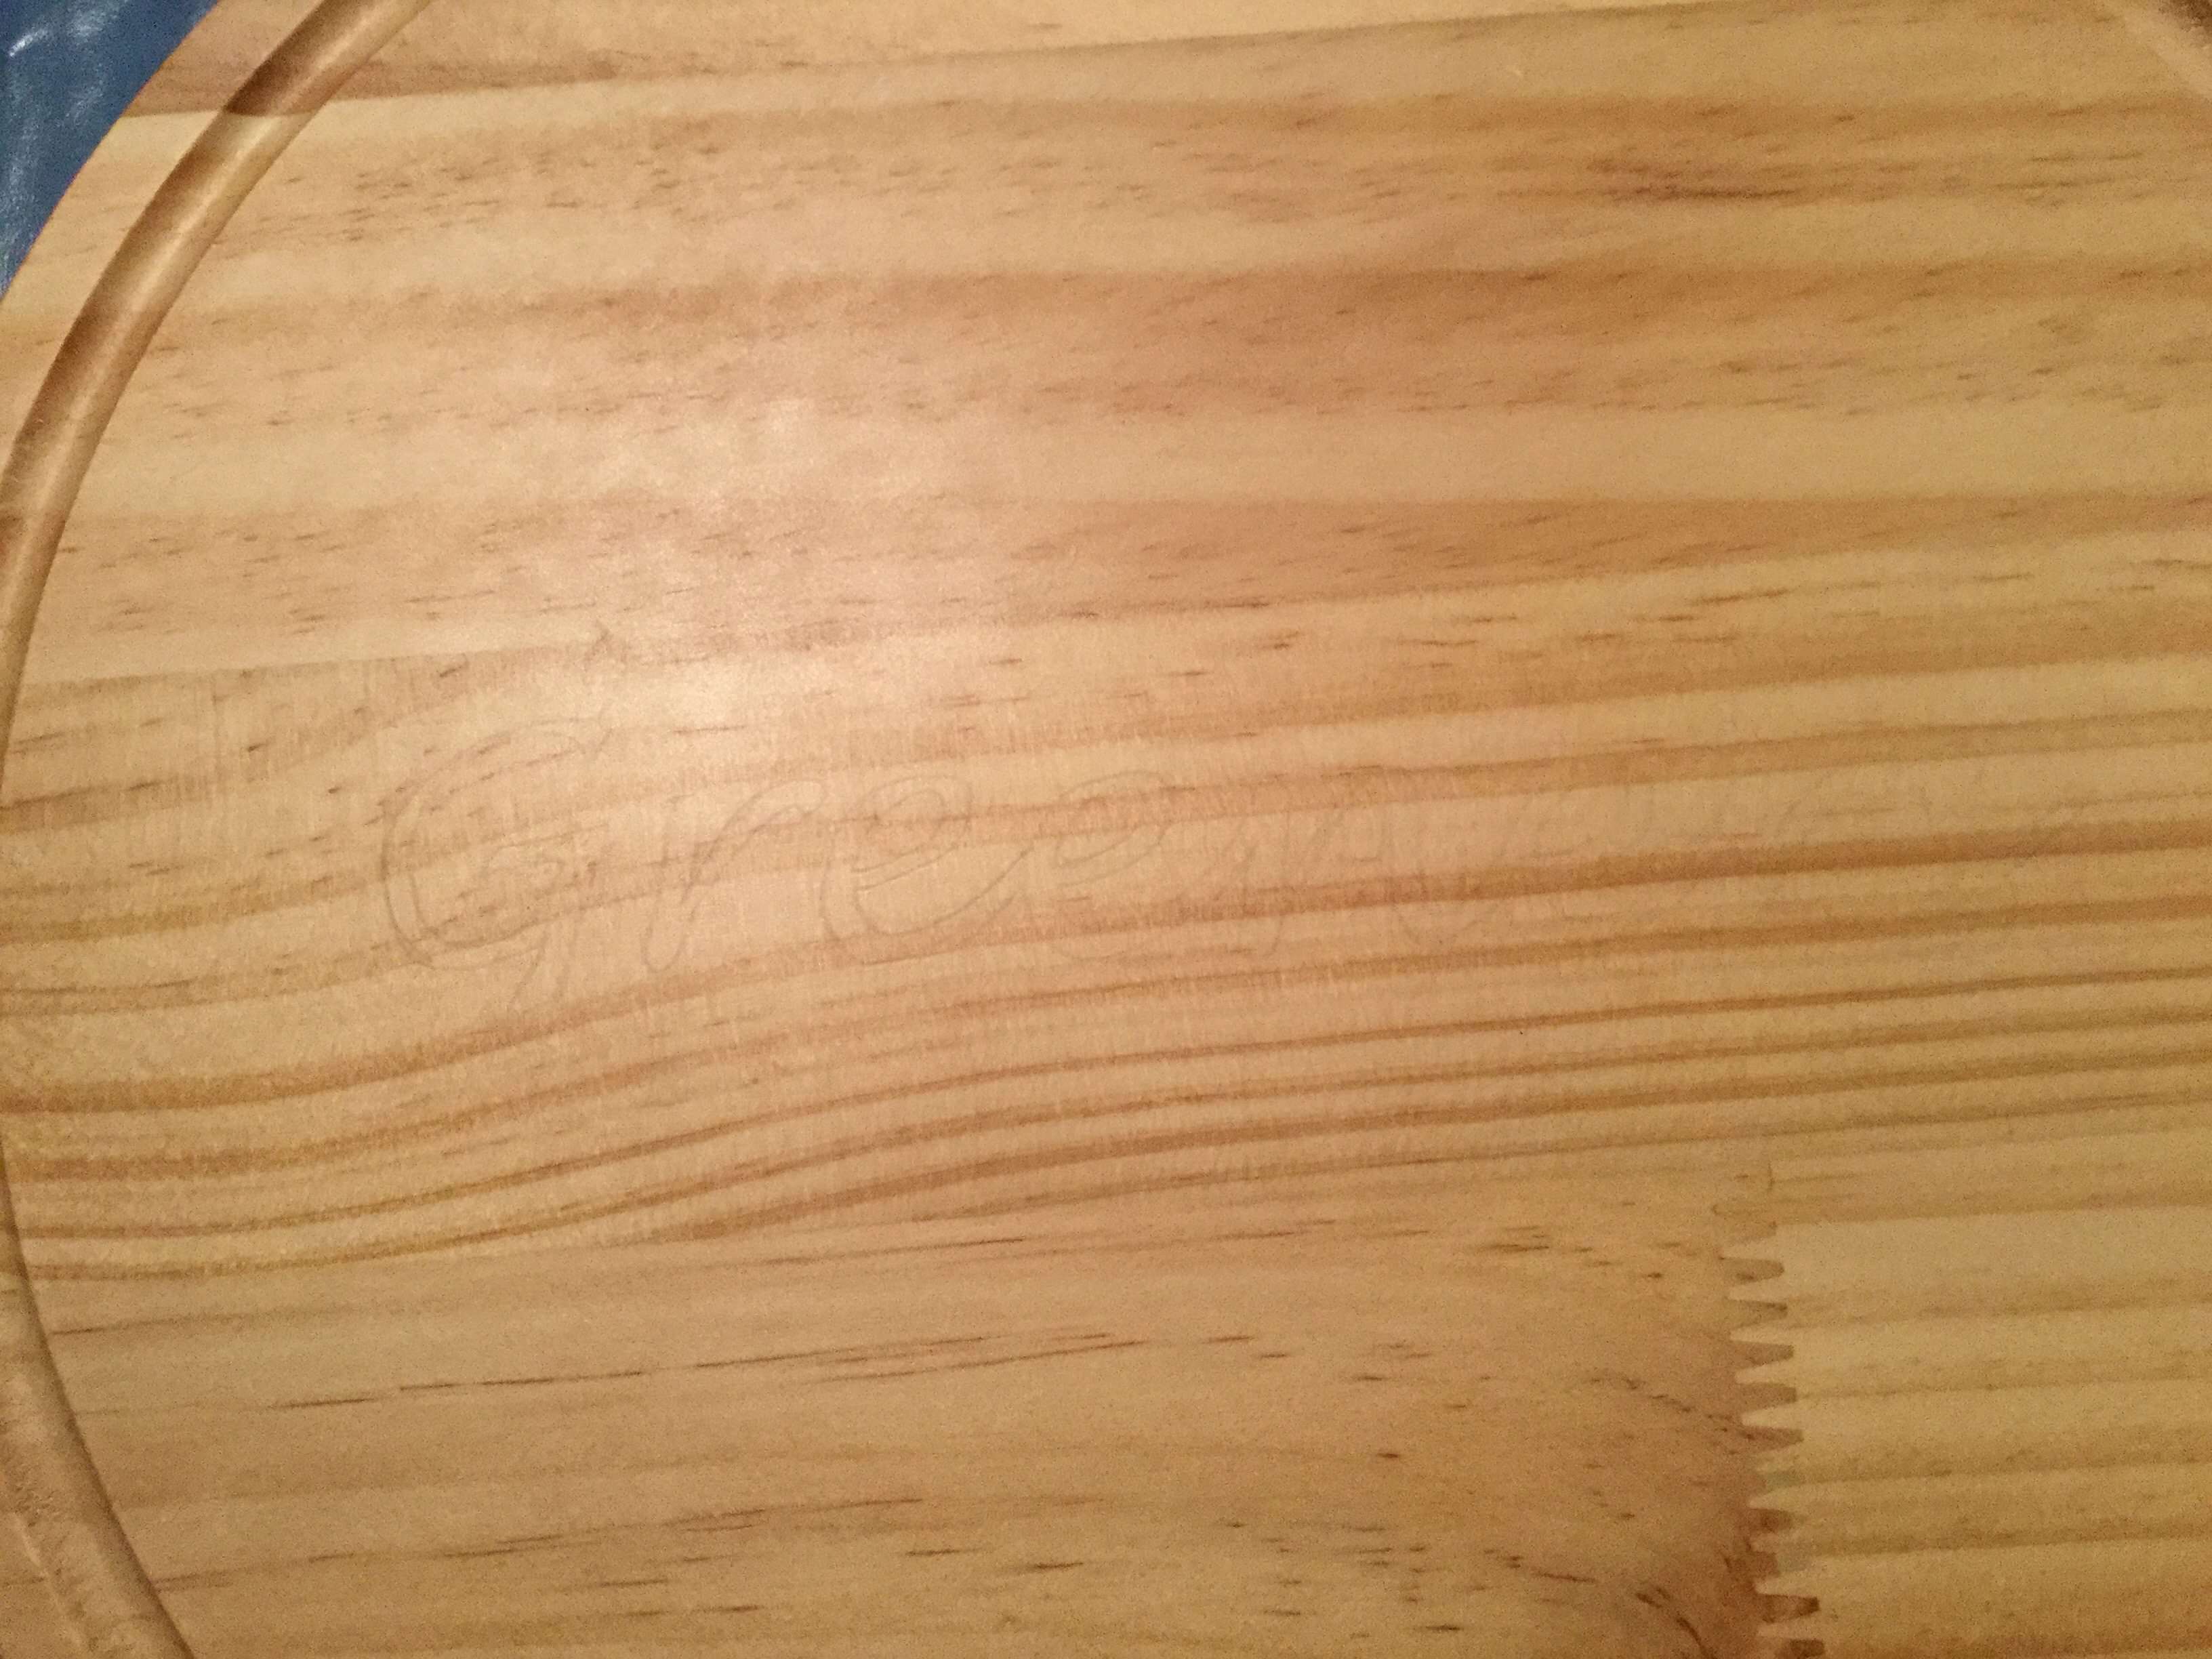
It’s a little hard to see but if you look close you’ll see the graphite transferred onto the cutting board. If you’d like to see a video tutorial click on the above picture.
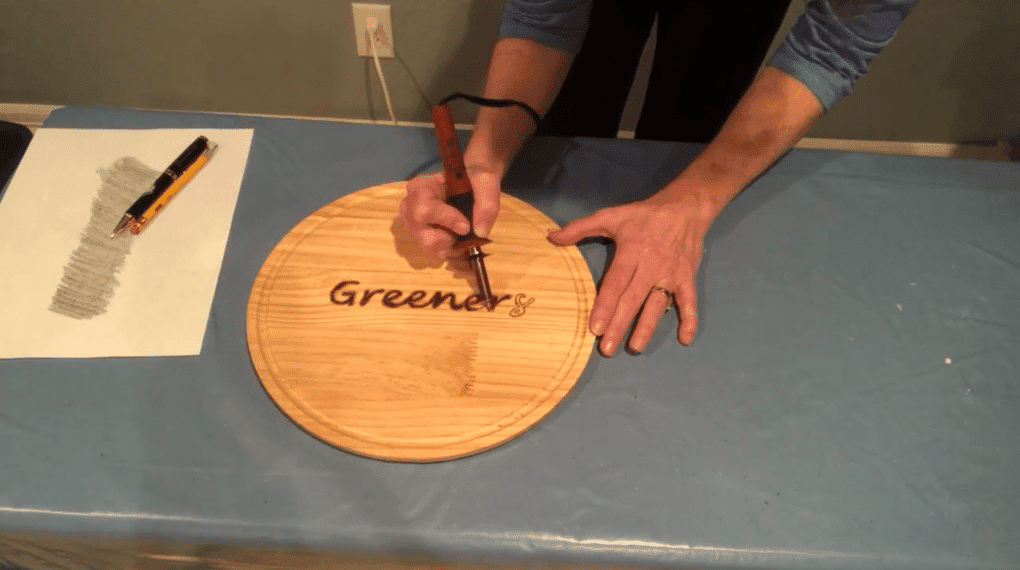
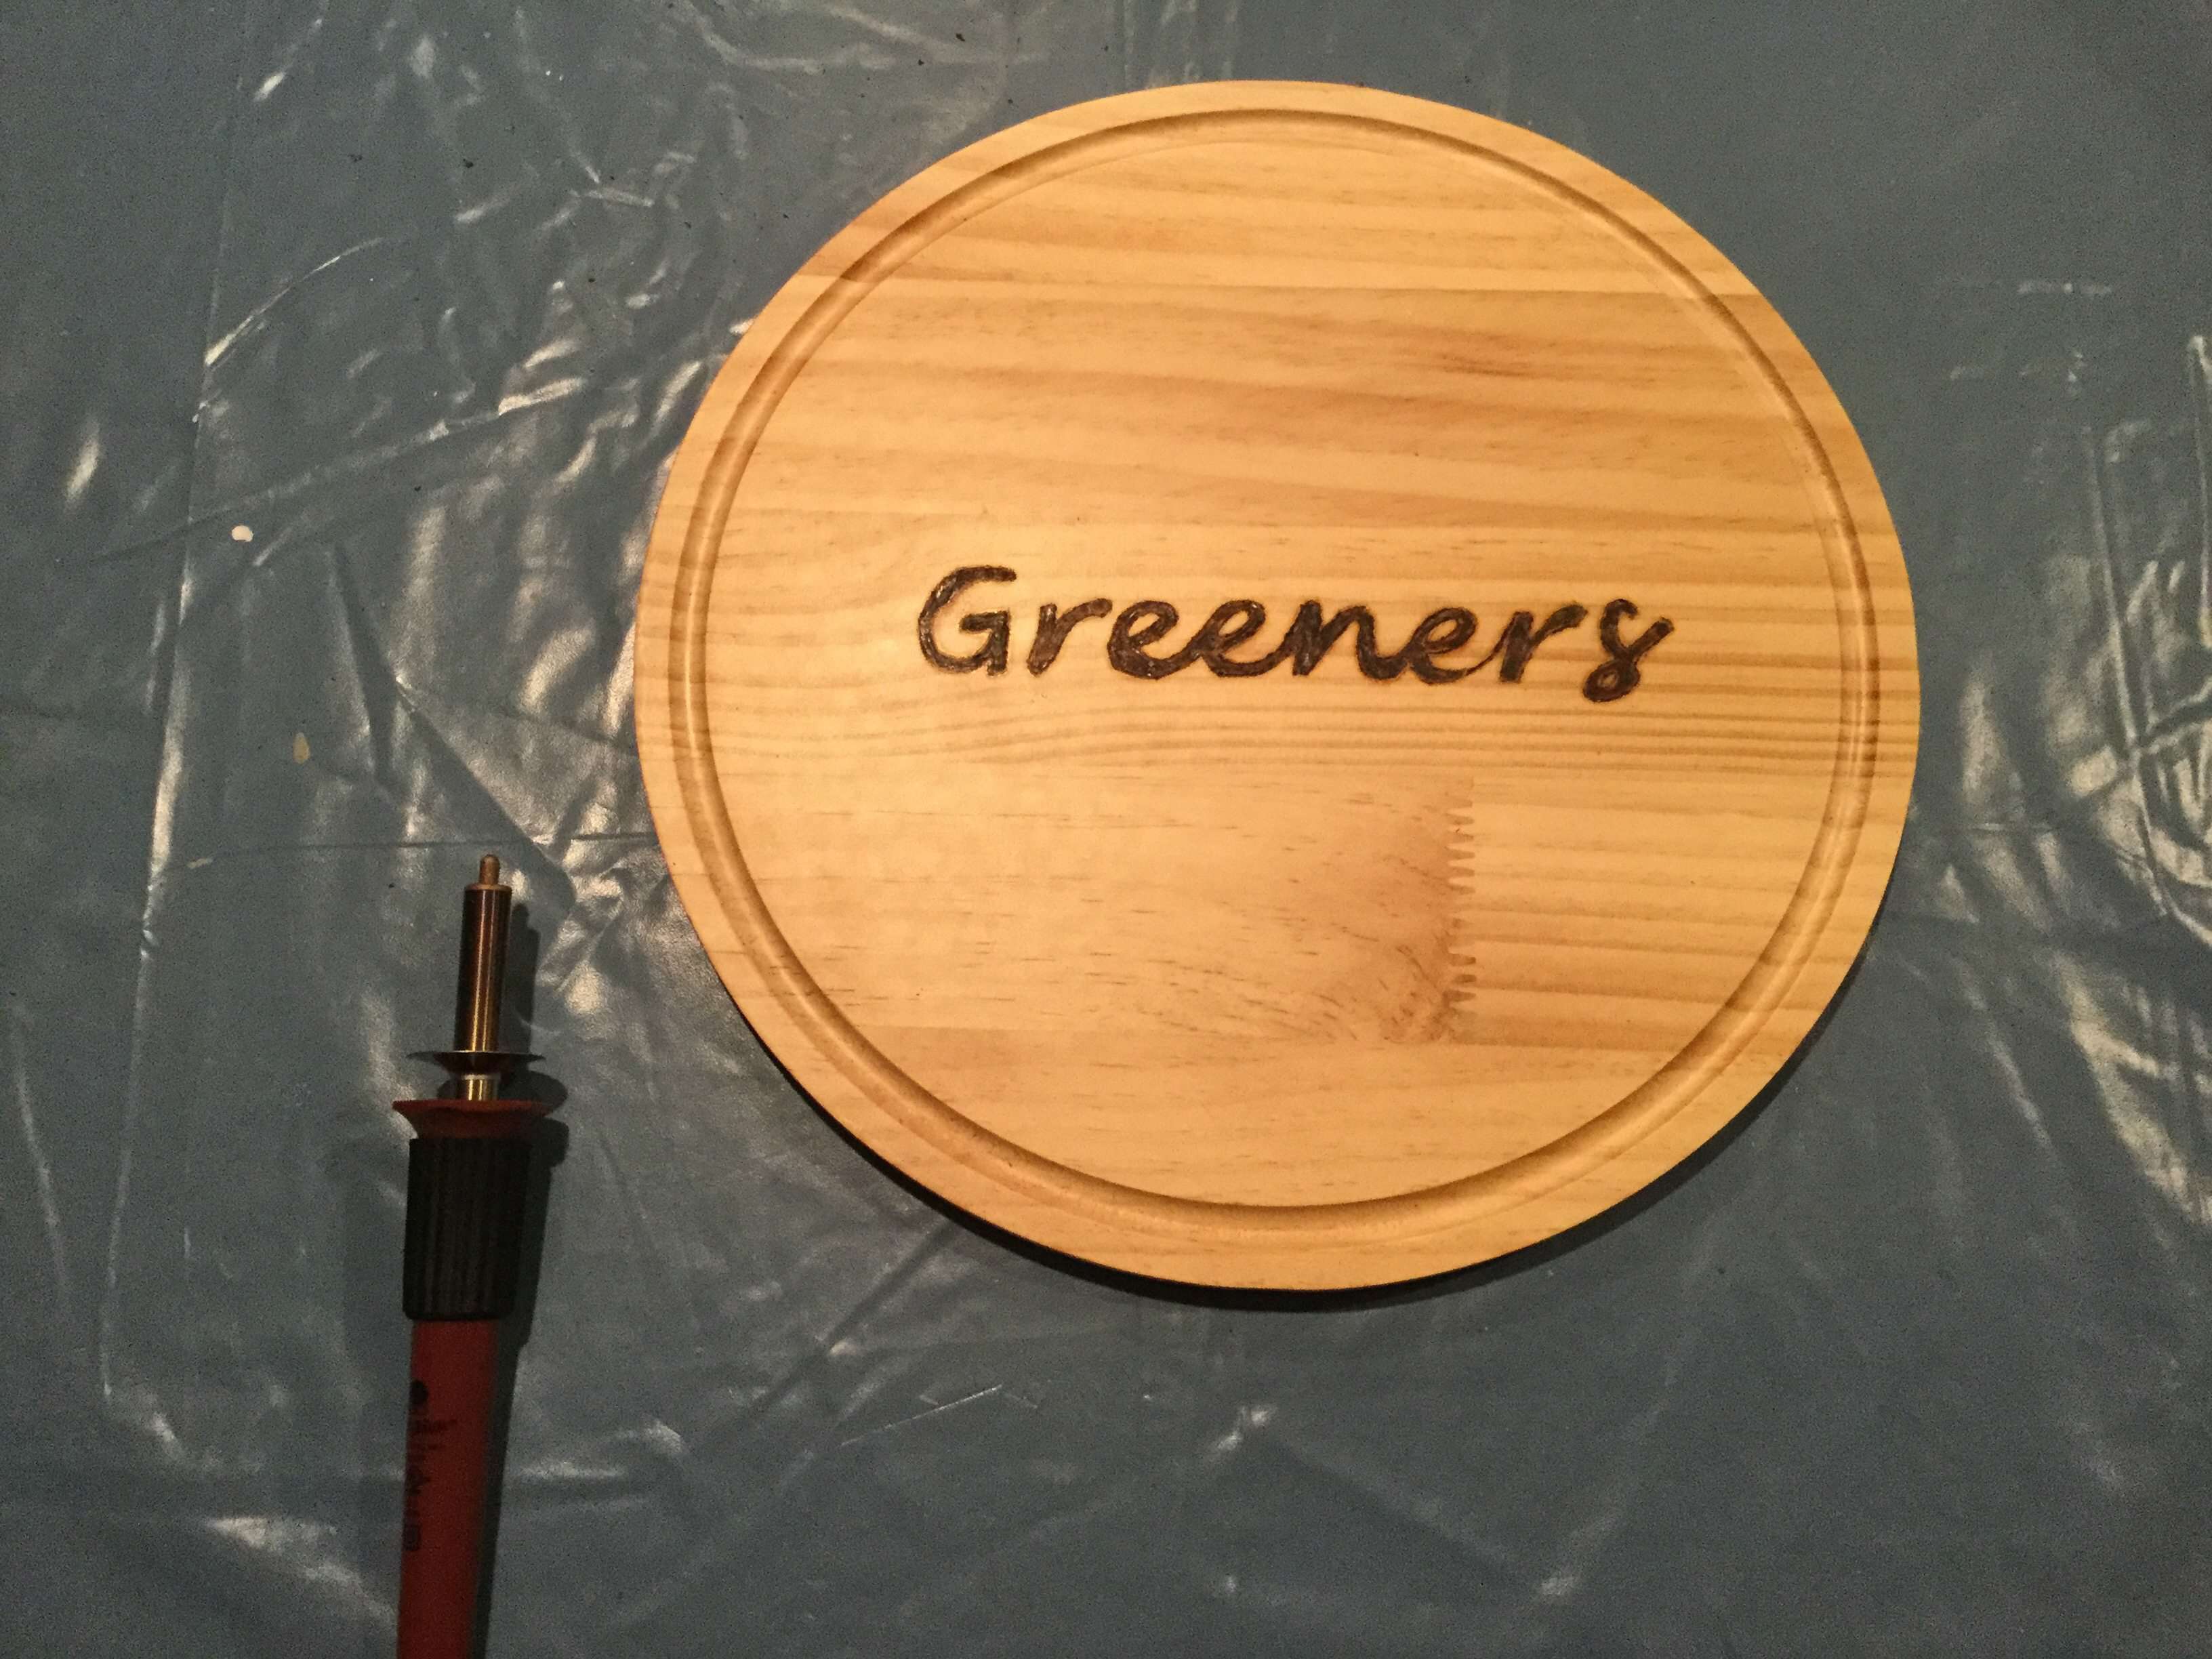
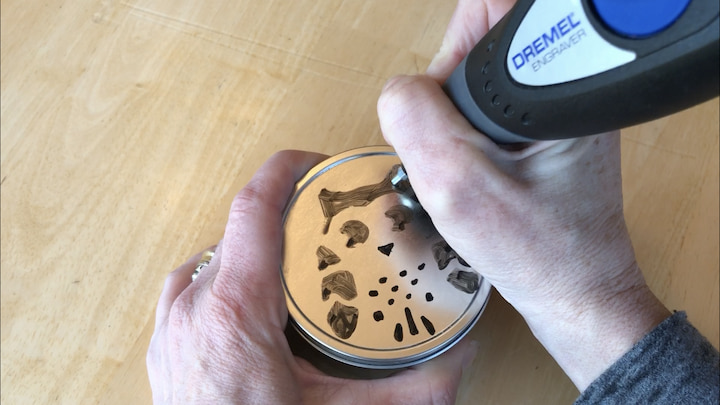
Now it’s time to use your Creative Versa Tool. Put your desired tip into the tool, I turned mine on to the red area for heating. Once it was heated and ready to go, you rub the hot tip onto the wood to burn in your design. It was really easy to use. A tip – this cutting board had a waxy covering on it and I had to burn through it before getting to the wood. I recommend sanding anything that has a coating on it, or start with a raw piece of wood.
Here is the video tutorial on YouTube
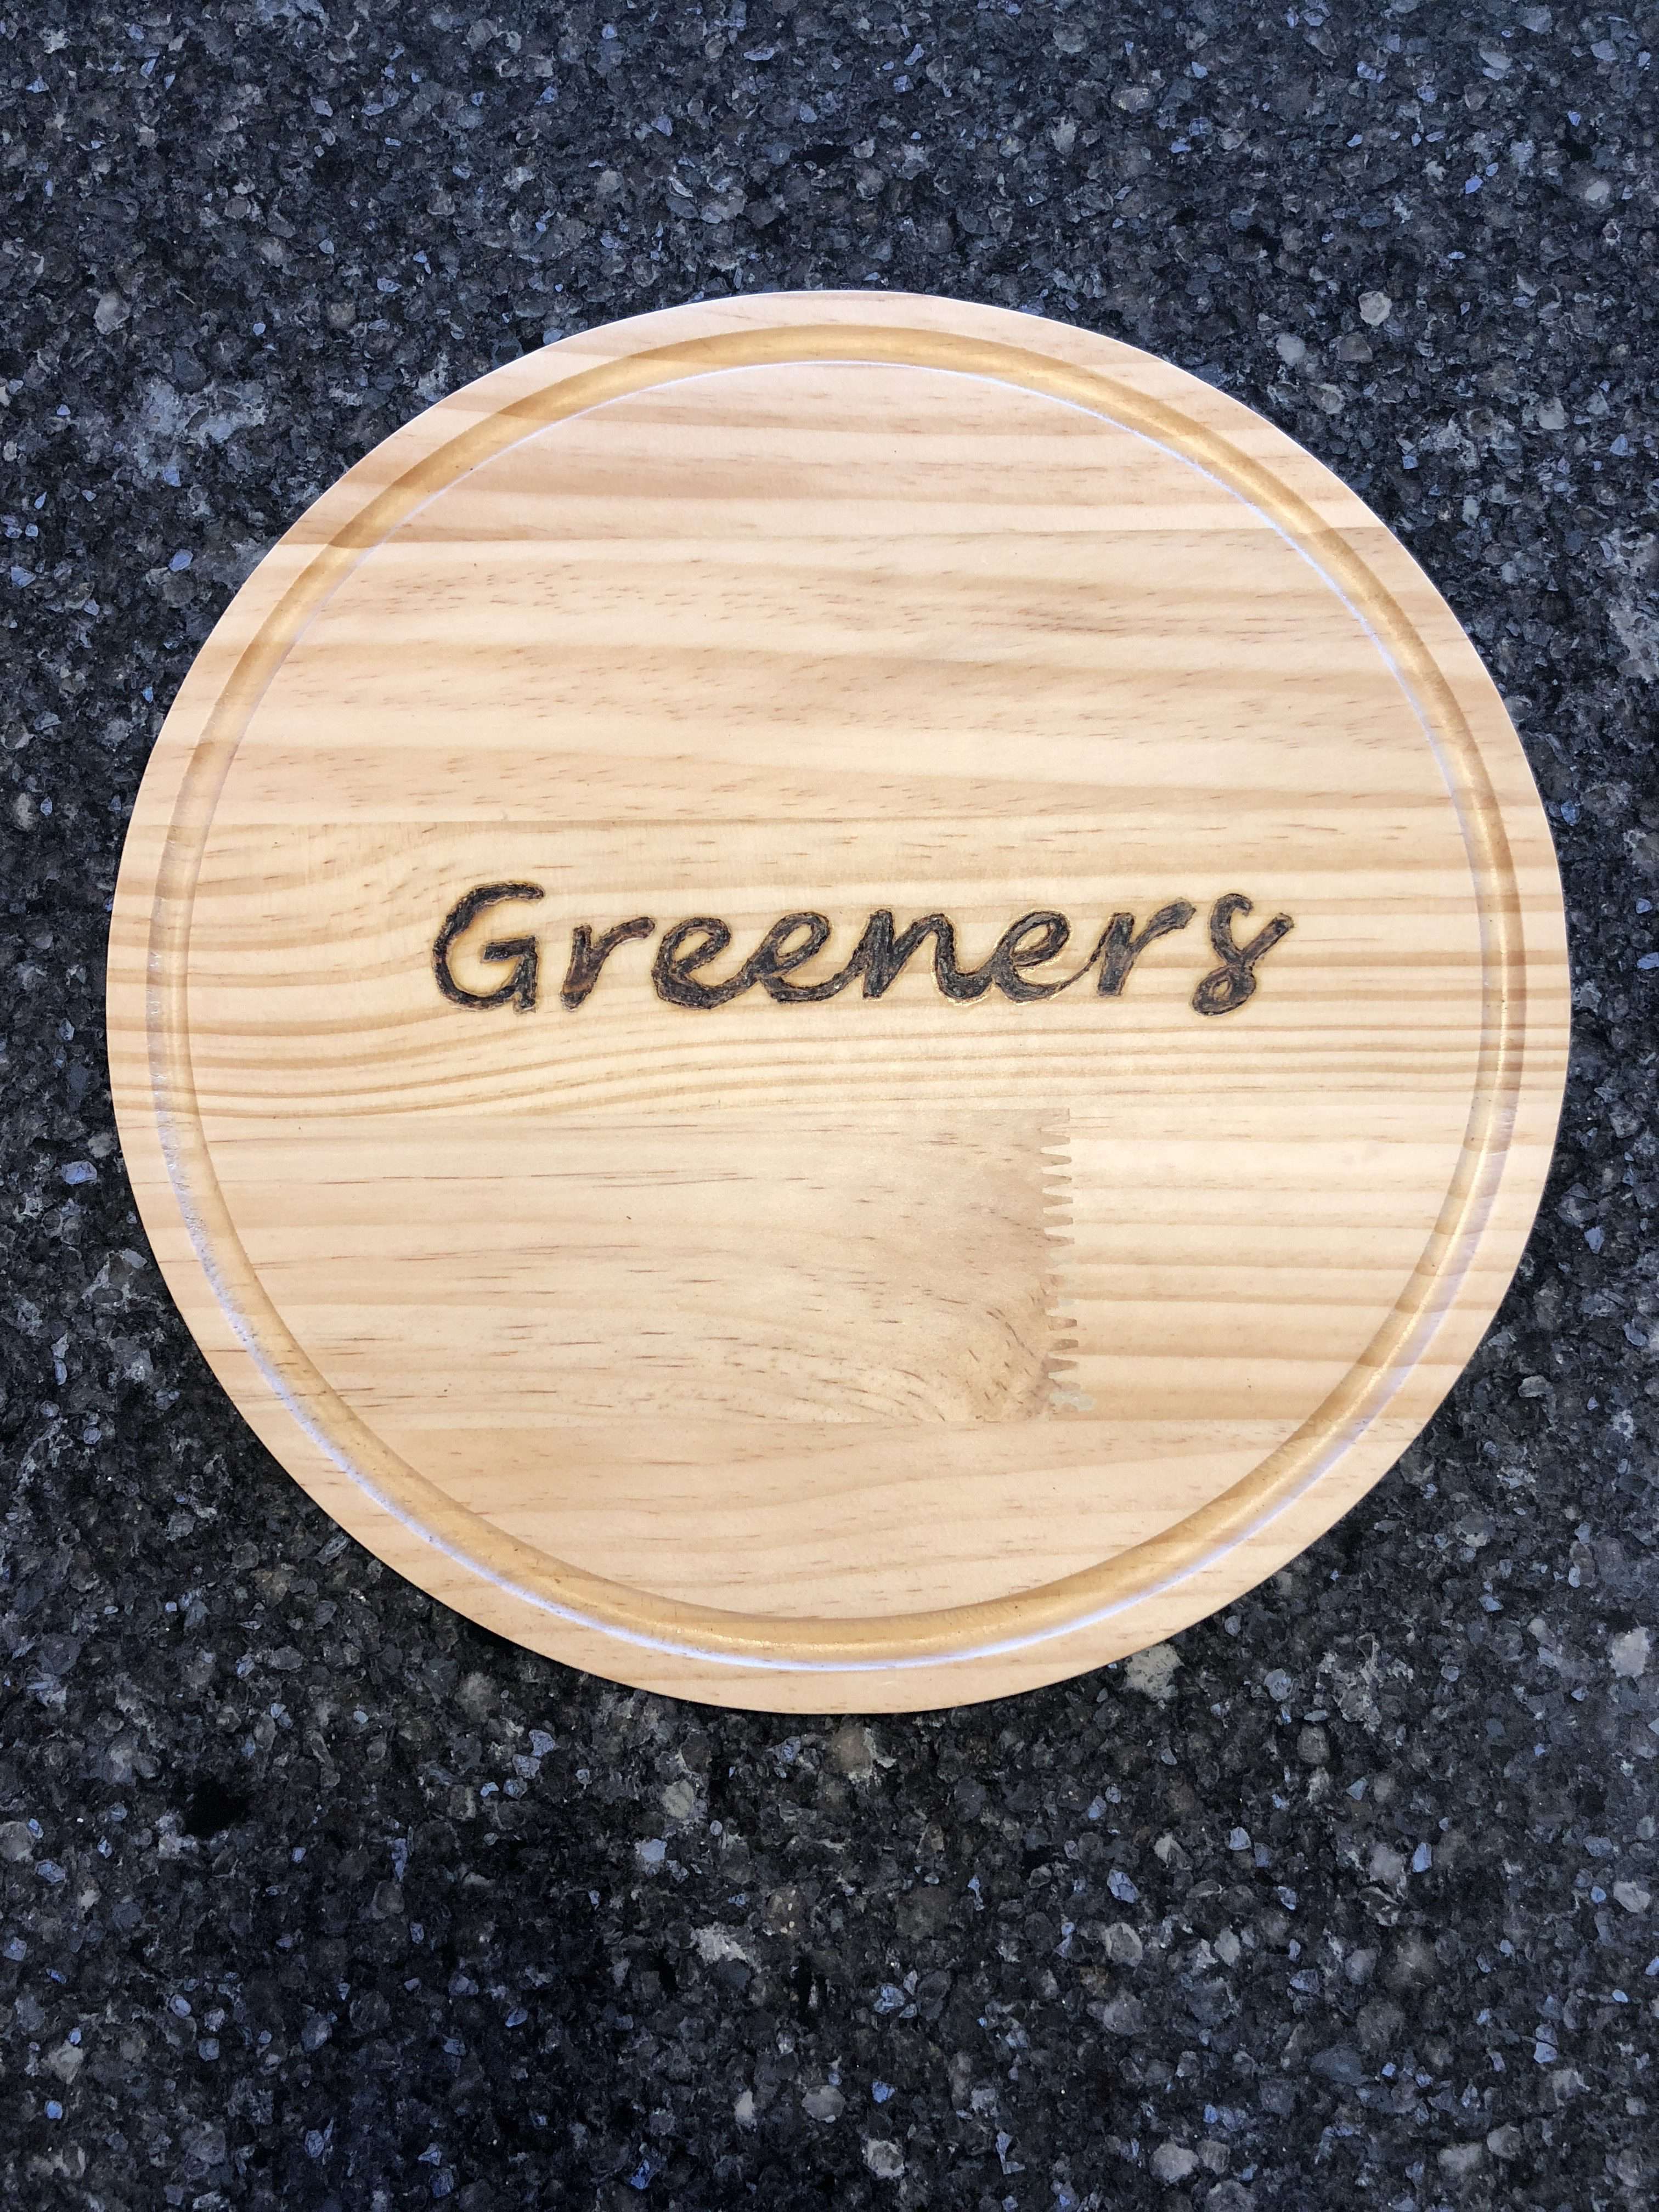
It was super easy to use and now my mind is spinning with all the possibilities! What amazing gifts you can make with this tool!
, Original Version, Basic Pack") Walnut Hollow Creative Vers…Shop on Amazon
Walnut Hollow Creative Vers…Shop on Amazon  ROYAL CRAFT WOOD Wooden Cut…Shop on Amazon
EASY & AWESOME DIY GIFTS ON A BUDGET TO MAKE AND SELL Ebook
Do you love to make gifts for friends and family members? Would you like to personalize your gifts too? This book is for you! Over 30 DIYs gifts on a budget plus extra tips, tricks, eco-friendly gift wrapping ideas, and more!
So what are you waiting for?!!! Get your copy today and start creating!
Don’t forget to link to ThriveCart – Book

Wow! I had a wood burner when I was a kid, but I never thought of using one for wood crafts. [smacking head] What a good idea! I have one more tray to make. Maybe I should do that instead of the blackboard paint.
Love that idea Linda 🙂 Your trays are so amazing now you’ll have an added twist to them to make them even more personal. 🙂
Me too. The one for each of my kids families will be different. That’s what I like so it doesn’t look like the exact same thing. 🙂
I have always wanted to try wood burning! This tutorial is great ! Thanks for sharing!!!??
Thank you so much Denese, and I’m so pleased you liked the tutorial 🙂
That looks lovely. My boys and I have tried wood burning a time or two and I’m always amazed at how easy it is… I just have to remember to take my time and try to keep moving at a steady pace. Thanks for sharing with us at the Virtual Fridge.
I love that you have done wood burning too. I am so excited at how easy this is to use and I can’t wait to make gifts with it.