
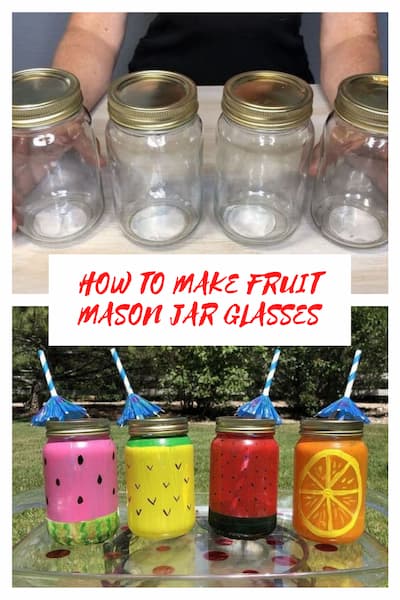
How To Make Fruit Mason Jar Glasses with Video
It’s summertime, and my family enjoys being outside and having dinners on the patio. I used glass mason jars to create fun fruit mason jar glasses to serve our drinks and celebrate the wonderful season. These are great for iced tea or all types of cold beverages.
Fruit mason jar glasses Materials needed
- Mason jar glasses or recycled jars
- Acrylic Paint
- Paint Brush
- Floral Tape
- Tissue Paper
- E6000
Mason Jar glasses Instructions
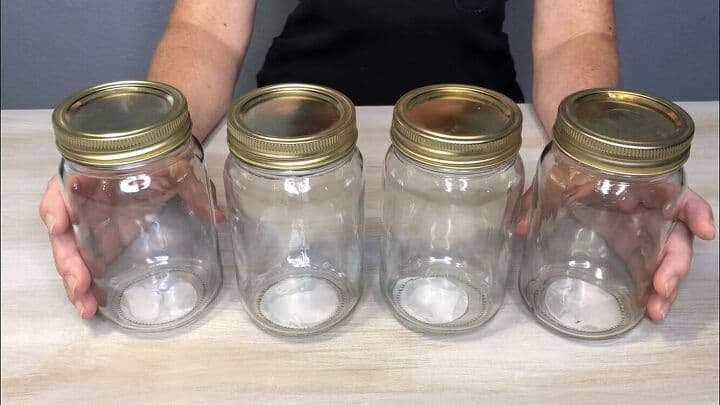
I grabbed 4 mason jars from the dollar store. This is a great way to use recycled jars if you have them on hand. I wanted them to be smooth on all surfaces.

Clean the jars
I washed all of the jars, and then I wiped them all off with an alcohol prep pad. This will remove all the oils, dirt, etc, and help your paint stick to the glass.
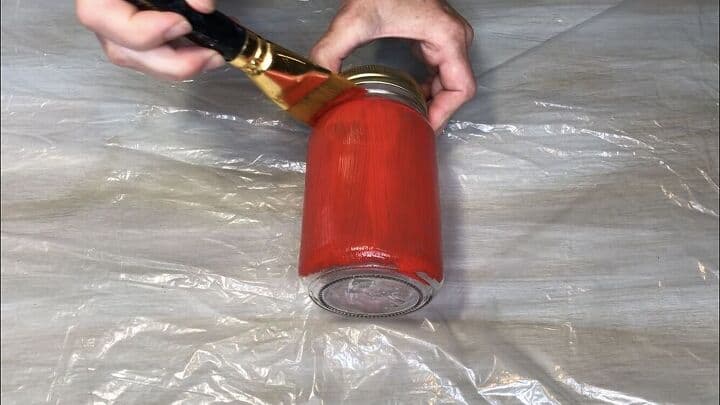
Paint the jars
I painted each jar with Apple Barrel Multi-Surface Paint. It’s important to use paint that will adhere to glass and make sure to honor the cure times.

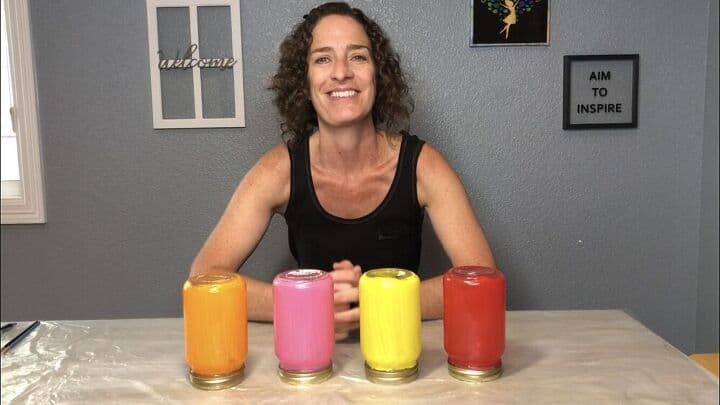
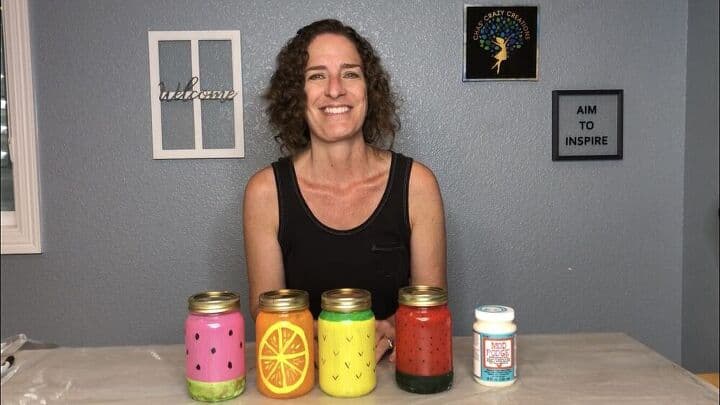
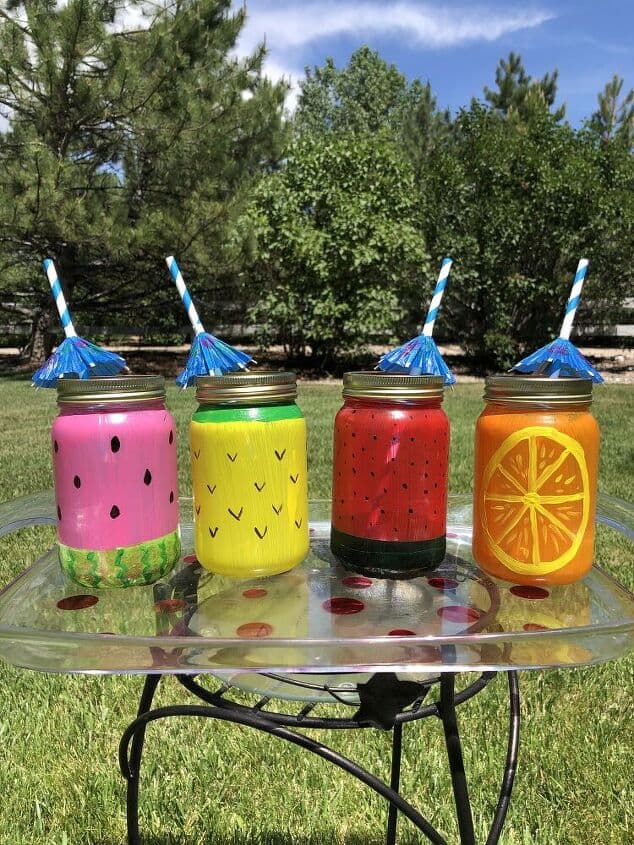
I painted each jar a different color –
- Candy Apple Red
- Paradise Pink
- Lemon Yellow
- Outrageous Orange
After painting each jar, I let them dry for 1 hour per the instructions.
Options for creating stems
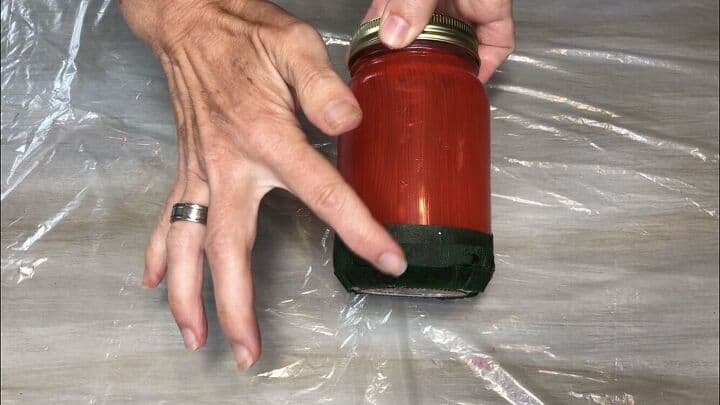
For my red jar, I used E6000 to glue floral tape to the bottom as I was creating a strawberry. The green would be the stem. E6000 is a permanent glue and will stay on for washing later.
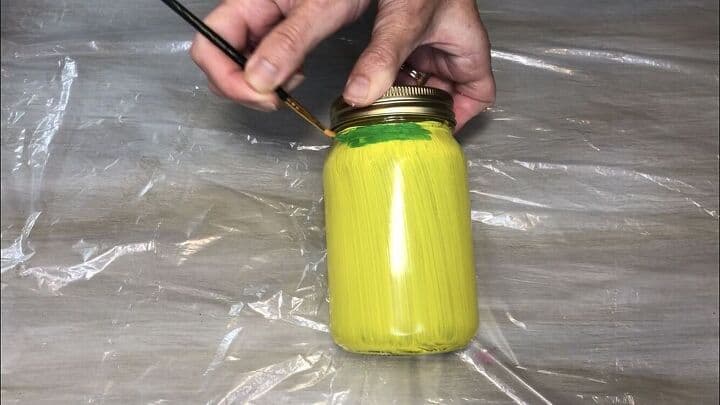
Another option for the accents is to add paint for the stem. For the yellow jar I used Apple Barrel Multi-Surface Paint in the color True Green. I painted around the top to create the stem.
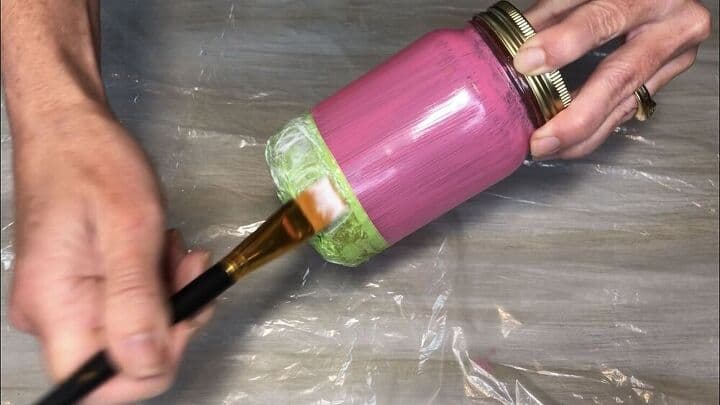
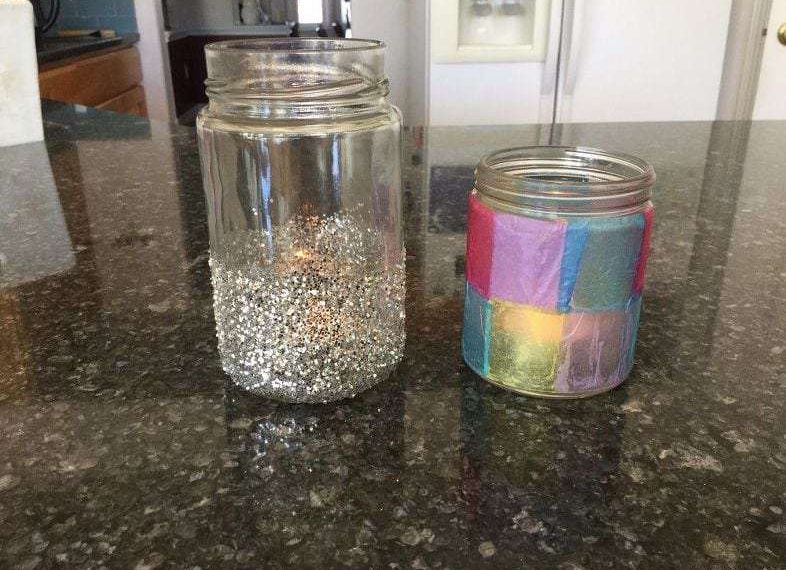
Another option is to use tissue paper. I cut a little green tissue paper and used Mod Podge to adhere it to the bottom of the jar. I started by painting on the Mod Podge, applying the tissue paper, then painting another layer of Mod Podge on the top. This one would be a watermelon. I set it aside to dry.
Adding the fruit design
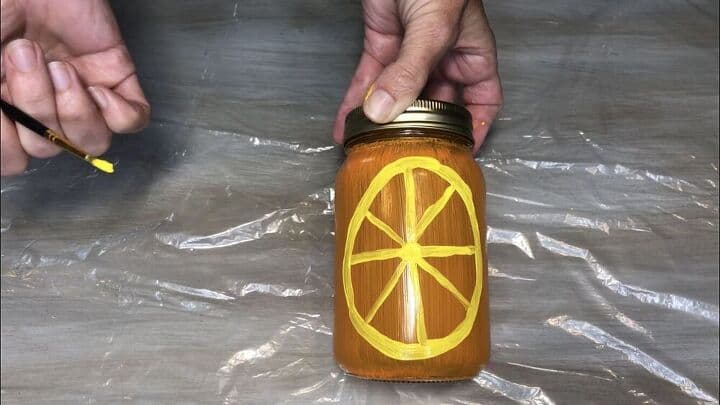
For my last jar, I was creating an orange. I used more of the Apple Barrel Multi Surface Paint in the color lemon and painted on a circle with the wedge lines.
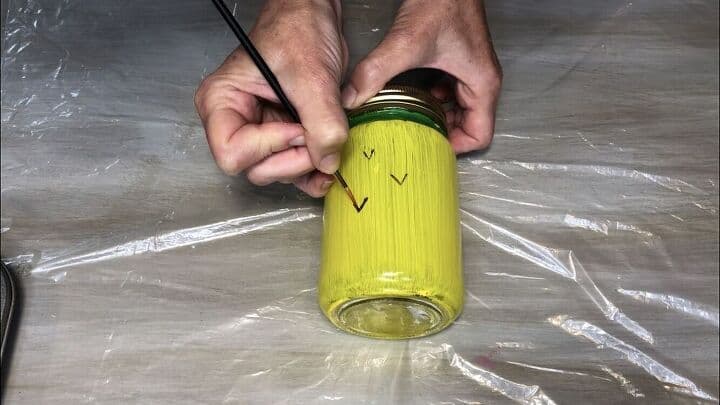
On the pineapple, I used Apple Barrel Black Multi Surface Paint to create little “V” accents.
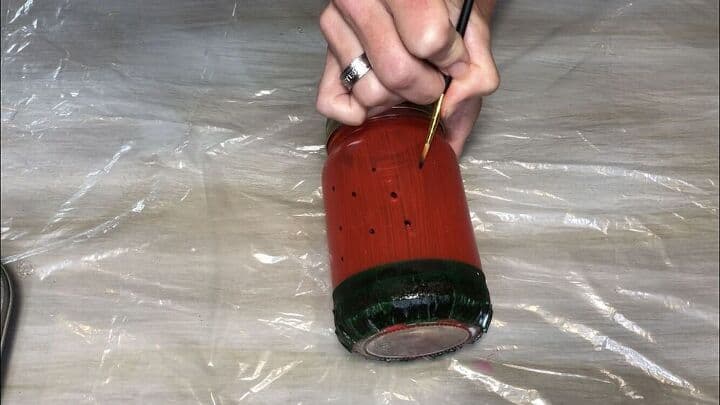
On the strawberry I added little black seed dots with the black paint.
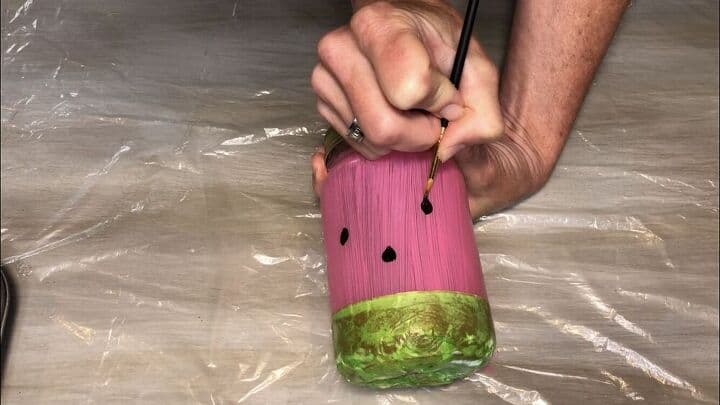
For the watermelon I added black seed circles.
Once all of the jars had dried and cured according to the paint instructions, I placed a couple layers of Dishwasher Safe Mod Podge to them following the jar instructions.
This will allow them to be hand washed. If you opt to put them in the dish washer, place them on the top rack only.

I bought some fun umbrella straws for them. These will be the perfect addition to our summer picnics and they are much more environmentally friendly than using plastic cups. These would make great baby shower gifts or party favors as well.

Learn more about “Creating Seasonal Decor for Your Home” to create seasonal decor that doesn’t cost an arm and a leg.
How To Make Fruit Mason Jar Glasses Video
There are certain paints that are made for glass. Many are acrylic paints, and you can look on the jar for what surfaces the paint will stick to.
You start by cleaning the glass. Next you paint on the glass with acrylic paint. Make sure when purchasing the paint that it says it’s good for glass. Make sure to follow cure times.
If you buy acrylic paint that says it’s safe for glass and follow the cure time instructions, the paint will stay on the glass.
I wash my glass and then clean it with rubbing alcohol before painting.
You can adapt this project with oz mason jar mugs, wide mouth or regular mouth jars, and they’re great for cold or hot beverages etc. You could decorate mini mason jar shot glasses this way. Mason jars are popular wedding favors, this is only one idea of what you can do with them. Now I think I need to DIY something with the mason jar lids 😉
Shop any of these stores and I receive a small commission at no cost to you.
") Apexstone Mason Jar Set – 1…Shop on Amazon
Apexstone Mason Jar Set – 1…Shop on Amazon") FolkArt Multi Surface Acryl…Shop on Amazon
FolkArt Multi Surface Acryl…Shop on Amazon Mod Podge Gloss Sealer, Glu…Shop on Amazon
, CS15059 Gloss, 8 Ounce") Mod Podge Dishwasher Safe W…Shop on Amazon
Mod Podge Dishwasher Safe W…Shop on Amazon 162 Pieces Party Drinking S…Shop on Amazon
 Prodyne Fruit Infusion Flav…Shop on Amazon
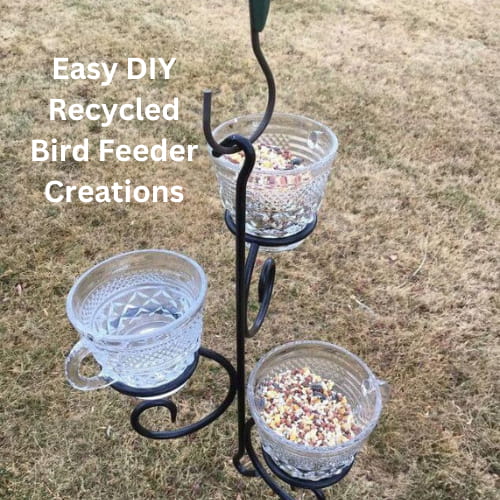
You might like these mason jar projects too
How To Make Fruit Mason Jar Glasses with Video
Equipment
- Paint Brush
Materials
- Mason jar glasses or recycled jars
- Acrylic Paint
- Floral Tape
- Tissue Paper
- E6000
Instructions
- I washed all of the jars, and then I wiped them all off with an alcohol prep pad. This will free the jar from all oils, dirt, etc, and help your paint stick better to the glass.
- I painted each jar with Apple Barrel Multi-Surface Paint. It’s important to use paint that will adhere to glass and make sure to honor the cure times.
- After painting each jar, I let them dry for 1 hour per the instructions.
- For my red jar, I used E6000 to glue floral tape to the bottom as I was creating a strawberry. The green would be the stem. E6000 is a permanent glue and will stay on for washing later.
- Another option for the accents is to add paint for the stem. For the yellow jar, I used Apple Barrel Multi-Surface Paint in the color True Green. I painted around the top to create the stem.
- Another option is to use tissue paper. I cut a little green tissue paper and used Mod Podge to adhere it to the bottom of the jar. I started by painting on the Mod Podge, applying the tissue paper, then painting another layer of Mod Podge on the top. This one would be a watermelon. I set it aside to dry.
- For my last jar, I was creating an orange. I used more of the Apple Barrel Multi-Surface Paint in the color lemon and painted on a circle with the wedge lines.
- On the pineapple, I used Apple Barrel Black Multi-Surface Paint to create little “V” accents.
- On the strawberry, I added little black seed dots with the black paint.
- For the watermelon, I added black seed circles.
- Once all of the jars had dried and cured according to the paint instructions, I placed a couple of layers of Dishwasher Safe Mod Podge to them following the jar instructions.
- This will allow them to be hand washed. If you opt to put them in the dish washer, place them on the top rack only.
Video
Learn more about “Creating Seasonal Decor for Your Home” to create seasonal decor that doesn’t cost an arm and a leg.
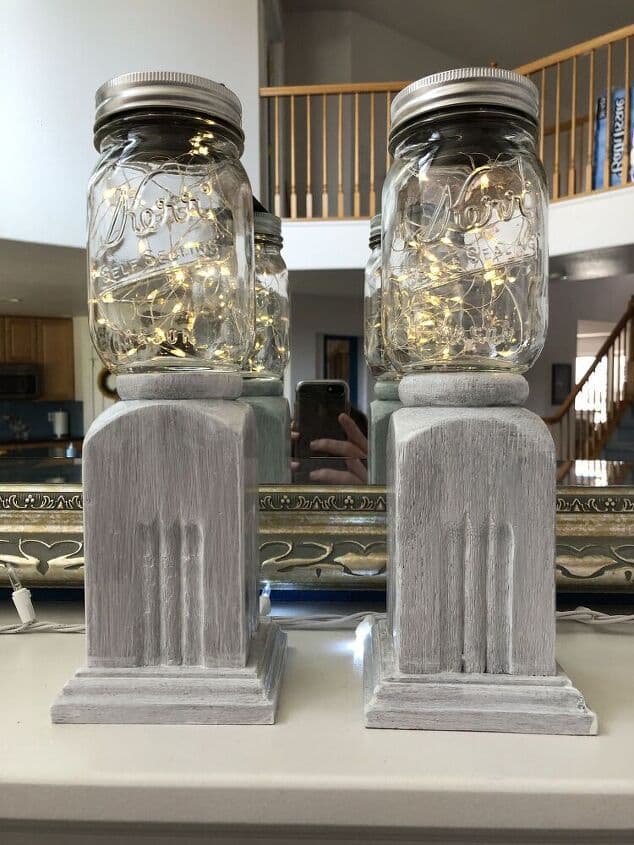
Check out some of my other mason jar projects!


(Chas those are SO adorable!) I’ll be featuring you this week – thanks for sharing with us at the To Grandma’s house we go link party. Happy June!
You are so sweet Tarah, thank you so much.
These are just the cutest idea, Chas! Loved the family photo of you all enjoying your drinks!
Thank you so much Kim, I’m thrilled you like them. Yes I love that the video caught us all giggling
These are so cute! Perfect for summer! I love jar crafts!
You are so very sweet Danielle! Thank you so much!
These are amazing. Not only cute but what a great way to keep track of whose glass belongs to each person. Great tutorial
Thank you so much Andrea, I’m thrilled you like them 🙂