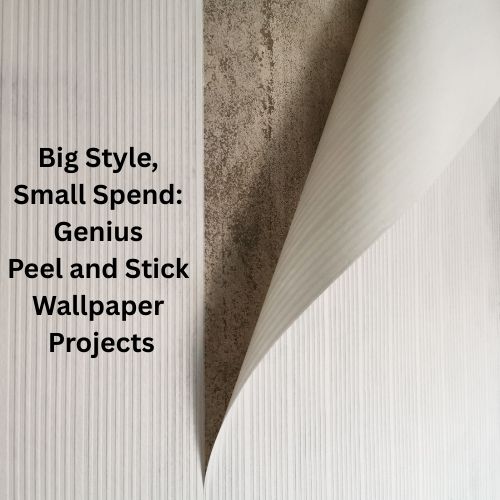
Big Style, Small Spend: Genius Peel and Stick Wallpaper Projects
Looking to refresh your space without a hefty price tag? Peel and stick wallpaper is a game-changer. It’s budget-friendly, renter-approved, and incredibly versatile. Over the years, I’ve used it in various projects, from accent walls to furniture makeovers. Let’s explore some creative ways to use this handy material, featuring real examples from my own DIY adventures.
This post is sponsored by Love Vs Design. All opinions, ideas, and experiences are my own.
Accent Walls That Make a Statement
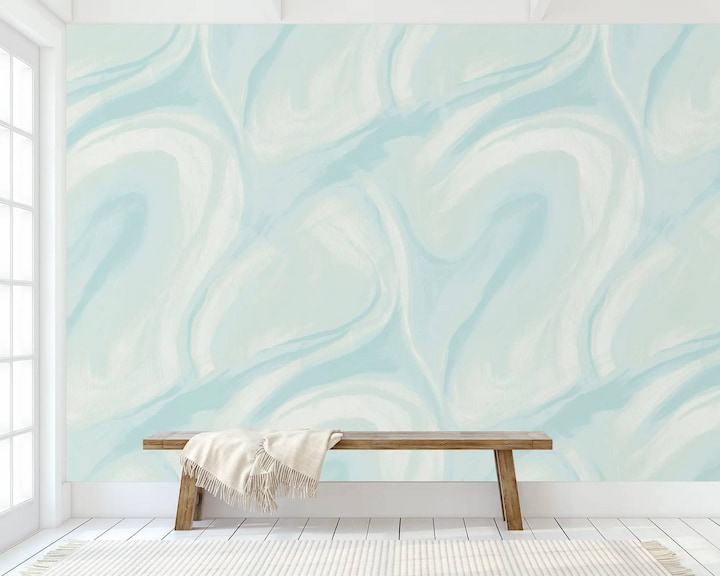
One of the simplest ways to transform a room is by creating an accent wall. Peel and stick wallpaper allows you to experiment with bold patterns without the commitment of traditional wallpaper.
Try it behind:
- Your bed
- The couch
- A home office desk or Zoom background
For instance, in my post on Serena and Lily Dupes on Amazon for Every Room in Your Home, I discuss how peel and stick wallpaper can create a fast room makeover for a small bathroom or an accent wall.
Quick tip: Always start with a clean, dry surface. Smooth as you go with a squeegee or ruler to avoid bubbles.
Stylish Stair Risers
If your staircase needs a pick-me-up, try adding peel and stick wallpaper to the risers. It’s a fast and affordable way to make a major impact without committing to paint or tile.
Pro tip: Measure each riser individually. Even small variances can make a difference in fit.
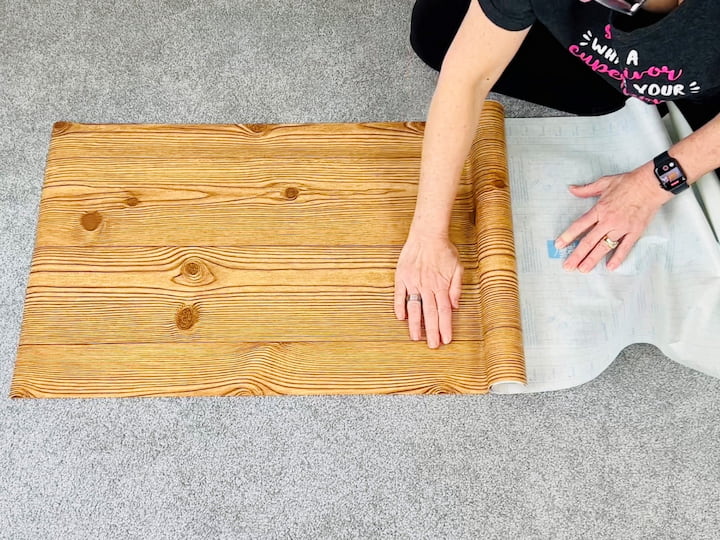
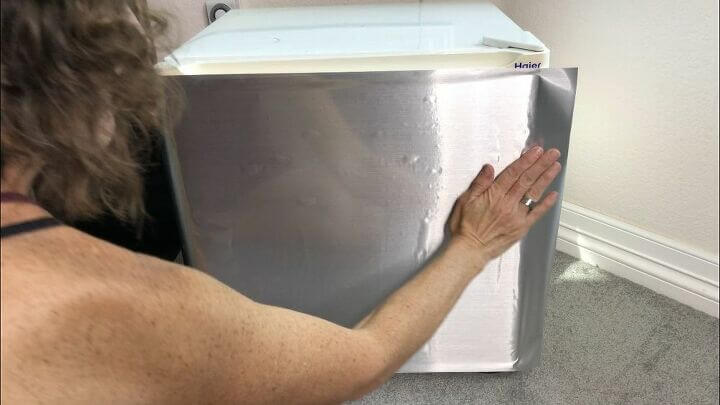
Furniture Makeovers Made Easy
Instead of buying new furniture, consider giving your existing pieces a facelift with peel and stick wallpaper. It’s a quick and affordable way to add personality to your home.
Great spots to cover:
- Drawer faces
- Table tops
- Cabinet doors
I transformed a plain bookshelf by adding contact paper to the back panel, giving it depth and dimension. See the full tutorial here: 5 Easy Upcycles Using Contact Paper.
You can see several of my furniture makeovers in these posts:
- How To Upcycle Storage Containers Easily and on a Budget
- Easy Upcycles Using Contact Paper For Furniture
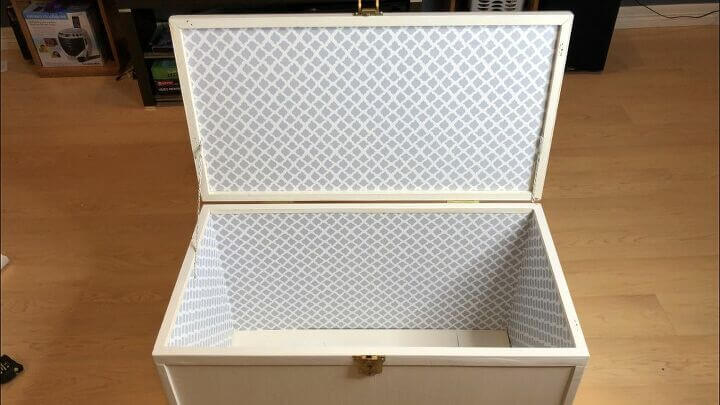
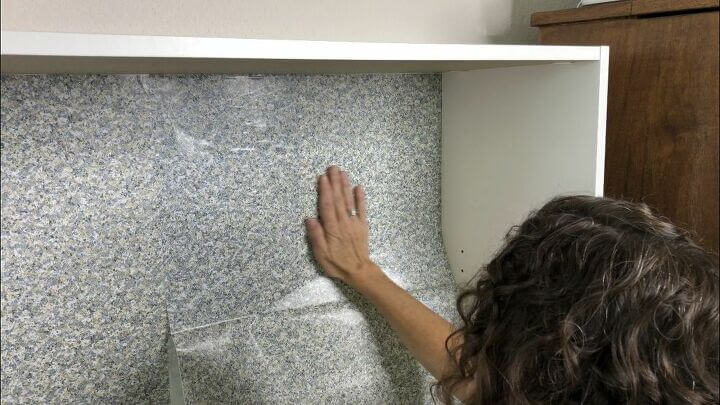
Secret Style: Inside Cabinets and Drawers
Lining the inside of cabinets and drawers with peel and stick wallpaper adds a delightful surprise every time you open them.
Perfect places to try it:
- Kitchen pantry
- Open shelving
- Dresser drawers
In one project, I updated the inside of a chest built by my grandpa, combining sentimental value with a fresh look. Details can be found in the same tutorial: 5 Easy Upcycles Using Contact Paper.
You can see examples of my projects in these posts:

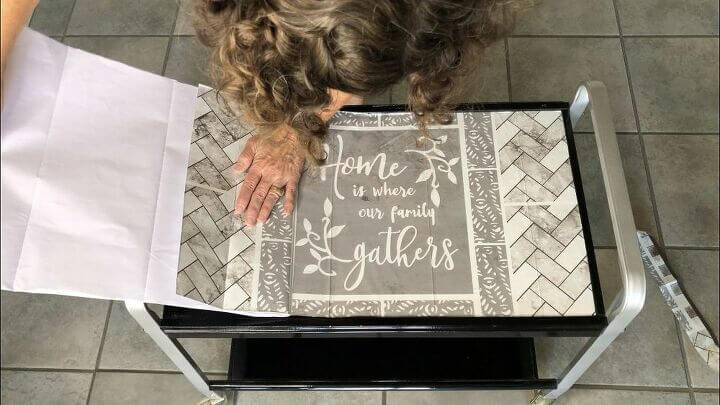
Temporary Backsplash That Looks Permanent
Peel and stick wallpaper can serve as a stylish and temporary kitchen backsplash. Opt for water-resistant and heat-safe varieties to ensure durability.
Installation tip:
- Clean the area thoroughly
- Apply slowly, smoothing as you go
- Use a craft knife to cut around outlets and edges
This approach is especially beneficial for renters seeking a non-permanent solution.
I added the above backsplash to my laundry room and you can see the full tutorial in my post Easy Inexpensive Laundry Room Makeover on a Budget
Don’t Forget the Ceiling
The ceiling, often referred to as the “fifth wall,” offers an opportunity to add visual interest to a room. Applying peel and stick wallpaper overhead can create a cozy and unique atmosphere.
You’ll need:
- A buddy to help (trust me)
- Lightweight patterns for a subtle look
- Or dark, moody designs for drama
More Small Projects with Big Payoff
Peel and stick wallpaper isn’t limited to walls and furniture. Here are a few additional ideas:
- Headboard substitute: Use wallpaper as a faux headboard behind your bed.
- Light switch covers: Wrap them to match your walls.
- Lampshades: Coordinate them with your room theme.
- Planters & pots: Add color to plain containers.
- Tech skins: Decorate your laptop or tablet.
- Wall art: Frame wallpaper panels for inexpensive decor.
- Drawer liners: Add a pop of color or texture.
- Notebooks: Cover them for stylish DIY journals.
You can see several examples in my tutorials:
- Easy Upcycles Using Contact Paper For Furniture
- How To Upcycle Storage Containers Easily and on a Budget
- 7 Easy DIY Makeovers
- 5 Easy DIY Makeovers
Tips for Success
- Buy extra: Get 10–15% more than you think you’ll need.
- Test first: Not all wallpapers are created equal—order a sample!
- Use a squeegee or smoothing tool to avoid air bubbles.
- Pop bubbles with a pin and smooth them out again.
- Work slowly: Especially for larger areas—don’t rush it.
Budget Breakdown (Approximate Costs)
| Project Type | Estimated Cost |
|---|---|
| Accent Wall | $80–$150 |
| Stair Risers | $20–$40 |
| Furniture Makeover | $10–$30 |
| Inside Cabinets | $15–$25 |
| Kitchen Backsplash | $50–$80 |
| Ceilings | $80–$150 |
Peel and stick wallpaper is more than a trend. It’s a way to bring style, color, and personality to your home without risking or investing in permanent modifications. With a little creativity and a couple hours of effort, you can get top-of-the-line looks that feel truly personal. It’s a welcome change in a universe where everything seems to cost more to find projects that are affordable yet have excellent taste.