2 Cute and Easy Dollar Tree Ornaments
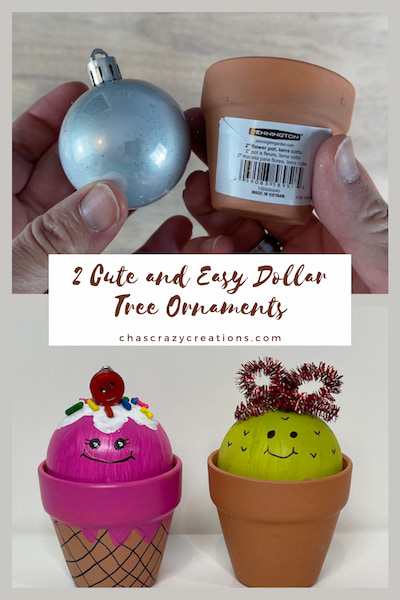
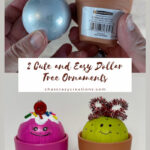
With just a few supplies from one of my favorite stores, you can make 2 cute and easy Dollar Tree ornaments for about $1 a piece!
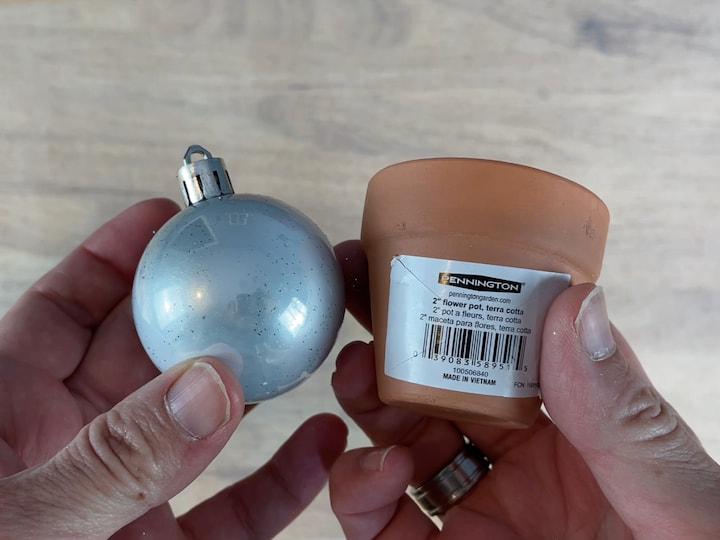
Materials needed for These Dollar Tree Ornaments
- Mini 2″ Terra Cotta Pots
- Plastic bulbs
- Folk Art Acrylic Paint
- Chalk Paint
- Paint Brush
- Hot Glue Gun & Glue
- Mod Podge
- Permanent Marker
- Sprinkles
- Pipe Cleaner
- Button
Dollar Tree Ornaments
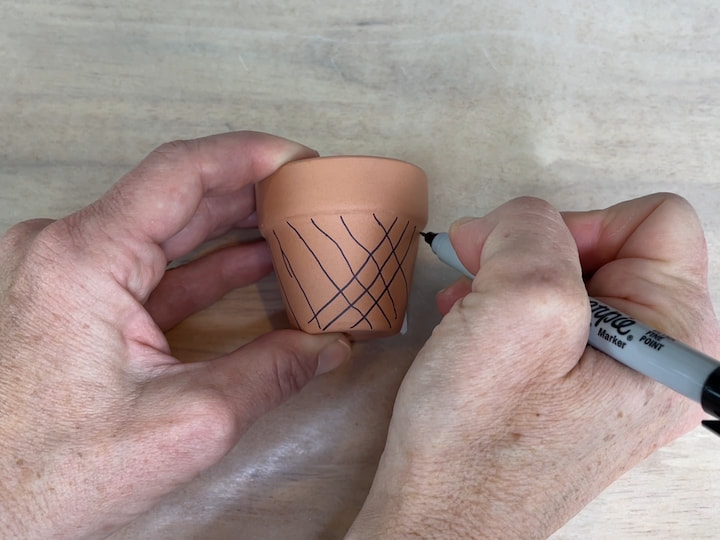
Instructions for the Dollar Tree Ornaments
1. Decorate the flower pot
For the first flower pot I used a permanent marker and drew criss cross lines to represent a cone. I left the second flower pot plain but you could decorate that one however you want.
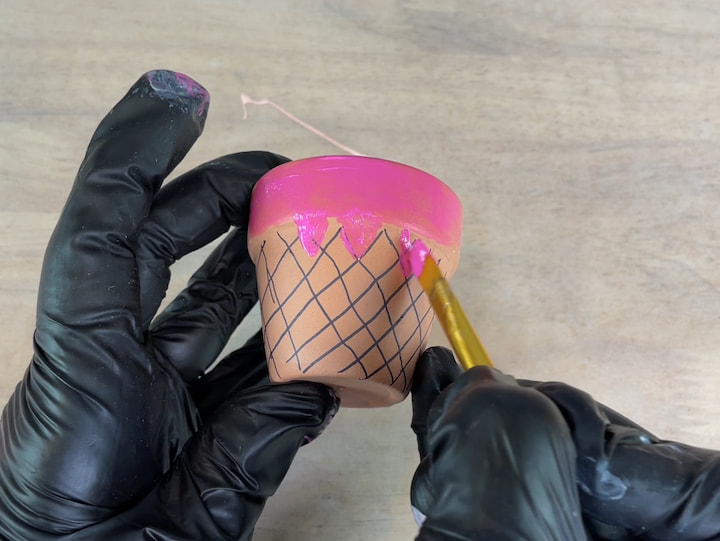
I painted the top rim with Folk Art Pink paint and created a few “drips” running down the side of the cone. I let the flower pot dry.
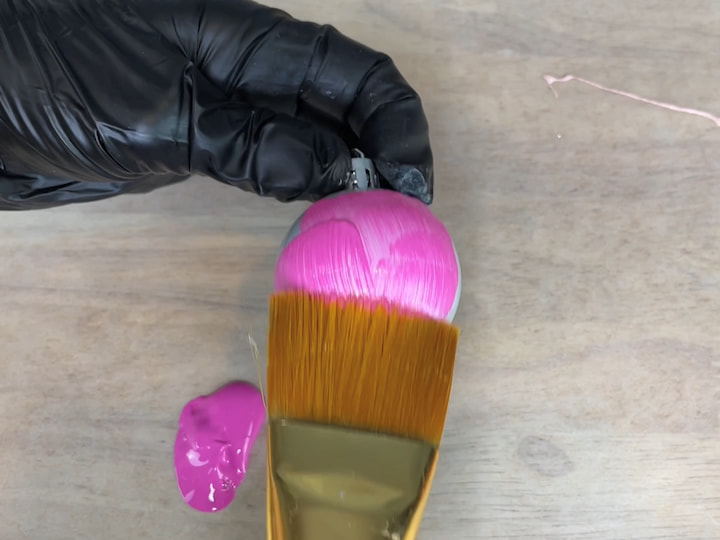
2. Paint the Dollar Tree Ornaments
I painted the first bulb with Folk Art Pink Paint.

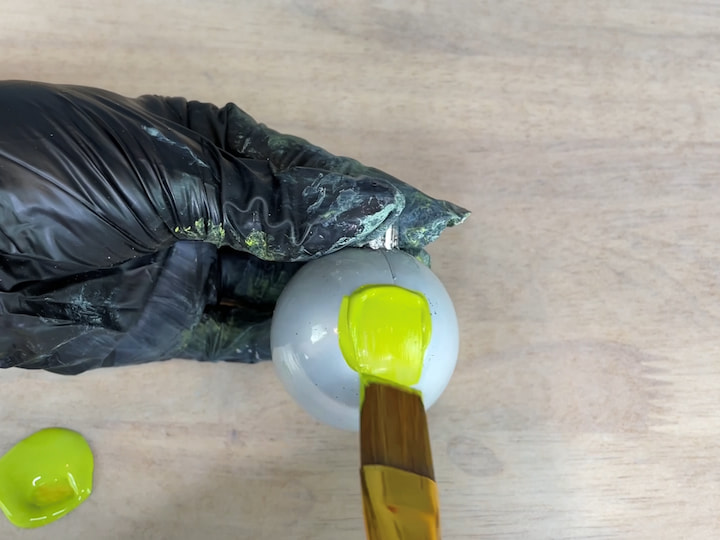
I painted the second bulb with Waverly Chalk Paint in the color scallion.
I let both bulbs dry completely.
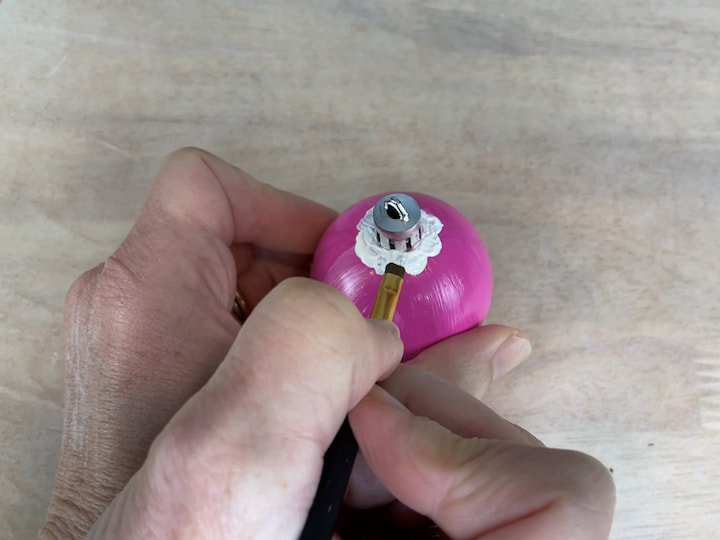
For the pink ornament, I painted on “whipped cream” using white Folk Art Home Decor Chalk paint, and I let that dry.
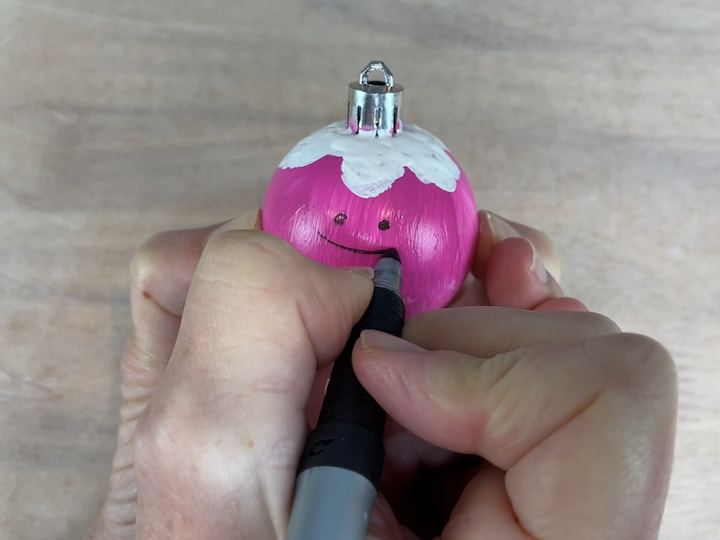
4. Draw on faces
I used a permanent marker to draw on a face.
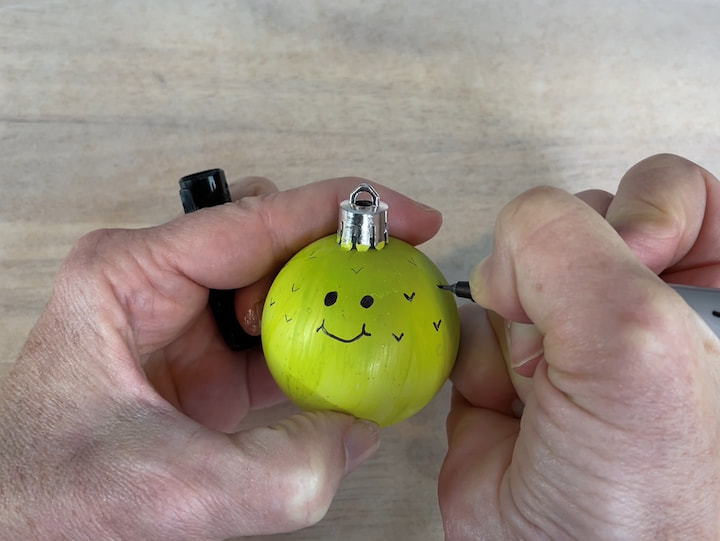
For the second bulb I drew on the face and then little designs to make this bulb look like a cactus.
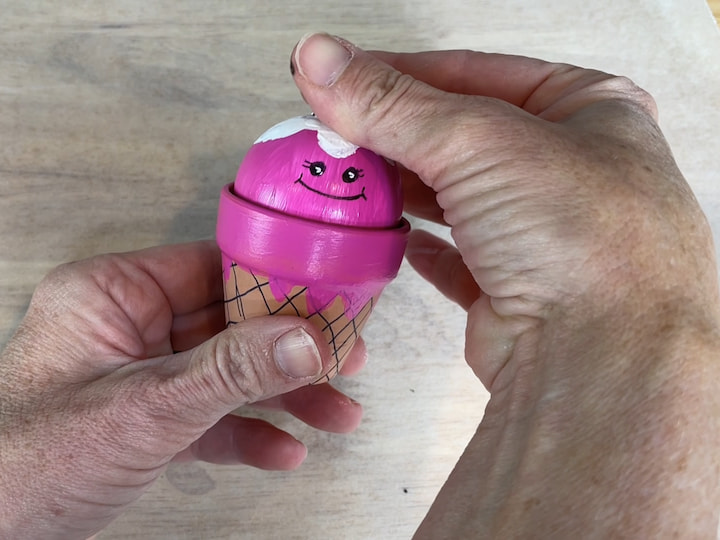
5. Hot Glue the Bulbs into the Flower Pots
I hot glued each of the bulbs into their flower pot.
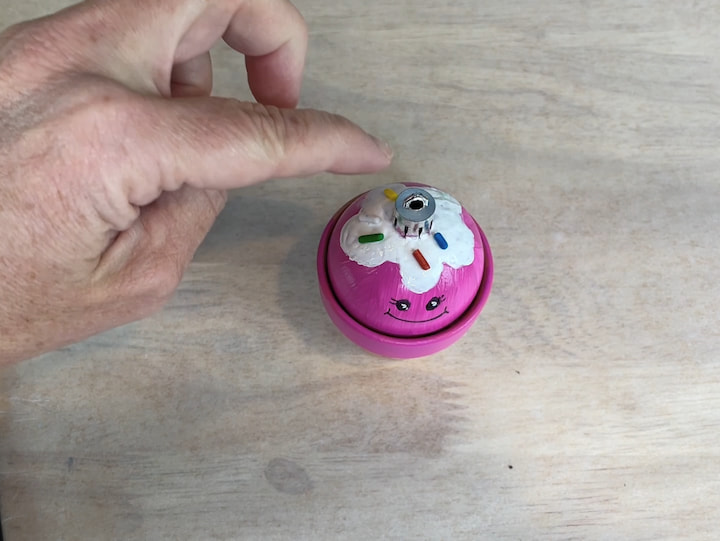
6. Add Embellishments to the ornaments
I painted on some Mod Podge over the painted whipped cream, and then placed candy sprinkles onto the Mod Podge. You could draw or paint on sprinkles if you prefer.
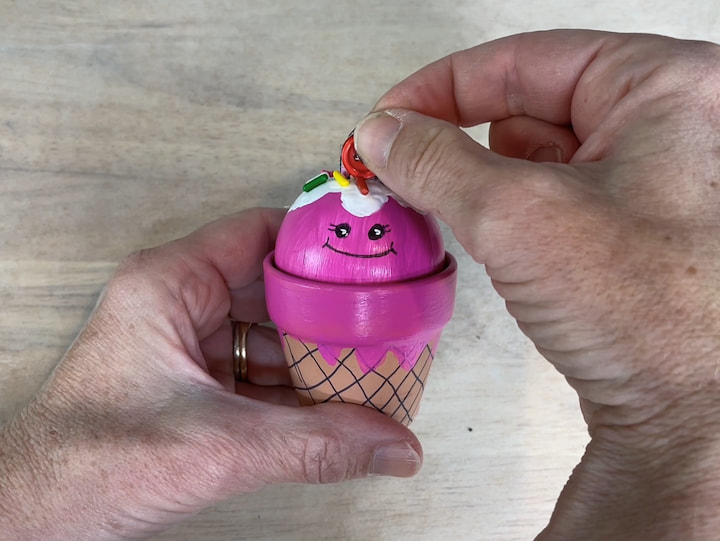
For the ice cream cone, I hot glued a button on top to represent a cherry.
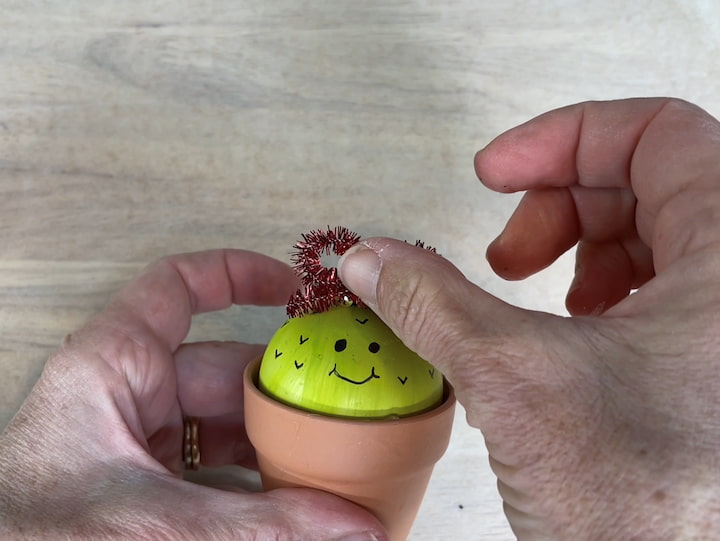
For the cactus, I created a bow with a red tinsel pipe cleaner and hot glued it on the top.
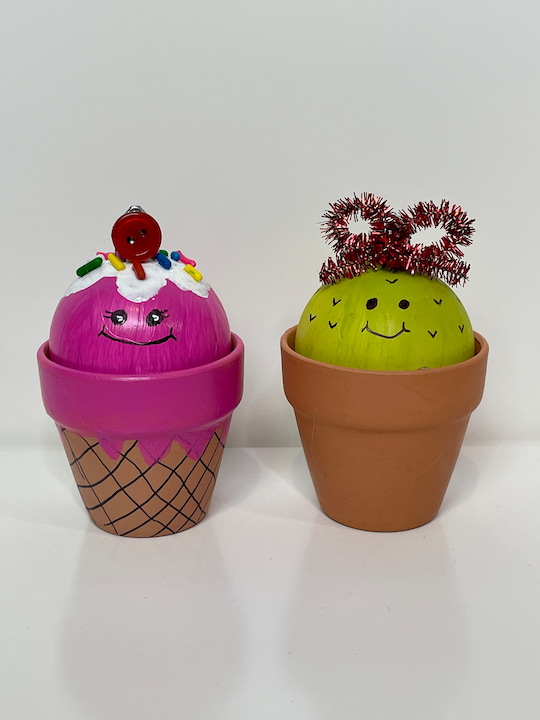
I love how both of these turned out. I had all of the paint on hand, so my total to make each of these ornaments was about $1! I also think they would make great gifts anytime of the year, not just for the holidays.
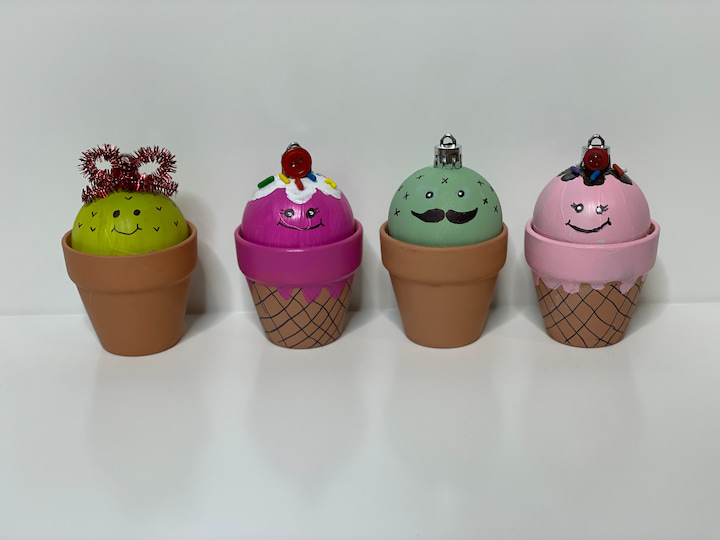
I also made a set of these for Hometalk TV, and I thought they turned out cute as well.
You might enjoy learning about the history of ornaments
Learn more about “Creating Seasonal Decor for Your Home” to create seasonal decor that doesn’t cost an arm and a leg.
2 Cute and Easy Dollar Tree Ornaments Video
Shop any of these stores and I receive a small commission at no cost to you.



Check out some of my other decor!






Those little pots and bulbs that you made are adorable. I’m going to try to do them, although not very crafty. Doesn’t matter if I mess up because they are just for me and my entertainment.
Thanks, Marie