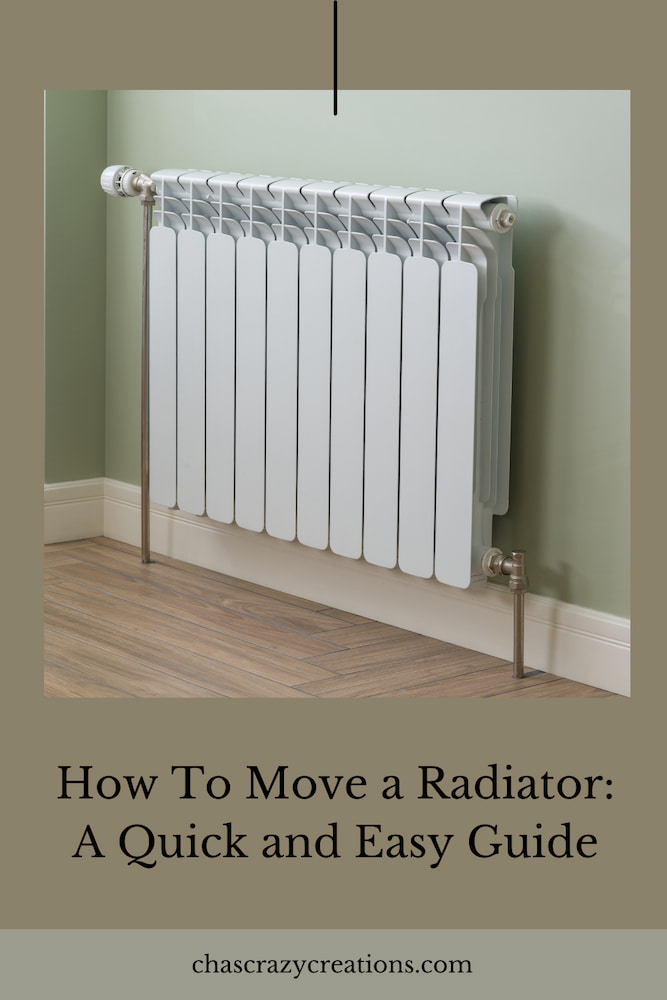
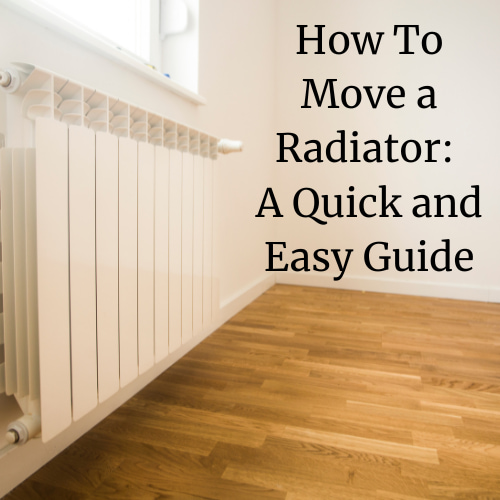
How To Move a Radiator: A Quick and Easy Guide
If you’re looking for how to move a radiator, you’re in the right place! Here is a quick and easy guide to get you started today.
If you’re planning on moving a radiator, it’s important to know exactly what you’re doing so that you don’t end up making any costly mistakes. If you don’t carry out the work correctly, this can lead to damaged pipework, damage to the heating system, or you may even end up flooding the room.
In many cases, people prefer to leave this type of work to a professional plumber as the cost of relocating a radiator is not that high when you consider the potential costs of the damage if anything was to go wrong due to completing the work yourself. However, if you want to carry out this work as a DIY project, you’ll want to know the best way to proceed with the job.
In this article, we will break down the steps involved with moving a radiator to a new location and provide a list of the tools needed to complete the job. If you’re in doubt about whether you can do this work yourself, we recommend choosing a professional to complete the work for you.
How To Move a Radiator: What You Will Need
Below is a list of things that you will need to obtain before attempting to move your radiator to a new location:
- Your radiator key
- Two adjustable wrenches
- A drill
- A notepad and pen/pencil
- A ruler
- A container
- Towels
How To Move a Radiator
Below, we will go over the essential steps needed to relocate a radiator:
Turn Off The Heating and Switch Off The Valves
The first crucial step in ensuring you are safe when moving your radiator is that you must turn off your heating system before going ahead with the work. You will then need to wait for the system to cool down before going ahead to avoid the risks of burning yourself in the process.
After that, you’ll want to turn your thermostatic radiator valve off. Use a wrench to twist the lock-shield valve clockwise to completely close and isolate your radiator from the rest of your heating system. Be sure to write down the number of turns it took to close it, as this will help you to restore your radiator to the same pressure level once you’ve relocated it.
Before you can begin draining the radiator, you will need to turn off your boiler and isolate the electricity supply. If you attempt to drain your system while the electricity supply is still running, this can cause the boiler to fire up again, or the pump may start. If this happens, it could lead to the boiler overheating or burning out.
Measure The Radiator and The New Location
Before you start getting excited about moving your radiator to its new location, you must first measure the radiator in its current position before you remove it. This is so that you know exactly how much space you’re going to need on the new wall when it comes to fitting the radiator in its new location. Be sure to measure the space between the floor and the bottom of the radiator to allow enough room for the pipework that runs to and from it.
When you are moving your radiator to a new wall, don’t forget to check that you have plenty of space for the radiator in the new location. You much also check the integrity of the wall that you plan on hanging your radiator on. If you notice any weak spots or cracks in the wall, it’s important to take care of these before moving the radiator. You also need to make sure the new wall is capable of carrying the weight of the radiator. Finally, check with a local plumber to ensure the new location is equipped with the necessary pipework needed to feed to your radiator in its new location.
Drain The Radiator
Before you can pull your radiator away from the wall, you will need to drain all of the water out of it. If you don’t do this, you risk flooding the room, and this could cause a lot of expensive damage.
You don’t have to drain your entire system to move a radiator. It’s possible to just isolate the particular radiator that you’re moving and just drain that. This makes the task at hand much simpler.
When preparing to drain your radiator, you’ll need to put a container over a towel underneath one of the valves. Then, undo the nut that joins the radiator to the valve. You can do this with two wrenches by placing one wrench on the valve and using the other to carefully and slowly undo the nut. Then, allow the water to drain out into the container below.
Use your radiator key to open and bleed the valve, as this will allow more water to drain out of it. Then close it again and move on to the other side of the radiator. Repeat the same steps again on the other side of the radiator.
Once you’ve completed the draining, you can then loosen the nuts on both sides and disconnect the radiator from the valves. Lift the radiator away from its brackets – you may need to ask someone to help you with this part of your radiator is quite larger or heavy. Then, gently tilt your radiator to drain away any remaining water from it into the container below.
Cap The Pipework
Once you’re satisfied that your radiator is completely empty, you’ll want to temporarily stuff the valve inlets with tissue paper. You must also completely cap off the valve outlets that are no longer in use. You’ll have to get a professional plumber to do this for you as it is illegal and potentially very dangerous to do this yourself.
Move The Radiator
You are now ready to move your radiator to its new location. Measure the height of the radiator brackets in the old location and also measure the distance between them and note your measurements down. Then, remove the brackets from the wall and use your measurements to reattach the brackets to the new location at the same distance that they were in the old location. You will need to use a drill, screws, and wall plugs for this part of the work. It’s also a good idea to use a spirit level for this part of the work to ensure your brackets are properly level.
Once the brackets are secure, carefully lift and lower your radiator onto them. Make sure the brackets align with the ones on the back of your radiator and ensure the TRV and lock-shield valve are closed. You will need to hire a professional plumber to complete any of the necessary pipework needed and to hook your radiator onto the pipes in its new location.
PTFE tape needs to be applied to the thread of pipework before tightening each fitting. This creates a buffer and prevents fluid or gas from leaking out of the system. Once your radiator is secured, and all of the bleed and drain points are shut tight, you can then go ahead with refilling the radiator.
Refill The Radiator
Once all of the necessary pipework has been fitted and secured by a professional plumber, you can then go ahead with refilling the system. You can do this by opening the lock shield and TRV valve before opening the bleed valves until you notice water starting to spit out. At this point, you should close the bleed valves.
Once your radiator has been refilled, you can then reconnect the electricity supply to the boiler. Turn your central heating on and test out your radiator to ensure that it’s working as it should. Make sure your boiler can reach the correct level of pressure. If it can’t, you need to employ a registered gas safe engineer to inspect it.
More Radiator Information
- Update old pipes to new pipes like
- You might want to consider updating your existing pipes to copper pipe
- You can consider updating your old radiator to a central heating system if applicable
- Make sure your hot water connection is working properly
- Update radiator valves
- Hire a heating engineer to help (think about the labour costs)
- Consider the average cost of the whole system to make informed decisions.
- If you are in an older home, make sure to have the existing radiator checked out when you move in and learn the type of radiator you have
- Make sure the radiator you have warms enough space.
- Consider the size of the radiator in the space you want to put it or update it.
- There are different kinds of radiators such as steam radiators and electric radiators. Do the research if you need to update yours.
- You’ll also need to consider if you have a steam system or electrical wiring when updating
How To Move a Radiator Conclusion
Moving your radiator can be done with a few steps and tools. Once again, if you’re in doubt about whether you can do this work yourself, we recommend choosing a professional to complete the work for you.
Here are some other Home Improvement Tips that might help you with your home renovations.
Shop any of these stores and I receive a small commission at no cost to you.
Shop any of these stores and I receive a small commission at no cost to you.
 + Mini Camera (Black) with Sync Module 2 | Two-Way Audio, HD Video, Motion and Chime Alerts | Alexa Enabled") Blink Video Doorbell (Black…Shop on Amazon
Blink Video Doorbell (Black…Shop on Amazon | Smart speaker with Alexa | Charcoal") Echo Dot (4th Gen, 2020 rel…Shop on Amazon
Echo Dot (4th Gen, 2020 rel…Shop on Amazon Apple AirTagShop on Amazon
 Amazon Fire TV Stick, sharp…Shop on Amazon