Easy DIY Small Kitchen Organization Ideas
Today I’m sharing diy small kitchen organization ideas that I used in my home. Drawers, cabinets, pantry, and lazy susan tips.
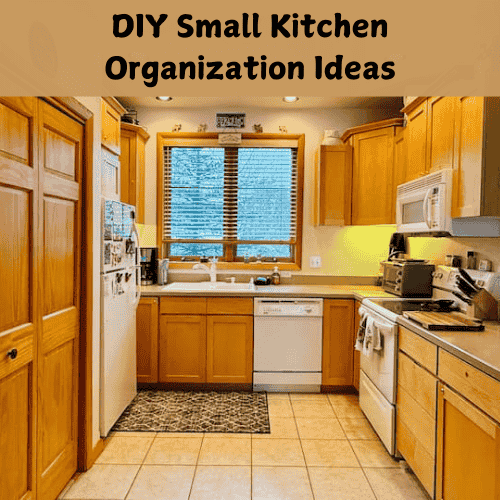
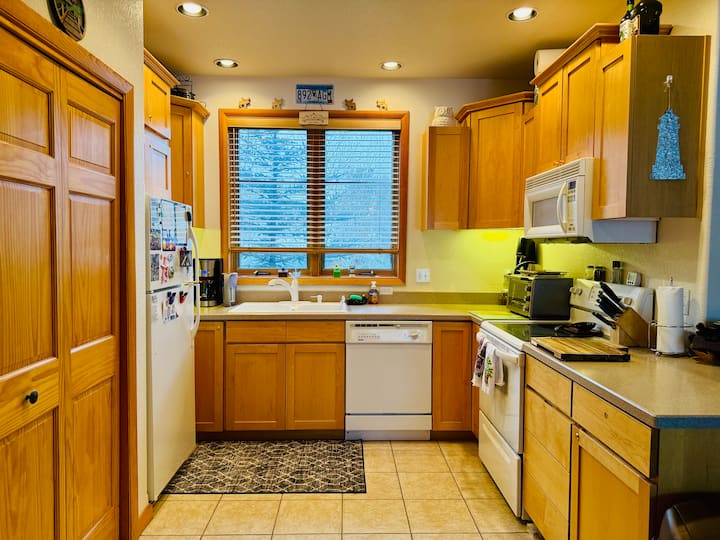
Welcome to Chas’ Crazy Creations. Is your small kitchen a cluttered mess? I transformed mine with simple affordable organization tricks from Dollar Tree.
DIY Small Kitchen Organization Ideas Video
Drawer Organization
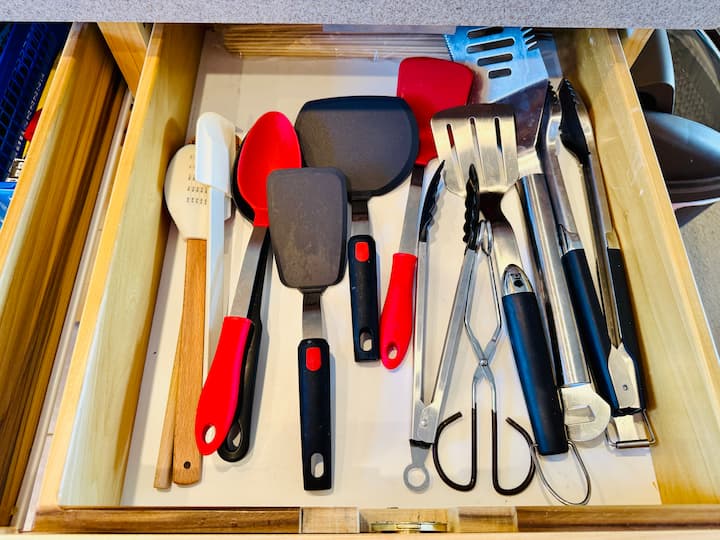
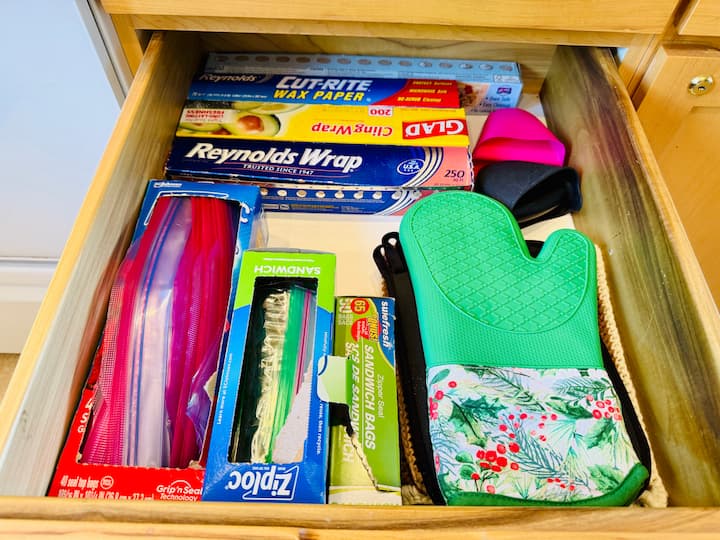
So let’s start by decluttering. Open that drawer, gut it, and then wipe it clean. I went through all of the items, eliminated the extras that I didn’t need, and I really thought about where I wanted to place all of these items, which drawers.
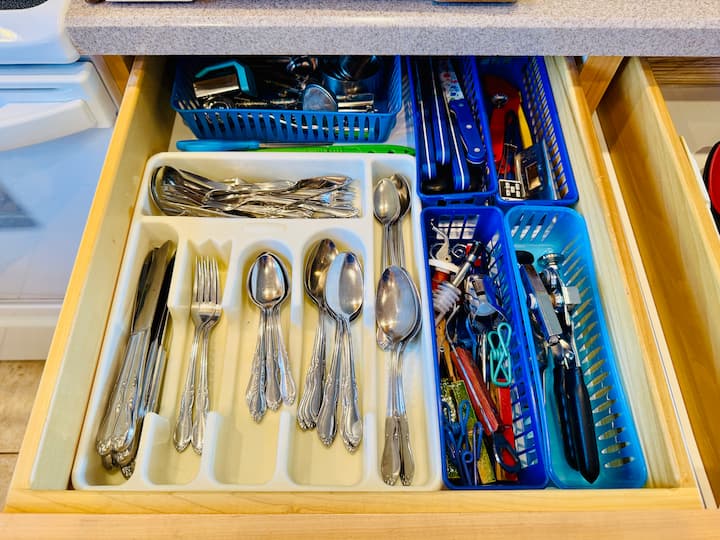
Once I knew what was going to be in some of the drawers, I would measure the drawers and create a layout for each of them. Using some dollar store baskets as drawer organizers, I created a system. I placed all of the items I needed into the different baskets so that they made sense to me.
Now that these drawers are done, I’m wondering if I shouldn’t have flip-flop them so that my cooking utensils were closer to the stove.
Let me know what you think in the comments below.
Through this journey, I learned that I needed to play with the items that were going into the drawer. Sometimes I needed to switch the direction to optimize my space.
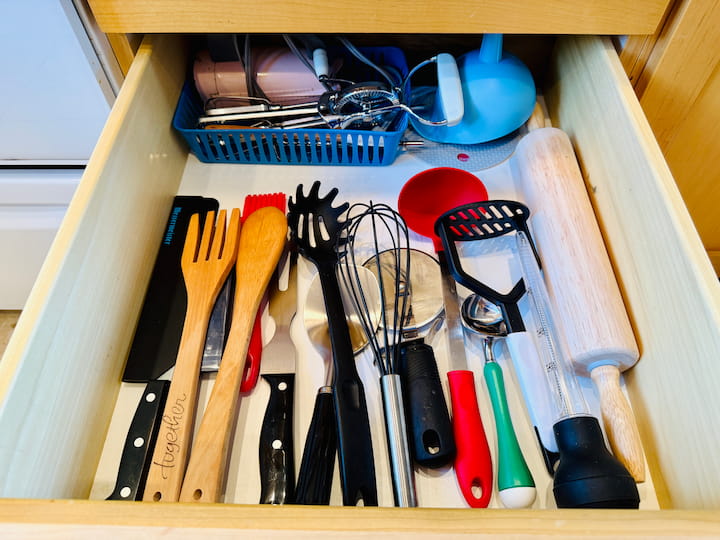
Yes, I had some more utensils that I didn’t use quite as often, so I moved them to a lower drawer, spacing them out between two drawers.
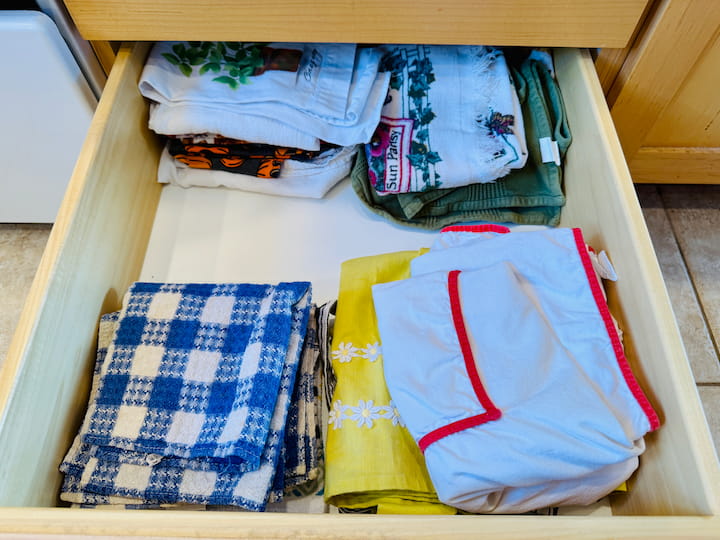
Kitchen Towels
And for my last drawer, I used it to store my towels and aprons.
Pantry Organization
Now let’s move on to the pantry. So this is a corner by our sink and it’s really obscenely deep and awkward to get to, so it’s not like I can use it to cut or chop vegetables or anything like that.
Creating Extra Storage
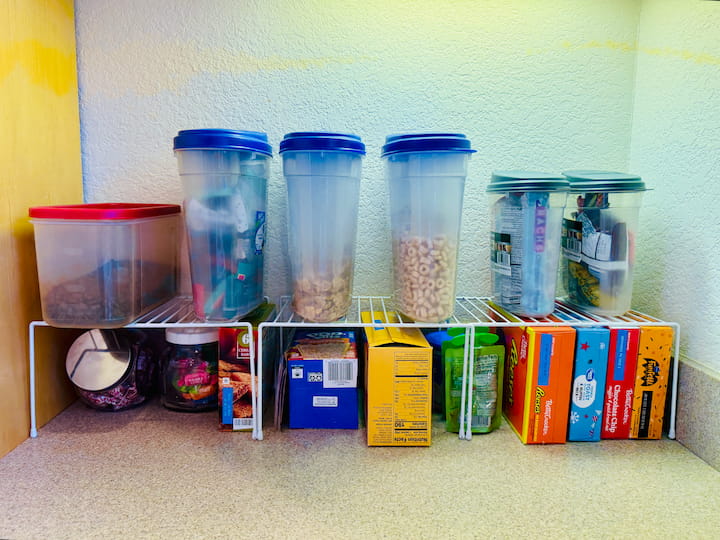
Now I’m going to take three of these dish racks from Dollar Tree and I’m going to place them into the corner.
I’m going to place some of the dollar store containers that hold our cereal and granola bars and things like that on the top shelf. And then I’m going to slide other things that fit nicely underneath. And just like that, I added additional pantry space in an area that was kind of worthless.
Now, if I wanted to hide this, all I’d have to do is add a tension rod with a little curtain underneath this. And I could use a shower curtain from Dollar Tree or something like that.
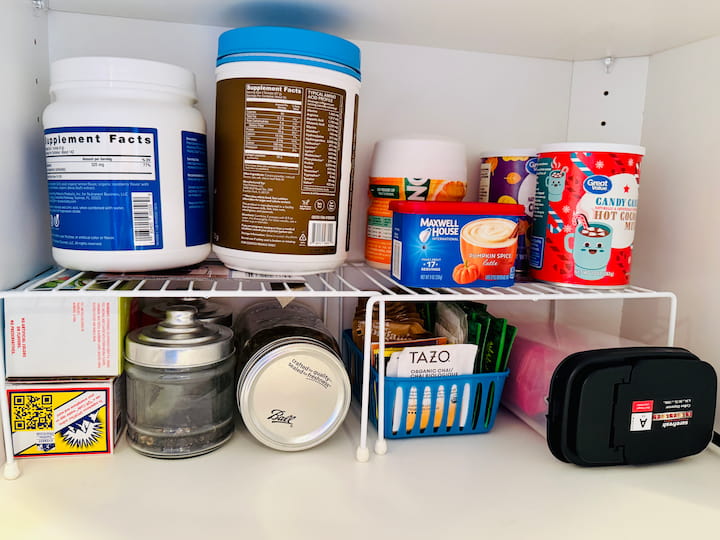
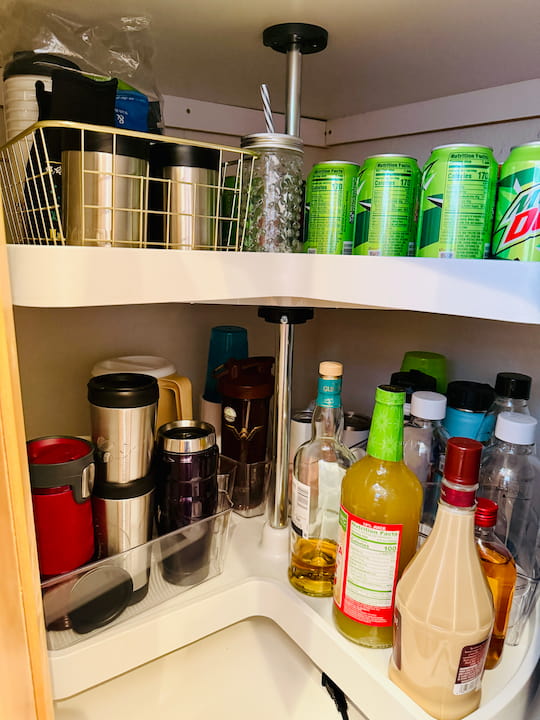
Now, this here is one of those awkward corner cabinets, so I’m going to use this for some pantry storage as well. Once again, I’m going to add some vertical space by adding some more of those dish racks inside. And then I added a bunch of pantry items, and I grouped things together.
And you can see I’m storing tea and other things in dollar store containers as well. This new coffee holder is a new find at Dollar Tree, so I grabbed some of this with a measuring spoon for our coffee. I took some loose teas and placed them into a container, and you can also stack tea boxes on top of each other.
And here’s a quick look. See how I doubled my space by using vertical space.

I repeated the same process with the shelf above. These things I use a little less often.
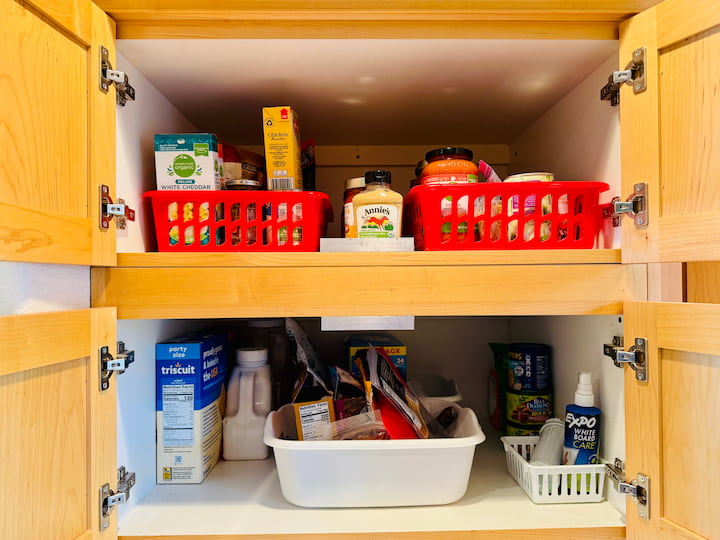
Now these two cabinets above our refrigerator are what I have left for my pantry situation. They are very deep cabinets. So I place some things on the sides, but then I’ve placed other items in dollar store bins so that I can slide them in and out more easily.
I can also rotate them so that they’re forward and I could fit four of these tubs in here at one time to put different groupings of food together. The cabinet above is in a similar situation. This is more of our pantry storage items, things that we keep on hand, and I can pull these out. I’ve got them inside little red tubs from Dollar Tree.
Lazy Susan Organization
Cookware
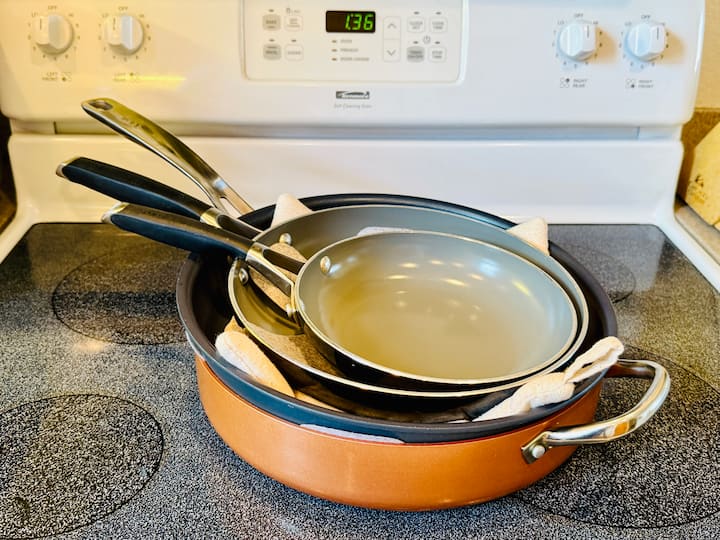
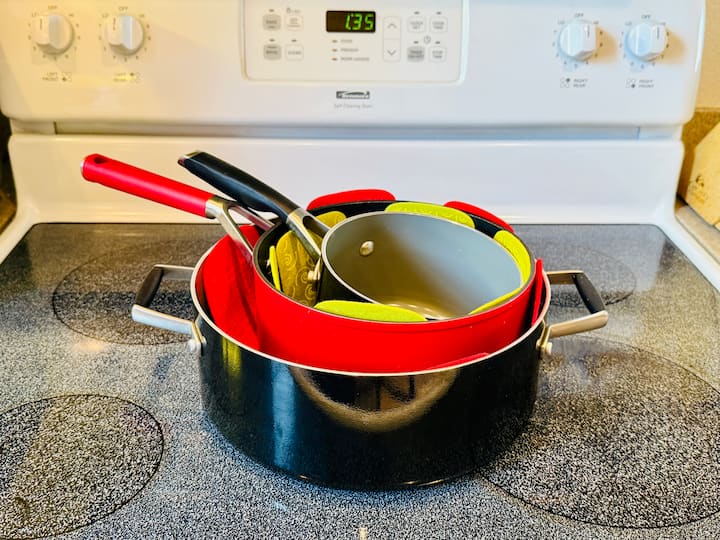
Next, Lazy Susan’s. So I’ve learned to stack items to optimize my space, and I’ve used the dollar store dividers to help protect my pots and pans, as well as some other things like pot holders.

You can also use these for so many things, but I use them for my lids in my Lazy Susan.
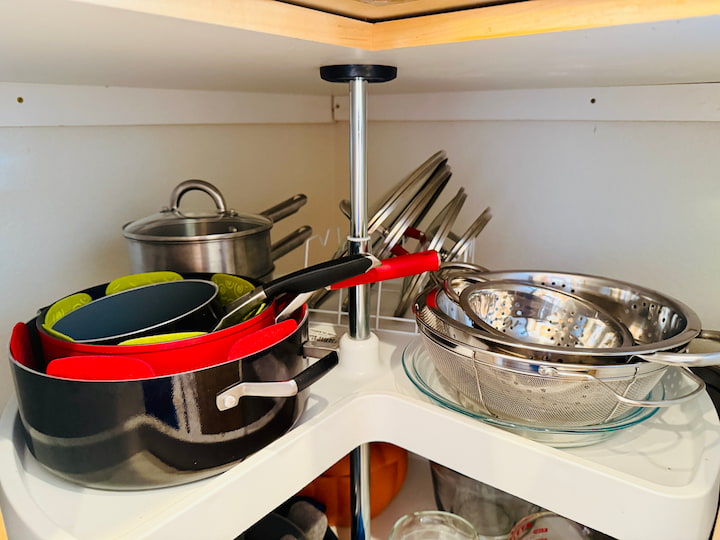
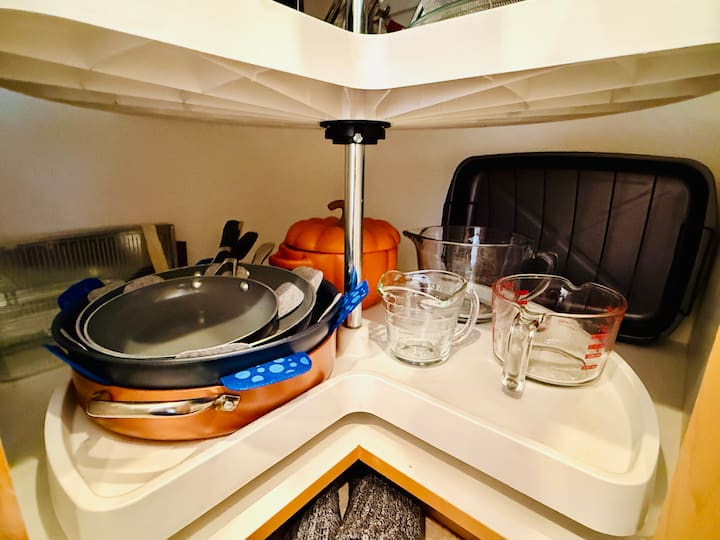
And here you can see my bottom and top shelf and how easy they are to get to now.
Another tip, back behind those Lazy Susans is a little empty space. I sometimes put things that I don’t use as often back there, but I can still reach them and use them when I want.
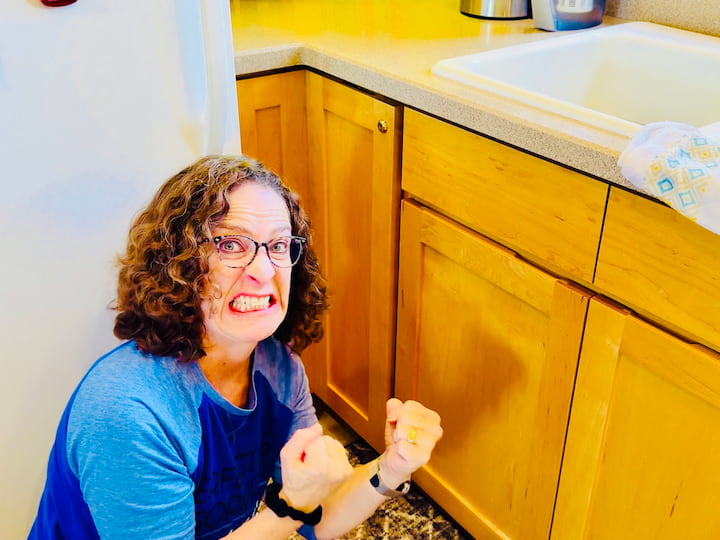
This Lazy Susan is my nemesis, and here’s why. The way this kitchen is designed, you cannot even open this door all the way up.
The refrigerator gets in the way. So what happens? My husband pulls things out and never puts them away. You literally have to open the refrigerator to open the door all the way. What a waste of electricity. Do you have a pain point like this? Let me know in the comments below. Because of this, we don’t use this space properly because you just can’t get to it.
So first, I’m going to put my hair up and we’re going to gut the whole thing.
Next, I’m going to go through everything and decide what I really need under there.
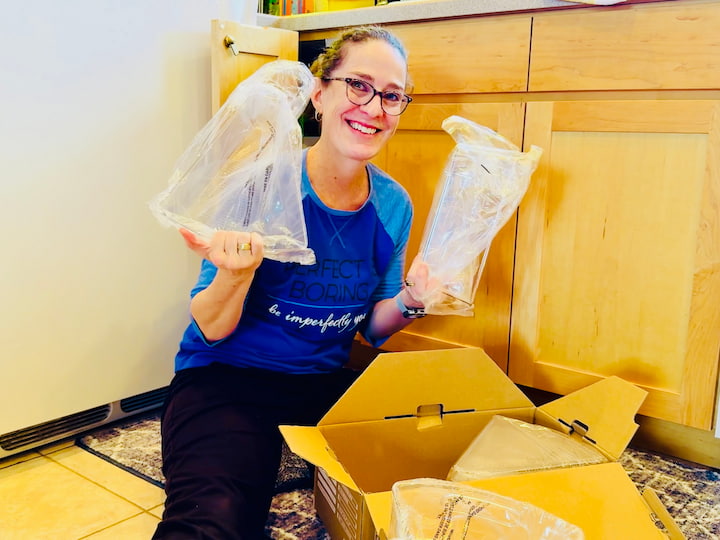
I measured the base of the bottom Lazy Susan and then I purchased these clear dividers on Amazon. You can purchase those dividers here on Amazon
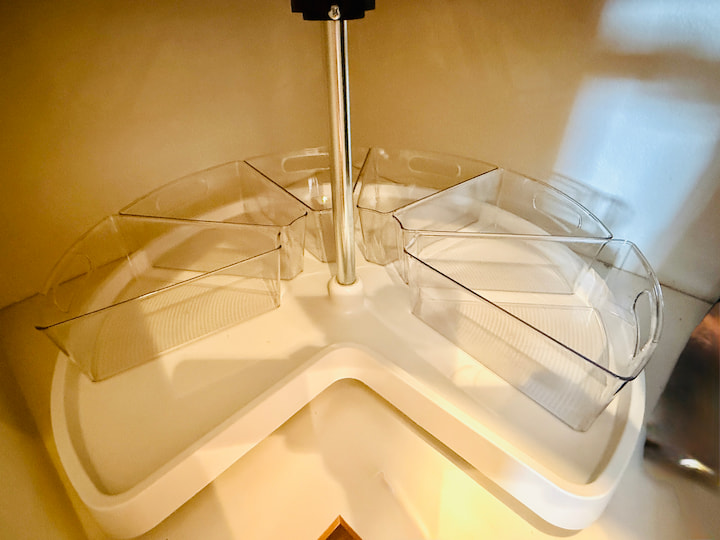
Yeah, the soda stream can. Yeah, that’s for me. I’m a sparkling water girl.
My family loves the soda, so we’re leaving those on top for now, and I’m placing all of these on the bottom of the Lazy Susan.
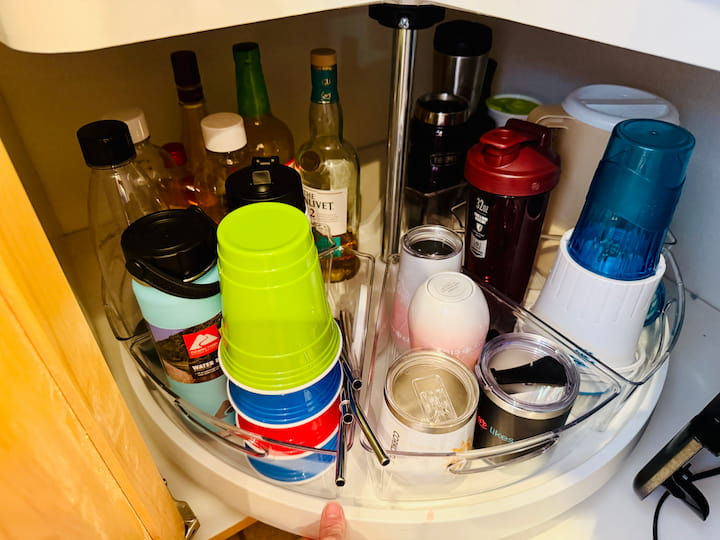
I group things and place them into the bins, and now they don’t fall over when I’m rotating them anymore.
Now I place a bin on top with all the cozies, so hopefully my husband can grab the cozy, his soda, and put it back with no problems. Now, the door to this Lazy Susan isn’t fixed, but what I’ve done is make it easier to get things that are small in and out of here that we use once in a while.
Deep Cabinet Storage Ideas
Small Kitchen Appliances
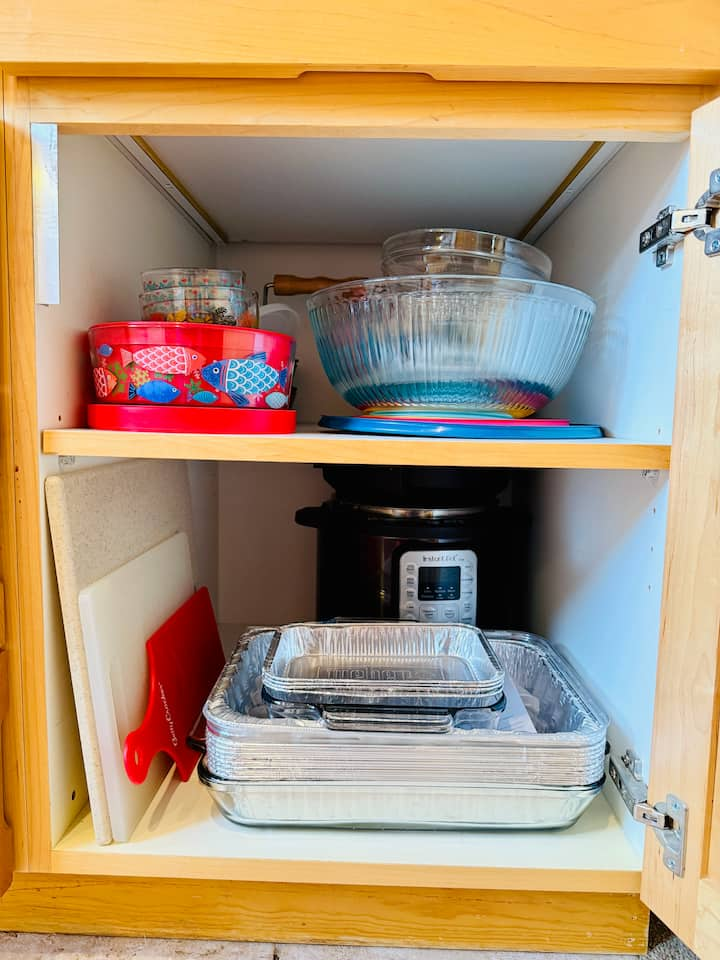
Now, this is my only other lower cabinet, so here’s what I did with this one. So, the question is, what do I use a lot and what do I use a little less? And again, stacking becomes my friend. I also don’t want to overfill it, so I place my Instant Pot and my popcorn popper towards the back.
Food Storage Containers
I place my stack of bowls together and the lids for those bowls underneath them.
I placed my other storage containers next to those and I used one container to stack all of them together and the other one used the lids.
And then I placed my cutting boards sideways so that they wouldn’t take up much space.
And then my baking pans I stacked again with the lids. underneath.
By placing all of the things I use upfront the most, they’ll be super convenient and since I didn’t overcrowd it or clutter it, it’ll be easy to pull out something to get to one of those big things in the back.
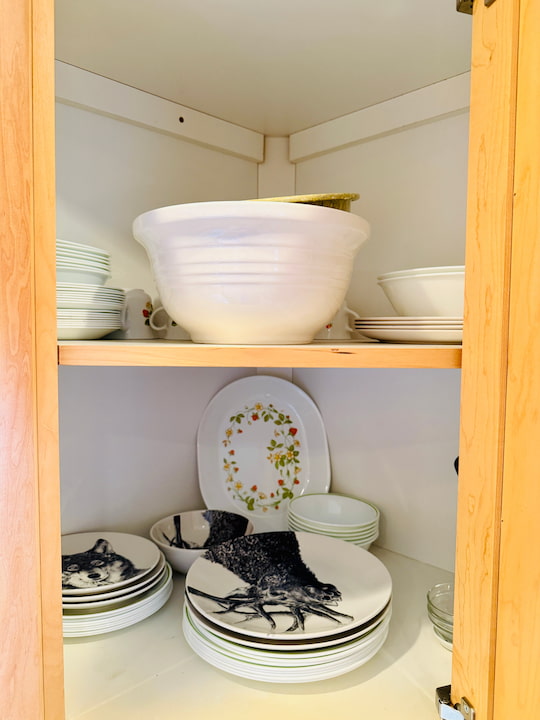
And here’s how I store my dishes in one of those deep corner cabinets. On the top shelf, some bowls and some less likely used dishes. These are things we don’t use as often. I have to get on a steps tool to use them. On the shelf below that, the one we get into the most, obviously the plates are the easiest thing to grab the bowls slightly behind that.
Tall Kitchen Cabinet Storage Ideas
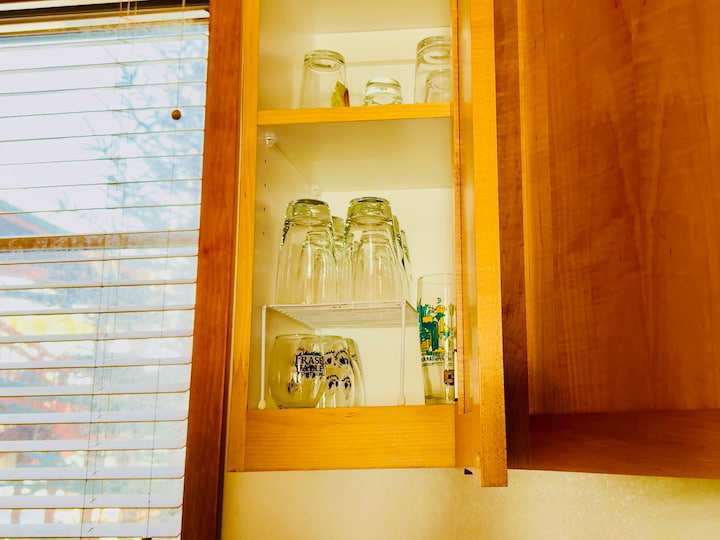
Here’s another quirky cabinet dilemma. So this is where our drink glasses go and there is only one shelf. So I have all of this space on this bottom area to use. So what I ended up doing is buying a dollar tree plate stacking holder and I used it in a different direction because it wouldn’t fit the wide way in it. I placed taller glasses on top and the short glasses underneath. This gave me more glass storage space.
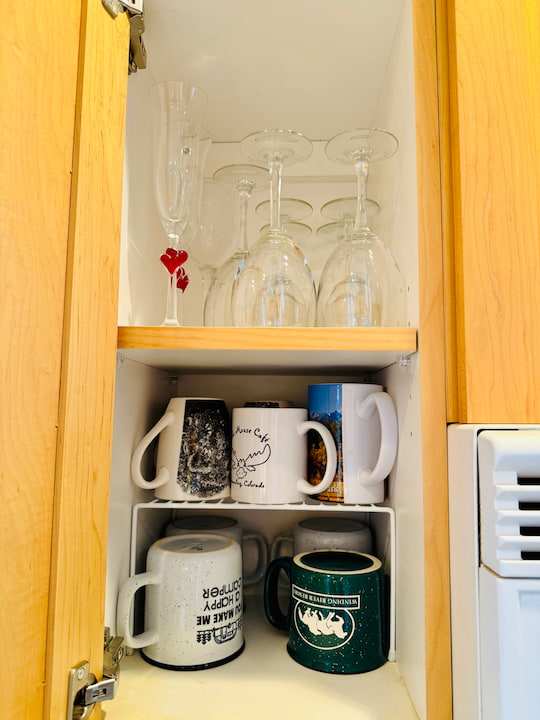
I had another one of these cabinets, so I placed my stemware on the top and added one of the containers, but this one fit in sideways, and I added all of my mugs to it.
Optimizing Counter Space
Okay, let’s talk about countertop space.
Small Appliances Idea
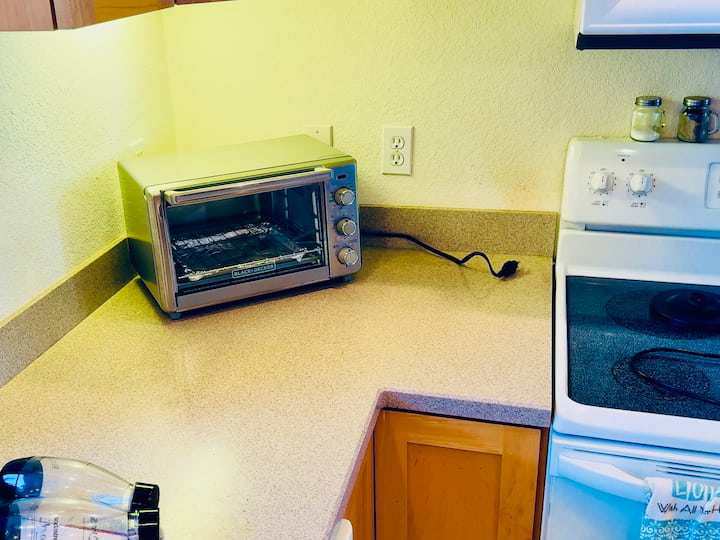
It’s valuable real estate, right? One thing I did at first for a long time was I had this toaster oven and I placed it diagonally in the corner. This gave me more counter space to work with.
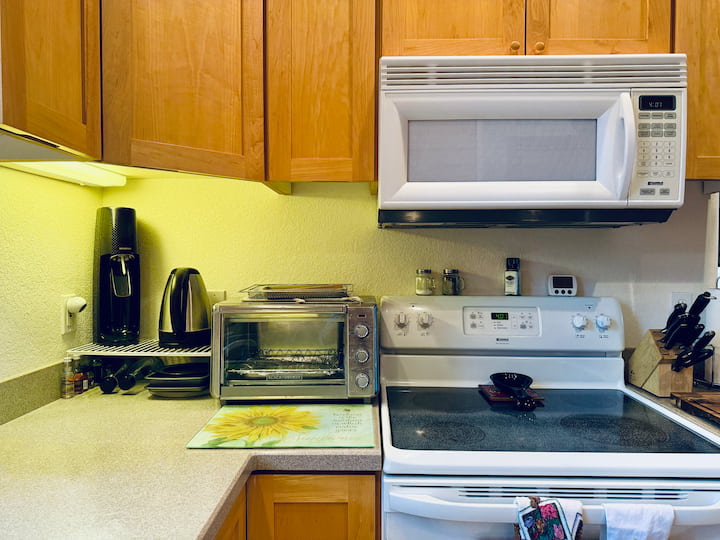
Then later I got a Soda Stream for my sparkling water so I moved the toaster oven over next to the oven. I found this larger dish rack.
We actually had it on hand at our home, and I placed it next to the toaster oven.
I placed two hot pads on top of our toaster oven, therefore I could use that as storage to put the hot things when they come out of the oven.
So now in this corner, I added my water kettle and my soda stream, and underneath that, some of the water bottles for the soda stream, and some of the baking pans for the toaster oven, optimizing more space.

Now let me pause for a second to teach you a little hack about your toaster oven.
So I removed the little drip pan as well as the crumb tray. Next, you need aluminum foil. So I’m using the aluminum sheets from Dollar Tree. I’m going to place that on the drip pan. On the bottom, it’s a little bit bigger than that. So I needed to use aluminum foil to measure it out and I placed it on the crumb tray.
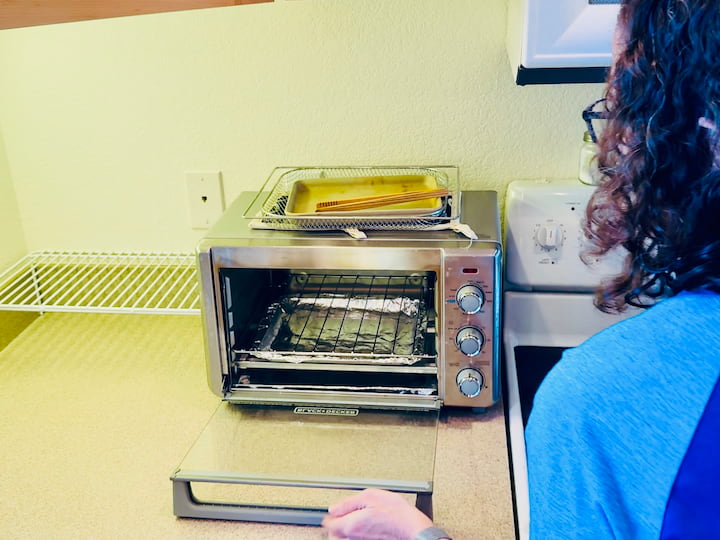
I placed those back inside the toaster oven. And now if it becomes too greasy or has drips, it’s just easy to peel those off, throw them away, and put new ones on. It’s a lot easier to clean.
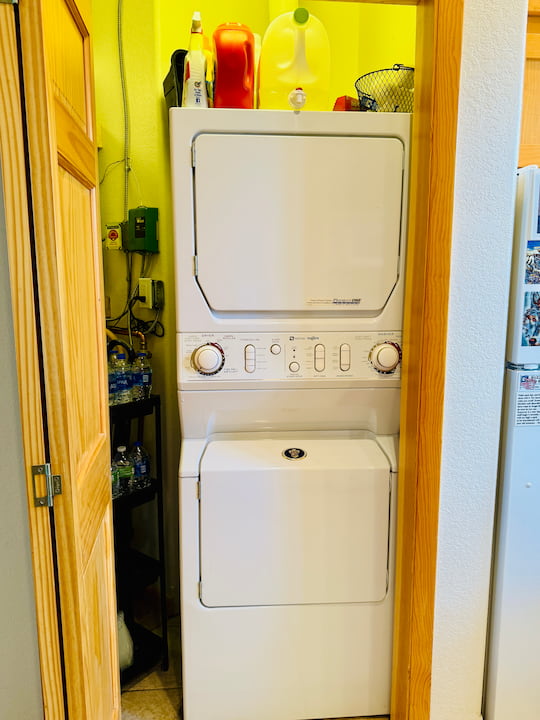
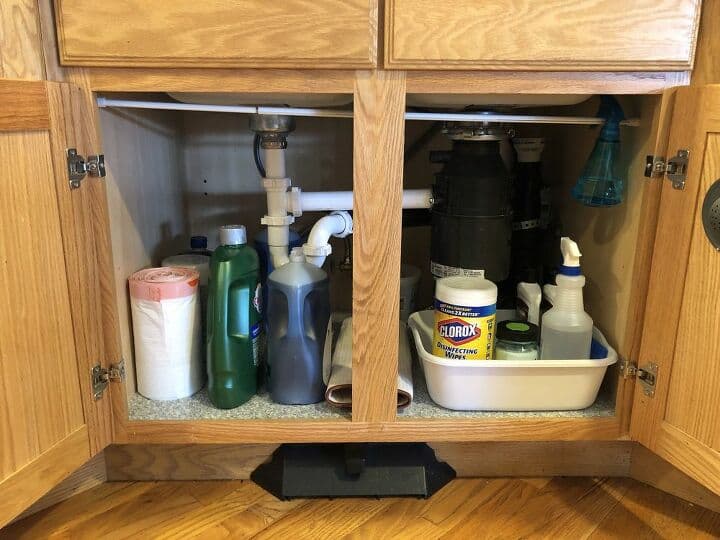
Now, if you looked at my kitchen, you would see this closet over on this side. No, it’s not a pantry. This is our stacking washer and dryer. I store all of the cleaning supplies on top of the washer and dryer.
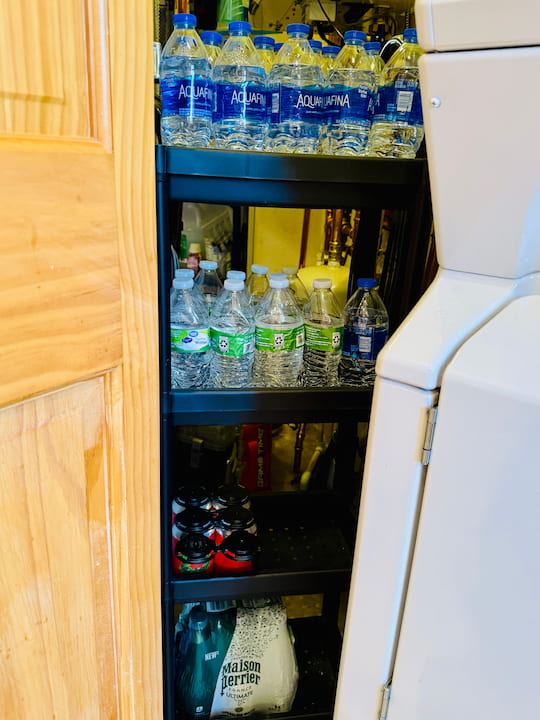
But right next to that, I was able to buy this shelf at Ikea, and we can use it as extra pantry storage.
Now I still have to work on my baking and spice cabinet. It’s a bit of a mess. So I’ll have to do that in a future video. And I need to get my husband to stop putting all of his stuff on the counter.
Do you have an area you’re stuck with? Let me know in the comments below, and I maybe can do it in a future video.
And I hope this inspires you to do some kitchen organizing of your own. I’d love it if you’d subscribe to my YouTube channel and my blog at chascrazycreations.com. Thanks for watching, and I’ll see you in my next video, don’t forget to like, share, and subscribe.
More Small Space Organization Reading