DIY End Table: Create Your Own Stylish Furniture!
Learn how to build a beautiful and functional end table with our step-by-step DIY guide! Perfect for beginners and seasoned DIYers alike. Transform your space with custom furniture!
DIY End Table Video
Table of Contents
This post is in collaboration with Woodpeckers. All thoughts and opinions are my own. A big thanks to Woodpeckers for the supplies to make this table.
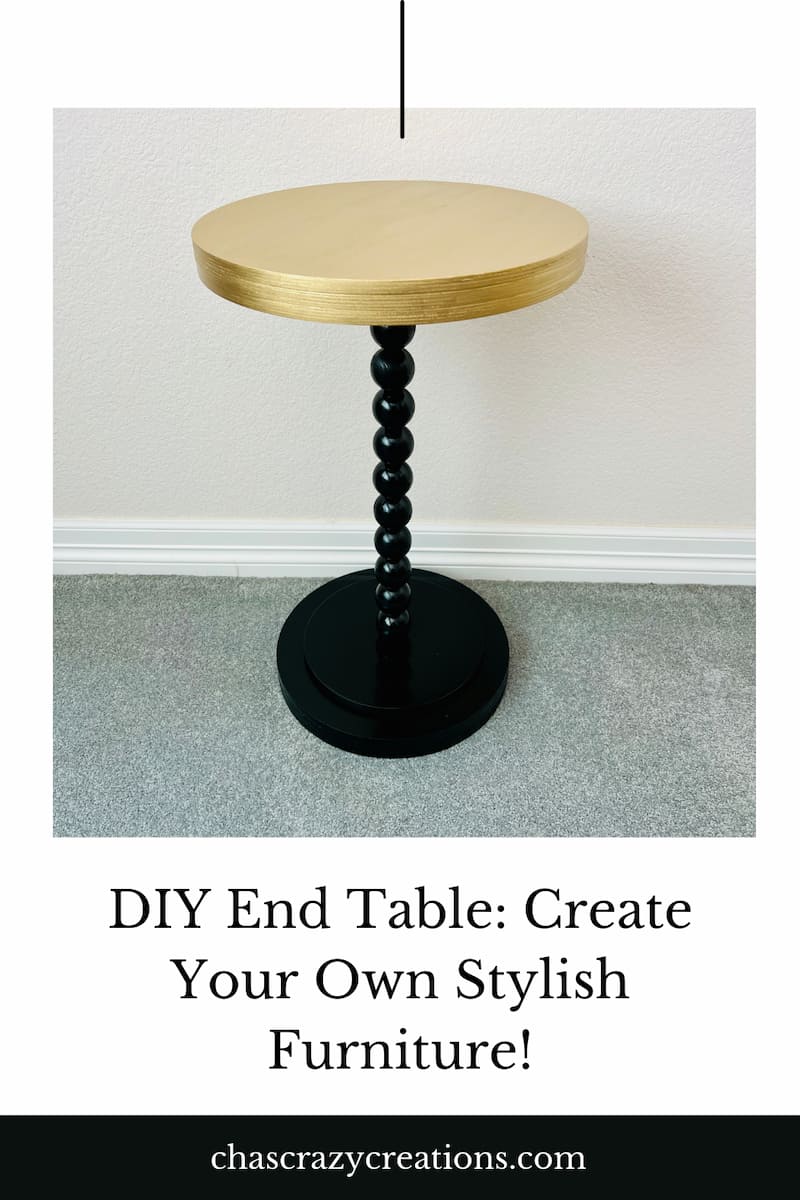
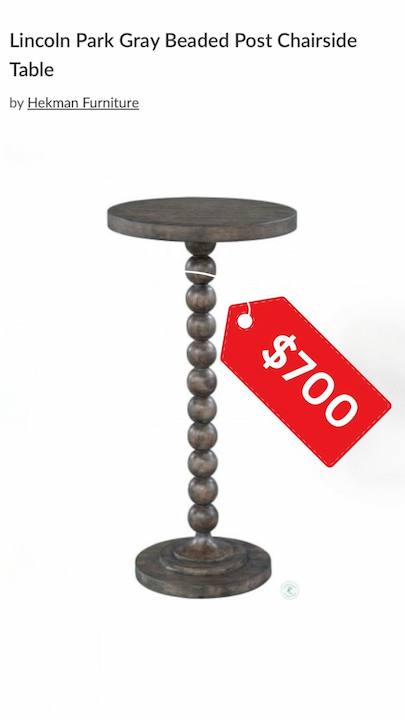
I was looking for an accent table similar to this one. $700 for a small piece of furniture. No way! Let’s dupe it and make our own end table. Thanks to Woodpeckers for sponsoring this post and sending me all the wood supplies I needed for this dupe.
Simple DIY End Table
We were overwhelmed looking at DIY end table plans. A lot of the free plans were pricier, involving lumber costs and woodworking power tools. It was thrilling to receive this kit. This kit comes with all three sizes of wooden cutouts and wooden beads. All six pieces are precut. For this project, we only needed a few extra supplies and hardware. Here is a list:
Supplies
- drill
- 1/2 and 1 1/2 wood drill bits
- wood glue
- clamps
- spray paint
- Folk Art Treasure Gold paint (optional)
- fine grit sandpaper (optional)
- Wood Table Kit
Hardware
- 1/2 inches x 2 feet #13 threaded rod
- 1/2 inch flat washer
- 1/2 inch x 2 inch flat washer
- 1/2 inch #13 hex nuts
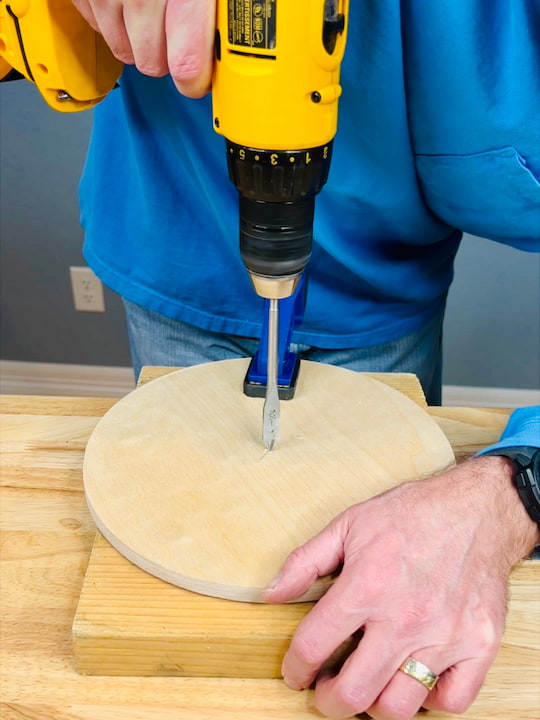
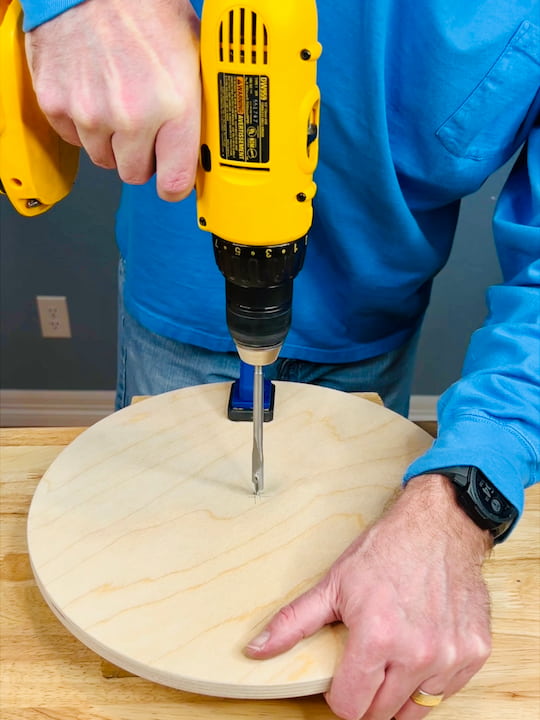
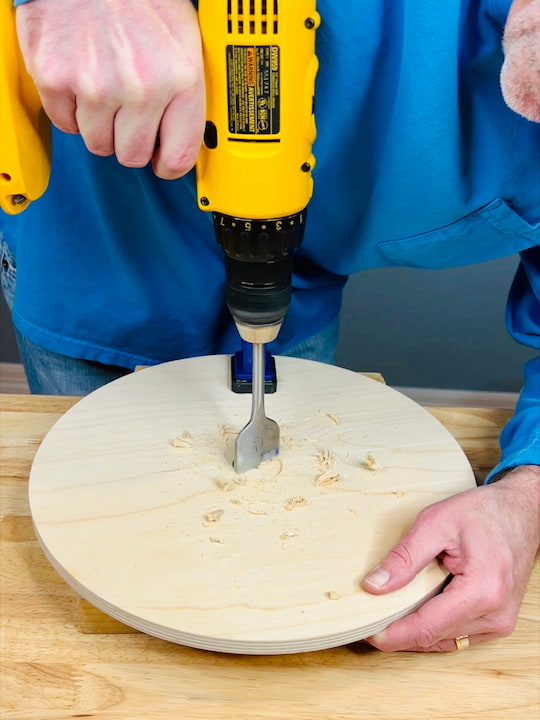
Step 1 Drill Holes
We used a 1/2 in Wood bit to drill through two 15 inch boards and one 10 inch board. We used a 1 and 1/2 inch wood bit to drill through two 13 inch boards.
Step 2 Add Glue
Next, we wood glued the pieces together.
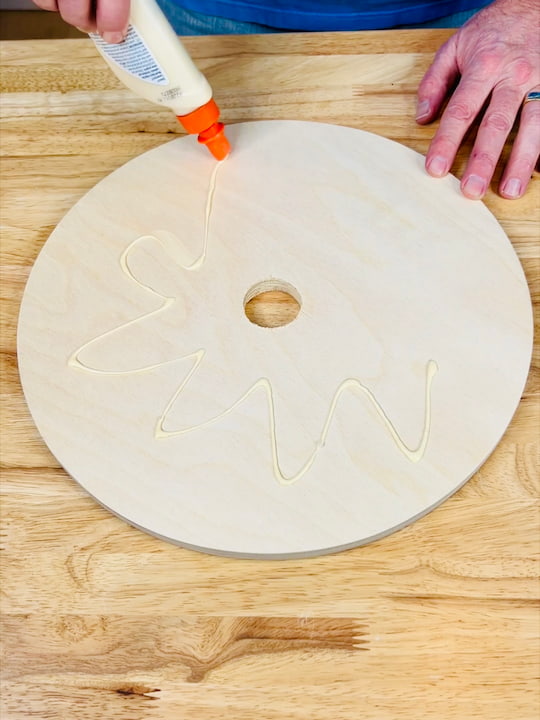
Step 3 Glue and Clamp Base
We added the two 13 inch boards plus the 10 inch board together for the base, and two 15 inch boards for the top.
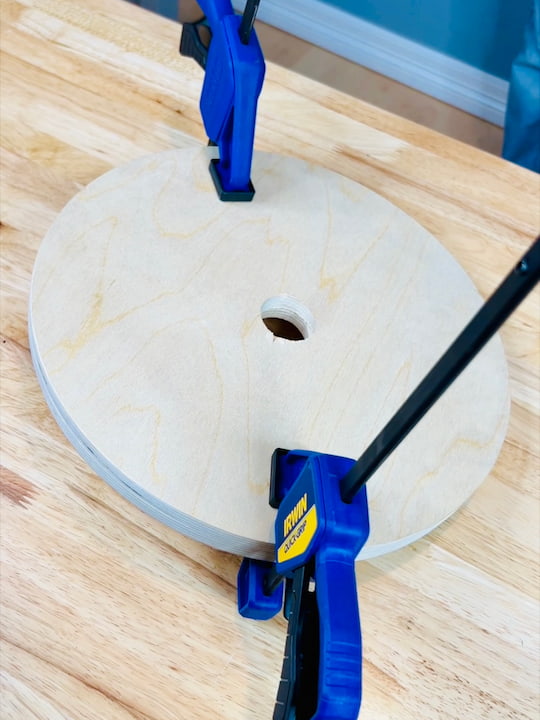
Step 4 Assemble Table
Now was time to start assembling the table.
We put a nut on a threaded rod and added a washer.
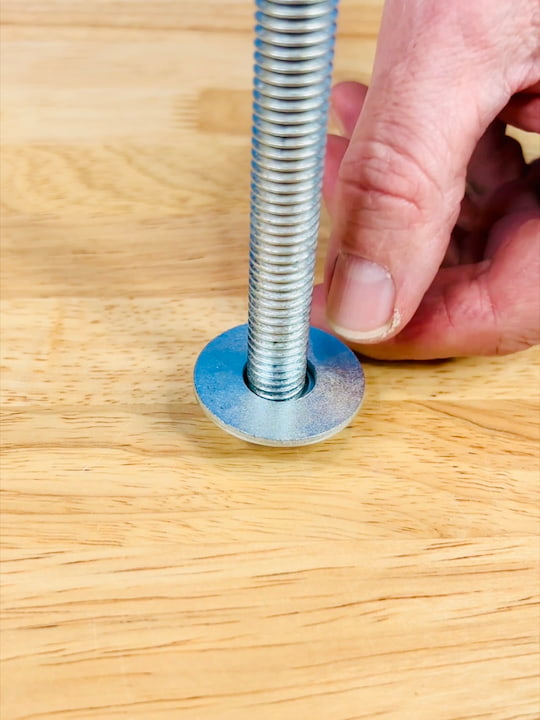
Then added the glued tabletop pieces and another washer.
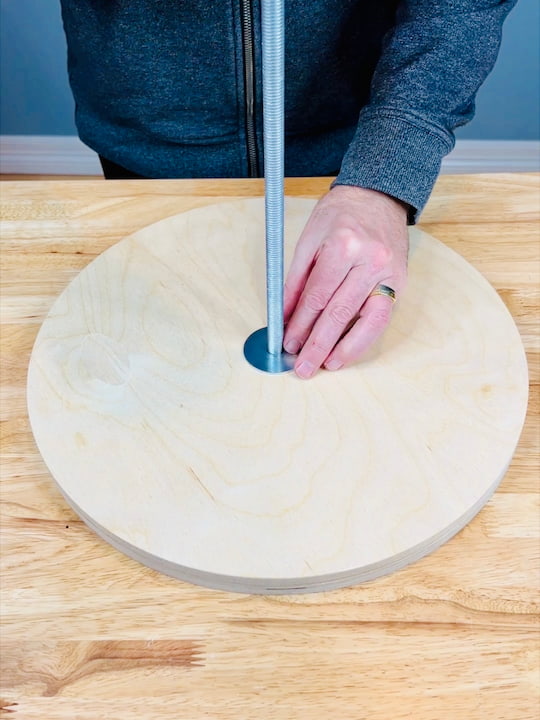
Then we started adding the beads to the threaded rod.
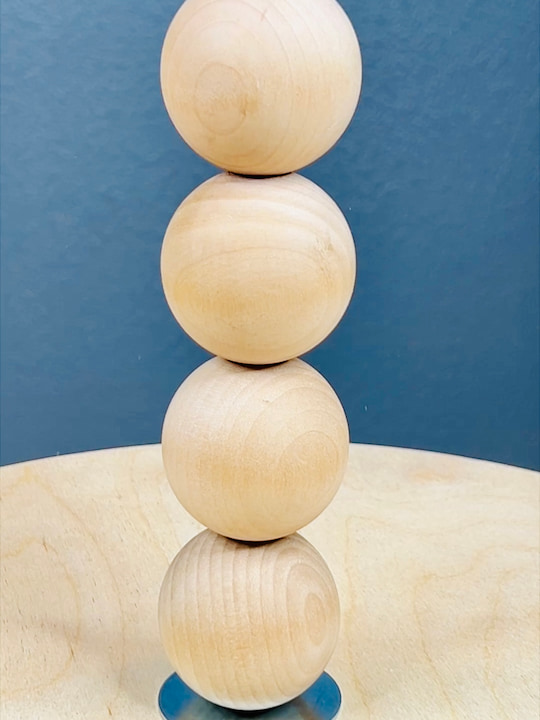
We added a table base to the rod. Then added a washer and a nut to that end.
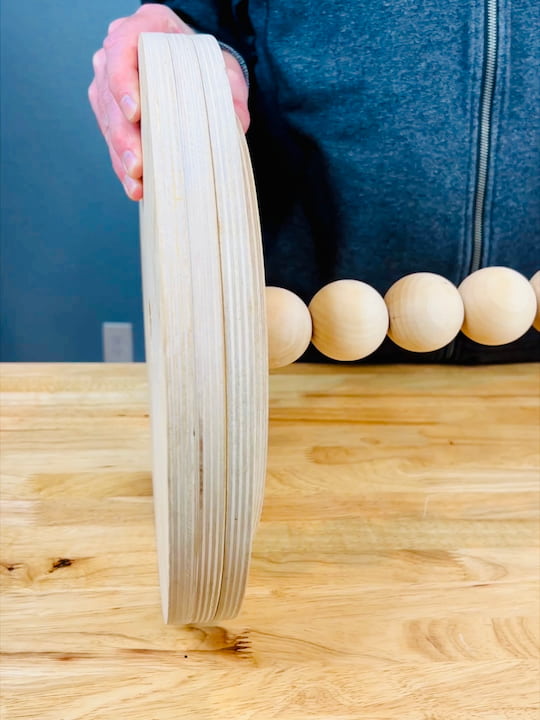
Step 5 Tighten
We tightened both sides up.
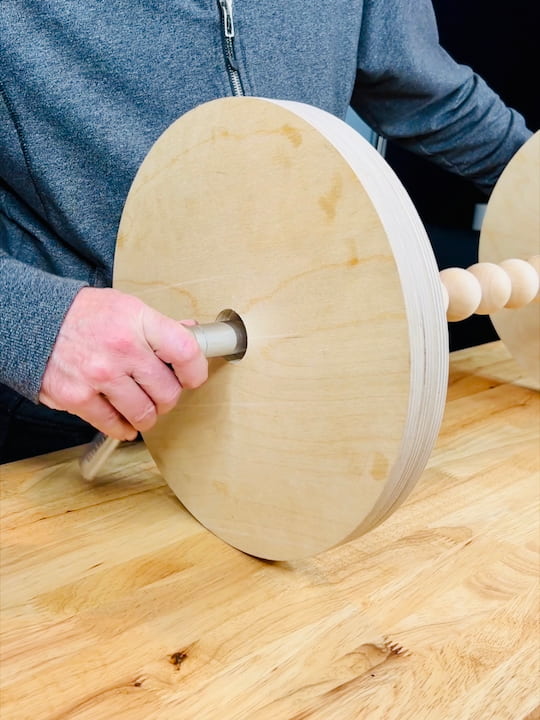
Step 6 Glue on Table Top
We glued the last 15 inch board to the top.
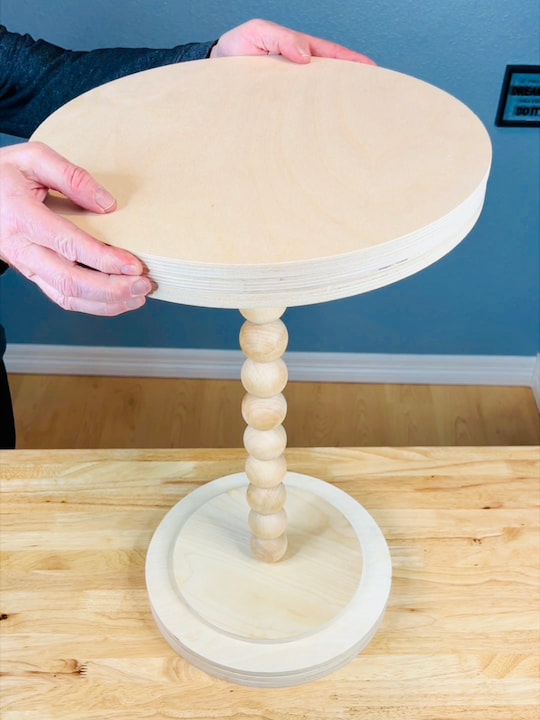
We let it dry.
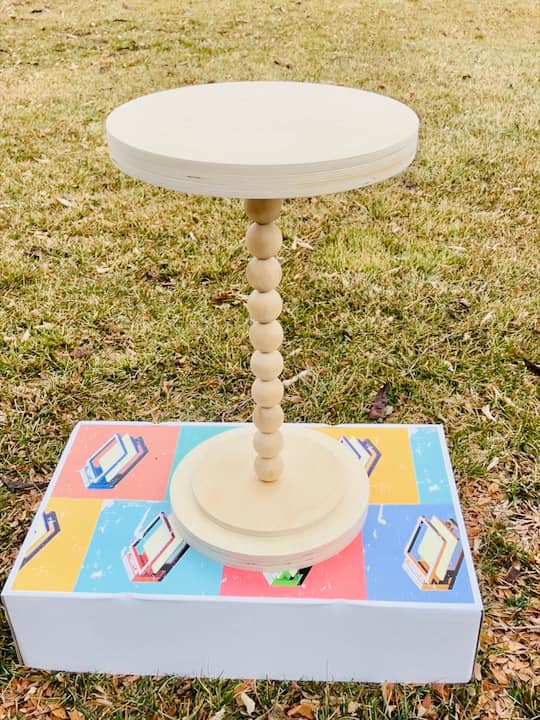
Step 7 Paint Table
This table will be going in our living room. I wanted to tie in the colors black and gold.
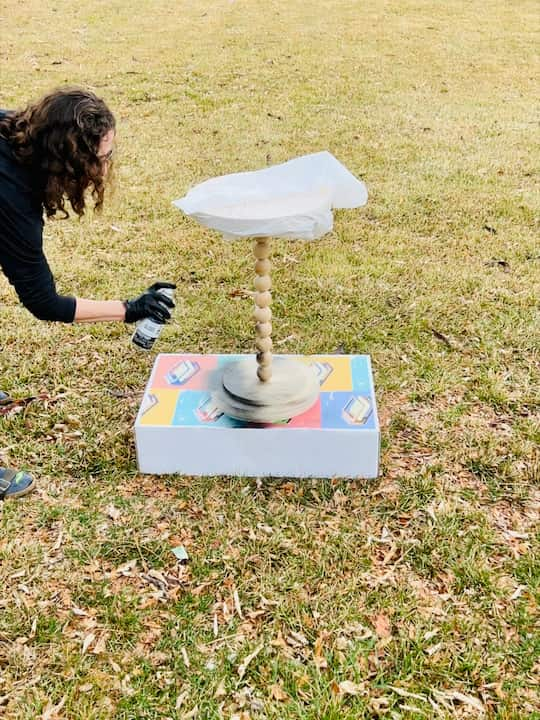
I wrapped the top and sprayed the base with black gloss spray paint. If any spray paint runs, you can gently sand it with fine grit sandpaper.
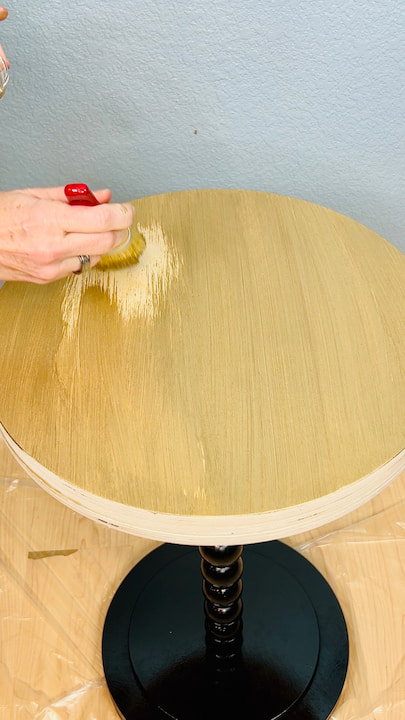
I wanted to incorporate the gold paint on top with the living room. So, I used Folk Art Treasure Gold to paint the top and sides.
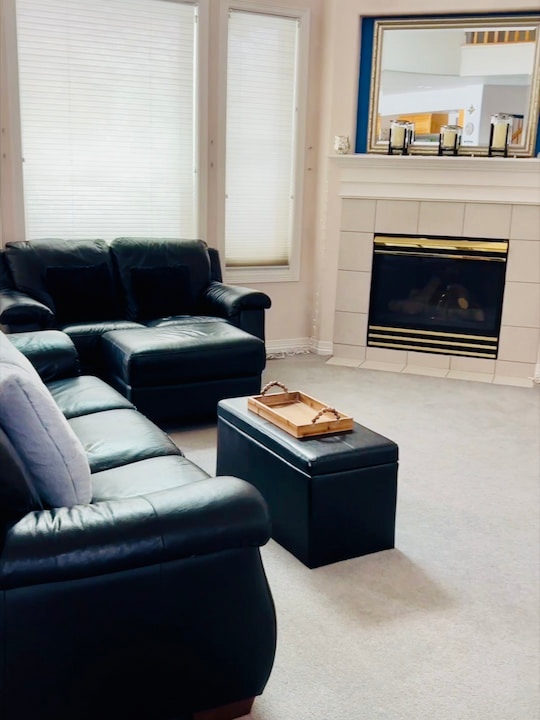
I placed the table next to our loveseat. I think the black and gold ties in nicely with the couch and living room decor. It is the perfect dimensions and shape to fit in small spaces. But, the surface is large enough to hold a lamp or your favorite book, snacks, and cup of tea. It is also the perfect size for a nightstand if you want to use it in a bedroom. It’s a versatile DIY side table.
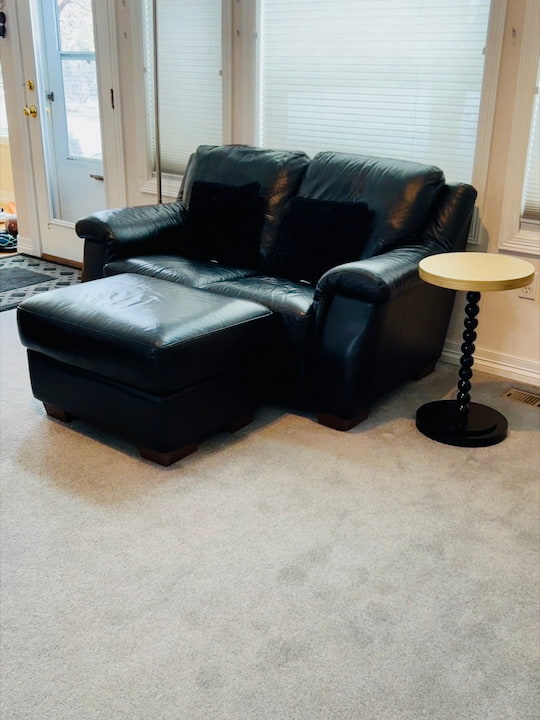
I didn’t have to pay $700. Instead, I was able to build it myself and create a custom design that fits well in our home.

Thanks again to Woodpeckers for sponsoring this project. Now hop on over to get your table kit dupe today.
While you’re at it, be sure to check out all of their other wood pieces. My mind is exploding with ideas!
DIY End Table Video
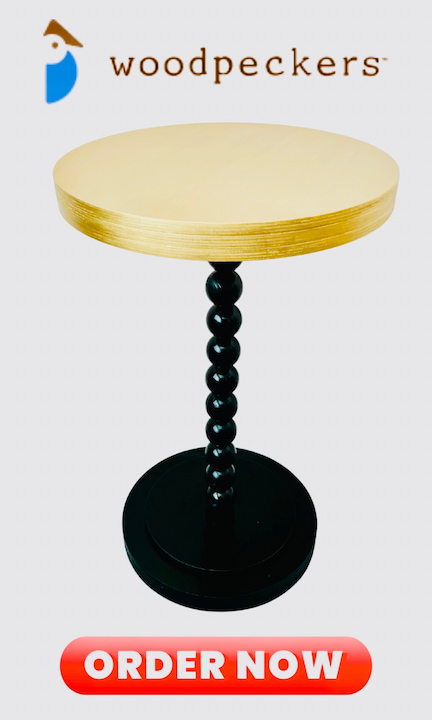
You can order your table today at Woodpeckers, and use CHAS5 for a discount!
