Stunning DIY Photo Lantern for Any Occasion and Memorial Day Craft
Do you want an easy photo lantern and/or Memorial Day Craft? I have a super easy project for you that can celebrate an occasion or someone special.
This post is in collaboration with Lights.com. All thoughts and opinions are my own. A big thanks to Lights.com for the Lanterns.
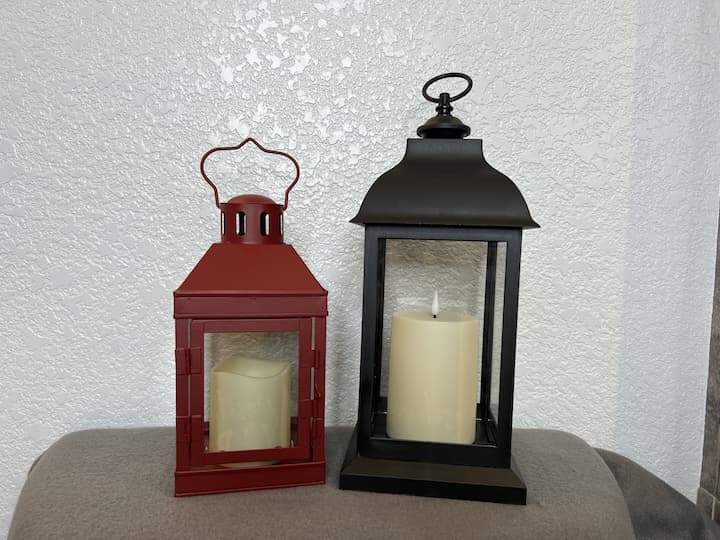
Photo Lantern & Memorial Day Craft Materials
- Rory Lantern or Hazel Lantern
- Photos
- Vellum Paper
- Scissors
Photo Lantern & Memorial Day Craft Video
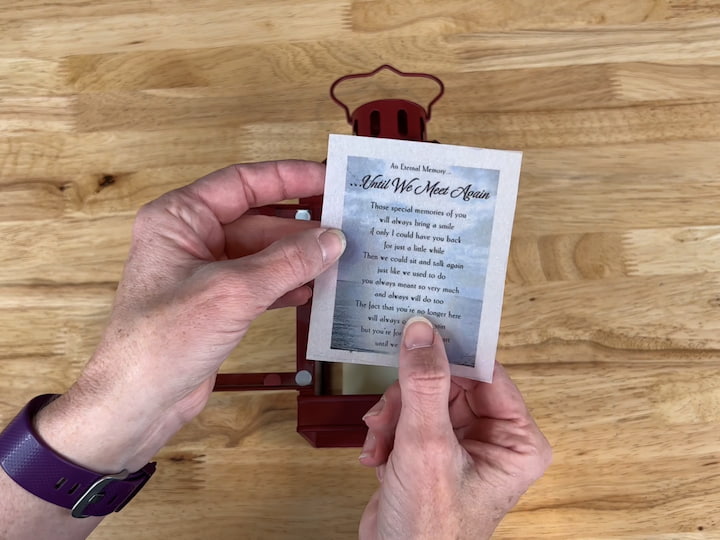
Memorial Day Craft Instructions
1. Print a saying on vellum paper
I found a saying I liked and printed it on Vellum paper which is a translucent paper. You can also print on regular paper if you like.
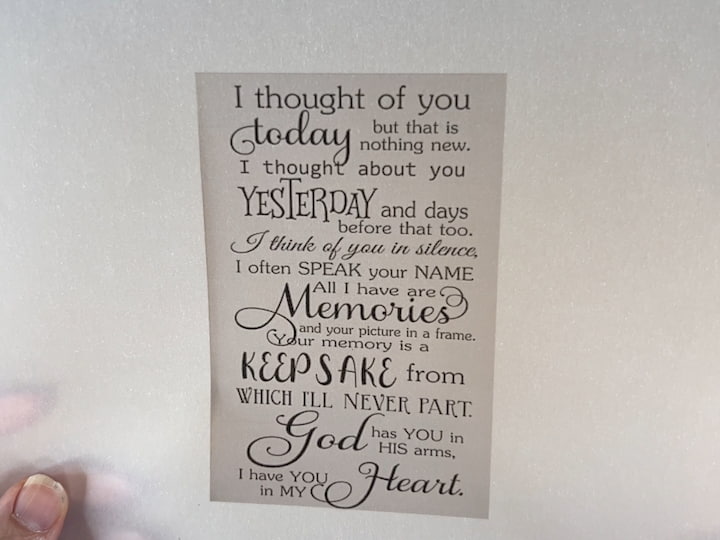
I printed a second saying on an additional piece of Vellum paper.

Don’t forget to link to ThriveCart – Book
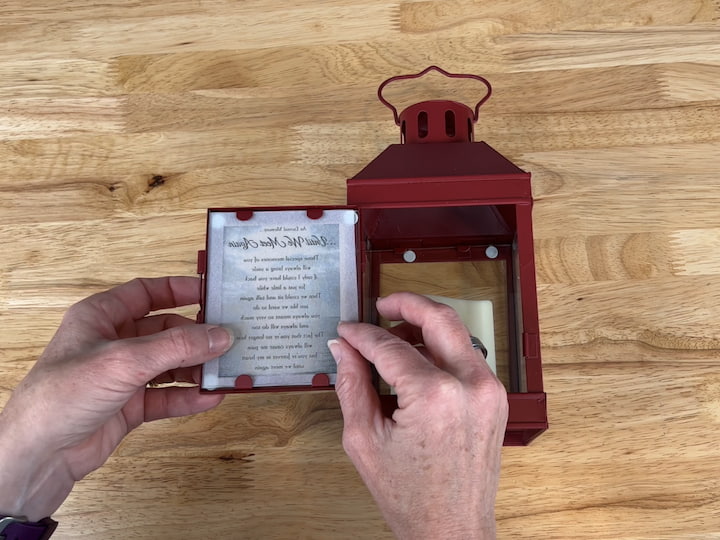
2. Cut the vellum paper.
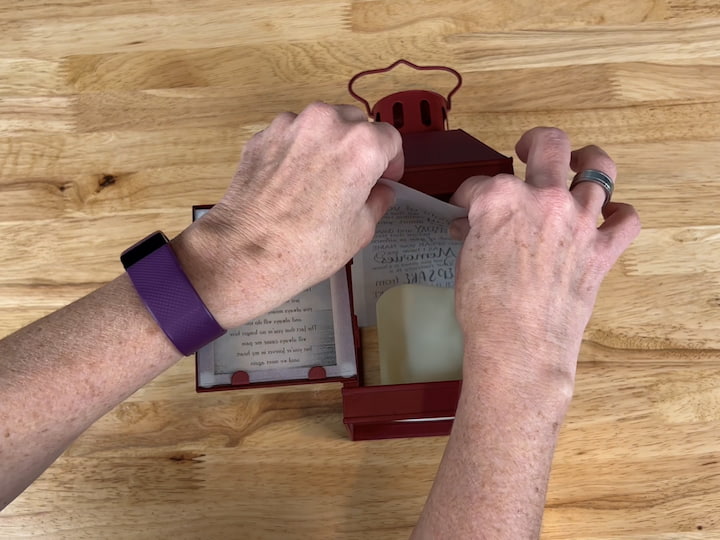
I cut the first saying to fit in the smaller window, and I cut the second saying to go in the back window.
3. Place the vellum paper into the lantern
I placed the vellum paper into the clips on the lantern to hold it in place. If your lantern doesn’t have clips you can attach it via double-stick tape, glue dots, etc.
4. Print and trim your photos
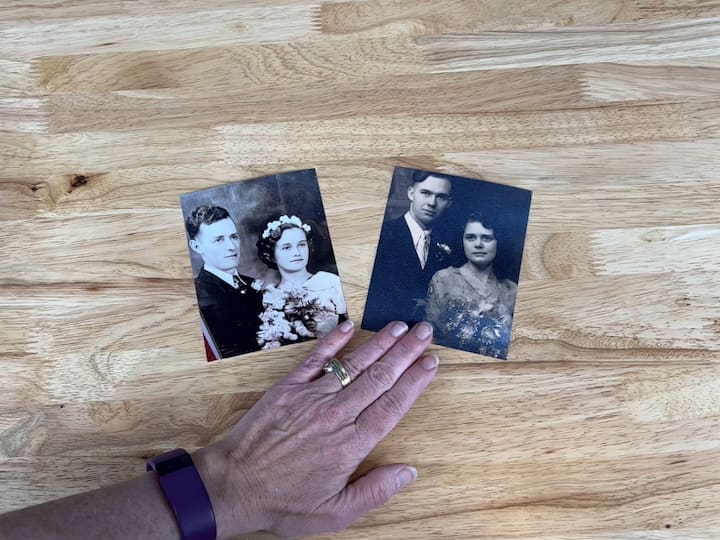
Measure the lantern windows so you know what size photos you’ll need. Print out your desired photos, and trim them to fit the window size. These are pictures of my grandparents on both sides. I selected their wedding photos and you’ll see why in the next project that comes.
5. place the photos inside the lantern
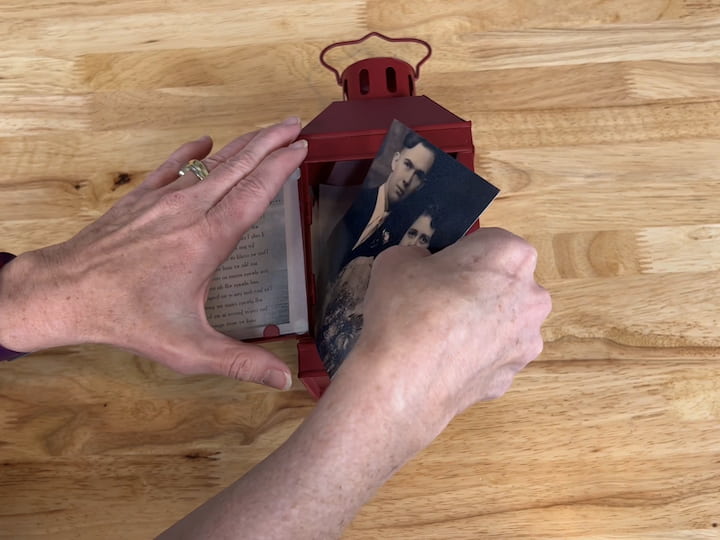
I placed one photo on one side of the lantern, and the other photo on the other side of the lantern.
6. Turn the lantern on and set the timer
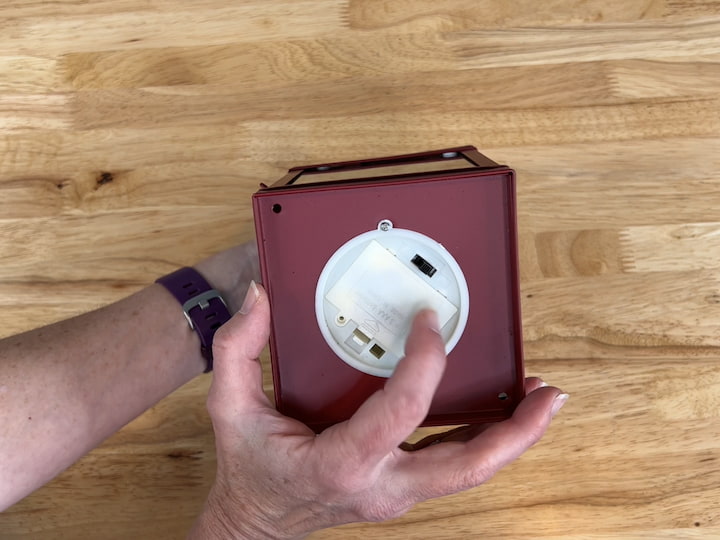
One of the reasons I selected this Rory lantern and the Hazel lantern is for their built-in candle and timer. If I turn this timer on at 4 pm, it’ll run for 6 hours, turn off, and then turn back on at 4 pm the next day. I love this about these lanterns.
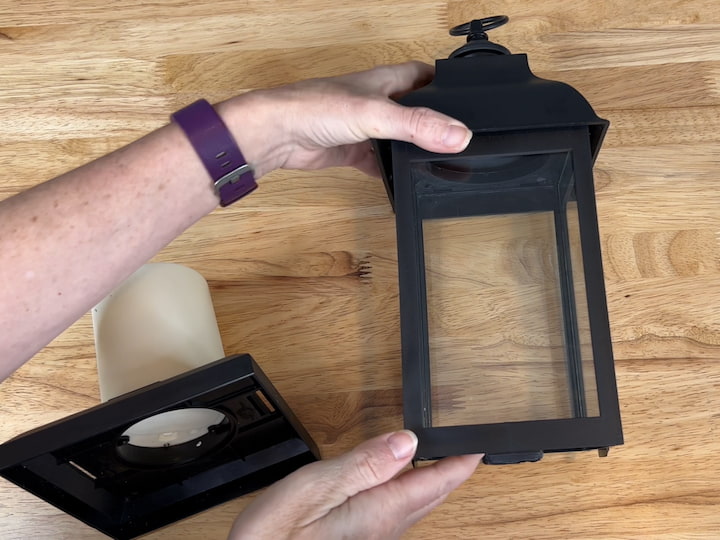
Photo Lantern Instructions
For this lantern, I’m going to share that you can make a beautiful photo lantern for any occasion. We are celebrating our 25th wedding anniversary this year. I wanted to create something special that we could light up and celebrate in our home. I used my grandparent’s wedding photos in the last lantern as both sets of grandparents were married many years and I wanted to celebrate that as well.
This Hazel lantern does not have a door so I unscrewed the base and pulled it out so that I would be able to get the photos inside the lantern.
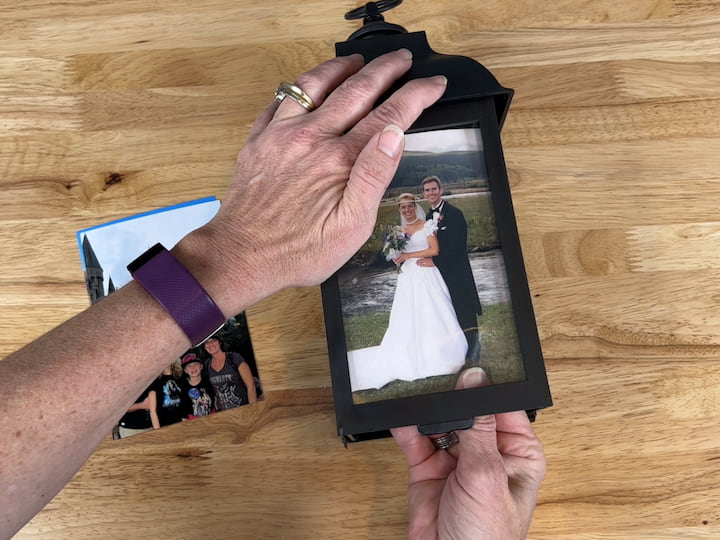
I measured the lantern and this particular lantern has 4 x 6 size windows, so I printed out 4 photos in this size. I slid each photo into a window of the lantern.
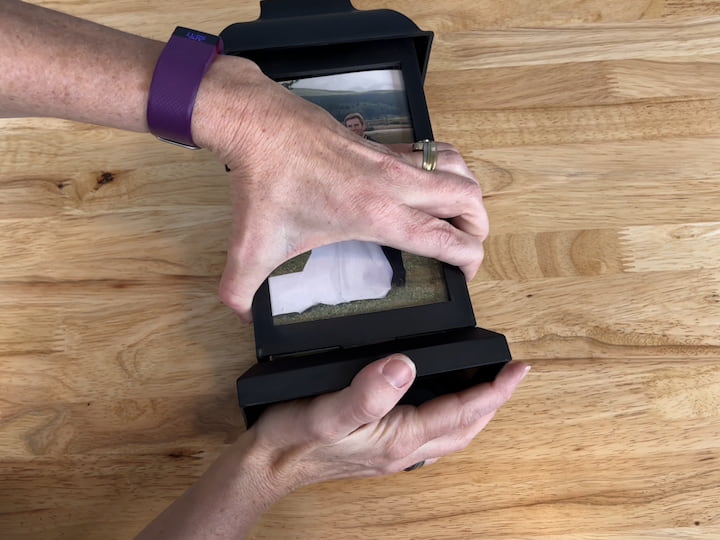
Once I had all 4 photos in, I closed up the lantern and set the timer.
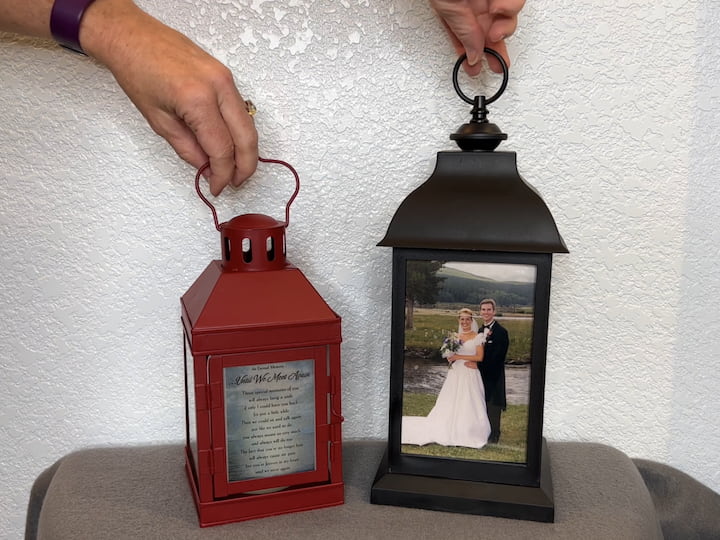
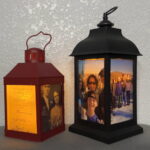
Let’s take a walk around the lanterns in the light before I share them illuminated. I picked some of my favorite photos to attach to the glass pane. This is a picture of the first vellum paper saying on the left, and our wedding picture on the right in Grand Lake, Colorado on the Colorado River at Winding River Ranch.
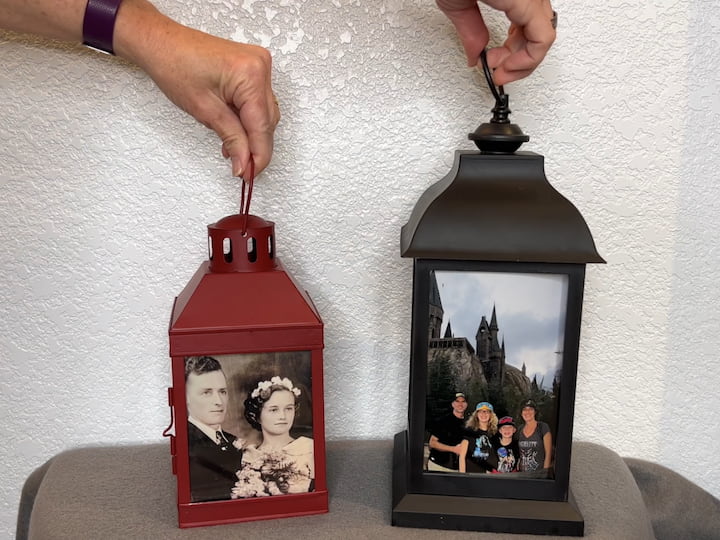
The picture on the left is my dad’s parents and the picture on the right is when our family had an amazing fun trip to Florida. My kids still talk about this trip today and such a good time.
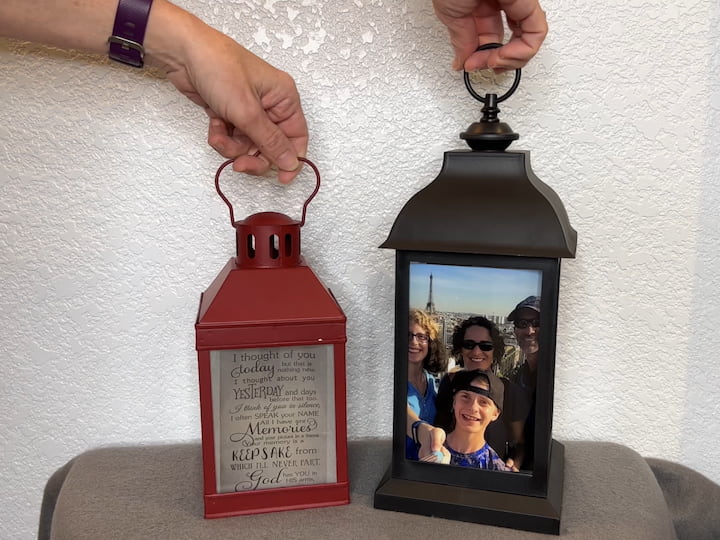
My next memorial saying is on the left, and on the right is a picture from when we took a 3 week trip with the kids to Europe. We visited France, Scotland, and England. Another wonderful trip and a lot of memories built.
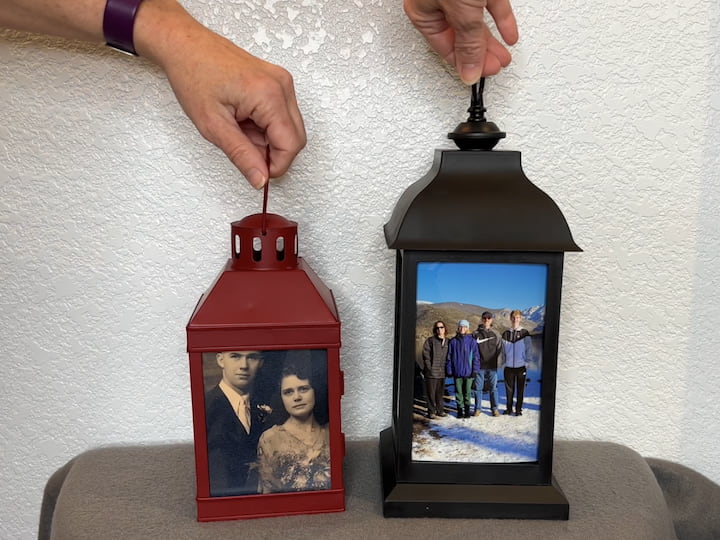
My mom’s grandparents are on the left, and we just celebrated our family farm turning a century old in 2020. This picture is in Grand Lake, Colorado where we love to go and one of the most recent family pictures we have.
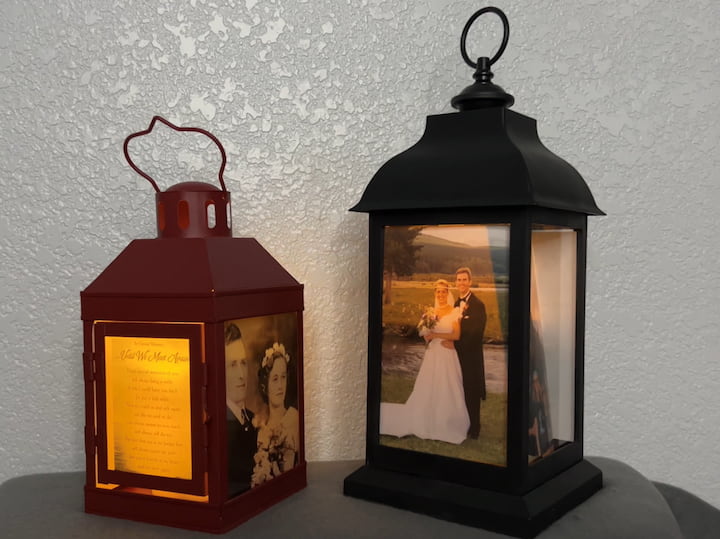
Here are the photo lantern and memorial lantern illuminated. One of my pictures slipped on the right so I had to go back in and get some glue dots to hold the photos in place a little better.
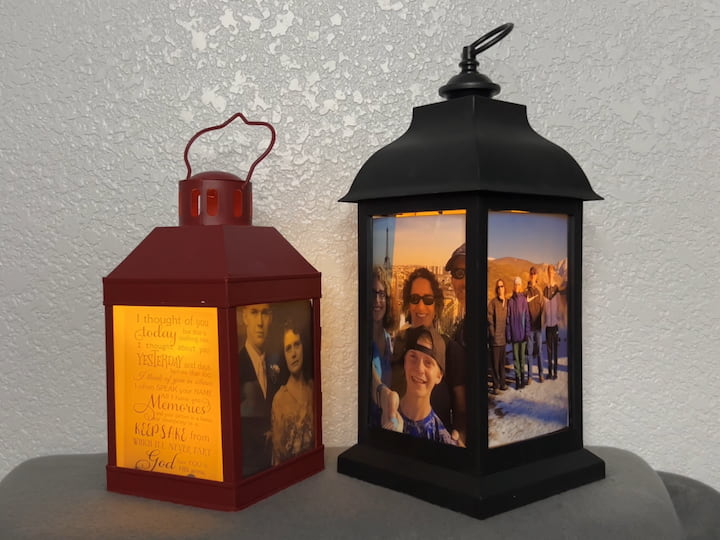
I love how beautiful they turned out, and I am thrilled to display them in our home.
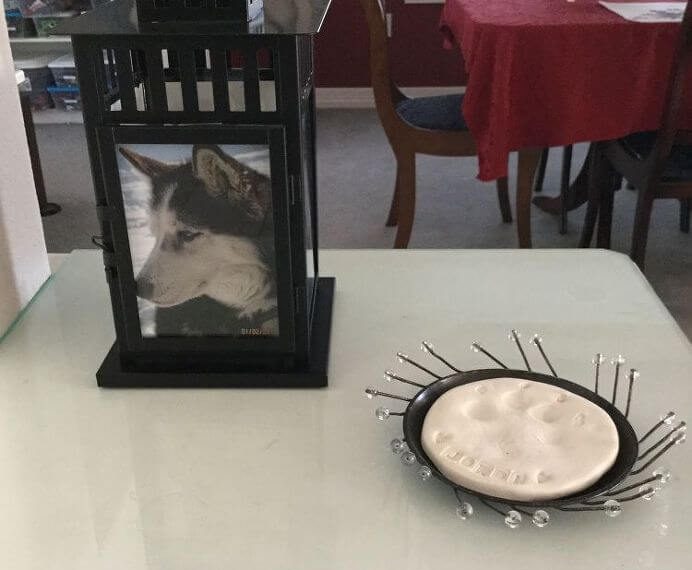
You can create this project for your beloved pets as well. This is our beautiful first baby Jordi, and you can see this lantern tutorial and how I added several photos to this lantern.
You could easily take a vintage lantern and turn it into a beautiful memorial gift or a Christmas lantern.
Other ideas that look beautiful in a starry sky include:
- Chinese lanterns or Asian lanterns
- sky lantern
- ornamental Arabic lantern
- paper lanterns
I have converted to mostly LED candles whether an item needs a votive candle, tealight candle, or pillar candle. I use them for every season, in our Halloween pumpkins, in all of our seasonal decorations. It doesn’t risk fires in our home. I just love that these lanterns come with LED candles in them and include a timer. These projects are mostly for indoor use.
Stunning DIY Photo Lantern for Any Occasion and Memorial Day Craft Video
Shop any of these stores and I receive a small commission at no cost to you.
 YAKii Hanging Glass Panes L...Shop on Amazon
 Cridoz 50 Sheets Vellum Pap...Shop on Amazon
 Carson Your Light Picture F...Shop on Amazon
 Carson Home Accents 57447 W...Shop on Amazon
 Shiny Alice Personalized 4 ...Shop on Amazon
You might also enjoy some of these craft tutorials.
Stunning DIY Photo Lantern for Any Occasion and Memorial Day Craft
Do you want an easy photo lantern and/or Memorial Day Craft? I have a super easy project for you that can celebrate an occasion or someone special.
Equipment
- Scissors
Materials
- Rory Lantern or Hazel Lantern
- Photos
- Vellum Paper
- Scissors
Instructions
- PRINT A SAYING ON VELLUM PAPER
- CUT THE VELLUM PAPER.
- PLACE THE VELLUM PAPER INTO THE LANTERN
- PRINT AND TRIM YOUR PHOTOS
- PLACE THE PHOTOS INSIDE THE LANTERN
- TURN THE LANTERN ON AND SET THE TIMER
Video
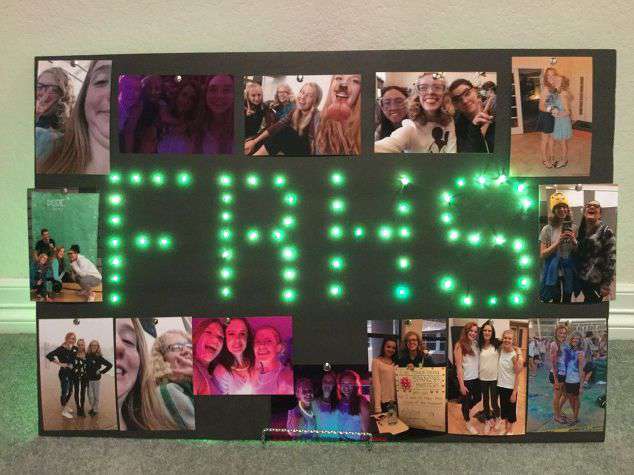
Check out some of my other photo projects!





LOVE, LOVE the verse! Where did you find it? It is very appropriate since I recently lost my husband of 54 years recently. BTW, I love your site!
Thank you so much Dee, and I just googled for the verse 🙂 I’m so sorry for your loss and I hope this brings you a little joy everyday to remember him.
Chas I love these! I need to do this!!! Thank you!!
You are so sweet, thank you so much!