
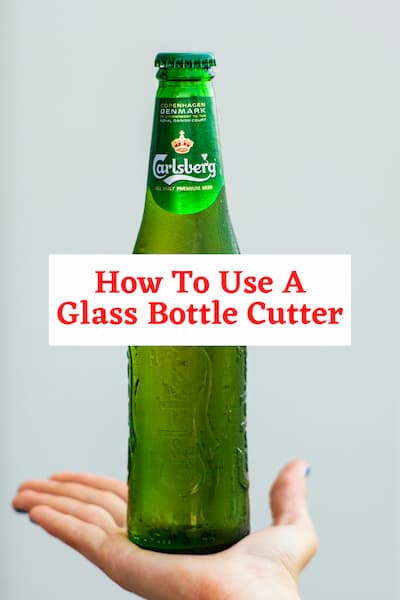
How To Use A Glass Bottle Cutter
How do you cut wine glass bottles? I’m going to show you how to use a glass bottle cutter. The possibilities are endless when it comes to up-cycling wine bottles or beer bottles and it is so much more satisfying than tossing them in the recycling bin. I recently purchased a bottle cutter and now I have even more ways to up-cycle those bottles!
As an Amazon Associate, I earn from qualifying purchases at no extra cost to you. Click here for my disclosure policy
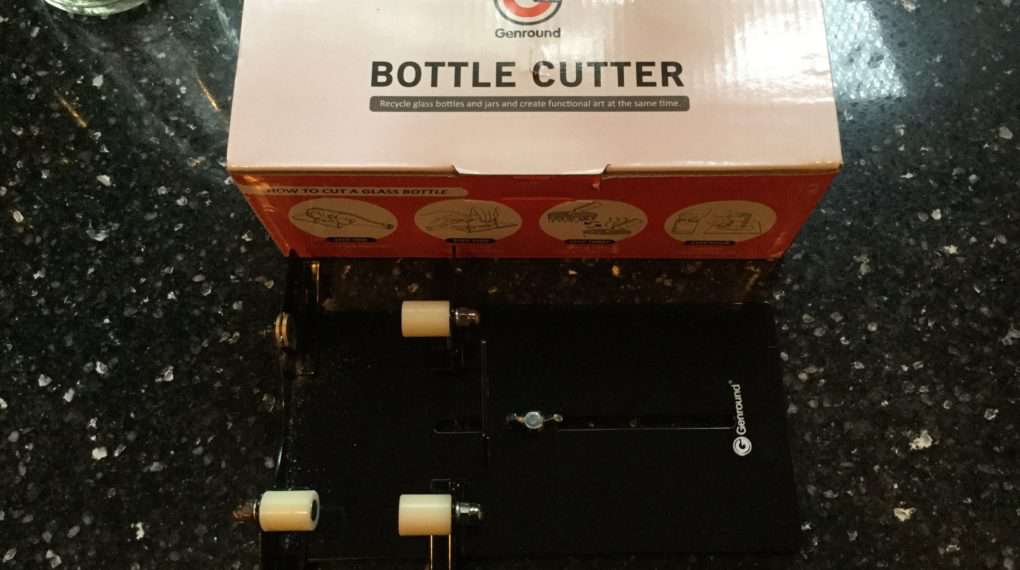
I purchased my bottle cutter from Amazon – you can view it here
How To Use A Glass Bottle Cutter Video
What can I use to cut glass at home?
What materials are used to cut glass bottles?
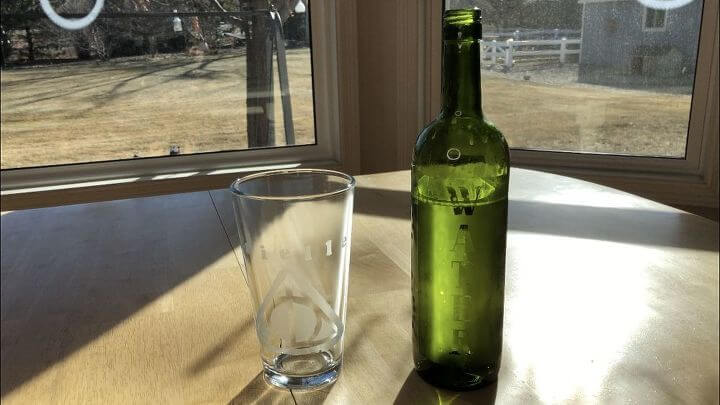
Materials needed:
- Bottles
- Bottle Cutter, glass cutter, glass cutter tool
- Cookware – pots
- Safety Goggles
- Sand paper
What is the best tool for cutting glass bottles?
There are several bottle cutters to choose from out there, and many of them will take a lot of practice. I have had good success with this bottle cutter that I purchased on Amazon, and you can find it here
How To Use A Glass Bottle Cutter
Are you asking these questions?
- How do you cut a bottle at home?
- How to cut glass bottles?
- How do you cleanly cut a bottle?
- How do you cut glass bottles and smooth edges?
I have been there and here is a tutorial to help get you started with cutting bottles today!
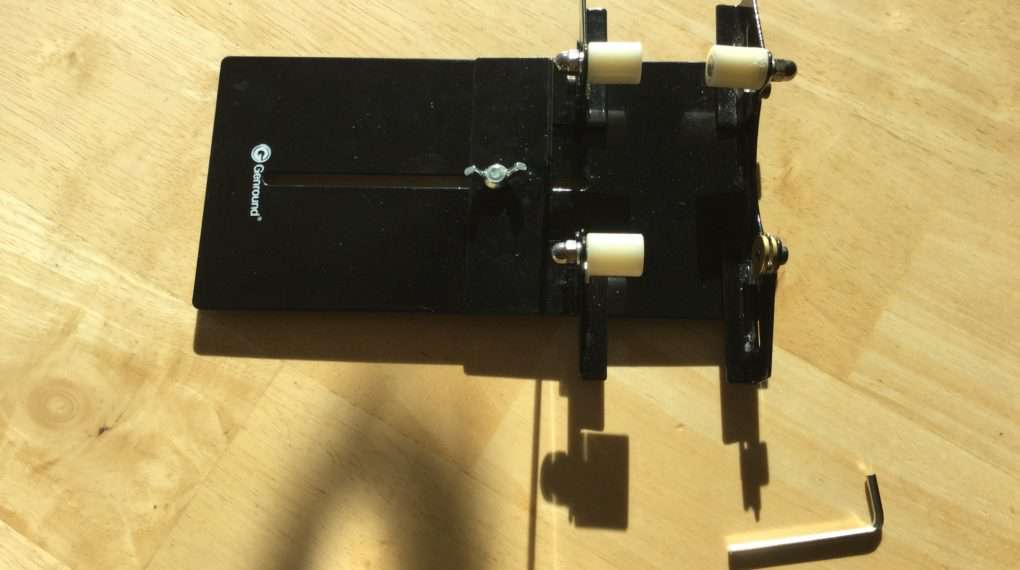
Follow the instructions that come with the bottle cutter. First, it says to size the device to where you want the bottle cut.
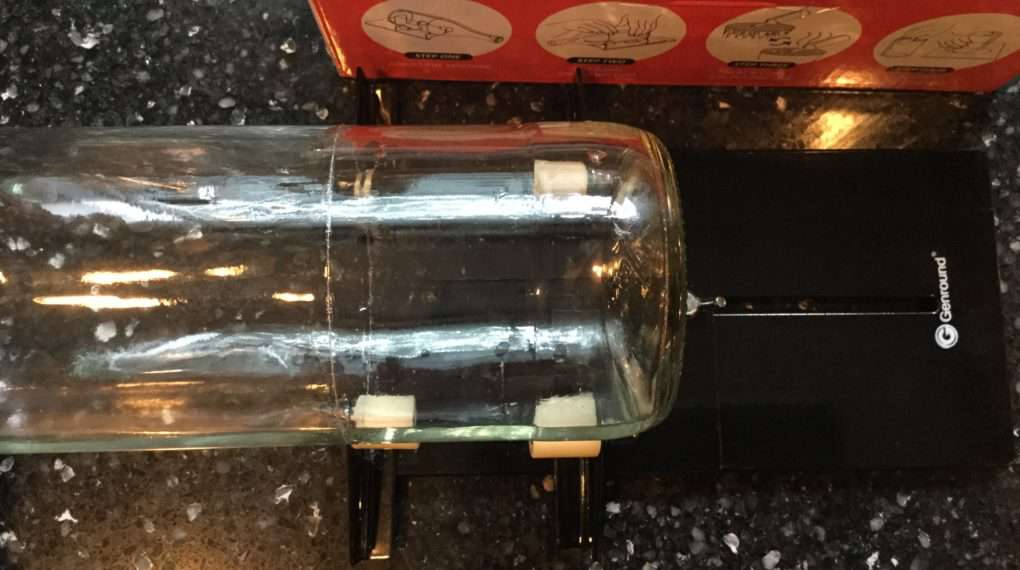
Set the bottle inside the cutter and lightly press while rotating the bottle. This leaves a score line, or cutting line on your bottle. You don’t have to press too hard and only go around one time.
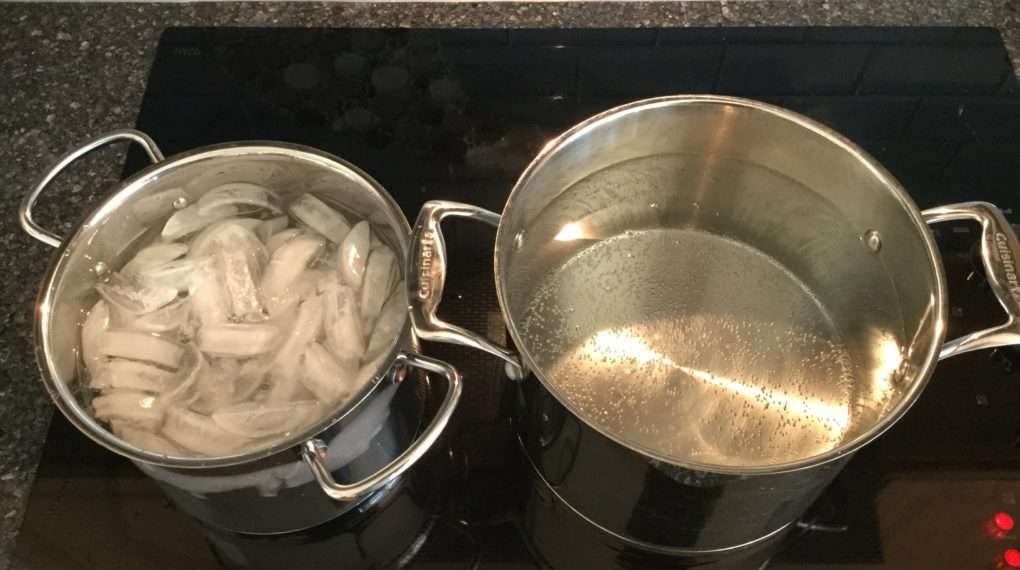
After scoring, again follow the instructions – have 1 pot of boiling hot water and 1 pot of cold water with ice cubes.
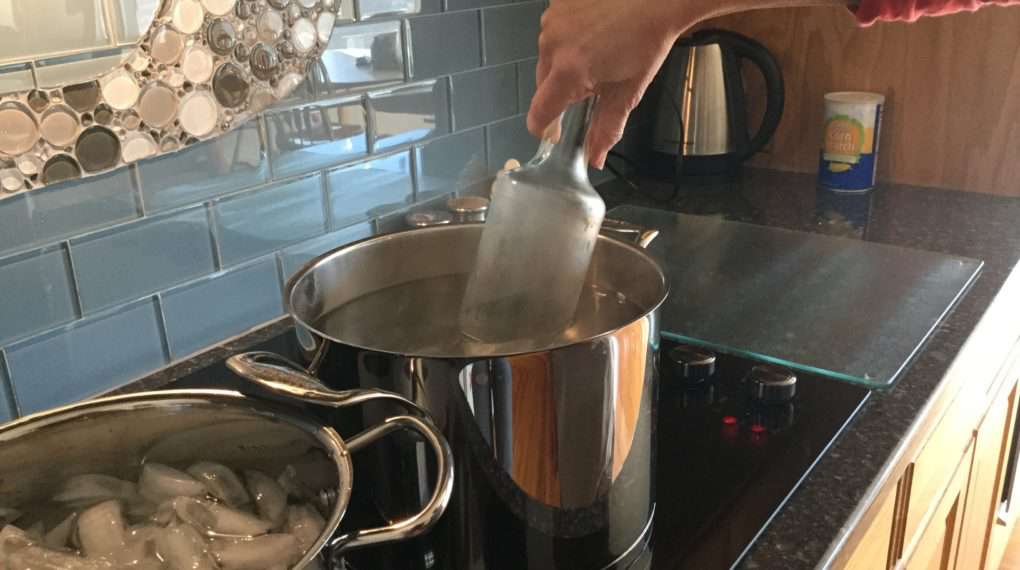
You hold the top of the bottle and place the bottom of the bottle where the score line is in the boiling water so that the score line is under water for a few seconds…
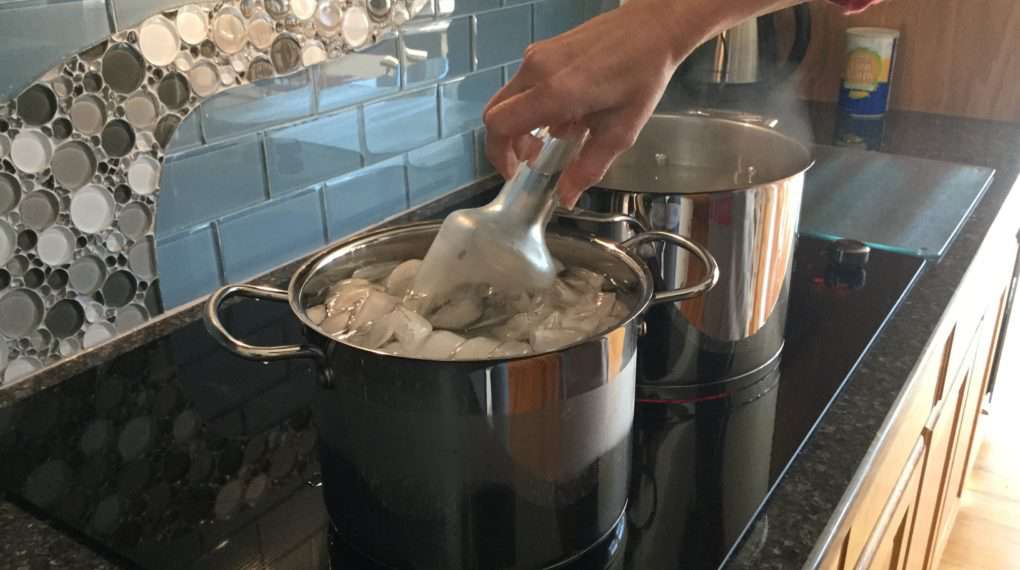
Then immediately put the end of the bottle bottle in the ice water so that the score line is under water for a few seconds.

Repeat this process until the bottle literally splits in half. Voila!!
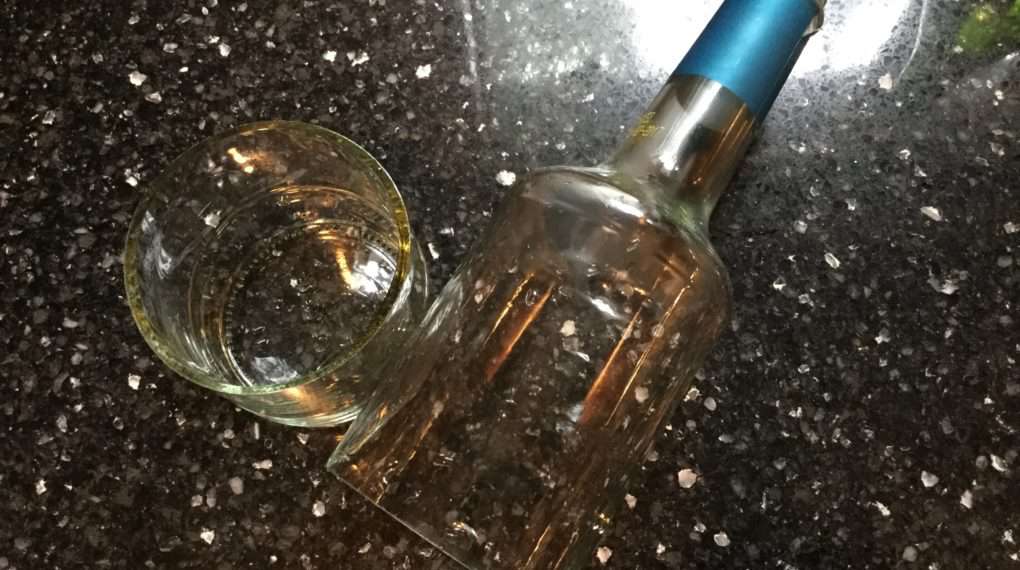
*Now to be honest – I went through a lot of bottles practicing this until I got the technique right to achieve a clean cut (following the directions is key). I would say most of the time it works great but sometimes I didn’t get a clean break.
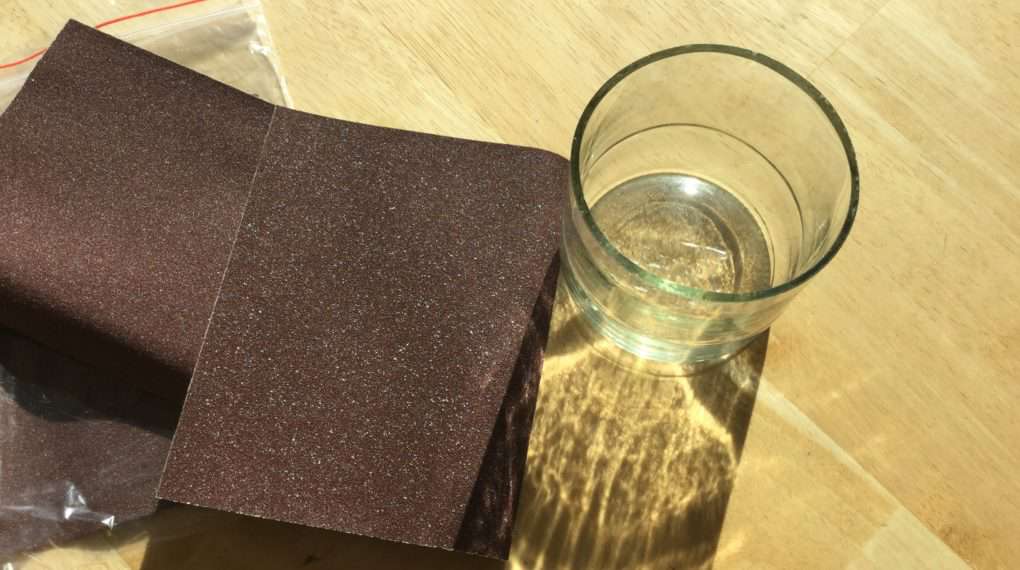
Once the bottle is in half, use the sand paper provided to smooth the edges. If you are going to be using your cut glass bottles for drinking glasses it is recommended that you continue sanding and smoothing the edges with fine grit sandpaper.
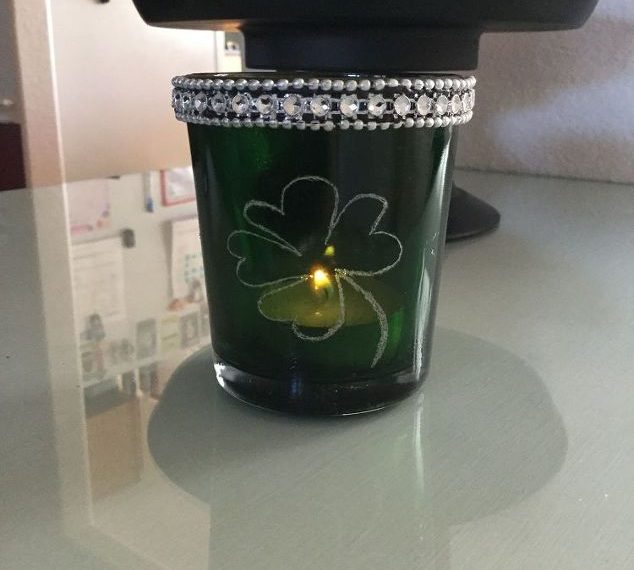
Now you’re ready to create! The possibilities are endless – glasses, candle holders, wind chimes, vases, bird feeders…
How To Use A Glass Bottle Cutter Video
How To Use A Bottle Cutter Q & A:
Can I cut a glass bottle with a Dremel?
I have used a Dremel to engrave and cut into glass. I have not used it to cut all of the way through. when engraving the glass, it does create little chards that fly off of what you’re engraving so you’ll want to be careful. You can see my tutorial on this over at Engrave Glass To Create Easy and Stunning Gifts For Any Occasion
What can I use to smooth glass edges?
You can use sandpaper to smooth off glass edges. You’ll want to use a fine grit to make it as smooth as possible.
How do I cut glass bottles with yarn?
Cutting glass bottles with yarn is a method that relies on thermal shock to create a clean break in the glass. Here’s a step-by-step guide on how to do it:
Materials you’ll need:
- Glass bottle
- Cotton or linen yarn (100% natural fibers work best)
- Acetone or nail polish remover
- Lighter or matches
- Bucket of cold water
- Sandpaper (optional)
Procedure:
- Safety Precautions: Ensure you’re wearing safety goggles and gloves to protect your eyes and hands from glass fragments.
- Preparing the Yarn:
- Cut a piece of cotton or linen yarn that’s long enough to wrap around the glass bottle at least once. Soak the yarn in acetone or nail polish remover and then wrap it around the bottle where you want to make the cut. Tie the ends of the yarn together to keep it in place.
- Igniting the Yarn:
- Carefully remove the yarn from the bottle, making sure it stays in its original position. You may want to use a clothespin to hold it in place.
- Light the yarn on fire using a lighter or matches. Be cautious, and make sure there are no flammable materials nearby. The yarn should burn for about 15-20 seconds.
- Glass Bottle Rotation:
- While the yarn is burning, rotate the bottle evenly to ensure the heat is distributed around the circumference of the bottle.
- Thermal Shock: After the yarn has burned for a sufficient amount of time, immediately submerge the bottle into a bucket of cold water. The rapid change in temperature causes the glass to contract, creating a fracture along the line where the yarn was wrapped.
- Separating the Bottle: Gently tap the bottle on a hard, flat surface (like a table or concrete floor) to encourage the glass to break along the score line. It may take a few tries, but with patience and careful tapping, the bottle should separate cleanly.
- Finishing Touches (Optional): If there are sharp edges, you can use sandpaper to smooth them out. Be sure to wear gloves while handling the cut edges.
Tips:
- Practice with some inexpensive glass bottles before attempting it on a valuable or sentimental one.
- The quality of the cut can vary, so it might take some trial and error to achieve the desired result.
- Ensure your work area is well-ventilated when working with acetone or nail polish remover.
- Be patient and don’t rush the process, as rushing can lead to uneven breaks.
Cutting glass bottles with yarn can be a fun DIY project, but always exercise caution and prioritize safety when working with glass and fire.
How do you flatten a glass bottle at home?
Flattening a glass bottle at home can be a creative and interesting DIY project. Here’s a method for flattening glass bottles using your oven:
Materials you’ll need:
- Glass bottle
- Oven
- Oven mitts or gloves
- Baking sheet
- Coldwater source (sink or bucket)
- Sandpaper (optional)
Procedure:
- Safety Precautions: Always wear safety goggles and gloves when working with glass, as there is a risk of the glass breaking during the process.
- Selecting the Bottle: Choose the glass bottle you want to flatten. Ensure it’s clean and free from any labels or adhesives.
- Preparing the Bottle:
- Remove the bottle cap, if applicable.
- Use a razor blade or utility knife to cut off any protruding neck or base of the bottle to create a uniform shape. This is optional but can make the process easier.
- Preheating the Oven:
- Preheat your oven to around 500-600 degrees Fahrenheit (260-315 degrees Celsius). Some ovens may have a “broil” setting that works well for this purpose.
- Place the Bottle in the Oven:
- Place the glass bottle directly on the oven rack. Make sure it’s positioned horizontally with even support. You may want to put a baking sheet underneath to catch any potential glass fragments.
- Heating the Bottle:
- Keep a close eye on the bottle as it heats up in the oven. It will start to soften and sag. This process usually takes around 10-15 minutes, but the exact time can vary based on the thickness of the glass and your oven’s temperature.
- Remove the Bottle:
- Once the bottle has flattened to your desired level, use oven mitts or gloves to carefully remove it from the oven. Be extremely cautious, as the glass will be very hot.
- Quenching in Coldwater:
- Immediately place the hot, flattened bottle into a sink or a bucket of cold water. The rapid temperature change will cause the glass to cool and harden quickly, which can prevent it from re-shaping.
- Inspect and Finish (Optional):
- Examine the flattened bottle. If it’s not perfectly flat or has rough edges, you can use sandpaper to smooth out any imperfections.
Remember that glass can be unpredictable, and there is a risk of the bottle breaking during the flattening process. Take safety precautions seriously and handle the hot glass with care. It’s also a good idea to practice with less valuable bottles before attempting the process with bottles you value more.
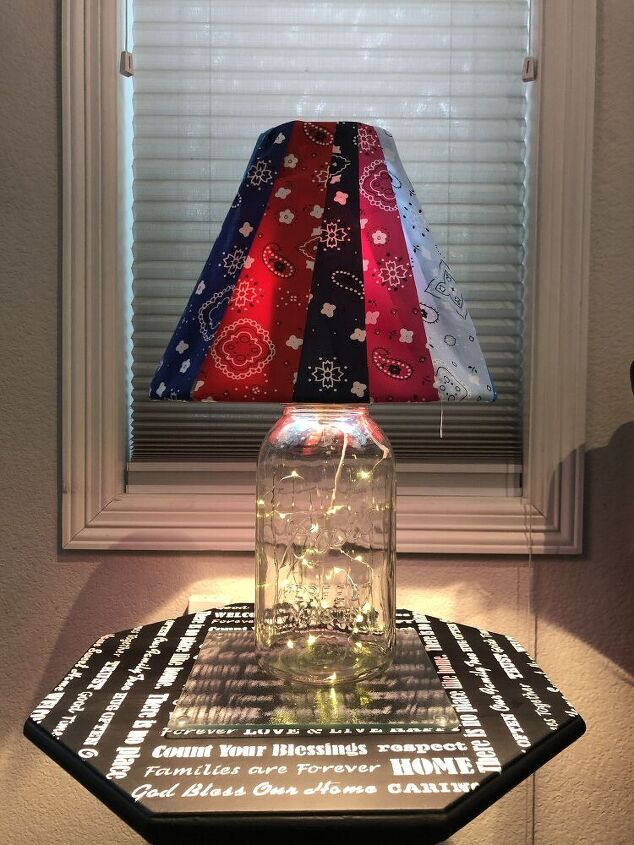
How to cut glass bottles for candles?
After you’ve completed the above tutorial, here is an easy candle holder DIY.
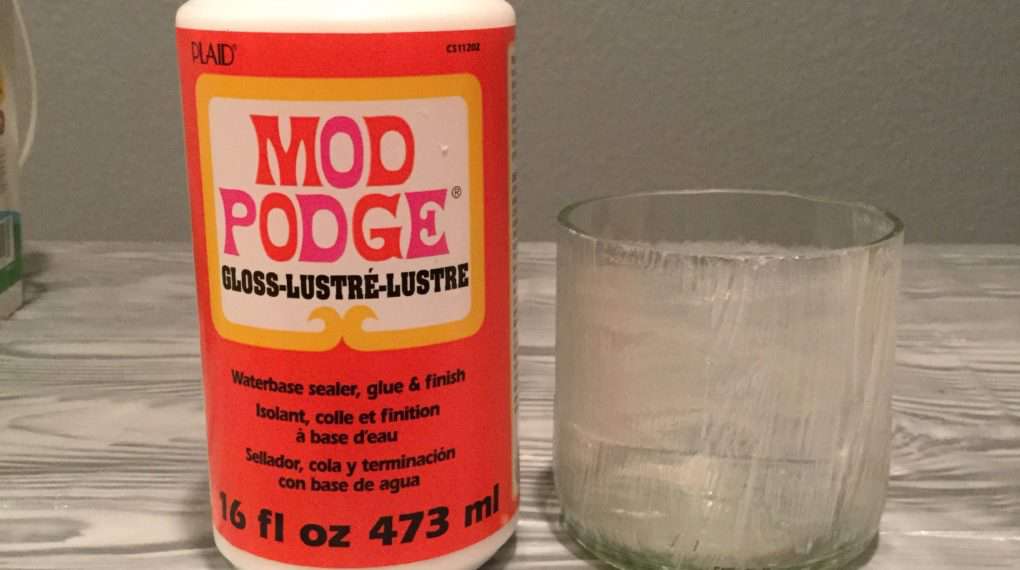
Paint Mod Podge onto the bottle.
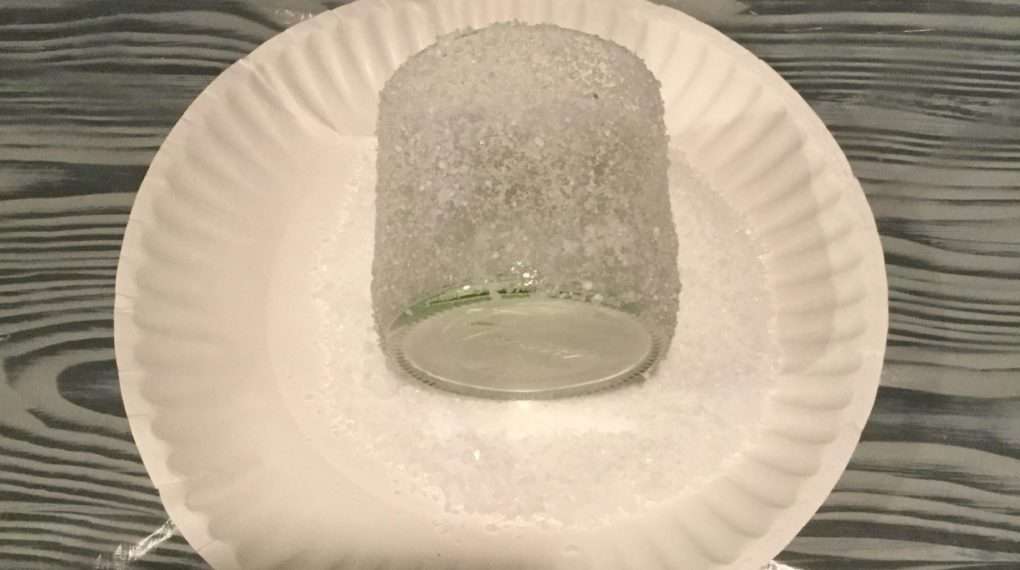
Roll in some Epsom Salt.
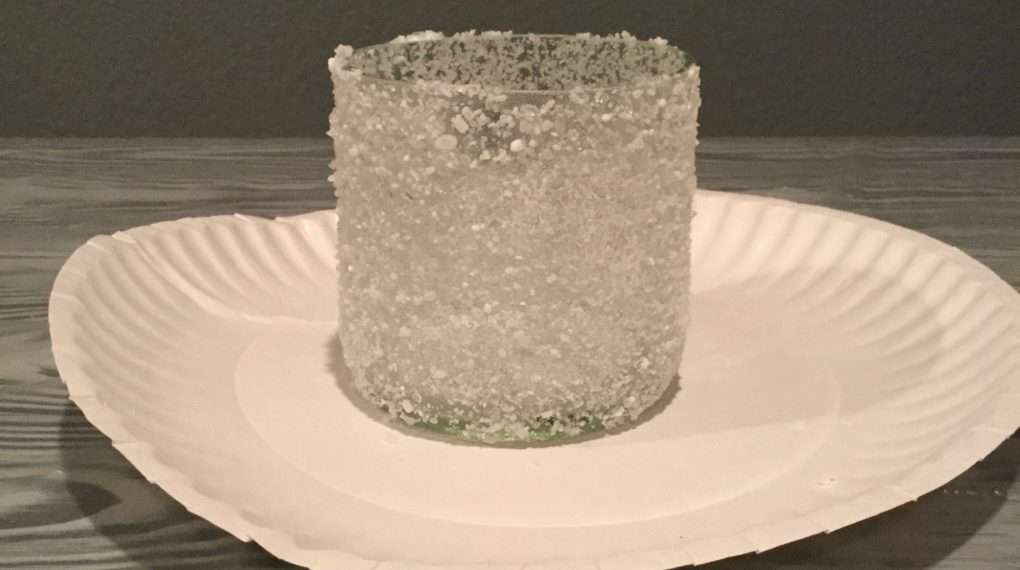
Let dry completely.
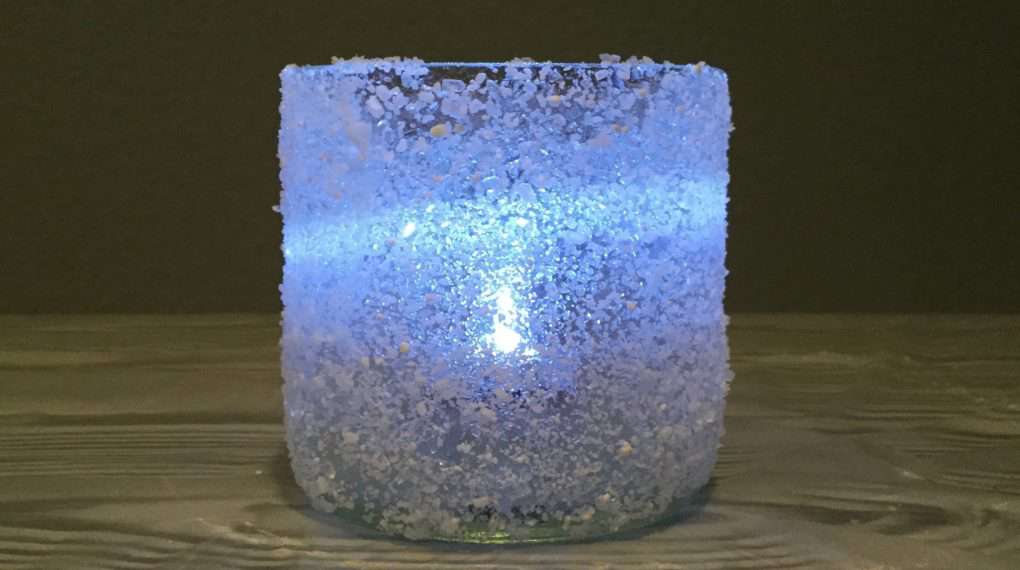
Add a battery operated LED light or preferred candle of your choice.
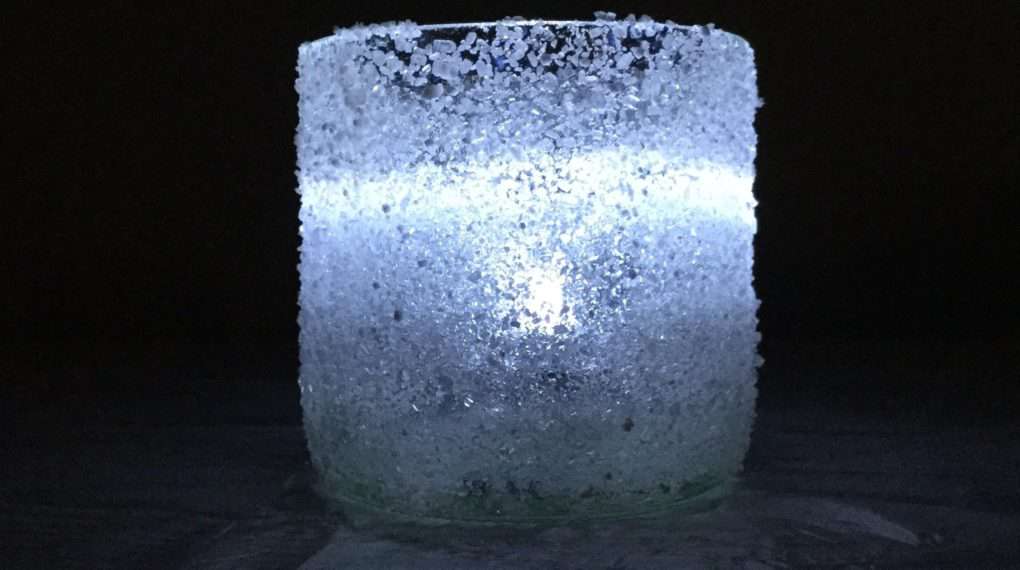
Enjoy during the cold winter months!
Find out “What Exactly Does It Mean To Repurpose Or Upcycle“, save money, and create the most amazing things.
I’m going to show you how to use a glass bottle cutter. The possibilities are endless when it comes to up-cycling bottles. I recently purchased a bottle cutter and now I have even ways to up-cycle those bottles!
Shop any of these stores and I receive a small commission at no cost to you.
 Genround Glass Bottle Cutte...Shop on Amazon
  Mod Podge Matte Sealer, Glu...Shop on Amazon
  Royal & Langnickel - Crafte...Shop on Amazon
  Epsoak Epsom Salt 19 lb. Ma...Shop on Amazon
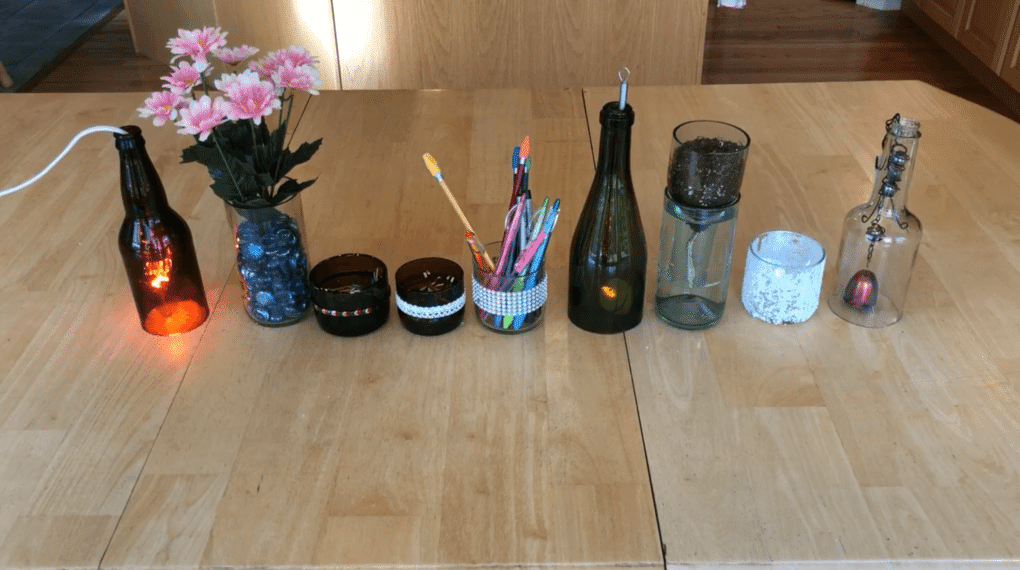
Check out some of my other bottle crafts!
- Using a Bottle Cutter – Bottle Crafts!
- The Fast and Easy Way To Create An Etched Wine Bottle
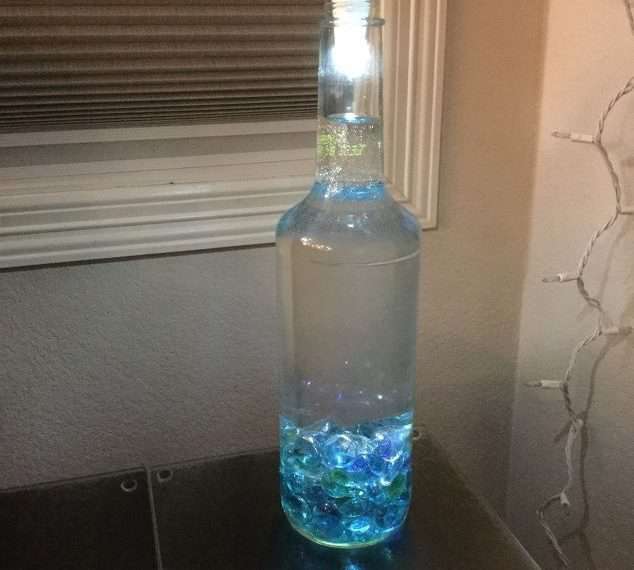
- Glass Bottle to Glowing Beauty!


Thanks for the information, Chas. I didn’t realize that there was something available to make glass cutting so easy.
Thanks Linda, I bought it from Amazon and decided to give it a try. It is pretty slick, and I can’t wait to make many things with it.
Awesome, Chas. It’s funny because today’s Hometalk had a string method for cutting glass. You could tell that it was uneven though. Yours was definitely cleaner. 🙂
Yeah, I’m not sure I want to light a string on fire. I would worry about the glass getting too hot and shattering…
Yes, me too.
I have one of these and I am glad to know you will go through many bottles before getting the technique. I thought it was me. The candle holder is so lovely.
Thank you Debra. Yes, I think I went through 16 but to be honest I was watching a tutorial on the Amazon page where I bought it and he poured hot water on it and then ran it under cold water. Every time I tried that the bottle never cracked on the score line. I read the directions and this this way that is described and almost every time has been a perfect cut bottle. Wow what a difference. Good luck with yours I hope you enjoy it as much as I am now.
Thanks so much for this tutorial! I have a bottle cutter I purchased years ago but I could never get a clean cut using it. I needed this tutorial…I won’t get rid of it now! You are giving me the itch to try again. Thanks so much! Saw your post at the handmade hangout! pinned!
Thank you Kathleen and I understand how frustrating it is when you can’t get that clean cut. I almost returned it until I decided to give it one last try using the instructions. What a difference. Good luck and I’m glad you’re inspired again. Thanks for the Pin.
Oh the possibilities! Sounds like a good excuse to drink a bottle or two of wine for practicing purposes.
Thank you Julie and I like the way you think 😉
Will it only cut around the bottle? That may not make sense. I am wanting to cut a bottle in half lengthwise, or a wine glass lengthwise. Will this cutter do that or do you know of one that will?
Hi Ginger – this one only cuts around the glass and can make projects like this – https://chascrazycreations.com/using-bottle-cutter-crafts/ I haven’t found a cutter that cuts length wise yet.
Chas, I am sharing this post with Scott. He’s tried cutting glass but hasn’t been very successful. I think the hot/cold water part is what he is missing. We have quite a few of those pretty rosé wine bottles that he is saving. Thanks for all the great tips! Hope it works for him.
Thanks Mary, and let me know how it goes for Scott. I can’t wait to see what you all make with all those bottles!
I’ve never really thought to do this, but love the idea. Thank you so much for sharing at Charming Homes and Gardens Chas. Pinned.
Thank you so much Kim
Thanks so much for sharing your efforts in figuring out a good way to make it work. I have so many lovely bottles and now I know what to do with them. (Found you on the Simple Homestead Blog Hop.)
Thank you so much Lori, and thanks for stopping by.
Chas,
I’m so glad you shared this post. I’ve been wanting to get a bottle cutter but have hesitated because I wasn’t sure what I needed. Thanks so much. I plan to feature this post on Wednesday’s Charming Homes and Gardens Link Party!
You are so very sweet Rachel, thank you for the feature. I’m thrilled you are wanting to give the bottle cutter a try too.