
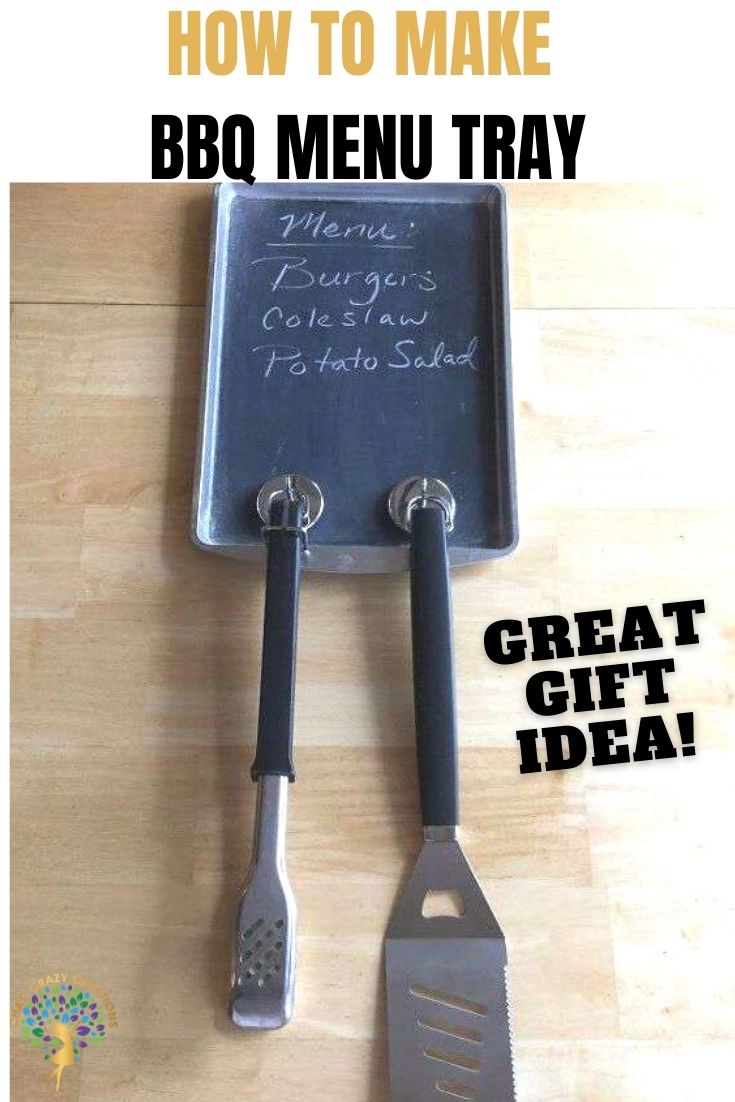
BBQ Menu Tray, Magnet, Utensil Holder, & More
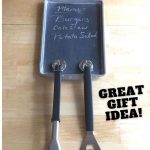
Do you need a Father’s Day gift idea and like to DIY? I have a project for you and kid’s can help too! You can make this easy and inexpensive BBQ menu tray for Father’s Day, and it can be used for SO much more!
This post may contain affiliate links, I earn from qualifying purchases at no extra cost to you. Click here for my disclosure policy
SUPPLIES FOR BBQ MENU TRAY
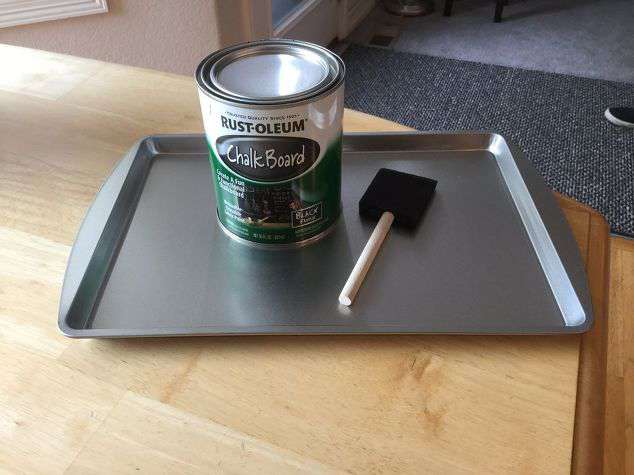
- A cookie sheet pan (Dollar Tree)
- Chalkboard paint of your choice (I used Rust-oleum, Amazon)
- Paint brush
- Painters Tape
- Chalk
- Magnetic Hooks
- BBQ Utensils
- Twine
- E6000
BBQ menu Tray Video
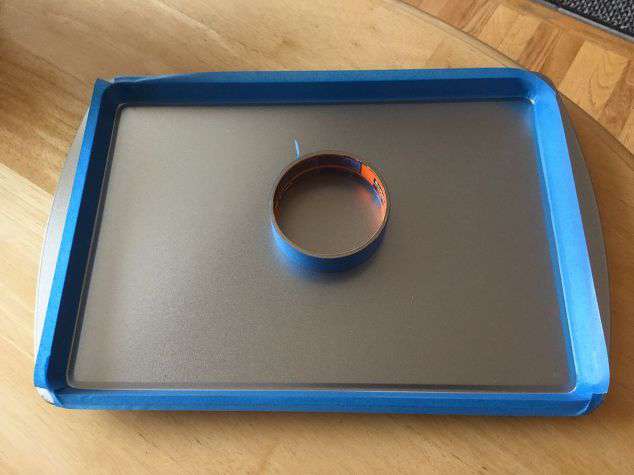
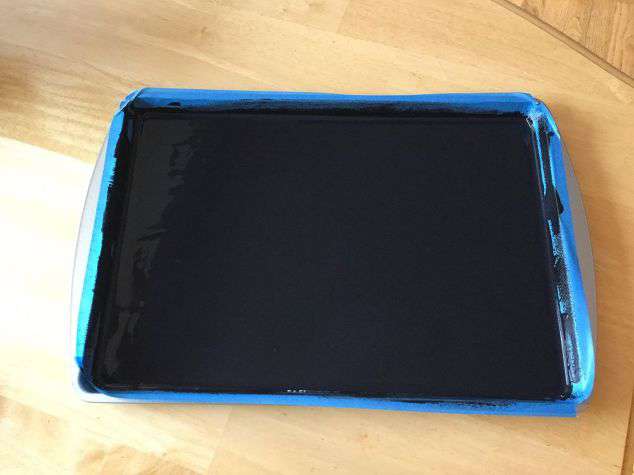
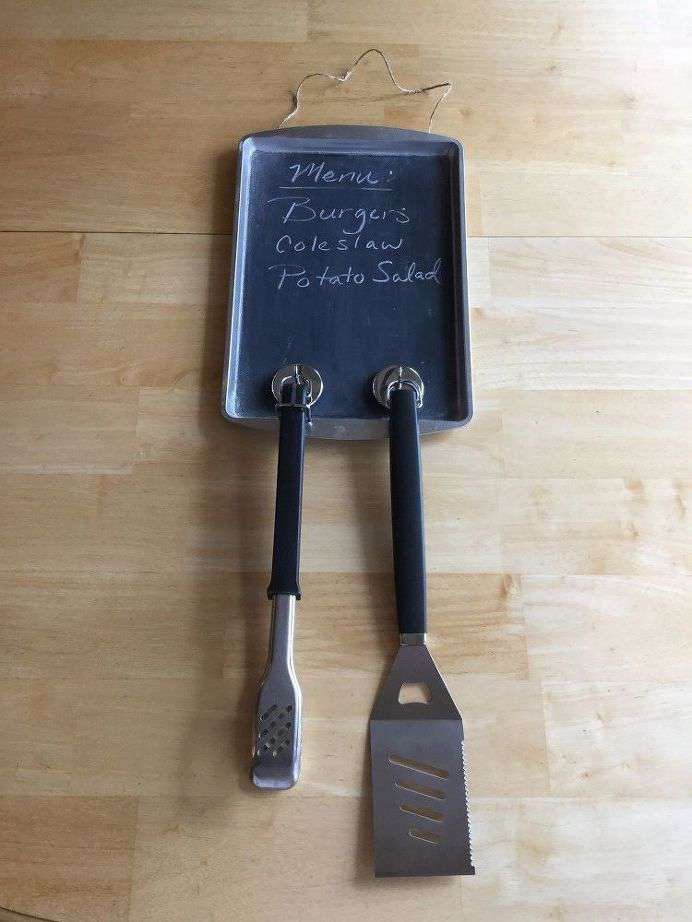
I taped the edges of my pan with the painter’s tape to stop the paint from getting on the edges.
Paint on the chalkboard paint and let dry. Follow the directions, mine said to let the paint dry for 3 days.
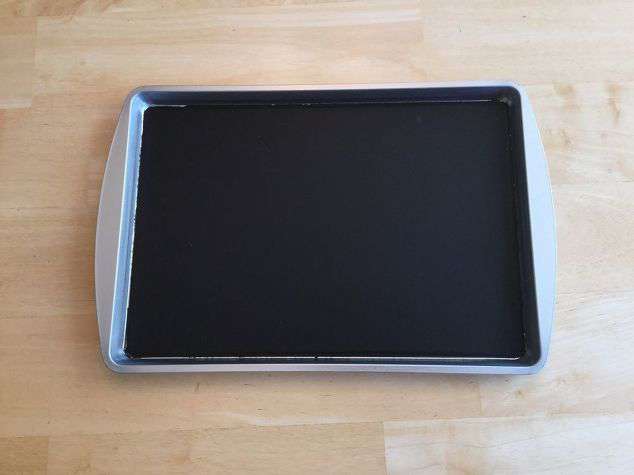
Pull off the painter’s tape.
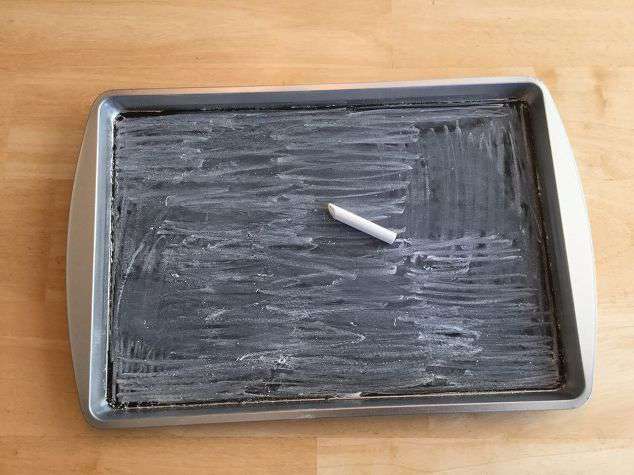
Season the chalkboard paint by using a piece of chalk sideways and coloring the whole surface area. This step is important so that when you write on it the writing erases – if you skip this step your chalk words won’t erase as well.
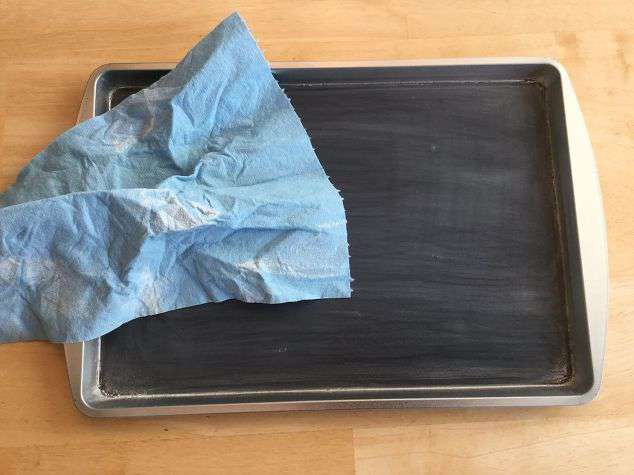
Erase all the chalk.
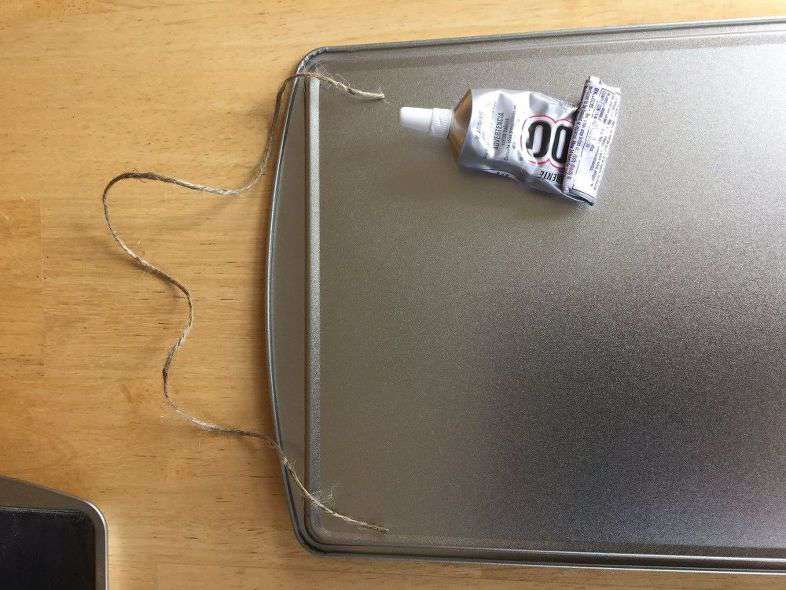
Optional – Use E6000 to glue some twine on the back so you can hang the tray if you want.
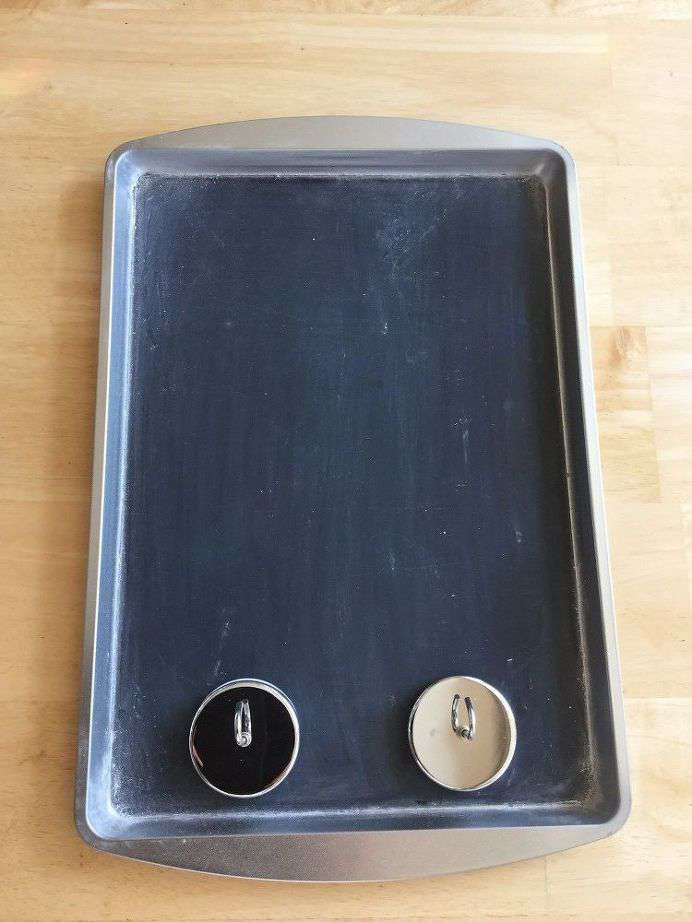
Place your magnetic hooks on your tray. I used magnetic hooks so I could use this tray as a serving tray.
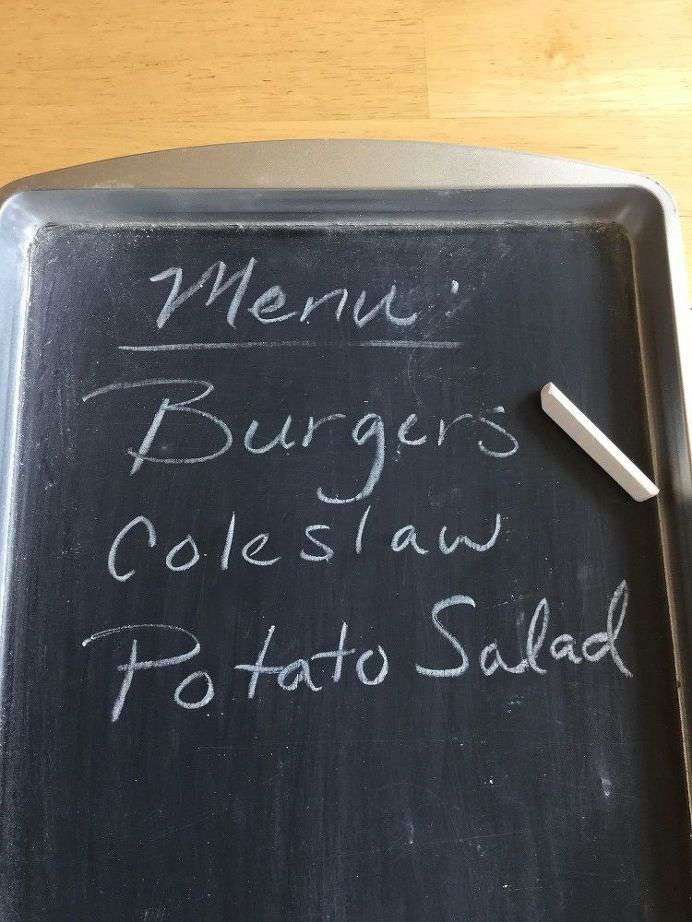
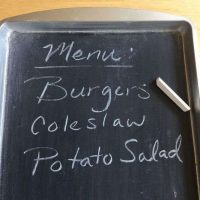
Use the chalk to write your menu, grocery list, etc.
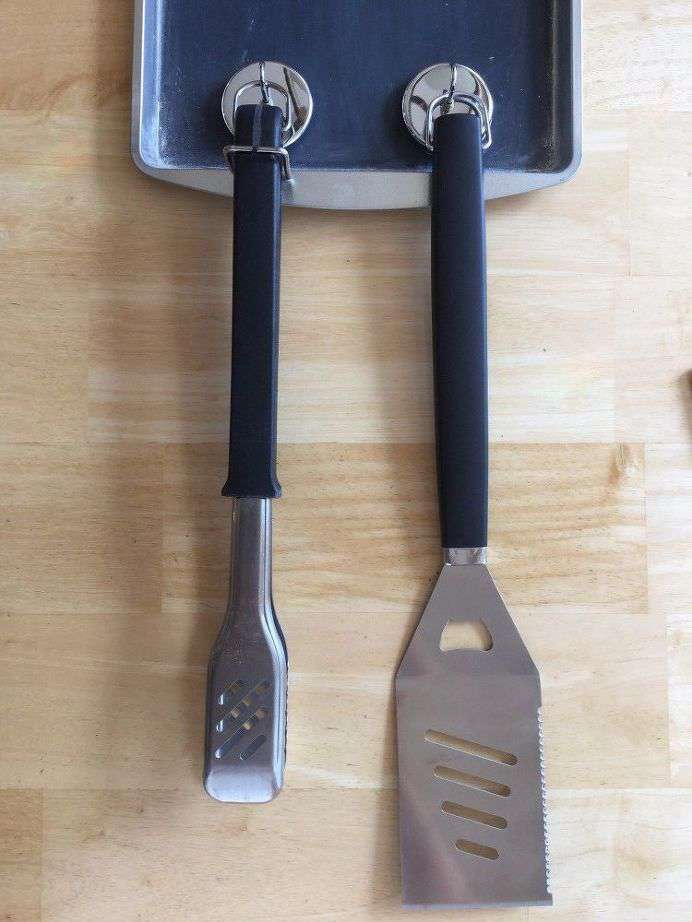
Hook your BBQ utensils on your hooks.
Makes a great gift for Father’s Day.
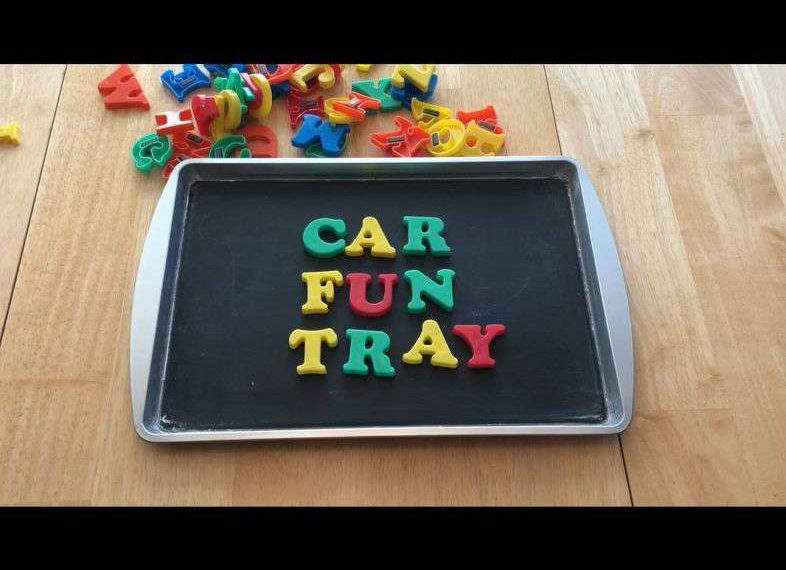
These also make great lap trays for parties, and for kids during road trips. See the post here
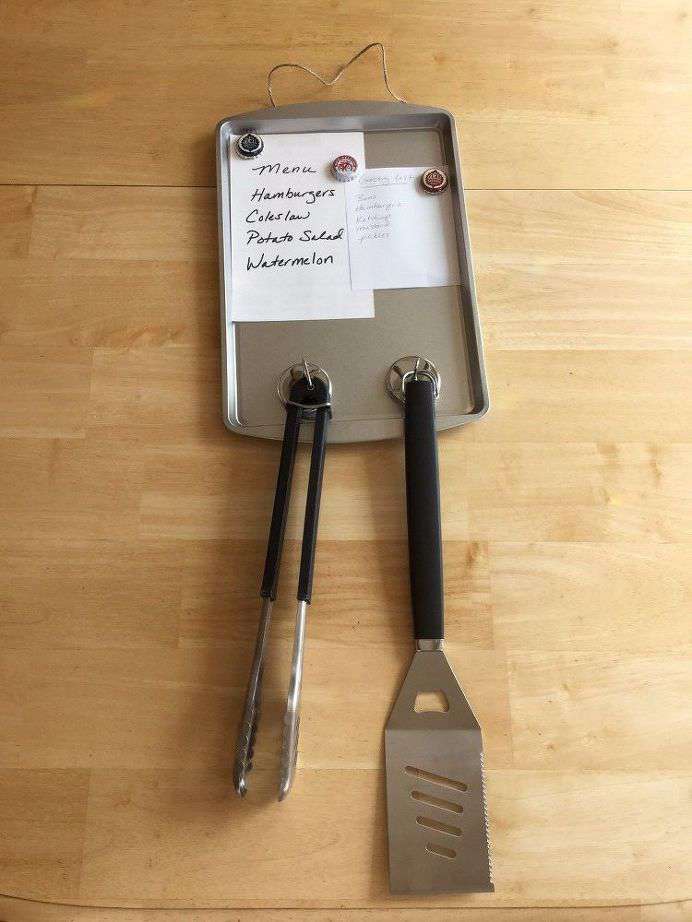
Optional – if you didn’t want to use chalkboard paint, you could leave the tray as is. You can use bottle cap magnets to add your menu, grocery list, etc.
Shop any of these stores and I receive a small commission at no cost to you.
 Veken BBQ Grill Accessories...Shop on Amazon
 WUSTHOF BBQ Set Cook's Tool...Shop on Amazon
 in Length - Pack of 8") LOVIMAG Swivel Swing Strong...Shop on Amazon
LOVIMAG Swivel Swing Strong...Shop on Amazon American Crafts Chalkboard ...Shop on Amazon
BBQ Menu, Magnet, Utensil Holder, Tray, & More
Equipment
- Paint Brush
Ingredients
- A cookie sheet pan
- Chalkboard paint of your choice
- Painters Tape
- Chalk
- Magnetic Hooks
- BBQ Utensils
- Twine
- E6000
Instructions
- Tape the edges of the pan with the painters tape.
- Paint on the chalk board paint and let dry.
- Pull off the painters tape.
- Season the chalkboard paint by using a piece of chalk sideways and coloring the whole surface area.
- Erase all the chalk.
- Use E6000 to glue some twine on the back so you can hang the tray.
- Place your magnetic hooks on your tray.
- Use the chalk to write your menu, grocery list, etc.
- Hook your BBQ utensils on your hooks.
BBQ menu tray Video
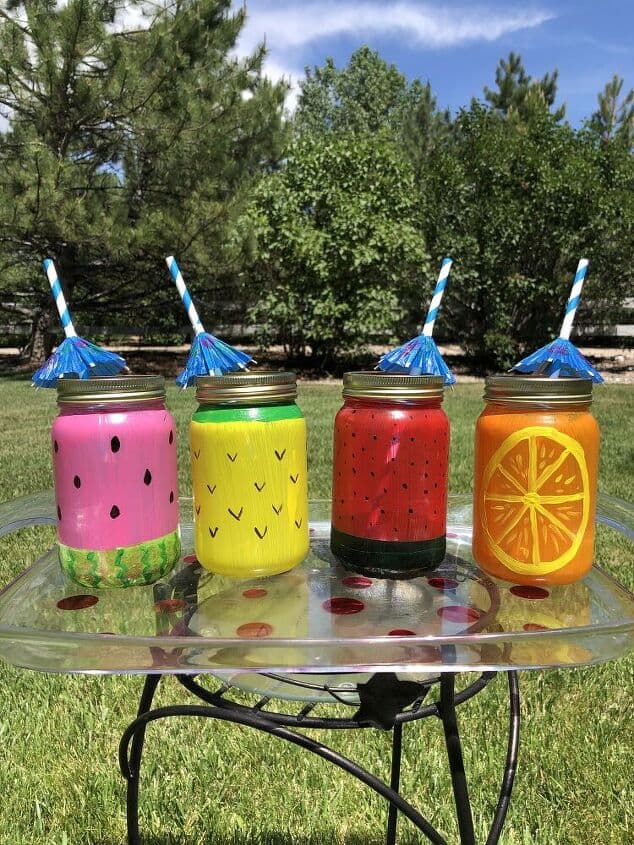
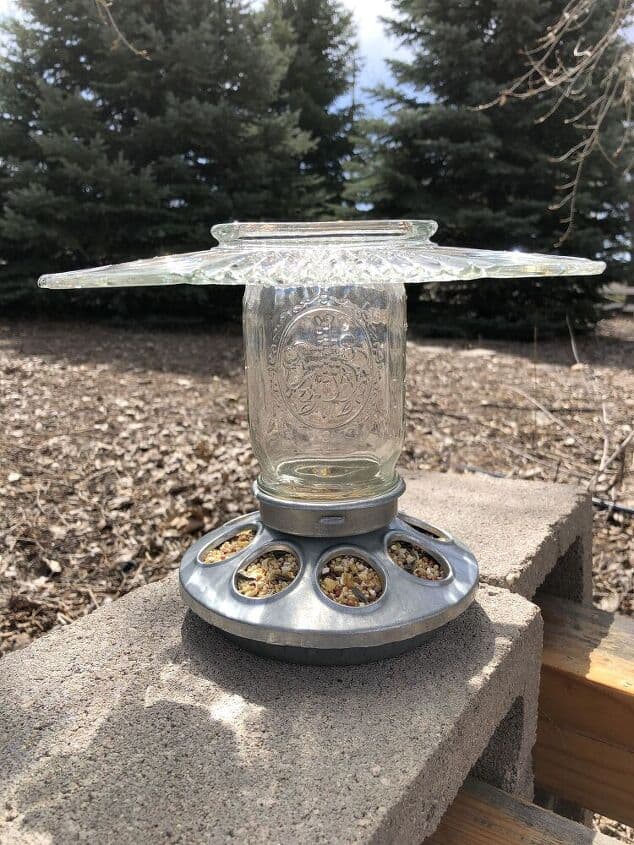
Check out some of my similar projects!

Nice idea! This would work great hanging in our garage with all the tools & grates my hubby likes for his BBQ. It’s close to the kitchen and he could easily grab what he wants when he cooks. 🙂
Thanks Linda and I love that idea! 🙂
That is one great way to keep track of the BBQ utensils. Love your idea. Found you on Simple Homestead Blog Hop.
Thank you so much Candy and thanks for stopping by.
Another great idea!
Thank you so much Snap 🙂
My husband could use one of these – he is always losing his grilling utensils! Thanks for sharing at The Blogger’s Pit Stop!
Thank you Roseann – I totally understand, I used to do that with my keys until I made a hanging place for them as well.
this is rather cool, love it place to share menu and so much more
come see us at https://shopannies.blogspot.com
Thank you Angie, and thanks for the invite to stop by.
Great Father’s Day idea Chas!
Thank you so much friend 🙂