
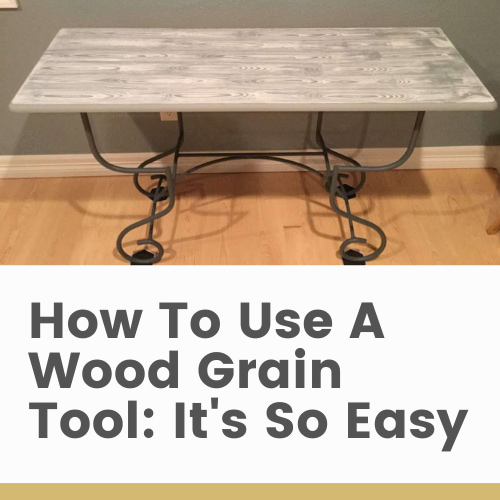
Easy and Awesome How To Paint A Bench with Video
Do you want to know how to paint a bench? Learn how to upcycle a thrift store bench with wood graining and stencils in this step-by-step DIY tutorial. Transform a plain painted bench into a unique statement piece for your home decor. Upgrade your furniture with creative techniques and achieve a wood grain effect along with intricate stencil designs. Get inspired and start your own upcycling project today!
As an Amazon Associate, I earn from qualifying purchases at no extra cost to you. Click here for my disclosure policy
I got this wooden bench from a thrift store and it was made by my friend Frank (Hi Frank!) It didn’t quite match my home’s colors and I wanted it to fit in with our mountain decor. I knew it was time to upcycle with a little paint, stenciling and more…
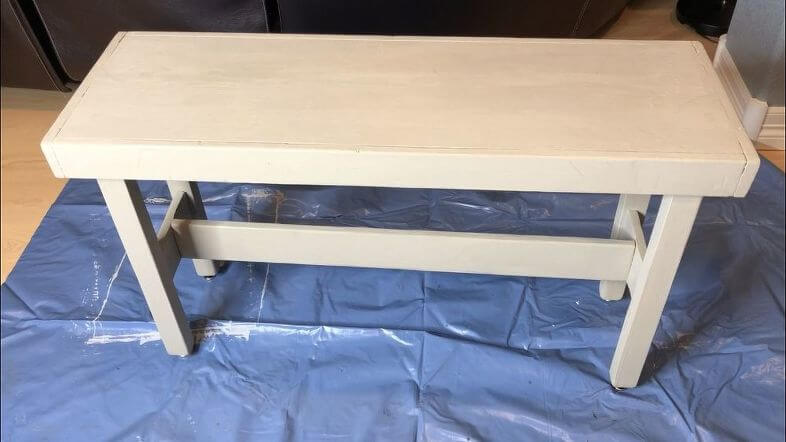
Here is the original bench. It’s color was a taupe color and it just didn’t match my home’s colors.
Easy and Awesome How To Paint A Bench with Video
Introduction
In today’s DIY project, we’ll explore how to upcycle a thrift store bench with wood graining and stencils, creating a unique and personalized statement piece for your home decor. Follow this step-by-step guide to upgrade a painted bench and learn creative techniques for enhancing its appearance.
Materials Needed
- Thrift store bench
- Apple Barrel burnt umber paint
- Apple Barrel multi-surface warm buff paint
- Wood graining tool
- Stencils (e.g., plaid woodland stencil featuring a moose)
- Stencil brush
- White Apple Barrel paint
- Mixing palette or container
- Water (for diluting paint)
- Paintbrushes
- Protective covering for the workspace
- Paper towels or rags (for cleaning and blotting)
How To Paint A Bench Instructions
Step 1: Preparing the Bench
To begin, make sure you have all the materials listed above. Start by thoroughly cleaning the thrift store bench and ensuring its structural integrity.
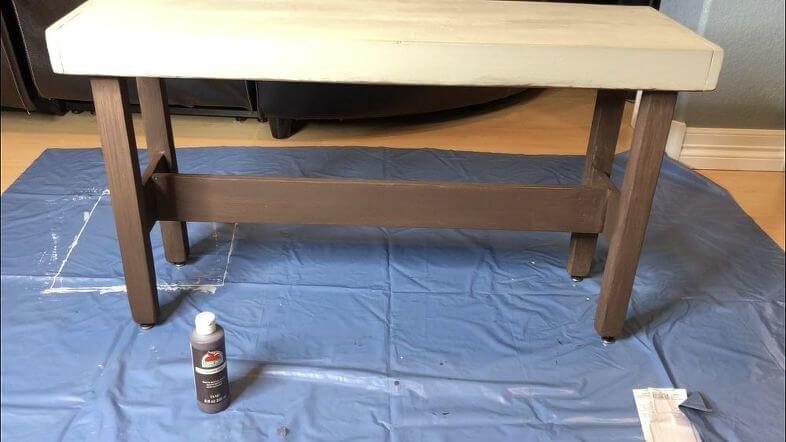
Step 2: Base Coating
Using a paintbrush, apply a coat of Apple Barrel burnt umber acrylic paint. to the base of the bench. Allow it to dry according to the paint manufacturer’s instructions.
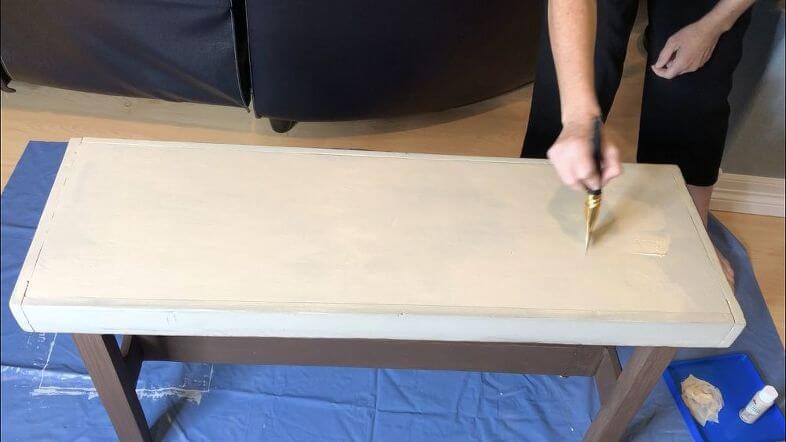
Step 3: Painting the Top and Sides
Next, paint the top and sides of the bench with Apple Barrel multi-surface warm buff paint. Apply even coats and let them dry completely.
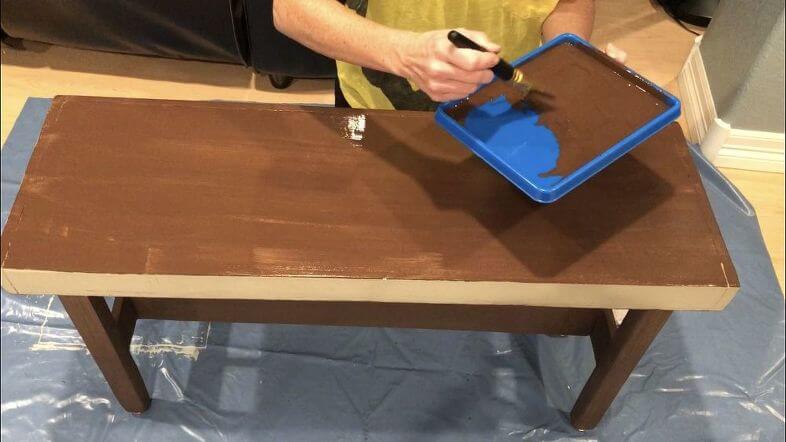
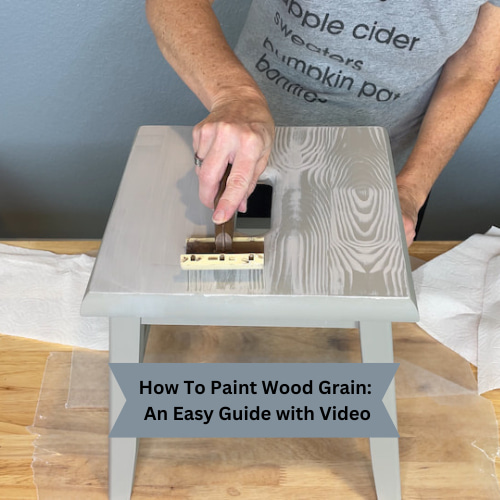
Step 4: Creating the Wood Grain Effect
Prepare a glaze by diluting the burnt umber Apple Barrel paint with a small amount of water. Apply this glaze over the dried buff paint on the top of the bench, using a paintbrush.
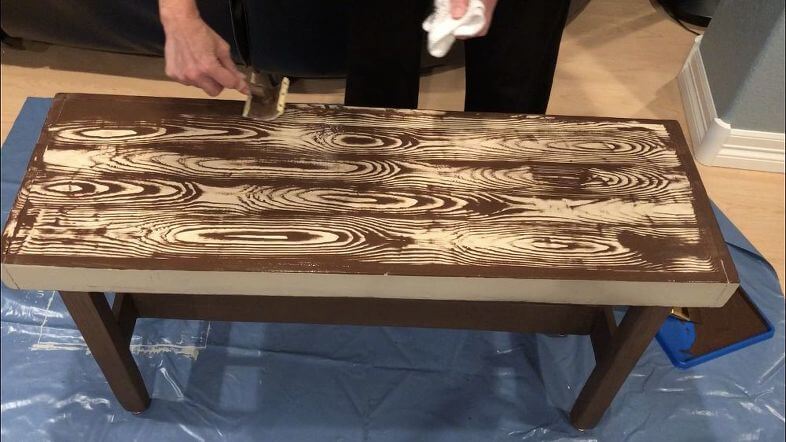
Step 5: Extending the Wood Grain Effect
While the glaze is still wet, use the wood graining tool to create the wood grain effect by rocking it back and forth across the bench’s surface.

Repeat this step on the sides of the bench as well.
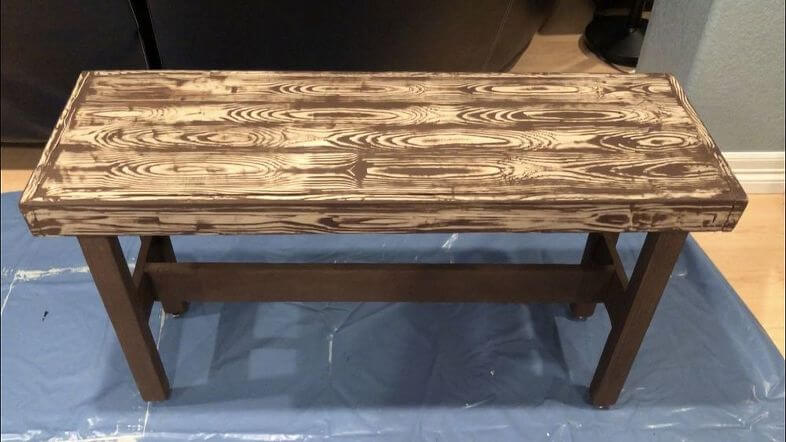
Let it dry completely
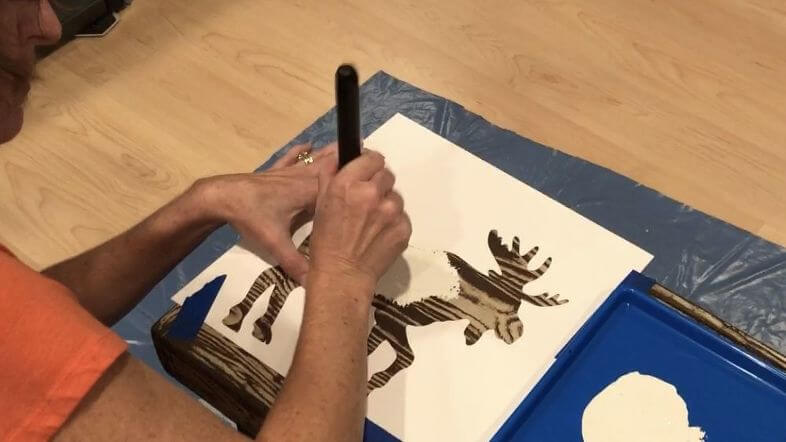
Step 6: Adding Stencil Details
After the bench has dried completely, position the selected stencil (such as the plaid woodland stencil featuring a moose) onto the desired area. Mix white Apple Barrel paint with a touch of buff paint to create a slightly off-white shade.
Use a stencil brush to pounce the paint onto the stencil, covering the design completely.

Carefully remove the stencil and allow the paint to dry.
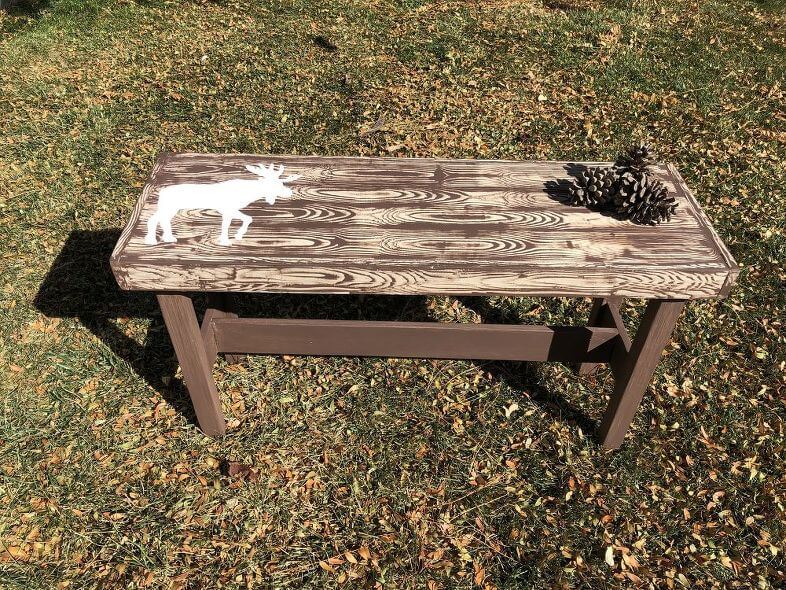
Step 7: Final Touches and Conclusion
Stand back and admire the transformed bench. It now showcases the wood grain effect and stencil design, adding character and charm to your home decor.
Easy and Awesome How To Paint A Bench Video
Shop any of these stores and I receive a small commission at no cost to you.
, 12\" x 12\"") FolkArt Die Cut Paper, Wood...Shop on Amazon
FolkArt Die Cut Paper, Wood...Shop on Amazon , Multicolor, 18 Count") Apple Barrel PROMOABI Acryl...Shop on Amazon
Apple Barrel PROMOABI Acryl...Shop on Amazon  Plaid Wood Grainer,Shop on Amazon
What is the best way to paint a bench?
- Fix any problems like rust, chipping old paint, mildew, fill nooks and crannies, etc
- Start by sanding, you can use a sander to remove stain or loose paint (don’t forget to protect yourself with goggles and a mask.)
- Wipe off the dirt and dust
- Add a primer, as primer helps get the piece ready and helps the paint stay on
- Use a paintbrush or you can use spray paint, whichever you prefer to paint the bench
- Know your paint depending if you’re fixing garden furniture or outdoor furniture, or perhaps indoor furniture. A garden bench per se needs a different type of paint than an indoor one. Choose from satin, latex paint, acrylic paint, etc.
- Add second coats if necessary and honor dry times between coats.
- Add a protective top coat.
Remember to clean your brushes and workspace properly after completing the project. We hope you’ve enjoyed this tutorial on upcycling a bench using wood graining and stencils. If you’re looking for more inspiring DIY projects, be sure to subscribe to our YouTube Channel and subscribe here for creative ideas and tips. Happy upcycling!
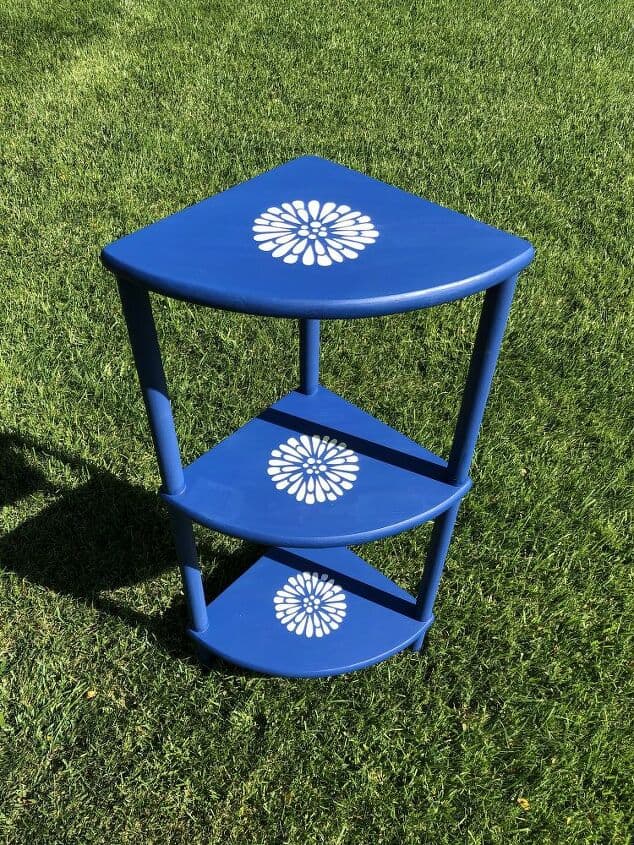
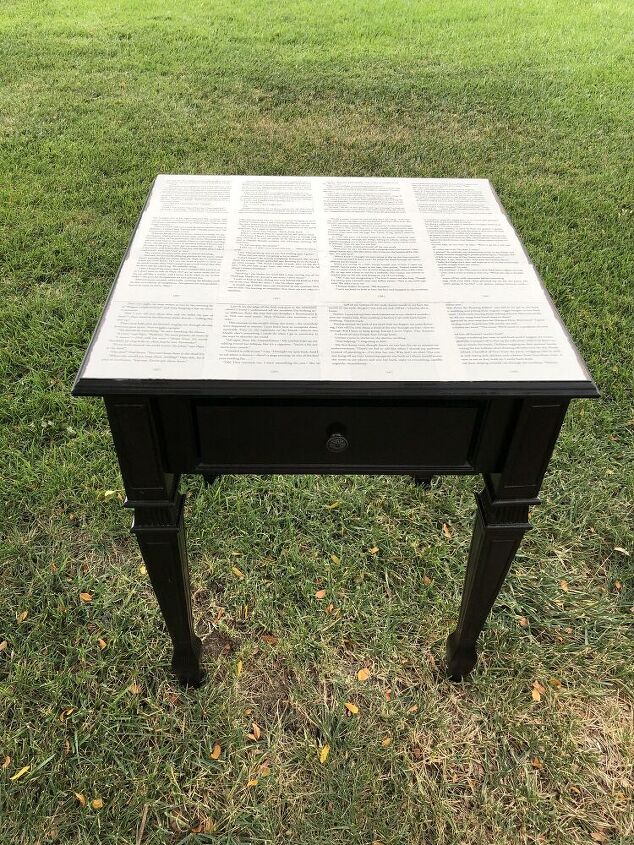
Check out some of my other furniture makeovers!

Nice job, Chas. I love the faux wood board look!
Thank you Linda, we got to bring it to our condo during the Thanksgiving weekend. We are so excited how it fits in our home.
What a cute bench! I love it. I am not creative at all (except for with words, I guess :-)) so I am always so impressed when I see the creations of others. Well done!
Thank you so much Megan, and I think what you are sharing is special too. Writing and putting it all out there is a talent too.
Thank you <3
Looks great – thanks for sharing! I have some benches to make next year and this post is giving me some ideas!
Thanks so much Daron and I’d love to see what you create.
Oh well done!!! I love old things made new! #trafficjam
Thank you so much Tracy and thanks for the great link party.