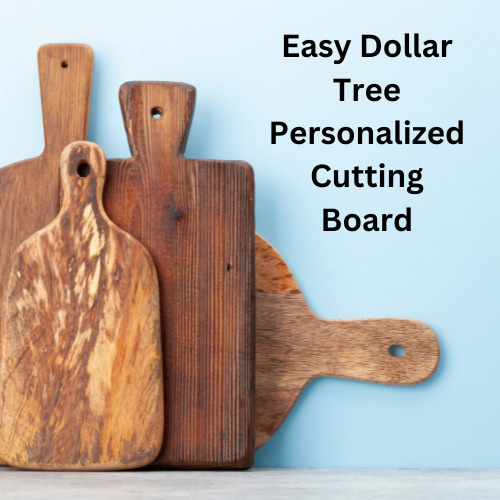
Easy Dollar Tree Personalized Cutting Board
Making a personalized cutting board is inexpensive and easy with just a few supplies from the dollar store! A personalized cutting board makes a great gift and you can adapt it for any occasion (housewarmings, weddings, or even an anniversary gift). This is a good craft for a craft night, great for kids to make, and easy party favor idea.
This post may contain affiliate links, I earn from qualifying purchases at no extra cost to you. Click here for my disclosure policy
I’m going to give you a couple of options and they’re super easy!

Personalized Cutting Board Supplies
- A glass cutting board/trivet
- Wood Cutting Board
- A printed photo
- Mod Podge
- Paint Brush
- Transfer paper
- Wood Burning Tool
Personalized Cutting Board Video
Personalized Cutting Board Instructions
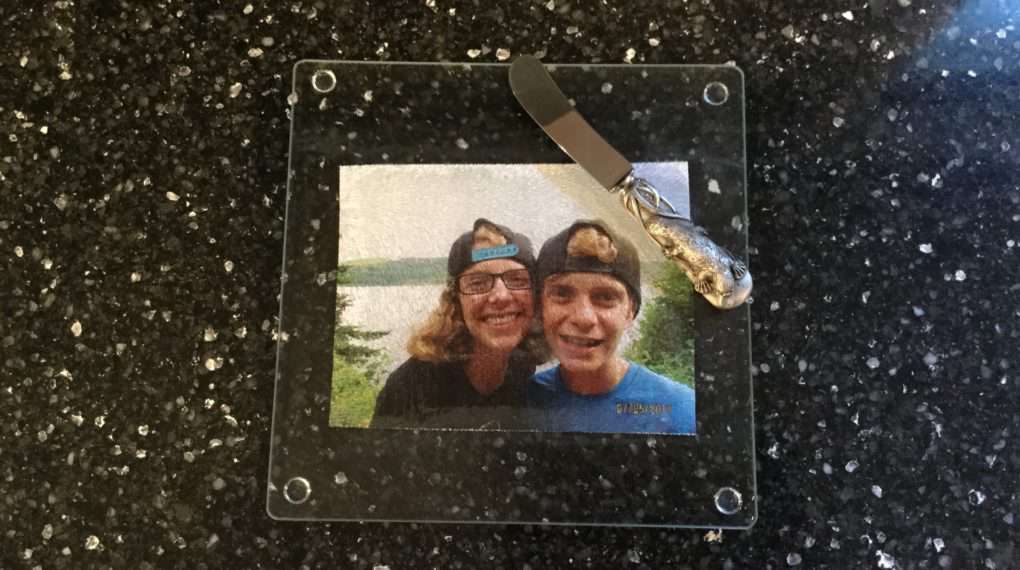
Glass Photo Personalized Cutting Board
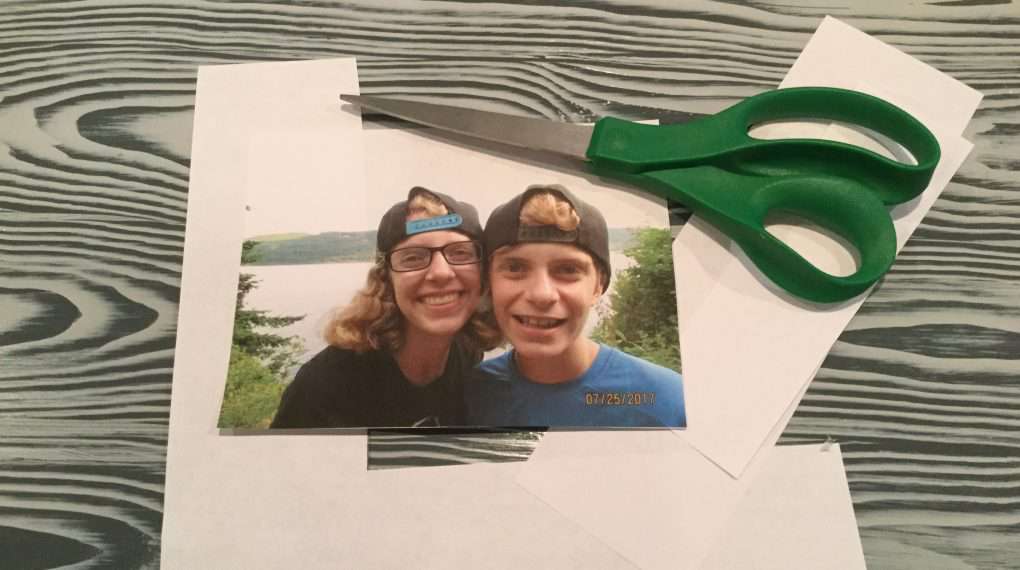
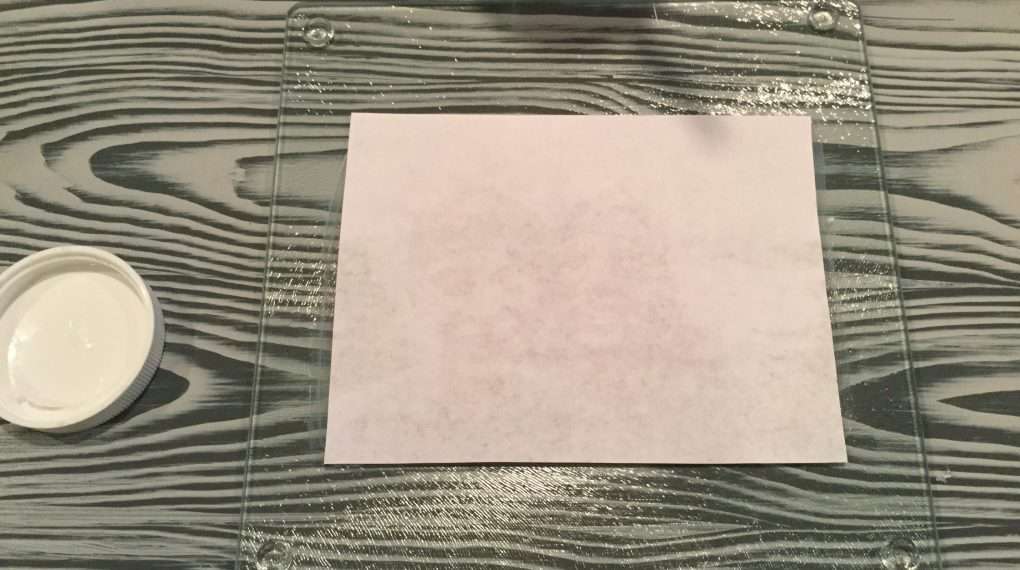
Print out a photo you like and then cut it out. You are welcome to use a printed photo as well. If you are using an inkjet printer, let the ink dry, and then give it a light spray of acrylic sealer to seal your ink. Otherwise, your ink might bleed.
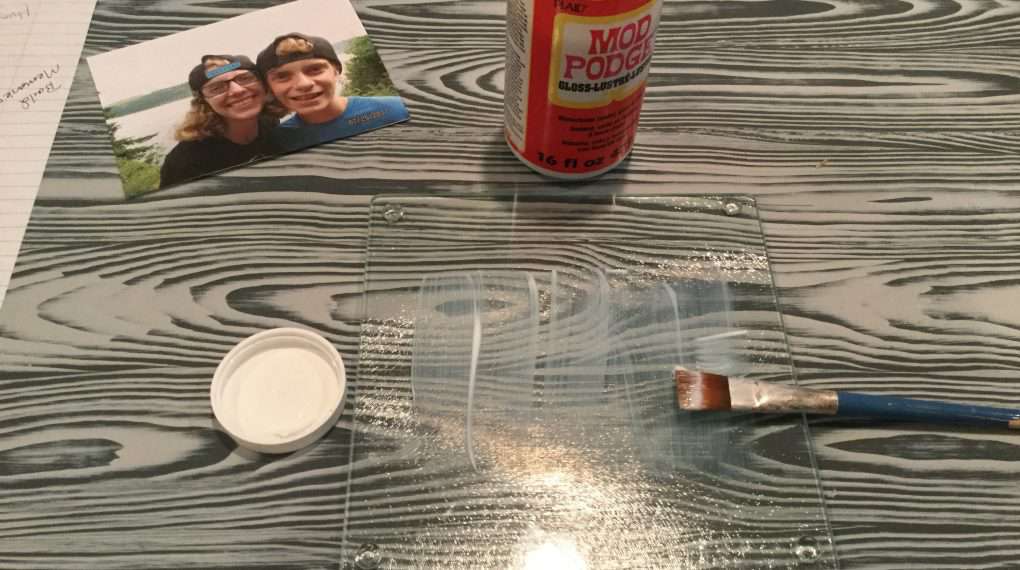
You’ll be working on the bottom of the trivet, so you’ll need to put your trivet bottom side up. We’ll be using Mod Podge next – you can pick if you want glossy or matte. Spread your Mod Podge onto your glass trivet. If you get a little extra on there, don’t worry – since it’s water based you can always clean it up later.
Place your picture face down into the Mod Podge. Carefully press it flat to remove any bubbles. You can also use a rolling pin for this step.
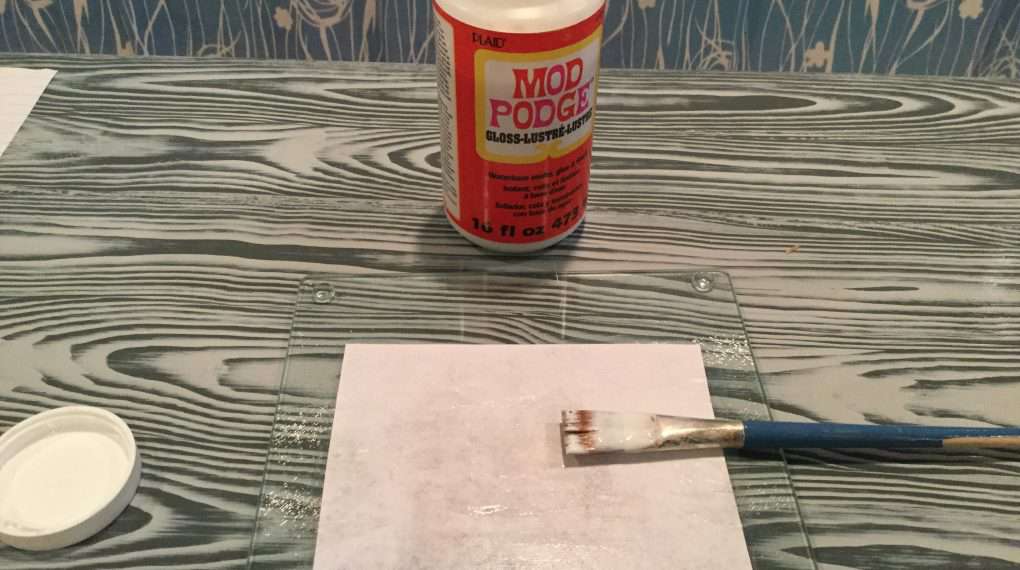
Place another layer of Mod Podge onto the back of the picture to seal the picture. Make sure to go over the edges.
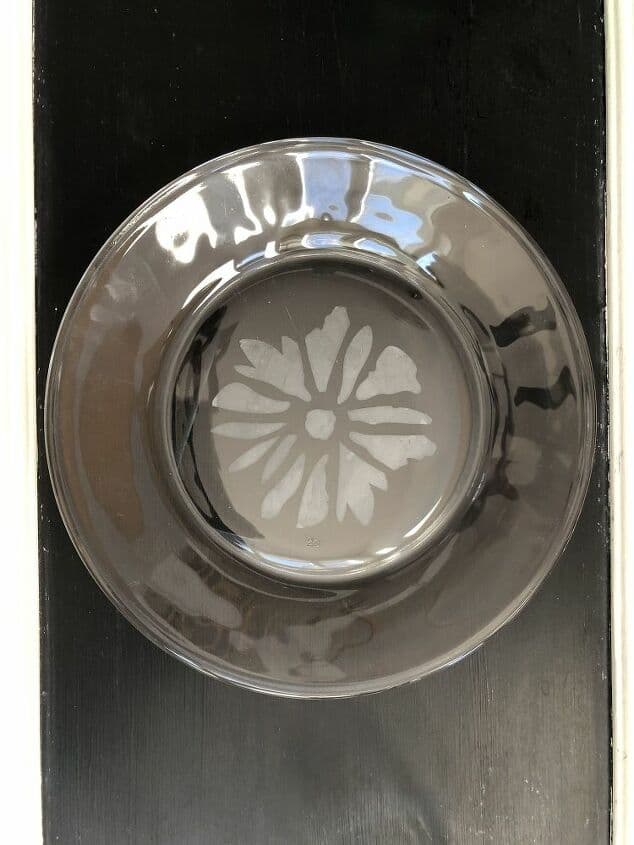
You’ll notice that the Mod Podge is white over the picture. Don’t worry, when it’s dry it’ll dry clear. Let your trivet dry completely.
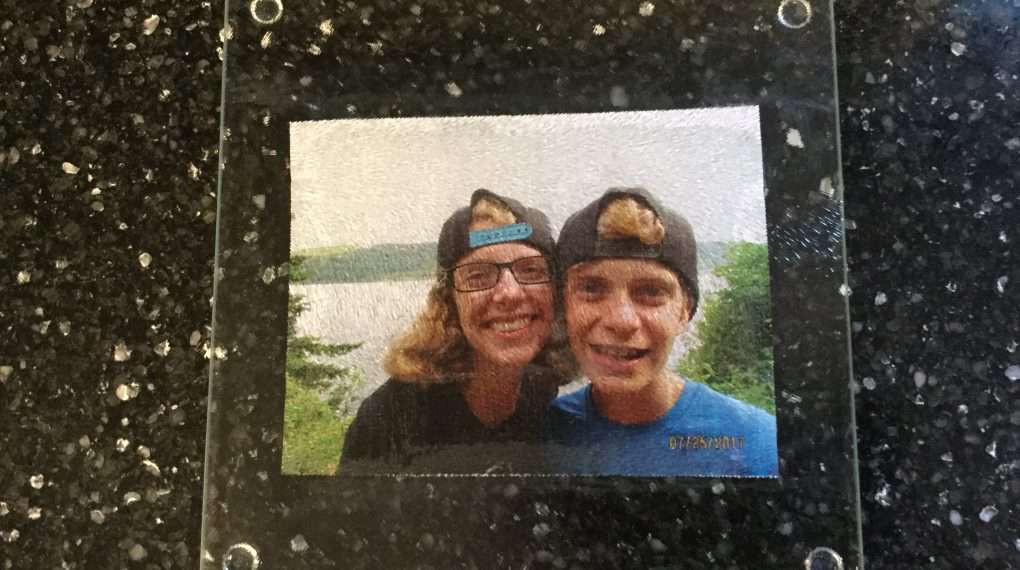
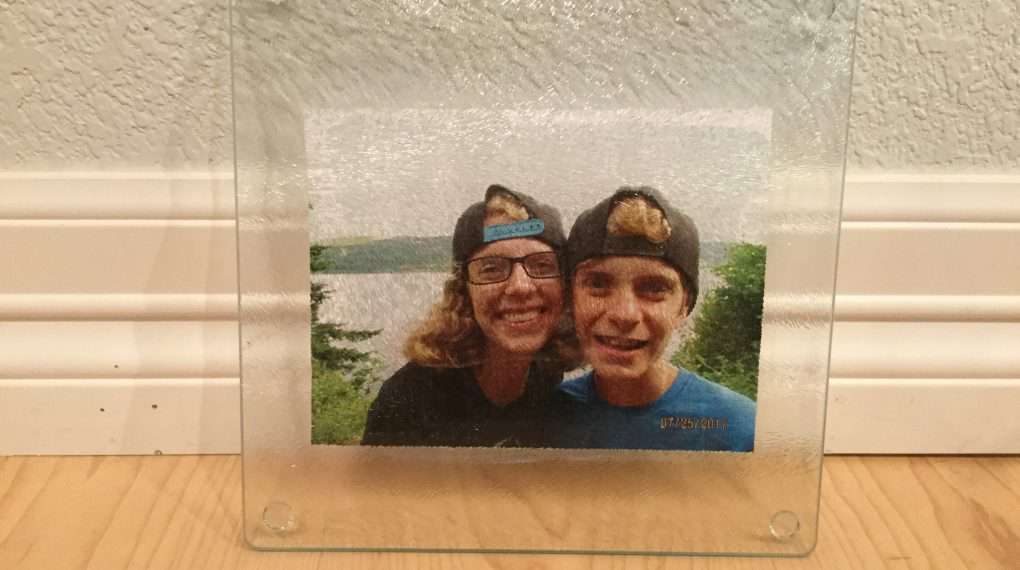
You’re trivet is ready!
Glass Personalized Cutting Board Care
Mod Podge is water based which means it cannot be placed in the dishwasher or in soapy water to be cleaned. To clean it use a little soapy water and hand-wash the top clean trying to keep the bottom dry. If it gets a little wet, don’t worry that will be okay and it’ll dry fine.
Alternatively, you can use dishwasher safe Mod Podge and you can then wash it easier.
Trivets have so many practical uses. Use it to place pots and pans on, use it as a cheese board, use it as a chopping board. So many options!
My kids are giving this to their grandparent’s for Grandparent’s Day.
You can watch the video I on Hometalk Live!
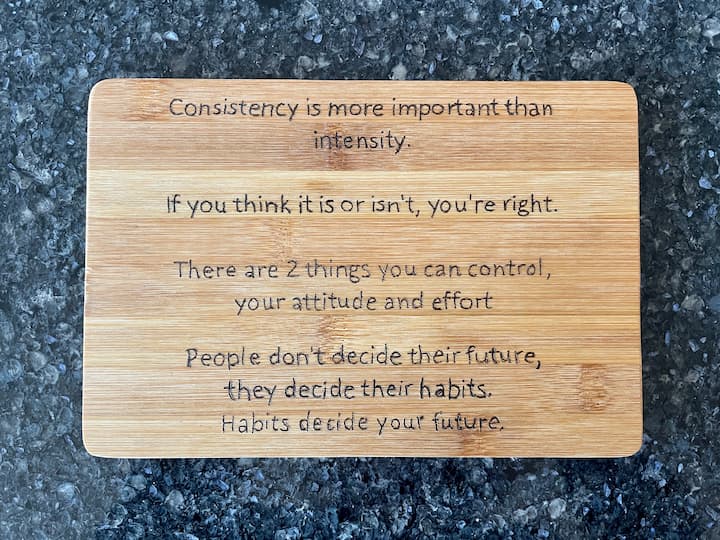
Woodburned Personalized Cutting Board
How do you write on a wooden cutting board?
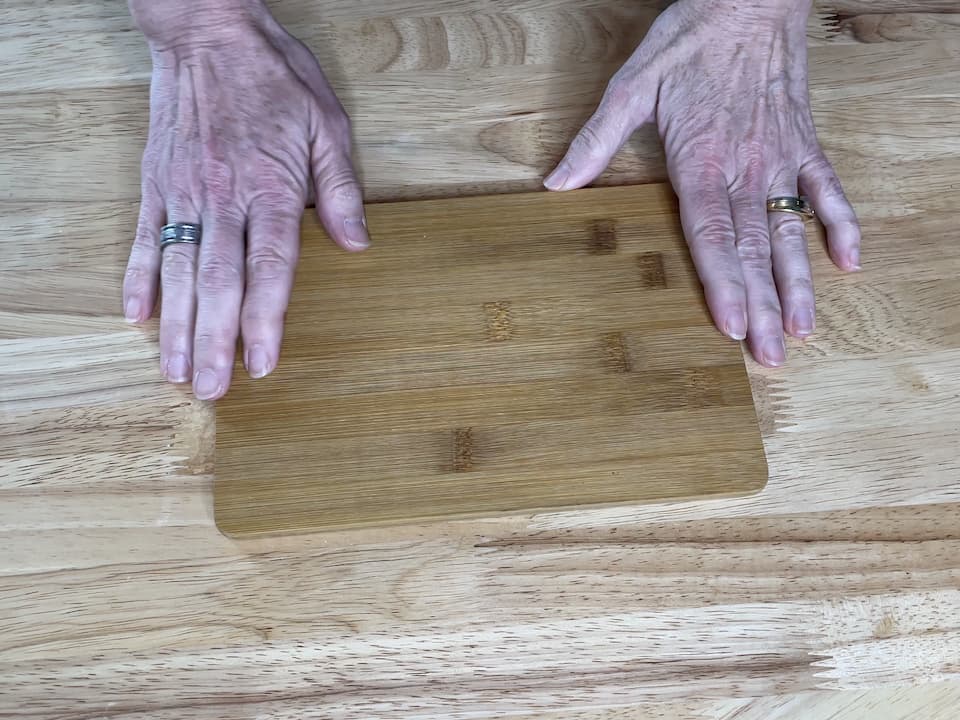
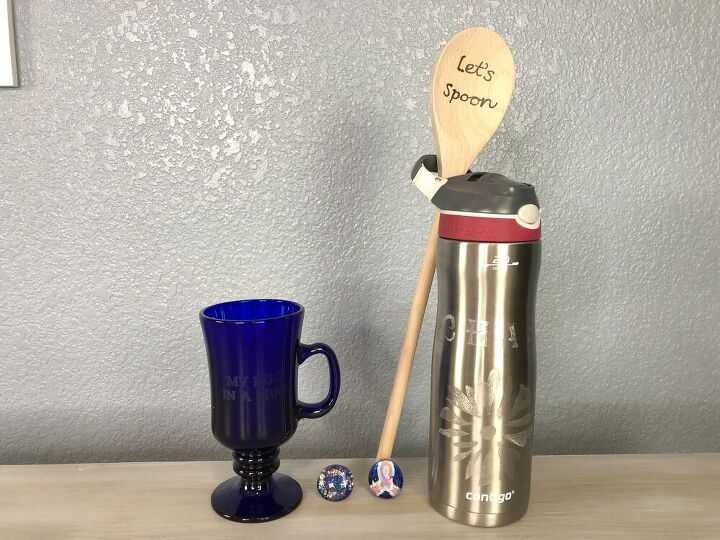
I grabbed a dollar tree bamboo cutting board to make this personalized board for a friend.
You could change up the wood type and use cherry wood, walnut, or maple to name a few.
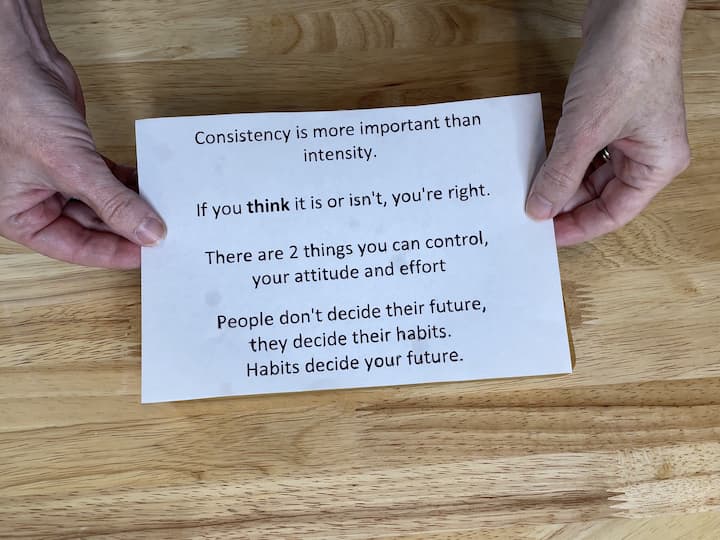
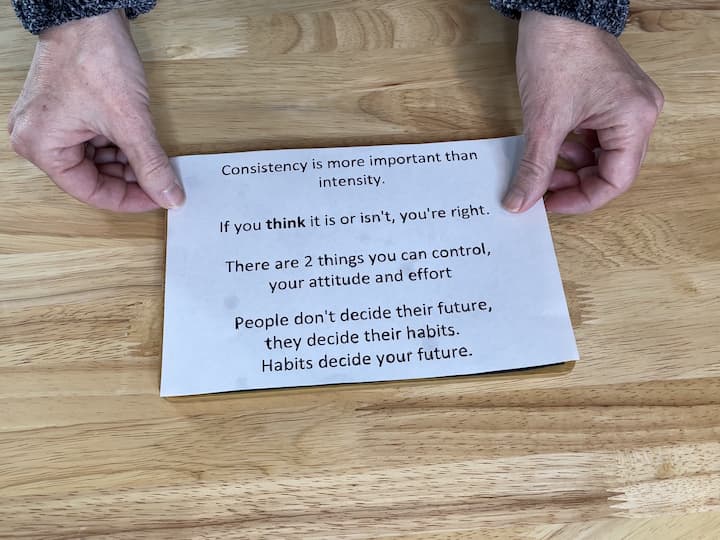
I found her favorite sayings and printed them out on some paper.
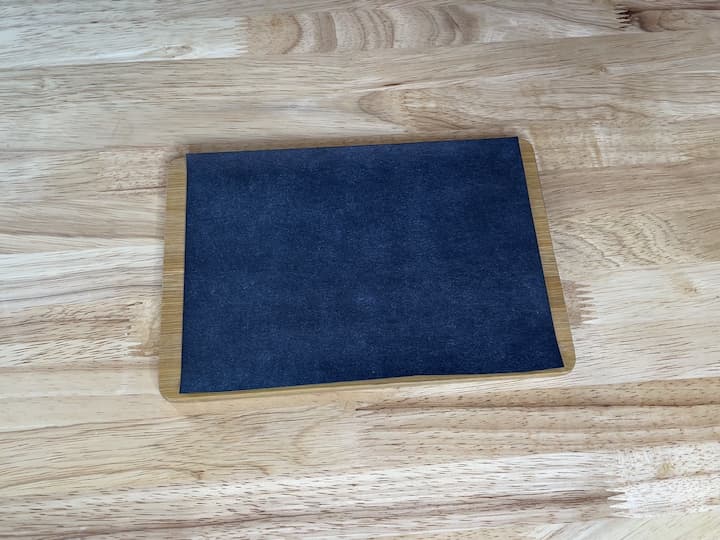
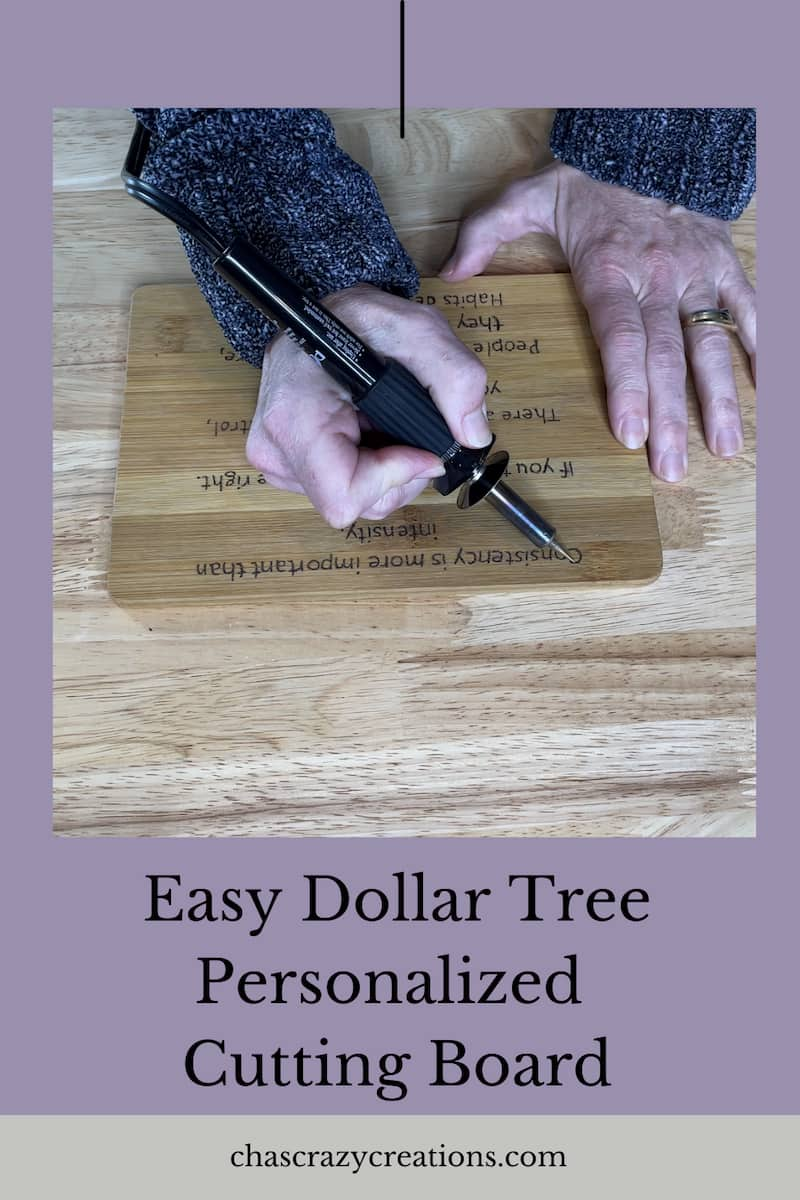
I placed some transfer paper onto the cutting board and then placed the printout onto the paper.
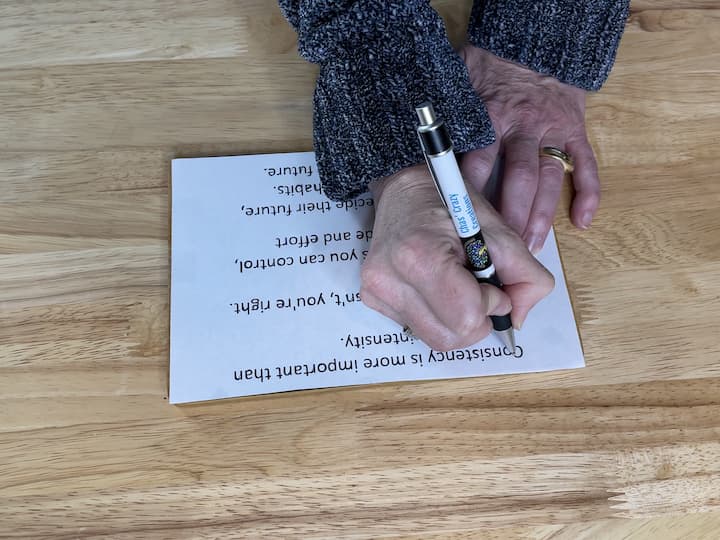
I traced over the letters with a pen. The transfer ink then transfers onto the bamboo wood cutting board.
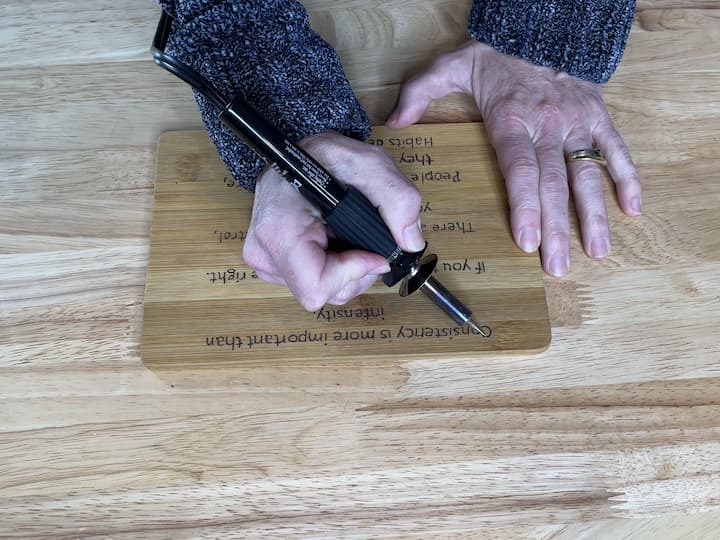
I heated up my wood burning tool, and I traced over the letters with it. The tool burns into the wood making the phrases or your design permanent.
Care instructions for this personalized cutting board
I recommend handwashing this one and not putting it into the dishwasher.
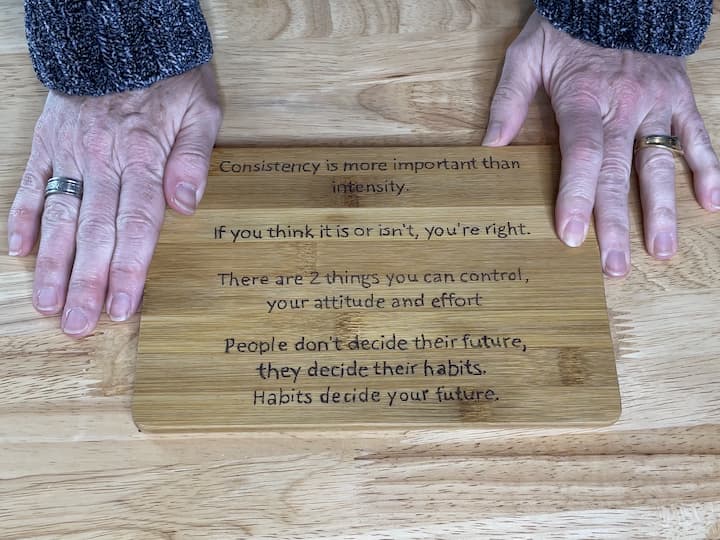
I gave this to my friend and she loved it.
Personalized Cutting Board Video
Shop any of these stores and I receive a small commission at no cost to you.
 Bamboo Cutting Boards for K...Shop on Amazon
 Mod Podge Matte Sealer, Glu...Shop on Amazon
 Carbon Paper for Tracing Gr...Shop on Amazon
 Plaid wood burning and sten...Shop on Amazon
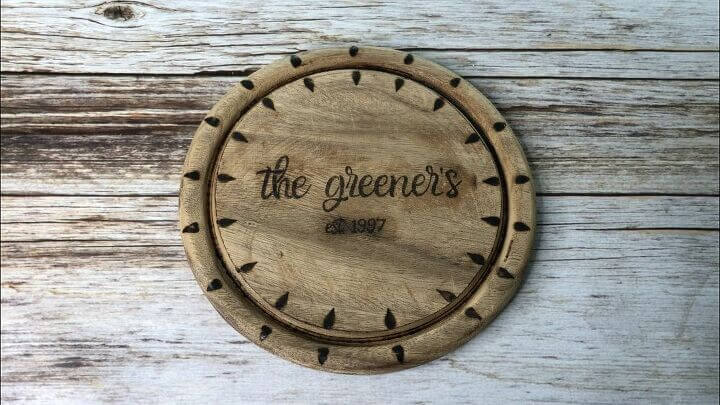
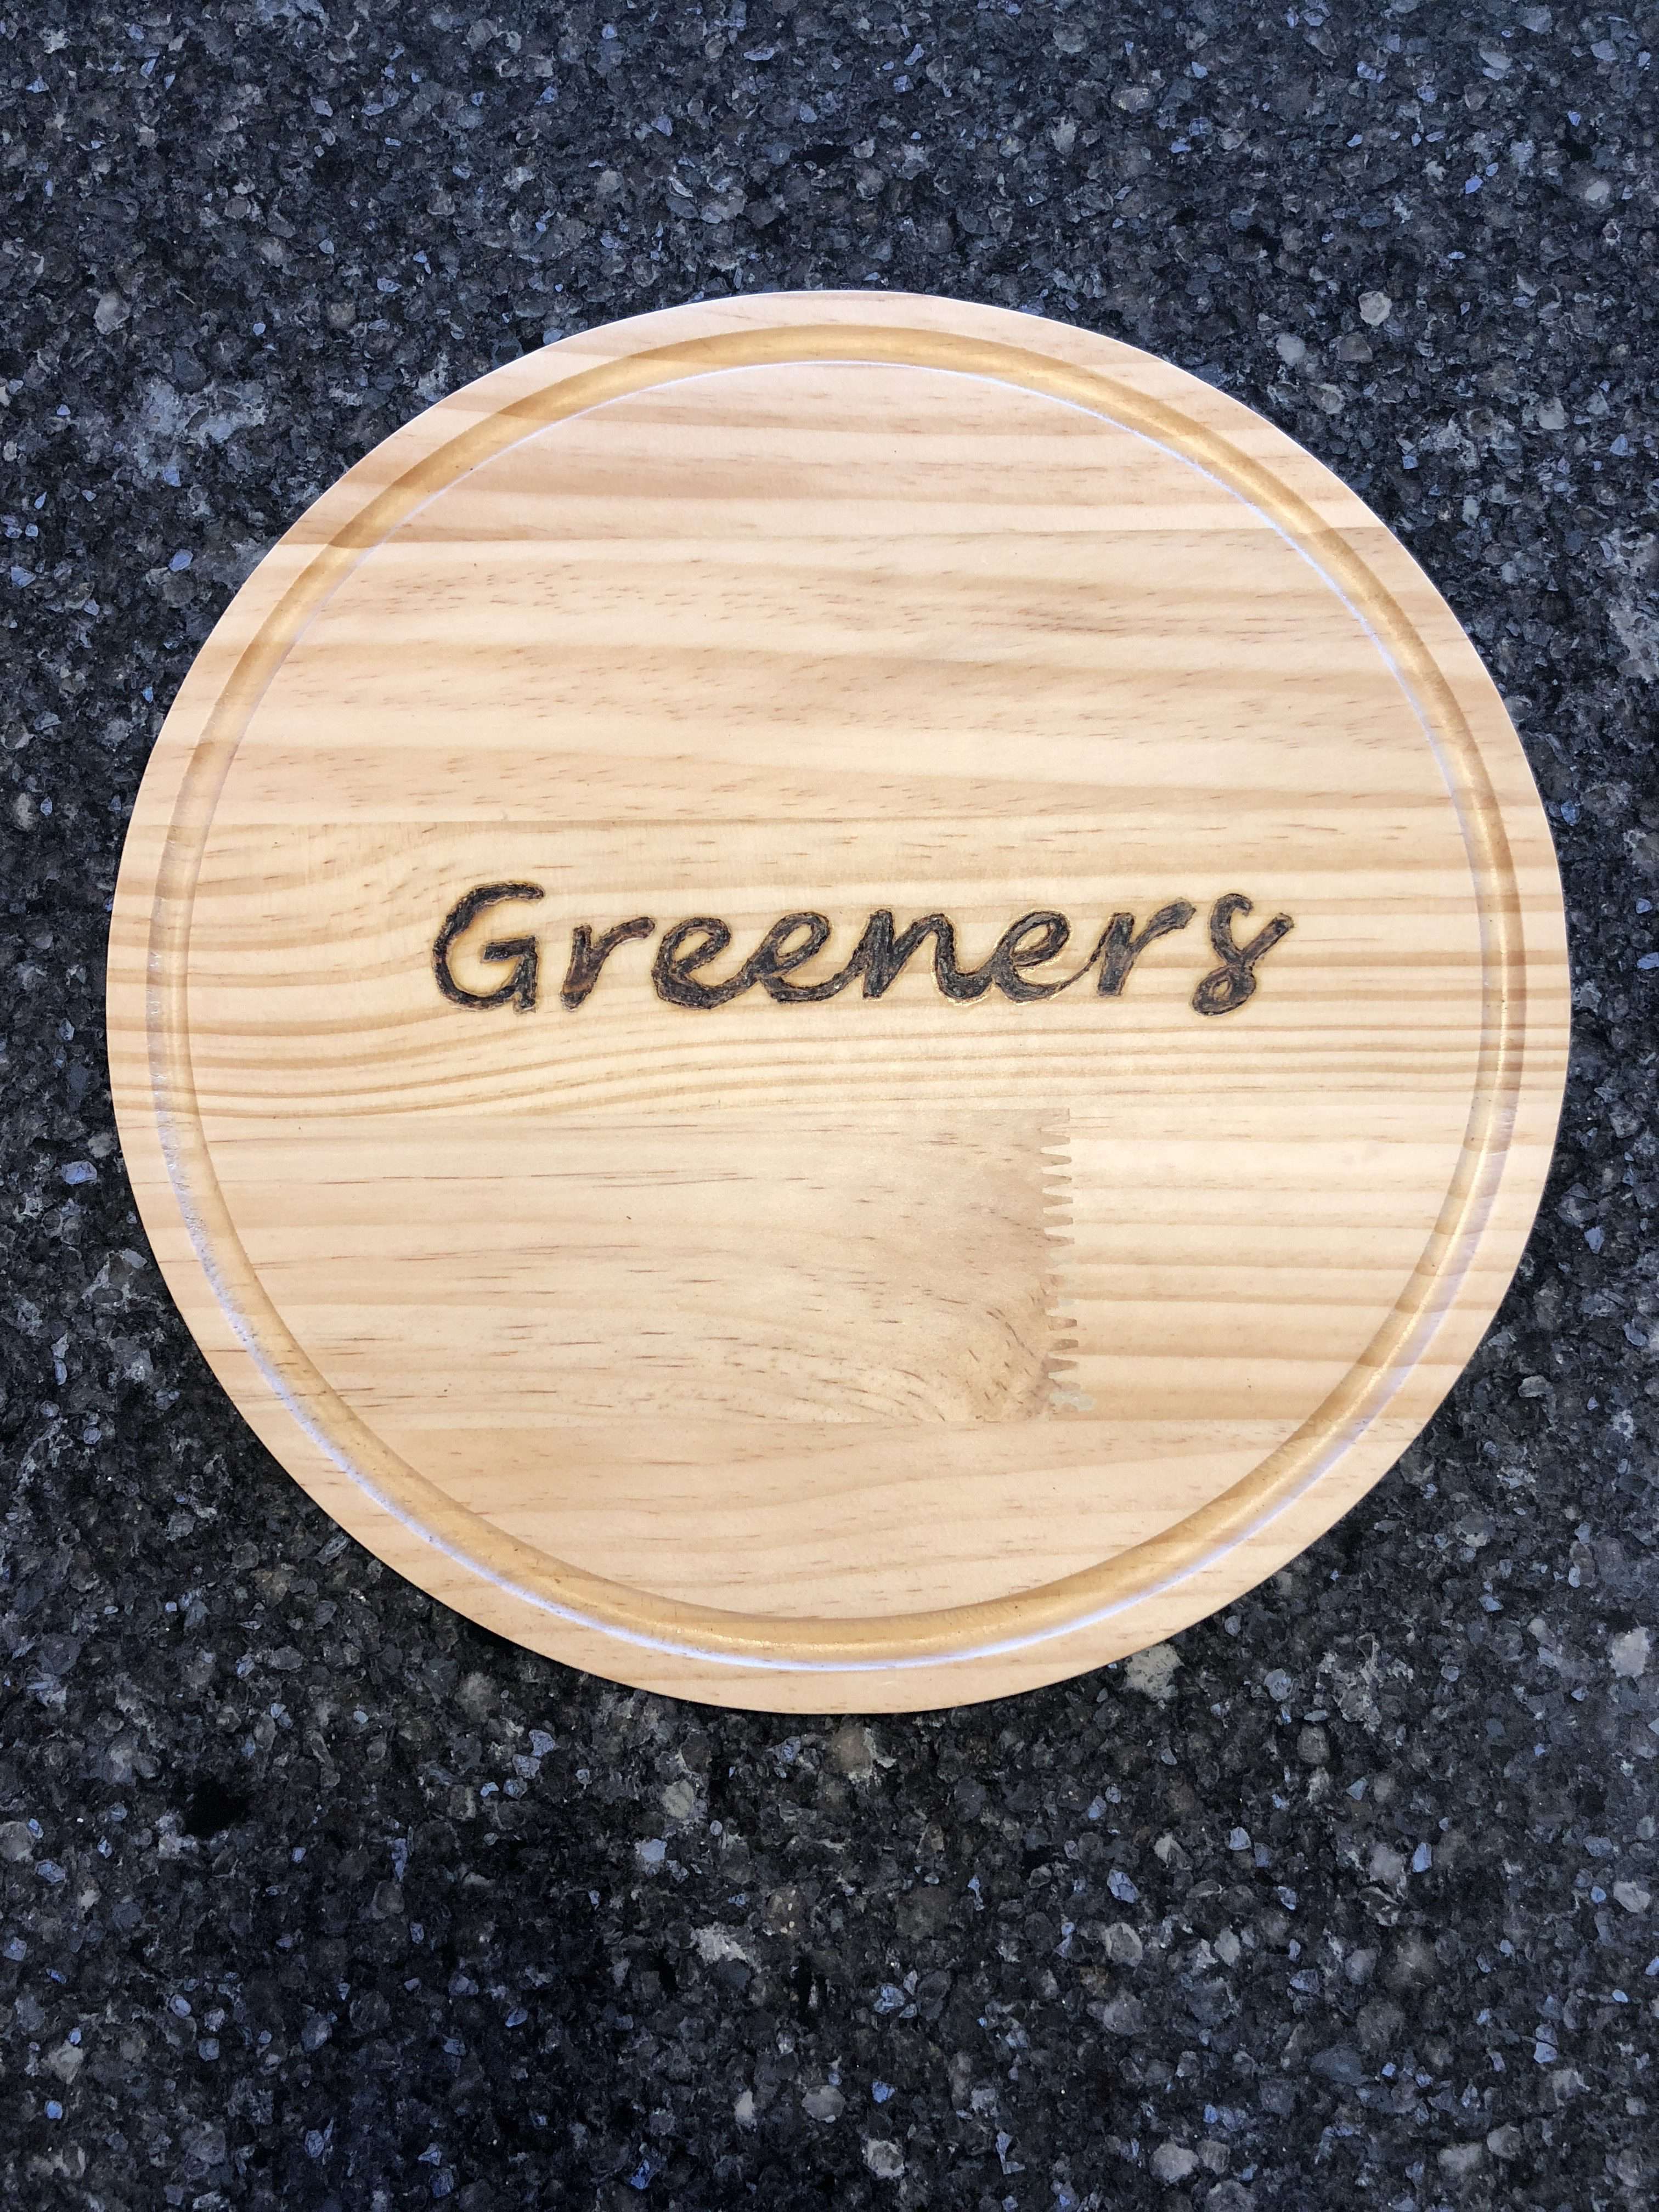
Here are a few more personalized cutting boards made with a wood burning tool. You can find the tutorials at
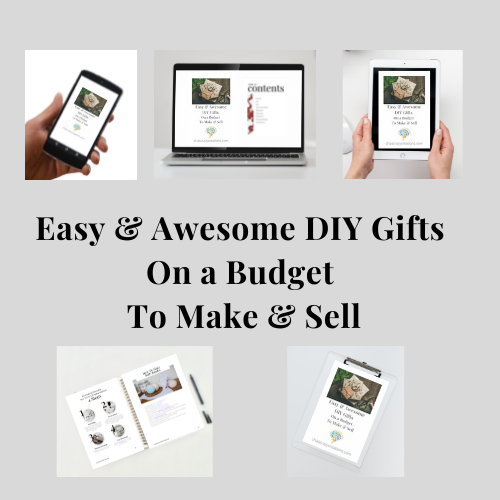
EASY & AWESOME DIY GIFTS ON A BUDGET TO MAKE AND SELL Ebook
Do you love to make gifts for friends and family members? Would you like to personalize your gifts too? This book is for you! Over 30 DIYs gifts on a budget plus extra tips, tricks, eco-friendly gift wrapping ideas, and more!
So what are you waiting for?!!! Get your copy today and start creating!
Personalized Cutting Board Q & A
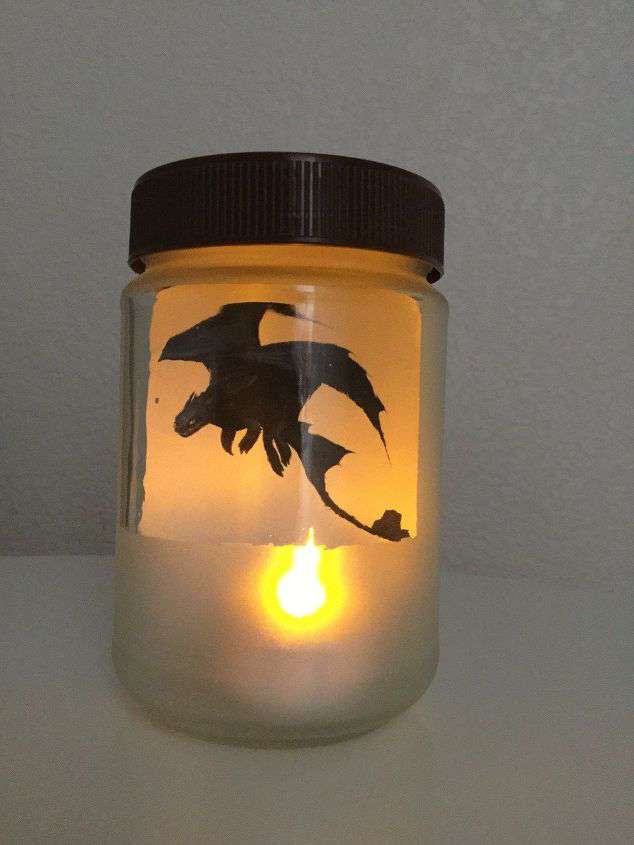
You can use the Mod Podge process to display a picture, decal or handwritten message on a glass cutting board or trivet.
You can use this same process to put a decal on a glass cutting board or trivet.
How to personalize a cutting board?
There are numerous ways to customize a cutting board to make it uniquely your own. Here’s a list of ways you can personalize a cutting board:
- Engraving:
- Engrave your name, initials, or a personal message on the cutting board.
- Add decorative patterns, designs, or artwork via engraving.
- Monogramming:
- Monogram the cutting board with your initials, family name, or a special date.
- Custom Shapes and Sizes:
- Create cutting boards in unique shapes and sizes, such as hearts, animals, or special silhouettes.
- Inlays:
- Add inlays of different wood types to create patterns or images on the cutting board.
- Paint or Stain:
- Use food-safe paints or stains to create colorful designs or patterns on the cutting board.
- Pyrography (Wood Burning):
- Use pyrography techniques to burn designs or patterns onto the surface of the wood.
- Personalized Handles:
- Customize the handle or edges of the cutting board with carvings, engravings, or unique shapes.
- Personalized Messages:
- Engrave or write special messages, quotes, or wishes on the cutting board.
- Image Transfer:
- Transfer personal photos or images onto the cutting board using image transfer techniques.
- Branding:
- Add your own brand or logo to the cutting board for a professional or personal touch.
- Inscriptions:
- Engrave meaningful inscriptions, like wedding dates, birthdates, or anniversaries.
- Wood Type and Grain Orientation:
- Choose different wood types or arrange the grain in unique patterns for a distinctive look.
- Edges and Rims:
- Customize the edges and rims of the cutting board with unique profiles, patterns, or carvings.
- Combination of Techniques:
- Combine various techniques, such as engraving and painting, for a multi-dimensional effect.
- Personalized Themes:
- Choose a theme for your cutting board, like nautical, rustic, or holiday, and incorporate related designs and motifs.
- Custom Sizing and Thickness:
- Customize the size and thickness of the cutting board to meet your specific needs.
- Inset Compartments:
- Add inset compartments or drawers to the cutting board for storing utensils or ingredients.
- Leather or Metal Accents:
- Incorporate leather or metal accents into the design for a unique and elegant touch.
- Food-Specific Features:
- Customize the cutting board for specific food preparation, such as adding measurement guides, fruit and vegetable icons, or grooves for catching juices.
- Personalized Color Schemes:
- Select wood stains and colors that match your kitchen or personal style.
When customizing a cutting board, consider both the aesthetic and functional aspects to create a piece that reflects your personality and serves your culinary needs. The possibilities for customization are vast, allowing you to create a cutting board that is truly one of a kind.
What is the best machine to engrave cutting boards?
When it comes to engraving cutting boards, you have several options for machines, each with its own advantages and considerations. The best machine for engraving cutting boards depends on your specific needs and budget. Here are some common options:
- Laser Engraving Machine:
- CO2 Laser Engraver: CO2 laser engravers are a popular choice for engraving cutting boards. They offer high precision and can create intricate designs. They work well with various materials, including wood, plastic, and bamboo, which are commonly used for cutting boards.
- Fiber Laser Engraver: Fiber lasers are more suitable for metal cutting boards. If you’re working with wooden or plastic cutting boards, a CO2 laser is often a better choice.
- CNC Router:
- CNC (Computer Numerical Control) routers can be used for engraving cutting boards by milling or carving the surface. They are versatile and can work with various materials, including wood. CNC routers are excellent for deep and three-dimensional engraving.
- Handheld Rotary Engraver:
- If you’re on a budget and need a portable solution, a handheld rotary engraver can be used for engraving cutting boards. These are typically used for simple text and basic designs.
- Electromechanical Engraving Machine:
- Electromechanical engraving machines use a stylus to physically etch the surface. They are typically used for metal engraving but can also be used on certain types of plastic and wooden cutting boards.
Consider the following factors when choosing the best machine for engraving cutting boards:
- Material: The material of the cutting board will influence your choice of engraving machine. Make sure the machine is compatible with the material you plan to use.
- Design Complexity: If you need to engrave intricate or detailed designs, a laser engraving machine or CNC router is a better choice. For simple text and basic designs, a handheld rotary engraver may suffice.
- Budget: Your budget will also play a significant role in determining the type of machine you can afford. Laser engraving machines and CNC routers tend to be more expensive, while handheld rotary engravers are more affordable.
- Space and Portability: Consider the available workspace and whether you need a machine that can be moved easily. Handheld rotary engravers are the most portable, while larger machines like CO2 laser engravers and CNC routers require more space.
- Maintenance and Support: Be aware of the maintenance requirements and the availability of technical support for the machine you choose.
It’s essential to research and compare different machines, read reviews, and consider your specific engraving needs to select the best machine for engraving cutting boards that suits your requirements.

Can you eat food that has been laser engraved?
Food that has been laser engraved can be safe to eat, depending on several factors. Laser engraving is typically done on the surface of food items and is used for decorative or branding purposes, such as engraving logos or designs on fruits, vegetables, or baked goods. However, there are important considerations to keep in mind:
- Choice of Food: Laser engraving is often used on foods with firm or thick skin, like fruits (e.g., apples, watermelons) or vegetables (e.g., pumpkins, cucumbers). It is not typically used on delicate or porous foods.
- Cleanliness and Safety: It is crucial that the laser engraving equipment and the environment in which the food is engraved are clean and sanitized to prevent contamination. The laser engraving process itself should not introduce any harmful substances to the food.
- Edible Inks: In some cases, edible inks are used in the laser engraving process to create designs. These inks are formulated to be safe for consumption. Ensure that the inks used are labeled as edible and non-toxic.
- Surface vs. Interior: The engraving is typically done on the surface of the food item and does not penetrate deeply into the interior. As long as the outer layer is removed or properly cleaned before consumption, the engraved portion should be safe to eat.
- Personal Allergies: If you have food allergies or sensitivities, be cautious about any inks or materials used in the engraving process that might trigger an allergic reaction.
- Washing and Peeling: It’s advisable to wash or peel the engraved food item before consuming it to ensure that any potential contaminants are removed.
- Regulations: Depending on your location, there may be regulations or guidelines governing the use of laser engraving on food items. Always follow local food safety and hygiene regulations.
In summary, food that has been laser engraved can be safe to eat if proper food safety and hygiene practices are followed, the engraving is done on suitable food items, and any edible inks or materials used are safe for consumption. If you have concerns or questions about the safety of laser-engraved food, it’s a good idea to consult with a local food safety authority or expert.
Can I use an engraved cutting board?
Yes, you can use an engraved cutting board for food preparation, but there are some important considerations to keep in mind to ensure both the functionality of the cutting board and the safety of the food you prepare on it:
- Engraving Depth: The engraving on the cutting board is typically done on the surface and should not be too deep. If the engraving is shallow and doesn’t create deep crevices, it’s generally safe to use for cutting and chopping.
- Material: Ensure that the cutting board material is food-safe. Wood, bamboo, and food-grade plastic cutting boards are commonly used. Avoid cutting boards made from toxic or non-food-safe materials.
- Cleaning: Properly clean the cutting board before and after each use. Use hot, soapy water and a brush to scrub the surface, including the engraved area. Rinse thoroughly and allow it to air dry. This helps remove any potential contaminants from the surface.
- Sanitizing: Periodically sanitize the cutting board. You can do this by using a solution of one part white vinegar to four parts water, or a bleach solution (1 tablespoon of bleach per gallon of water). Ensure that you thoroughly rinse and dry the board after sanitizing.
- Food Safety: Be aware of the type of food you’re preparing and whether it’s safe to come into contact with the engraved area. For example, if you’re engraving decorative patterns, avoid cutting raw meat or other potentially contaminated ingredients on the engraved section. Instead, use a different part of the cutting board or a separate board for such ingredients.
- Maintenance: Regularly maintain the cutting board by resealing it with food-safe mineral oil or beeswax. This helps prevent the wood from drying out and cracking, and it keeps the surface smooth.
- Avoid Deep Cuts: Try to avoid making deep cuts directly on the engraved area. Instead, use the non-engraved areas of the cutting board for heavy chopping and cutting tasks.
- Inspect for Damage: Periodically inspect the cutting board for signs of damage, such as cracks, deep grooves, or excessive wear. If the engraving has become too deep or damaged, it may be a good idea to retire the board or re-surface it if possible.
Remember that the safety and usability of an engraved cutting board depend on the quality of the engraving, the type of material used, and your diligence in maintaining and cleaning it. When in doubt, follow proper food safety guidelines and consider using the cutting board for non-cutting purposes, such as serving or decoration, if you have concerns about its suitability for food preparation.
How do you treat an engraved cutting board?
Treating an engraved cutting board involves a series of steps to ensure the board remains in good condition, maintains its appearance, and remains safe for food preparation. Here’s a guide on how to treat an engraved cutting board:
Materials You’ll Need:
- Food-safe Mineral Oil or Beeswax: You can find food-grade mineral oil or beeswax at kitchen supply stores or online.
- Clean, Lint-free Cloth: Use a clean cloth to apply the treatment.
Steps:
- Clean the Cutting Board:
- Before treating the cutting board, make sure it’s clean and free from any food residue or debris. Wash it with hot, soapy water and scrub the surface using a brush or sponge.
- Rinse the board thoroughly with water.
- Dry the Cutting Board:
- Allow the cutting board to air dry completely. Avoid using a towel to dry it, as this can introduce lint.
- Apply Mineral Oil or Beeswax:
- Pour a small amount of food-grade mineral oil or melt beeswax (if using beeswax) onto the cutting board’s surface.
- Spread the oil or melted beeswax evenly over the entire surface of the cutting board, including the engraved areas, using a lint-free cloth. Make sure you cover all exposed wood.
- Let It Soak In:
- Allow the mineral oil or beeswax to soak into the wood for a few hours or overnight. This helps nourish the wood and protect it from drying out and cracking.
- Wipe Off Excess:
- After the treatment has had time to soak in, use a clean cloth to wipe off any excess oil or beeswax from the surface. The board should feel slightly oily to the touch but not overly saturated.
- Buff the Surface:
- To achieve a smooth and shiny finish, buff the cutting board with a clean cloth. This helps distribute the treatment evenly and gives the board a polished appearance.
- Reapply as Needed:
- Over time, with regular use, the cutting board may start to look dry or faded. To maintain its appearance and condition, periodically reapply mineral oil or beeswax following the same steps. The frequency of reapplication will depend on how often you use the cutting board, but doing it every few weeks or when the board starts to look dry is a good practice.
By following these steps, you can treat an engraved cutting board, keeping it well-maintained, extending its lifespan, and ensuring that it remains safe and attractive for food preparation and presentation.
Check out some of my other photo projects!
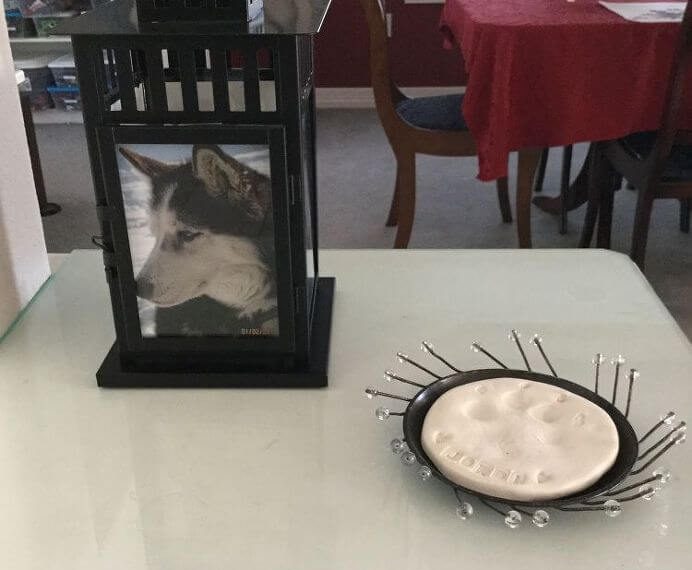
- How To Make DIY Photo Memorial Lanterns To Honor Those We Love
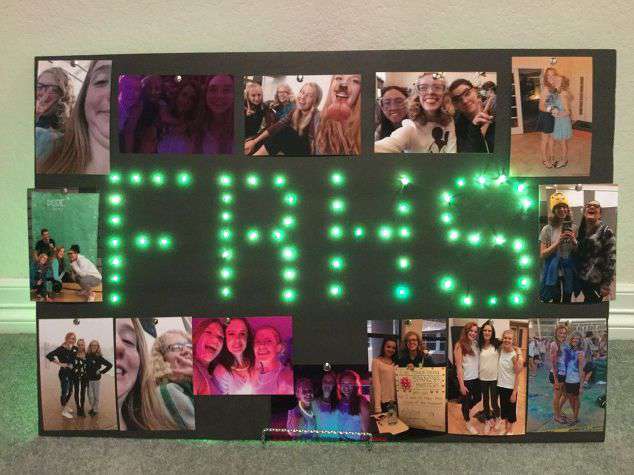
- Personalizable Photo and Light Up Sign
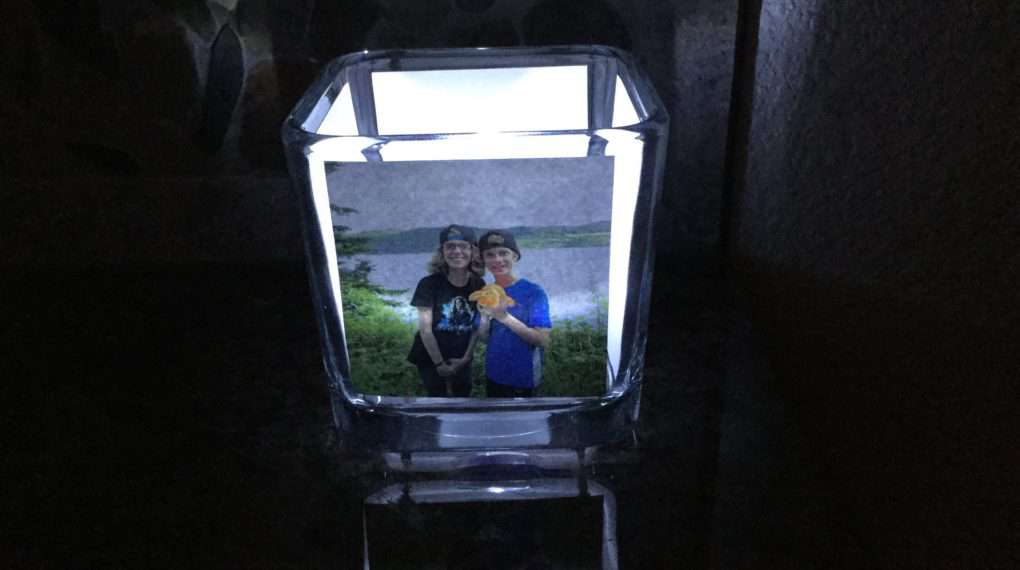
- Glowing Photo Holder
- Easy and Awesome Dollar Tree Cutting Board Crafts You Won’t Want To Miss
- Easy and Beautiful Dollar Tree Spring DIY with Video
These unique designs are great for a wedding gift for newlyweds, housewarming gift, holiday gifts, birthdays, etc. They’re durable and will last a long time. Preserve handwriting, save a recipe, add photos, to make the best personalized cutting board.
I hope this inspires you to create a custom cutting board of your own.


Very cute idea!
Thank you very much 🙂